Nail Art for an All-Neutral Wardrobe: Adding Colour in Small Doses
Add a measured amount of colour to a neutral wardrobe through a fine tip, small dot or one accent nail.
Key takeaways
- Background: choose the sleeve or accessory nearest your hands.
- Colour: select one hue and its preferred depth.
- Area: compare a dot, line, tip and full accent nail.
- Repeat: decide whether the mark appears once or across the set.
In this guide
- Key takeaways
- Choose the neutral background first
- Compare four amounts of colour
- Pick one colour before adding a second
- Let the base do part of the work
- Adjust the dose before changing the shade
- Plan repetition across the hand
- Make a small trial and keep a useful note
- Common questions
- Sources and further reading
An all-neutral wardrobe can make a small amount of nail colour feel surprisingly noticeable. A red dot beside a cream sleeve, a blue tip against grey wool or one coloured nail with black tailoring may be enough. The design question is not simply which shade to buy. It is how much of that shade you want to see, where it sits and how often it repeats.
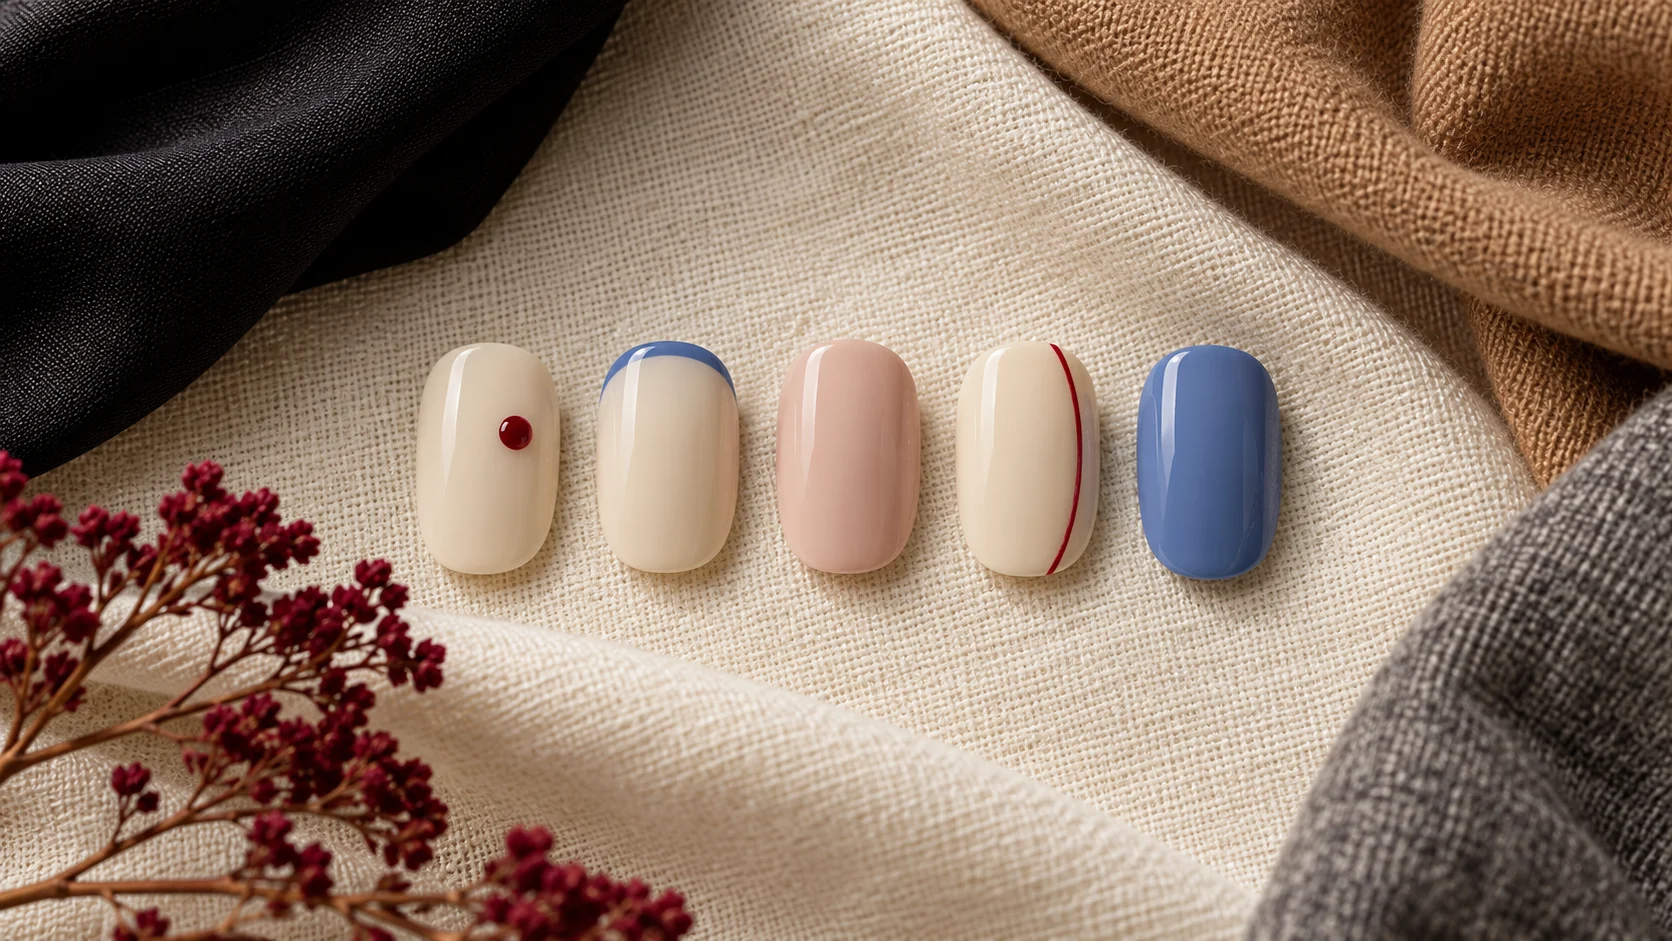
This guide compares those decisions using original styling examples. It does not assign you a seasonal colour type or prescribe a shade for your skin. Named polishes provide manufacturer colour references only, and the illustration shows generic designs rather than tested products or exact swatches. Start with what you already wear and adjust the amount of colour from there.
Choose the neutral background first
Neutral does not mean one uniform colour. Black, cream, camel, grey and brown create different backgrounds for the hands. Choose the piece that most often sits beside your nails: a sleeve, coat cuff or bag handle. This gives you a real comparison rather than an abstract claim that a colour goes with everything.
Try the same colour idea beside two of those items. Red may look clear and bright against cream, while a deep red can feel quieter beside dark brown. Blue may stand out against camel but share more of its visual mood with grey. These are observations to make with your own clothes, not promises about how every combination will appear.
The National Gallery distinguishes hue, lightness or darkness, and relative colour temperature. Those terms help separate three questions: which colour family you want, how light or deep it should be, and how warm or cool it appears beside another colour. You do not need a complete theory course to use the distinction.
Compare four amounts of colour
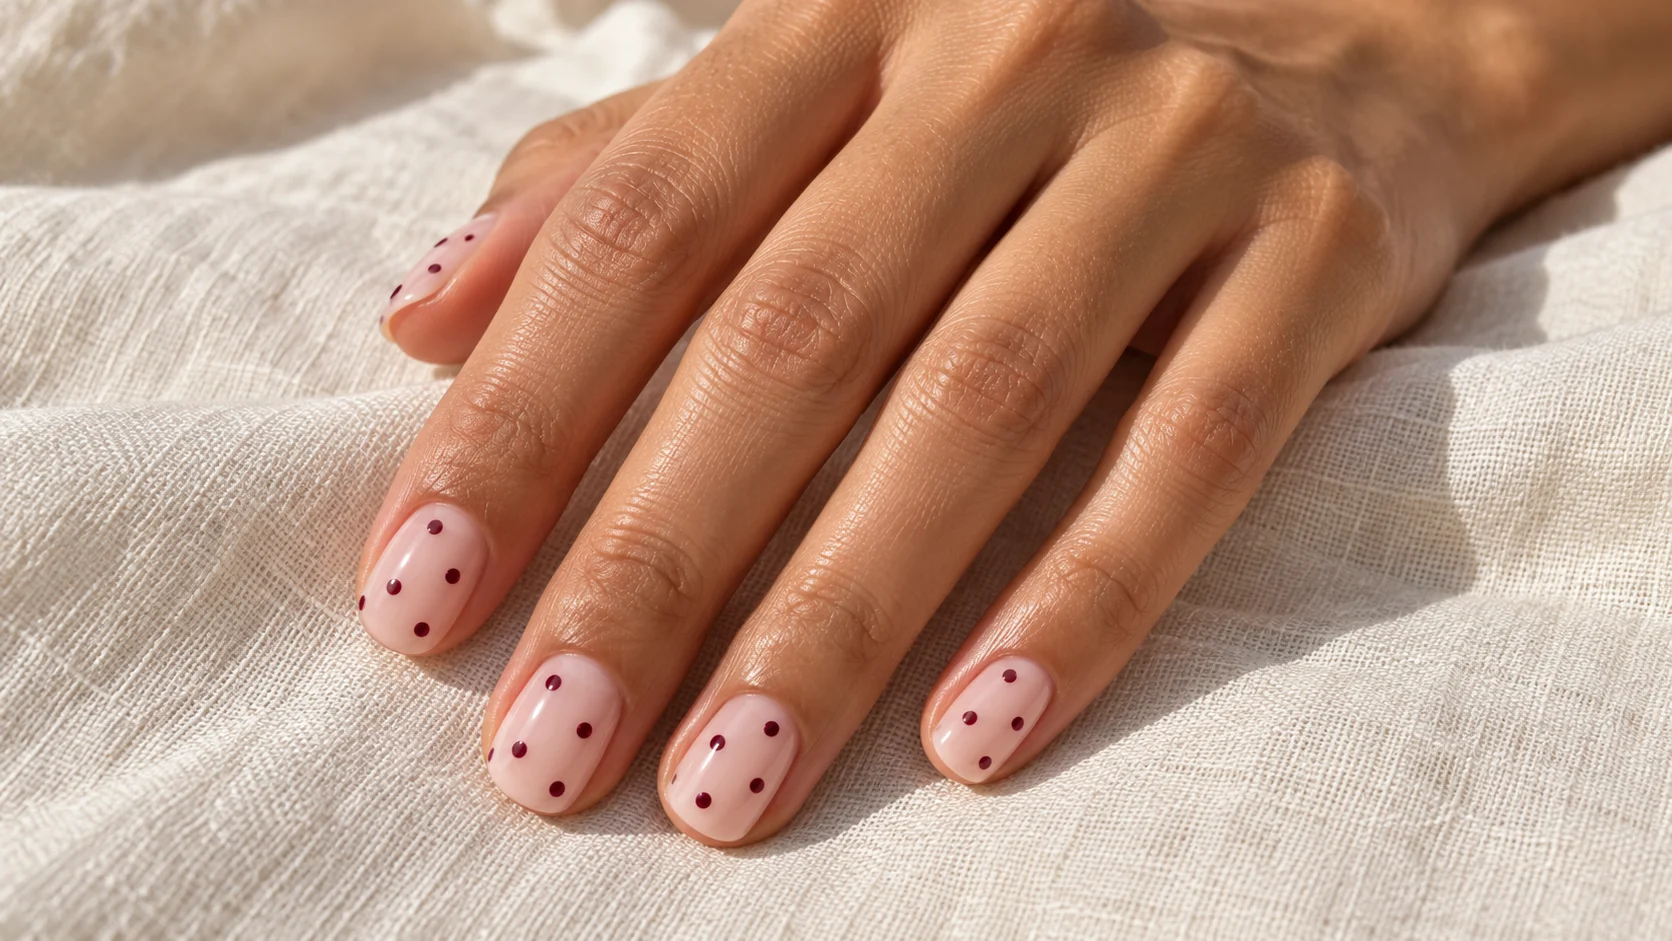
The smallest option is a single dot or short mark. It can act like a tiny accessory, visible when you look closely without changing the whole impression of the hand. Its position matters: near one side, centrally placed or repeated across several nails will each create a different rhythm.
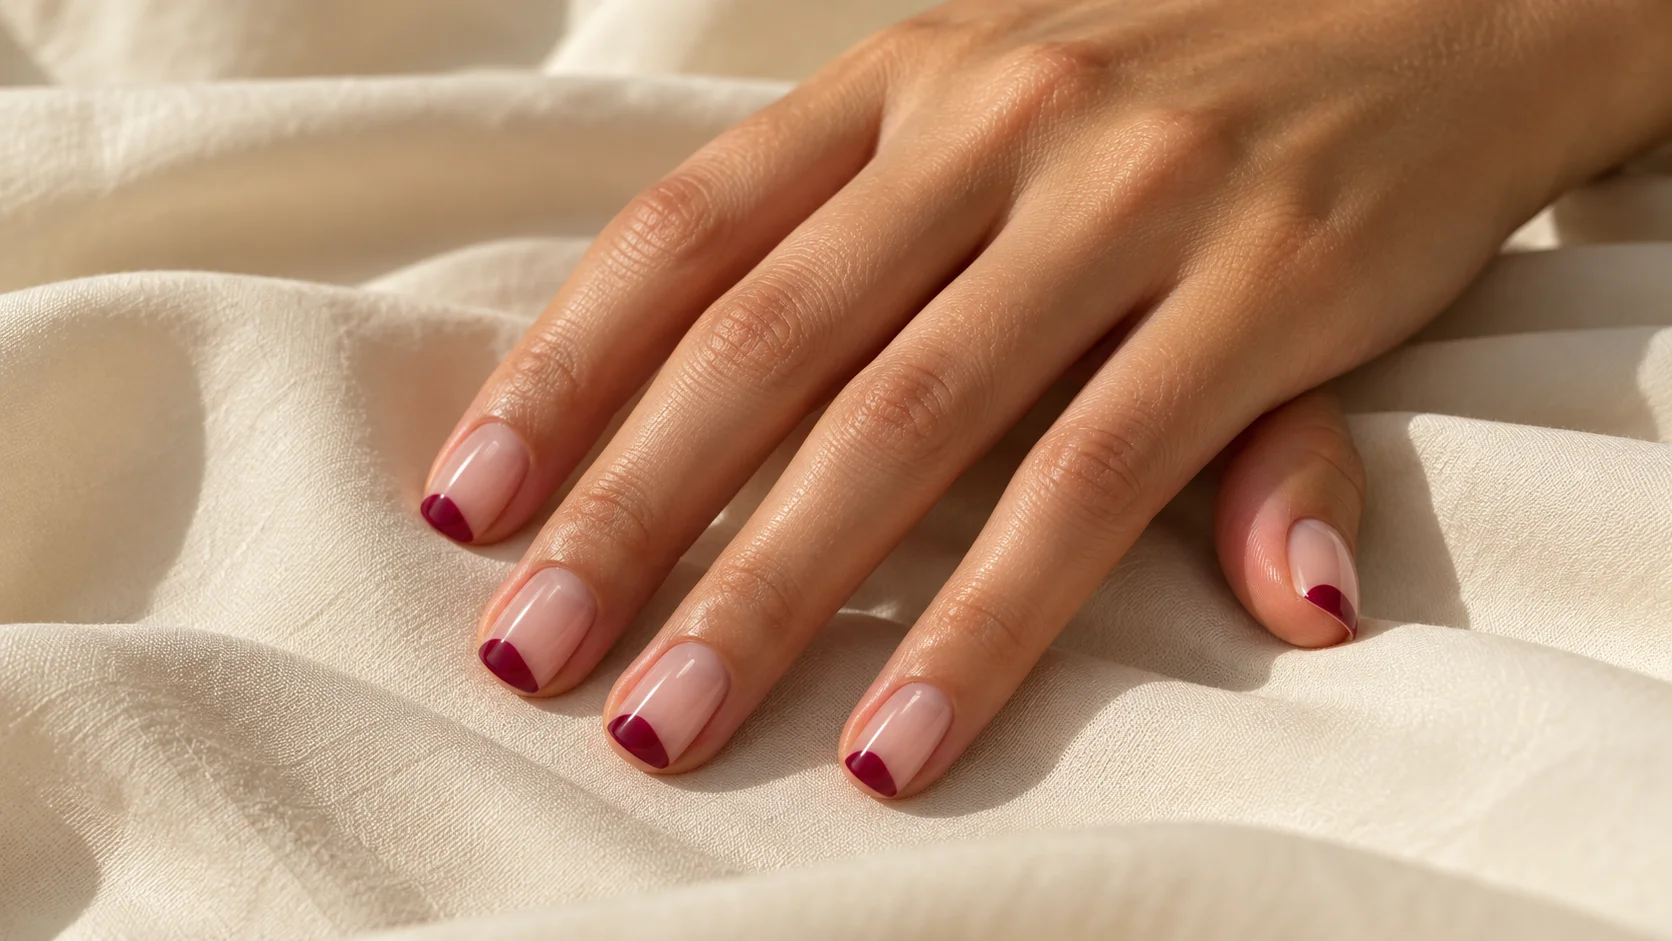
A fine tip introduces colour along the edge. It distributes the accent more widely than one dot but leaves most of the base visible. If the tip becomes too broad, it can start to look like a second main colour rather than a small accent. Decide which effect you prefer before repeating it.
A side line places colour along one part of the nail’s length. A full accent nail is the largest dose in this comparison, even if only one finger carries it. The same red can feel subtle as a dot and assertive as a complete nail; changing the area may be more useful than changing the shade.
| Placement | Relative amount of colour | What to compare | Useful first trial |
|---|---|---|---|
| One dot | Very small | Visibility and position | One mark on a pale base |
| Fine tip | A narrow repeated edge | Width at your actual nail length | The same colour on each tip |
| Side line | A small lengthwise accent | Direction and distance from the edge | One line with otherwise plain nails |
| Full accent nail | A clear block of colour | Which finger becomes the focal point | One coloured nail beside a neutral set |
Pick one colour before adding a second
A bright red is a useful example because a small area can remain easy to see. OPI describes Big Apple Red as a bright red. That establishes a colour direction, not a requirement to buy the product or a claim that its formula is best for detailed art. Check the suitability and instructions of the product you actually use.
For another direction, Essie describes Bikini So Teeny as a cornflower blue with shimmer. The shimmer matters: it is not the same finish as a flat blue colour. If you want only a blue accent without reflection, say so when discussing alternatives rather than assuming the name describes a plain crème.
Choose one of those directions, or another favourite, and try two placements before adding more colours. A clear comparison might be red dot versus red tip, with the same base in both. If you change colour, base, shape and placement at once, it becomes harder to identify which change improved the result.
Let the base do part of the work
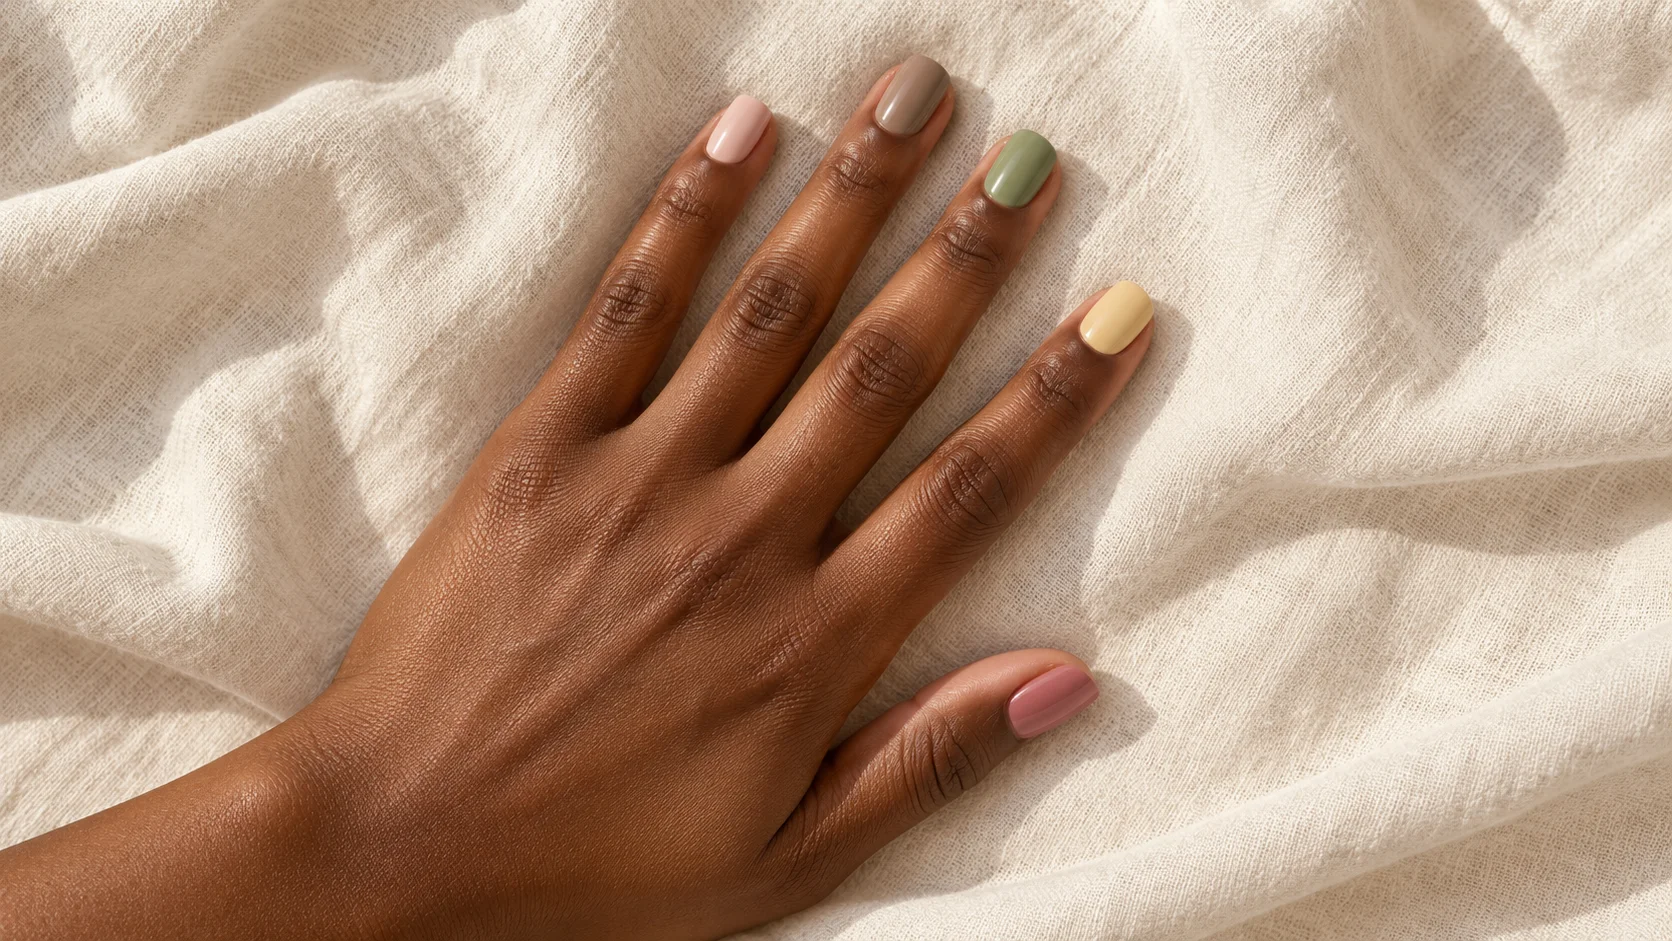
A clear or sheer base leaves the natural nail visible, while an opaque neutral creates a more uniform background. Both can support small coloured marks. Choose the coverage you enjoy rather than treating a bare-looking base as automatically simpler or more suitable for a neutral wardrobe.
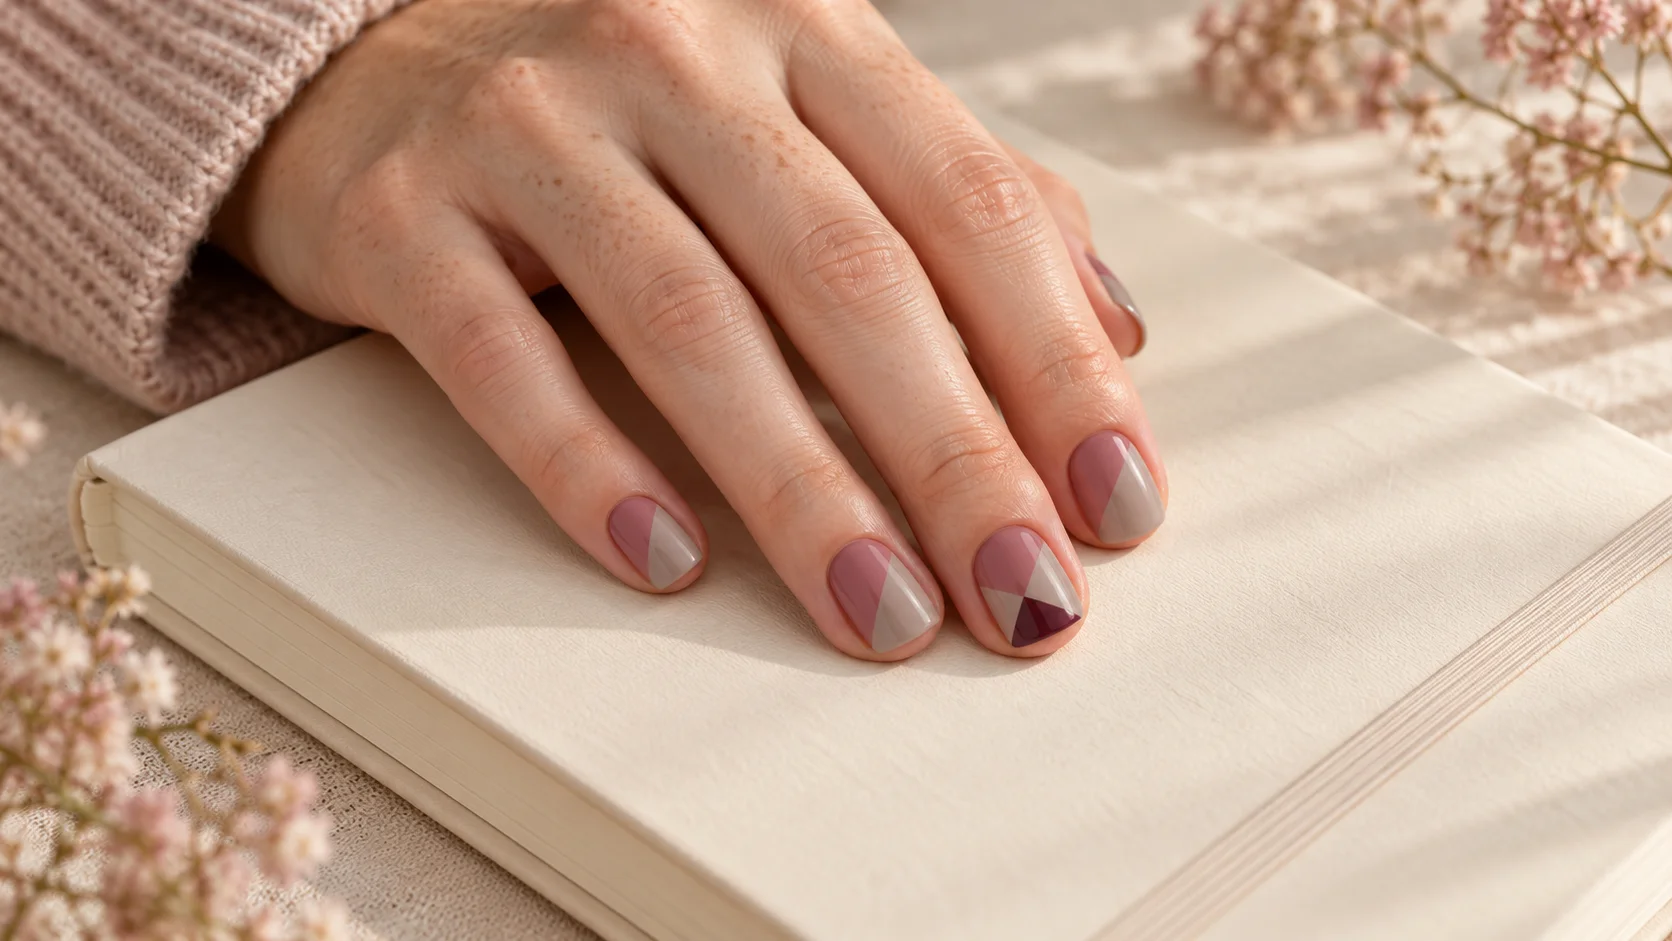
The base does not need to match your skin exactly. A pale pink, cream, taupe or another quiet colour may connect with the clothes while remaining visibly different from the hand. Ask to see the relationship in a real sample if you are unsure; digital illustrations cannot determine a personal colour match.
If your neutral clothes contain texture, such as ribbed knitwear or a woven coat, you might prefer a plain glossy base with a crisp mark. If the outfit is very smooth and minimal, a small shimmer accent could provide another kind of interest. These are options to compare, not rules linking fabric to finish.
Plan repetition across the hand
A single accent creates a focal point; repeated small accents create a pattern. Neither is automatically more restrained. Ten small blue tips may be more noticeable overall than one blue dot, even though each individual tip is narrow. Look at the entire set rather than judging one enlarged nail image.
Decide how the second hand relates to the first. You could mirror the accent finger, use a different finger with the same mark or repeat a consistent placement throughout. A quick sketch prevents an asymmetrical choice from feeling accidental when the hands are seen together.
Consider jewellery at the same time. A ring may already draw attention to one finger, so you can either support that focus or place the coloured accent elsewhere. You do not need to match every metal or accessory. The aim is to make the relationship clear to your own eye.
Make a small trial and keep a useful note
Ask for a sample at the intended nail length or practise with a familiar product on an appropriate display surface. Note the colour, base coverage and width or position of the mark. A photograph is useful, but a short description can preserve the decision more accurately than an unlabelled collection of images.
For more placement ideas, browse our nail-art guides. Explore Polish & Tools for finish distinctions and Seasonal & Bridal when an occasion shapes your palette. A neutral wardrobe leaves plenty of room for colour; you can decide whether that room is filled by one small dot or a more visible accent.
For the related design decisions, compare Skittle Nails: Building a Five-Colour Palette That Feels Cohesive, Colour Block Nails: Simple Layouts for Two or Three Shades and Tiny Polka Dot Nails: Spacing, Scale and Colour Ideas. For the practical details, use Building a Small Nail Polish Collection with Versatile Colours.
Common questions
What is the smallest way to add colour to neutral outfits?
A single dot or short painted mark is a useful starting point. Choose a position that remains clear against the base and compare it beside a sleeve you wear often. You can increase the colour area later; a small accent does not need additional decoration simply because space remains.
Do bright colours clash with an all-neutral wardrobe?
Not automatically. The relationship depends on the actual neutral, the colour depth and the amount of accent used. Try the same shade beside cream, grey, camel or black to see the difference. Your preference matters more than a universal claim that one colour goes with every neutral outfit.
Should I change the shade if an accent feels too bold?
First try reducing the area it covers. A full red nail, a red tip and a tiny red dot create different levels of emphasis even with the same colour. Keep the base and finish consistent during the comparison so you can tell whether placement alone solves the problem.
Does the base have to match my skin?
No. A clear, sheer or opaque base can each support small colour details. You might prefer a pale pink, cream or taupe that connects with the clothes while remaining visibly different from your hand. Compare real samples rather than using a digital illustration to determine an exact personal match.
Is one accent nail quieter than coloured tips on every nail?
It can be, but the answer depends on colour contrast and the area covered. Ten narrow coloured tips create a repeated pattern, while one full accent makes a focal point. Look at the complete set at ordinary viewing distance rather than judging only an enlarged photograph of one nail.
Can I use a shimmer shade for a tiny accent?
Yes, if the product and method suit the intended detail. Remember that shimmer changes reflection as well as colour, so compare it with the plain-colour effect you may have imagined. The named blue in this article includes shimmer; it is not presented as an independently tested art product.
How should I place colour around rings?
Decide whether the ring and nail accent should share a focal point or sit on different fingers. Neither arrangement is required, and the polish does not have to match the jewellery metal exactly. Sketch both hands together so the placement feels deliberate when the complete set is visible.
What should I keep from a successful colour trial?
Record the shade or colour direction, base coverage, placement and approximate width of the detail. A photograph helps, but a short written note explains what you liked if lighting changes its appearance. Use that record to repeat the idea or adjust one feature at the next appointment.
Sources and further reading
- National Gallery — Colour glossary — checked 2026-10-23
- OPI — Big Apple Red Nail Lacquer — checked 2026-10-23
- Essie UK — Bikini So Teeny — checked 2026-10-23