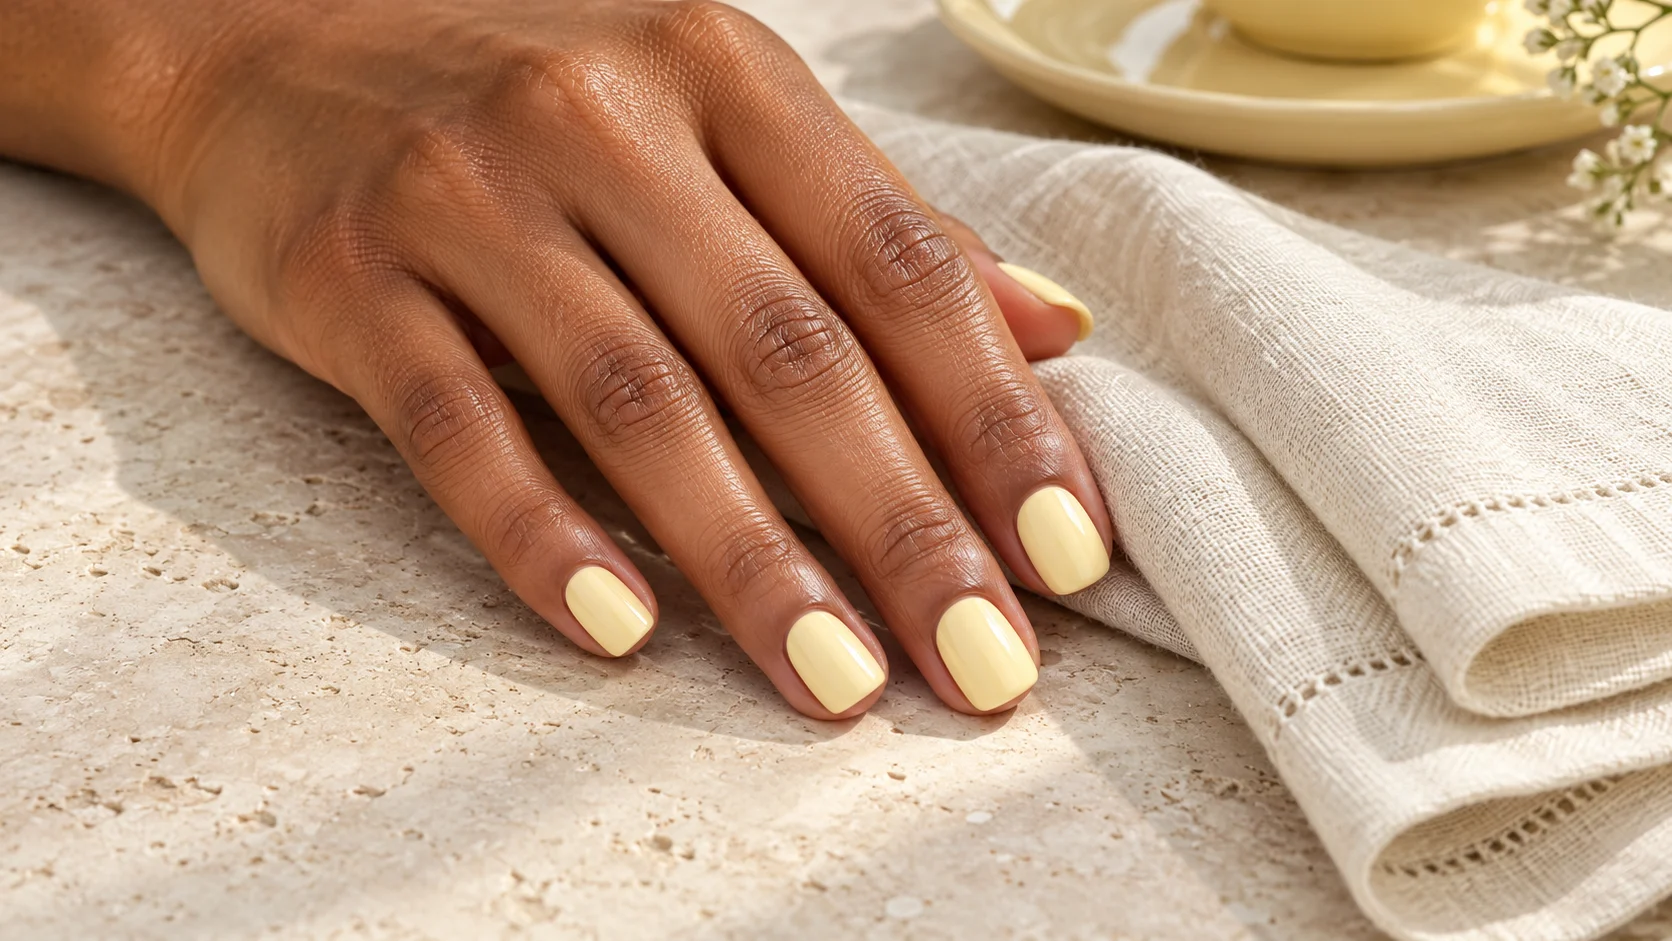
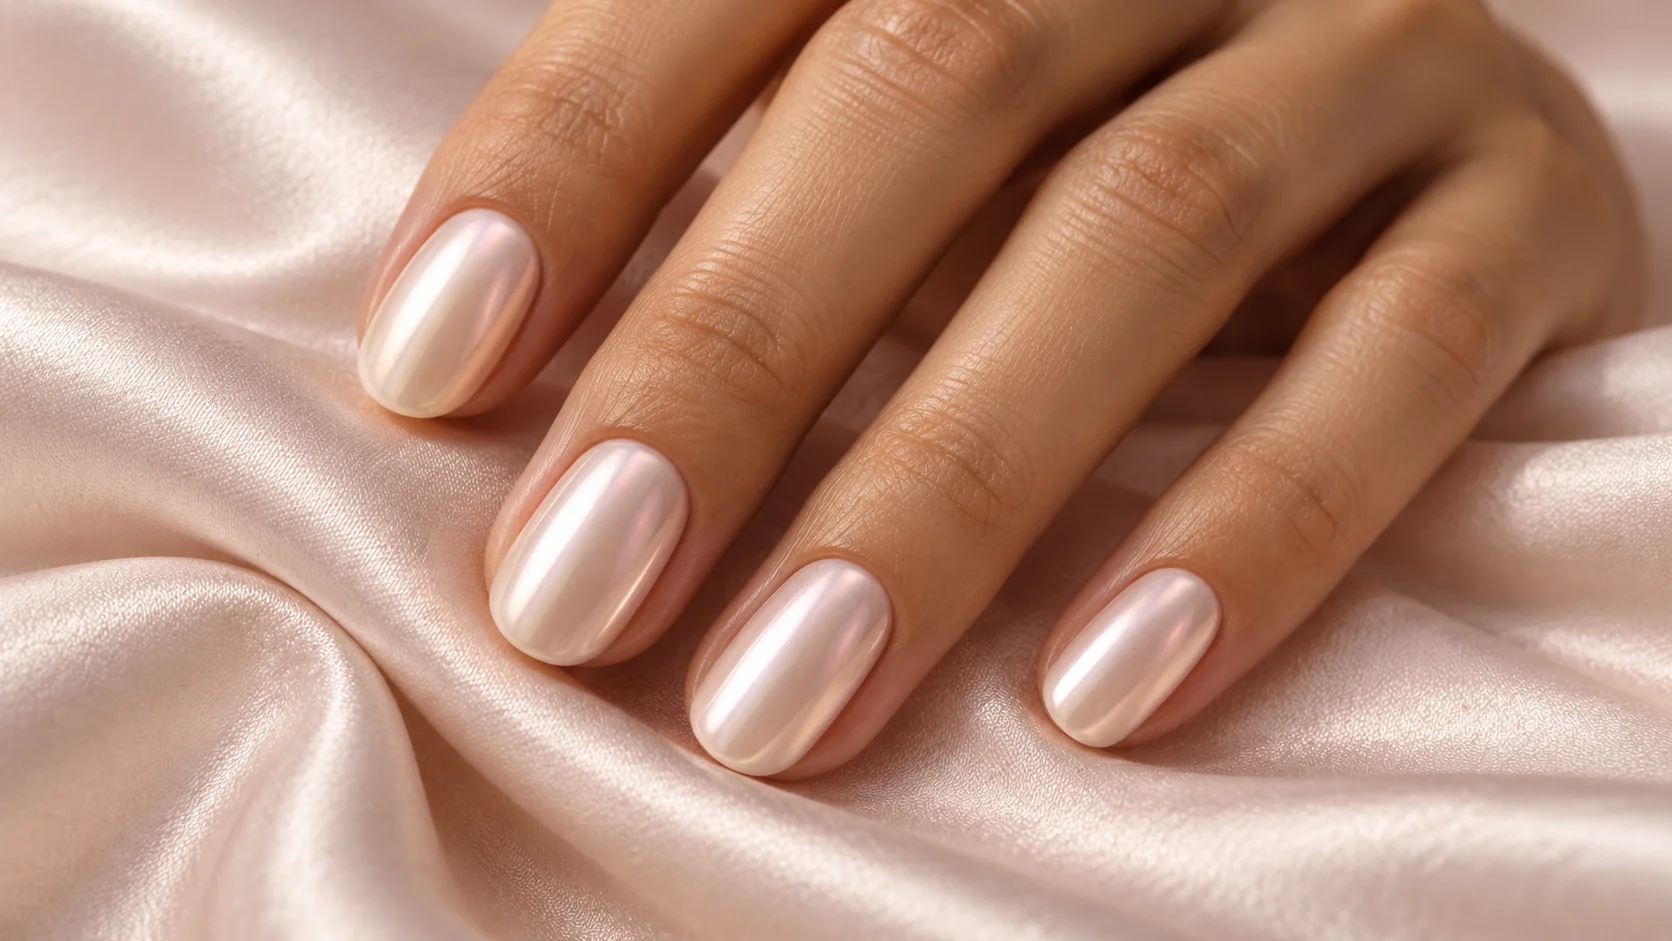
Short Nail Designs That Leave Room for Everyday Life
Choose a comfortable shape, a clear focal point and a colour palette that fits your everyday routine.
Archive edition: 2026-04-21 · This is an editorial allocation, not the first-publication date.
Key takeaways
- Choose a comfortable length before choosing a design.
- A slim tip, a single dot or a small accent gives a short nail a clear focal point.
- Keep the colour palette simple when you want several different motifs.
- Design choices are personal; they are not treatments for damaged or painful nails.
In this guide
- Key takeaways
- Start with the length you can comfortably live with
- Choose one focal point for the design
- Build a colour palette you actually enjoy
- Translate a reference instead of copying every detail
- Your three-part design plan
- Keep nail care separate from decoration
- Your next step
- Common questions
- Sources and further reading
Short nails offer plenty of room for an interesting manicure. The most useful starting point is not a list of colours that supposedly suit everyone, but the way you use your hands. A slim French tip might fit a quiet working wardrobe; a deep berry colour might feel more like you; a tiny flower can bring an otherwise simple manicure to life. None needs a long extension to make sense.
This guide offers editorial styling suggestions for ordinary nail polish and naturally short nails. It does not rank products or claim a wear test. Start with one idea, adapt it to the nail surface you have, and leave yourself enough time to paint without rushing. For more inspiration, browse our Nail Art & Trends collection.
Start with the length you can comfortably live with
Think through a normal day before you save a reference photograph. Do you spend long stretches typing, play an instrument, put in contact lenses or wear close-fitting gloves? There may also be workplace rules about nail length or polish. Those practical details are more useful than trying to copy the exact proportions of somebody else’s hand. Choose a look that works inside your existing routine.
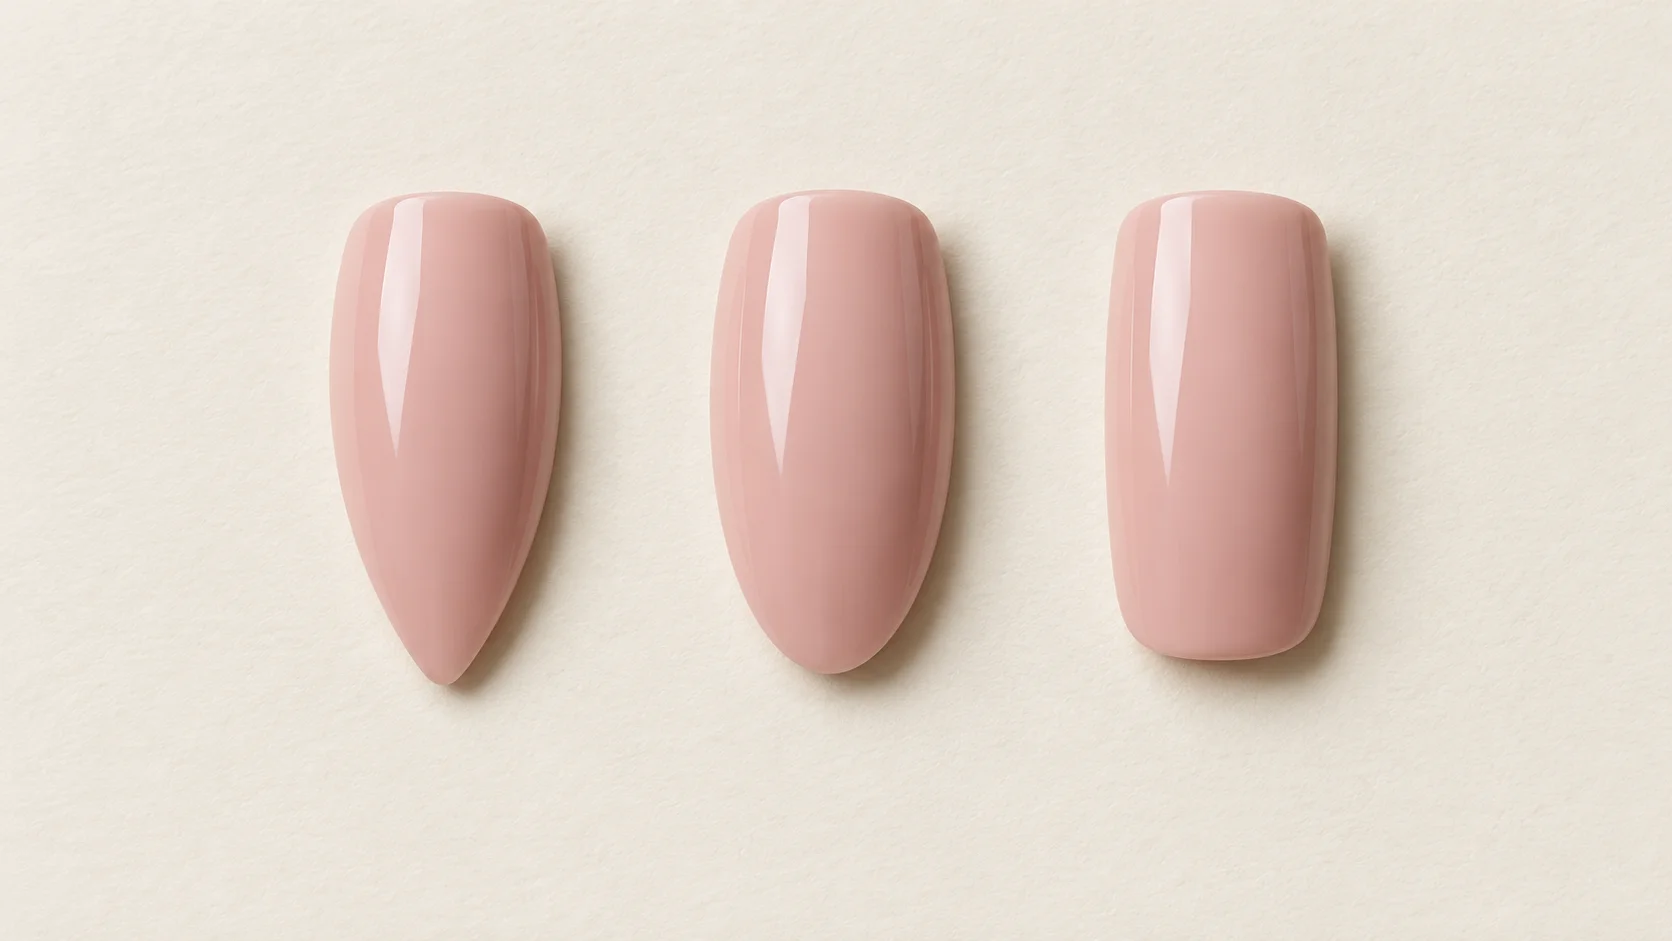
Look at the free edge, the small section extending beyond the fingertip. If there is very little of it, use decoration on the nail surface rather than trying to create a dramatic pointed outline. A short rounded edge or a softly squared edge gives you a simple starting shape. In its nail-shape guide, OPI describes squoval as a combination of square and oval and discusses it as an option for short nails. That is a shape description, not a rule about which hands are attractive.
Try to make the set feel coherent rather than forcing every nail to look identical. Nail beds differ, even on the same hand. You can repeat a colour or motif while allowing the painted edge to follow each nail. If one nail is shorter than the others, a simple all-over colour avoids drawing an unnecessary visual line across that difference.
Choose one focal point for the design
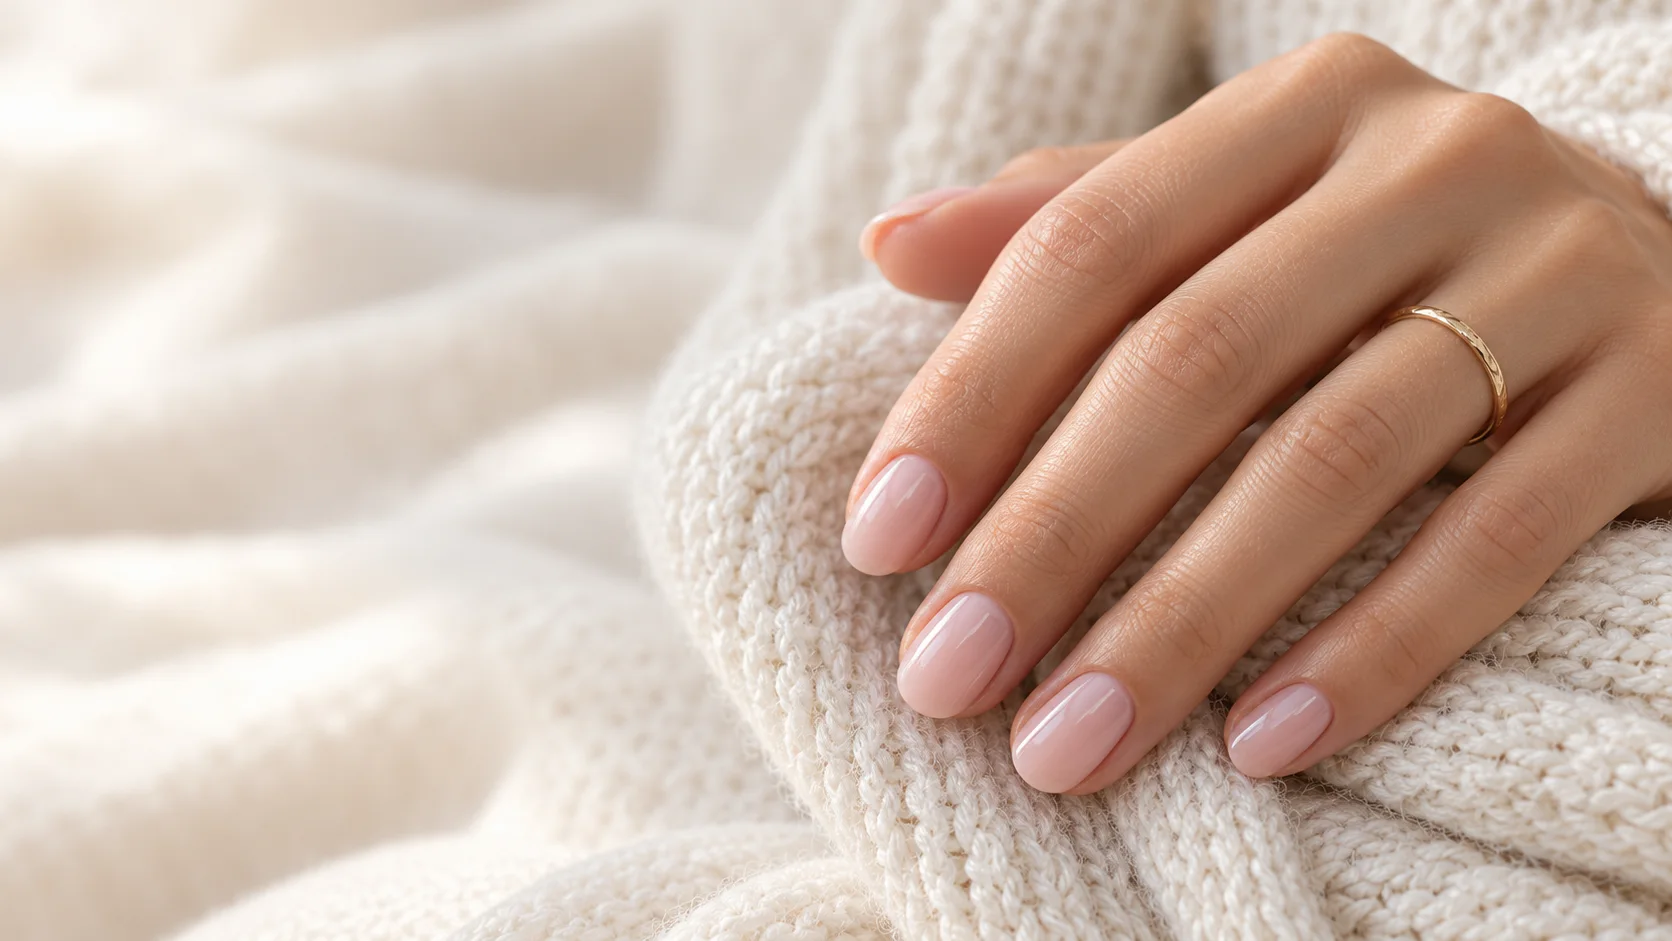
When the painting area is small, deciding what matters most can make a design easier to read. Pick the tip, the centre, a corner or one accent nail. This is a composition choice: you are giving the eye somewhere to settle. It does not mean short nails must be plain. A vivid red manicure has a strong focal point already, while a transparent-looking pink can make a small dark dot stand out.
A slim French tip
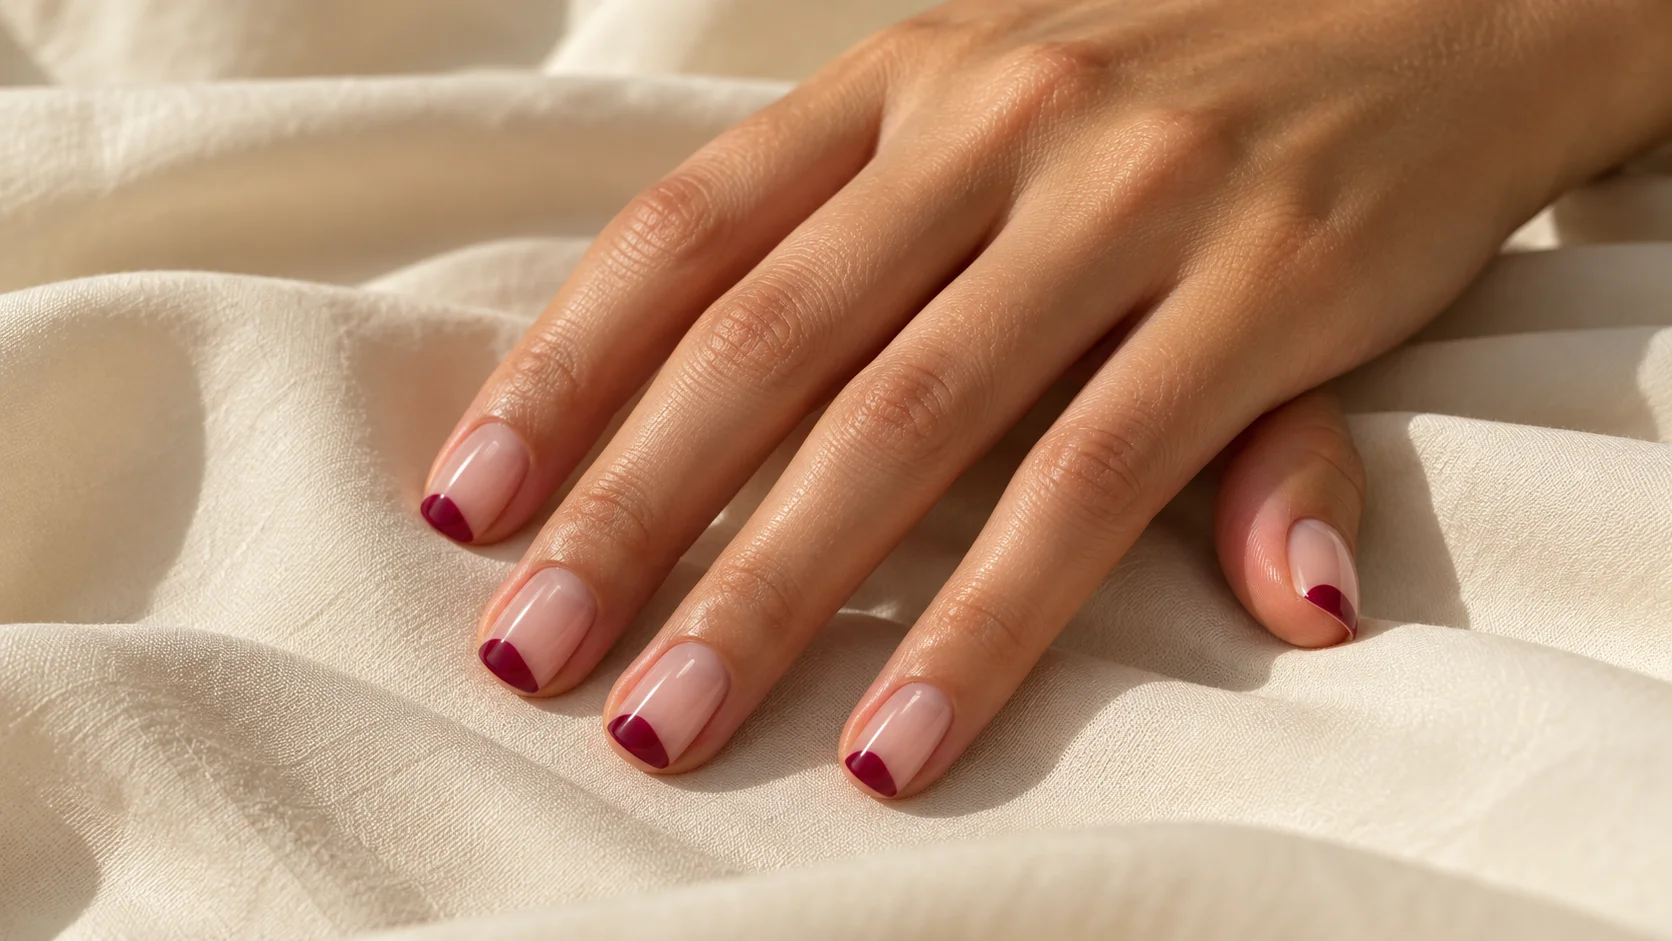
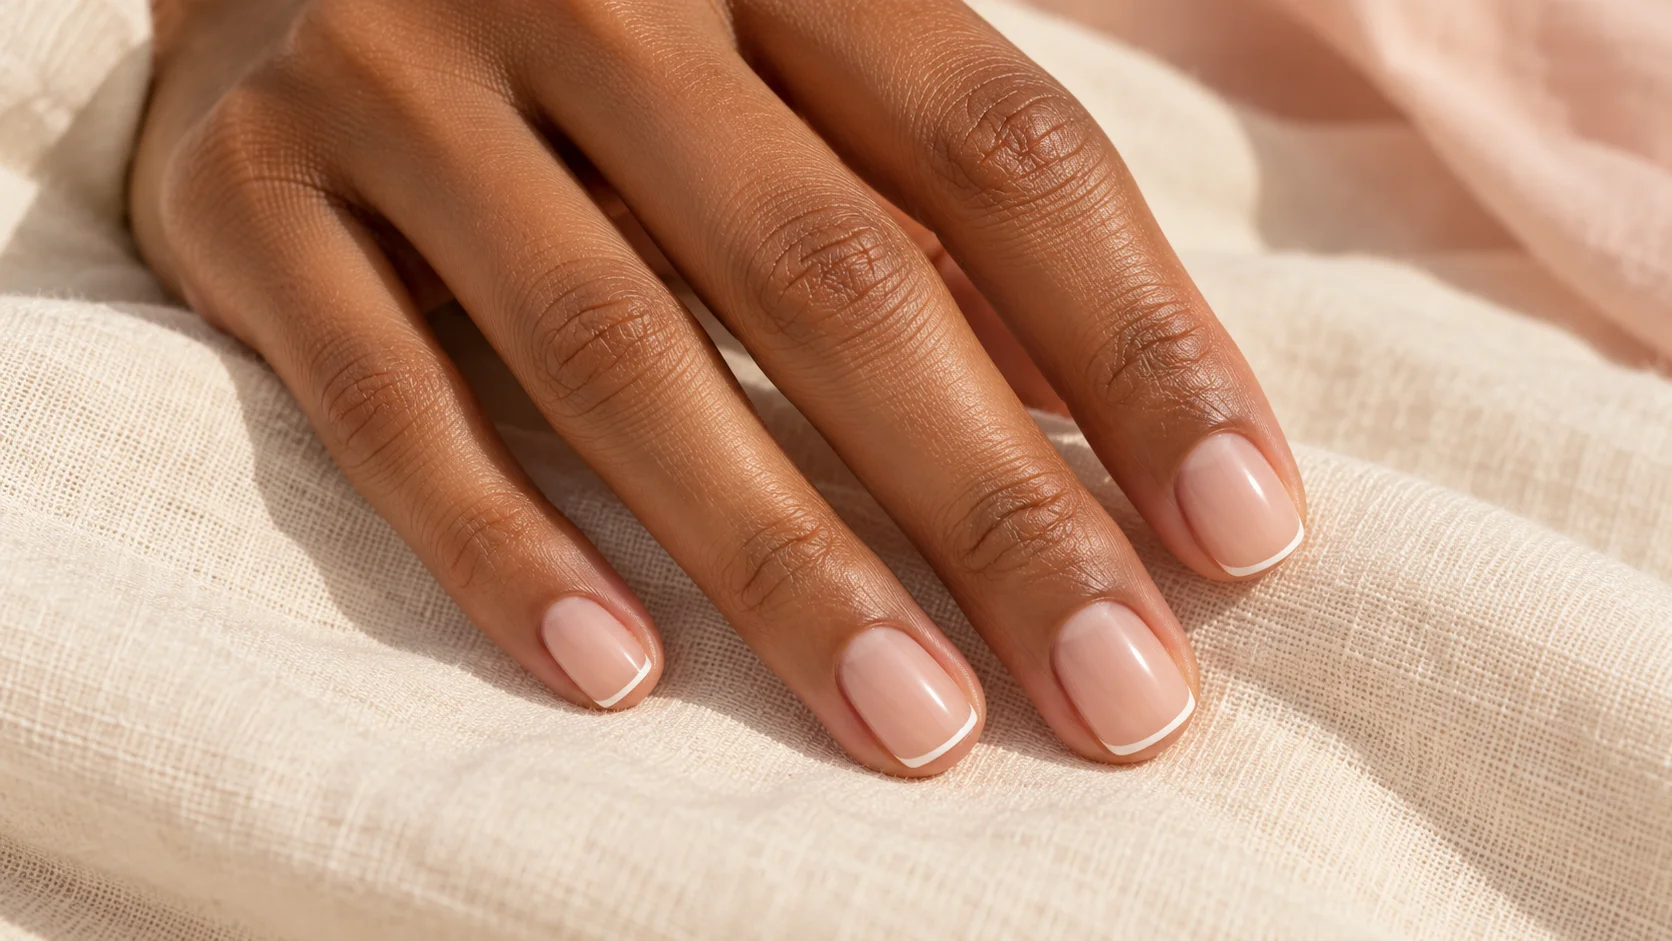
Keep the band in proportion to the nail. Before painting every finger, try the line on one nail and hold your hand at a normal viewing distance. A band that looks delicate in a close-up can look quite different from across a table. Choose soft white for a familiar effect, or change just the tip colour to burgundy, chocolate or muted blue. You can also use a short diagonal corner rather than a full curved band.
A single dot or small pair of dots
Place one small dot in a deliberate position and repeat it. A dot near the centre of the nail feels different from one near a side edge. Leave visible space around it, and avoid adding another mark simply because the nail seems unfinished. If a perfect circle is frustrating, make the slightly irregular shape part of the design. Matching placement can do more for the overall look than identical diameter.
One accent nail
Choose a single nail for a flower, curved line or contrasting patch, then paint the others in one related colour. That gives a detailed motif more breathing room. The accent can be on any finger; there is no requirement to put it on the ring finger. If you want to practise a new design, an accent also limits how much intricate painting you need to repeat with your less confident hand.
Build a colour palette you actually enjoy
Start with a colour you already like wearing and add one companion. Cream and berry, pale pink and brown, or navy and a soft grey are possible combinations, rather than universal prescriptions. You can make a quiet manicure feel more playful by keeping the base consistent and changing the colour of the small detail. Alternatively, repeat the same detail in a series of related shades.
If you are choosing between sheer and opaque finishes, think about the effect you want. A sheer finish allows more of the natural nail to remain visible; an opaque colour creates a more solid block. Judge a polish using its own application instructions and a real swatch where available. The illustrative colours on this site are mood references, not verified matches to a named bottle. A screen cannot settle how a particular shade will look on your hand.
| Design | Visual focus | Adaptation for a small nail | Planning note |
|---|---|---|---|
| Slim French | The nail tip | Reduce the width of the painted band | Test the curve on one finger first |
| Single dot | One small mark | Keep clear space around the dot | Repeat the placement across the set |
| Accent flower | One detailed nail | Use fewer petals or a smaller motif | Keep surrounding nails simple |
| Two-colour corner | A diagonal edge | Paint only a small corner | Choose colours with visible contrast |
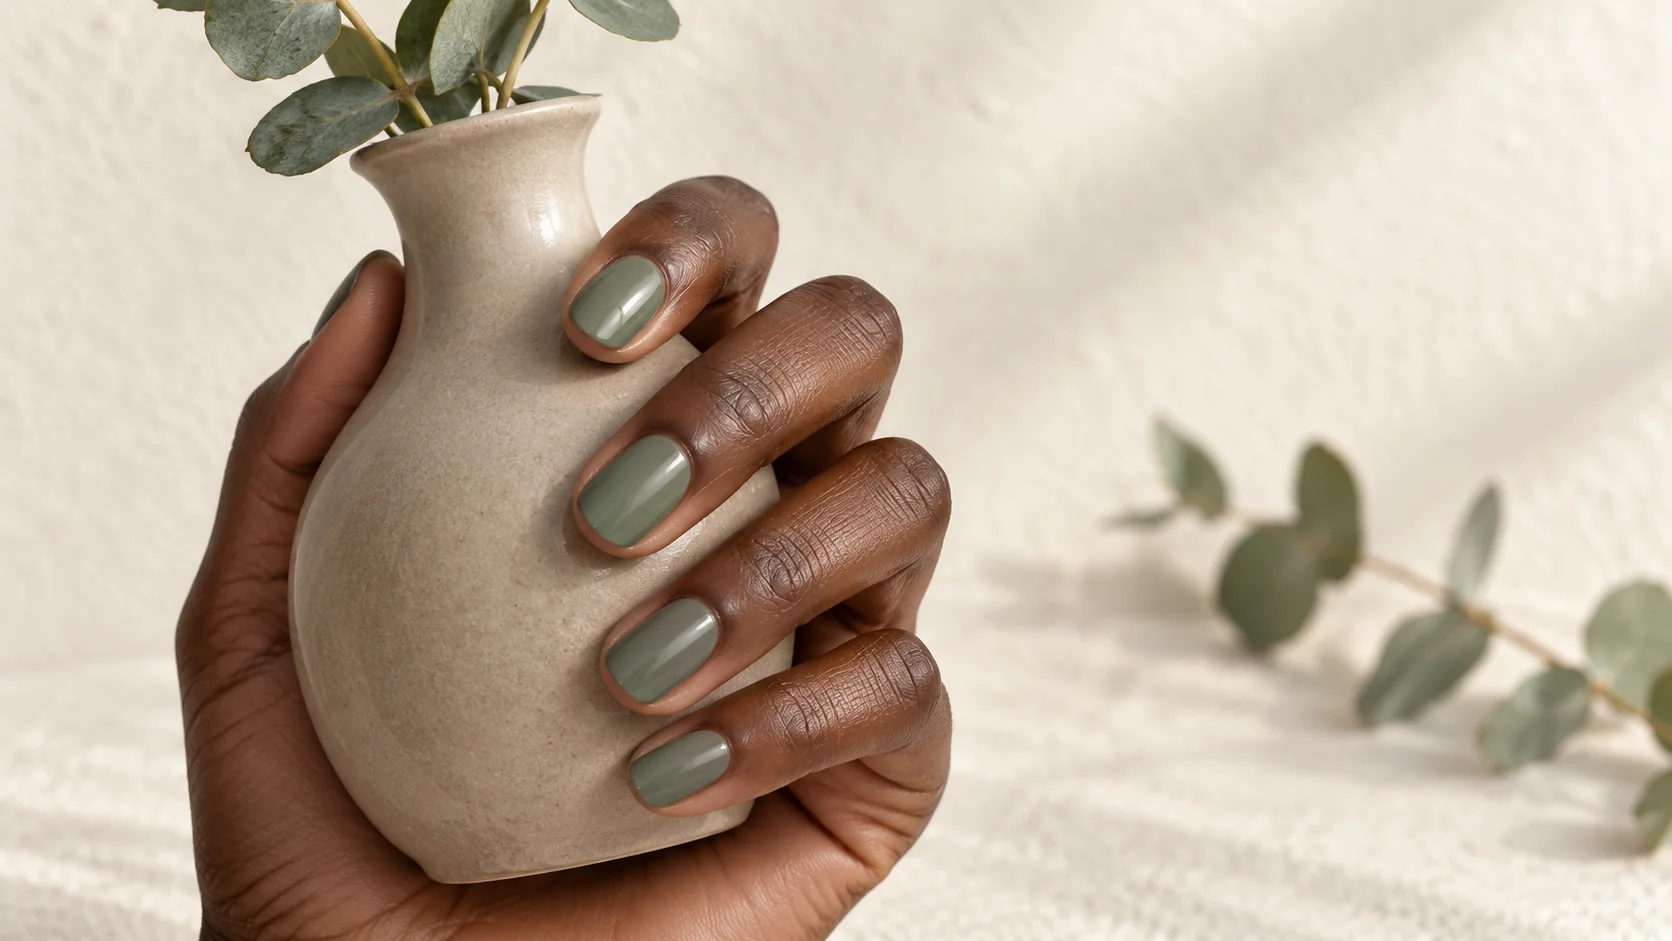
| One-colour manicure | The overall colour | Let the existing shape carry the look | Useful when you do not want detailed painting |
Translate a reference instead of copying every detail
A photographed manicure often has more space than yours, and its lighting, camera angle and editing may change the impression. Identify the part you love before translating it: perhaps it is the colour pairing, a curved line or the contrast between a plain nail and a patterned one. Preserve that idea and simplify the rest. A large floral arrangement can become one flower; a dense geometric pattern can become a single diagonal division.
Make a small plan for both hands. Write down the base colour, the detail colour and the fingers that will carry the motif. This avoids arriving at the final nail with a different idea and an awkwardly mixed set. If you are visiting a salon, show the reference alongside your current nails and ask what can realistically fit. A useful conversation is about adaptation, not an assurance that every design will look identical on every person.
Your three-part design plan
- Choose the canvas.
Set a comfortable length and identify the space you have for decoration. - Choose the focus.
Pick a tip, dot, corner or accent nail. Keep one idea clearly visible. - Choose the palette.
Repeat a base and a detail colour, then review the whole hand before adding more.
Keep nail care separate from decoration
A decorative finish does not repair a sore or changing nail. The American Academy of Dermatology’s nail-care advice includes keeping nails clean and dry, smoothing snags and avoiding cutting away the cuticle. It also advises against using nails as tools. These are sensible boundaries when planning a manicure: removing extra skin or repeatedly filing the surface is not a shortcut to a more elegant design.
If a nail changes colour or shape without an obvious explanation, or the surrounding skin becomes sore, red, swollen or warm, the NHS advises speaking to a GP. Pause cosmetic experimentation while you get advice. Our design suggestions are for choosing a look, not diagnosing a nail condition or recommending a treatment.
Your next step
Choose one of the five starting designs in the table and describe it in a single sentence. For example: “A sheer pink base with a small berry dot in the same position on each nail.” Paint one nail, look at it in ordinary light and decide whether you want the detail smaller, larger or simpler. A short manicure can feel considered without becoming a complicated project.
For the related design decisions, compare Almond, Oval or Squoval: A Visual Guide to Nail Shapes, Negative Space Nail Art That Works on Short Nails and Micro French Nails: Choosing Tip Width, Shape and Colour. For the practical details, use Choosing a Comfortable Nail Length for Work, Sport and Hobbies.
Common questions
Can I wear a French manicure with almost no free edge?
You can paint a narrow tip effect on the visible nail surface rather than relying on a long white edge. Try a very slim curved line or a small diagonal corner. The aim is a proportion you like, not an exact copy of a longer manicure. Practise on one nail before repeating the set.
Do short nails have to be painted in pale colours?
No. Pale, dark and bright colours are all design choices. A deep berry or a strong blue can be the main feature of a short manicure. If you want additional art, decide whether the detail should blend in or contrast clearly, then choose its colour accordingly.
How can I adapt a complicated reference photograph?
Identify the element that made you save it: the palette, a single motif, the tip shape or the balance between plain and decorated nails. Keep that element and remove details that compete for space. A cluster of flowers might become one flower, for example, without losing the idea you liked.
Should every nail have the same design?
Only if that is the effect you want. Repeating one colour or one small mark can make a set feel coherent, while an accent nail gives a larger motif its own space. Plan both hands together so that a deliberate difference does not turn into an accidental mixture of unrelated ideas.
Which design is a useful starting point for an unsteady painting hand?
An all-over colour or a single small dot gives you fewer detailed marks to repeat. Try your chosen detail on one nail first, including with your less confident hand. This is a practical starting suggestion rather than a tested ranking of which technique is easiest for everybody.
What if one nail is much shorter than the others?
Work with the space on that nail instead of forcing an identical motif onto it. You could keep it in the base colour or reduce the detail there. A consistent palette can connect the manicure even when the nail lengths differ. Do not file into sensitive skin simply to make the set match.
Are the pinks in the illustration exact product shades?
No. The illustration shows a general soft-pink manicure concept and does not reproduce verified swatches from a named polish. To choose a real product, consult the manufacturer’s shade information and a reliable physical swatch where available. Your screen, lighting and the opacity of application can affect what you see.
Does this guide tell me how long a manicure will last?
No wear testing was carried out for this guide, so it does not give a promised number of days. Its purpose is to help with design, proportions and planning. Follow the application and removal directions for the actual polish or system you choose rather than treating a styling suggestion as a performance claim.
Sources and further reading
- OPI — How to find the best nail shape for your hands — checked 2026-10-21
- American Academy of Dermatology — 11 dermatologists’ tips for healthy nails — checked 2026-10-21
- NHS — Nail problems — checked 2026-10-21