Micro French Nails: Choosing Tip Width, Shape and Colour
Plan a fine French tip around your nail length, preferred contrast and a line you can repeat comfortably.
Archive edition: 2026-04-28 · This is an editorial allocation, not the first-publication date.
Key takeaways
- Choose the amount of visible tip relative to your nail, rather than chasing a fixed measurement.
- A pale line and a dark line can feel very different even when they occupy the same space.
- Keep the base, tip width and curve consistent before adding extra decoration.
- Use the directions for your actual polish system; this guide is not a gel-curing tutorial.
In this guide
- Key takeaways
- Decide what you mean by micro French
- Read the shape you already have
- Choose contrast before choosing decoration
- Make one repeatable line
- Build your design in three decisions
- Use colour without making the design busy
- Write a useful salon reference
- Know when to simplify
- Common questions
- Sources and further reading
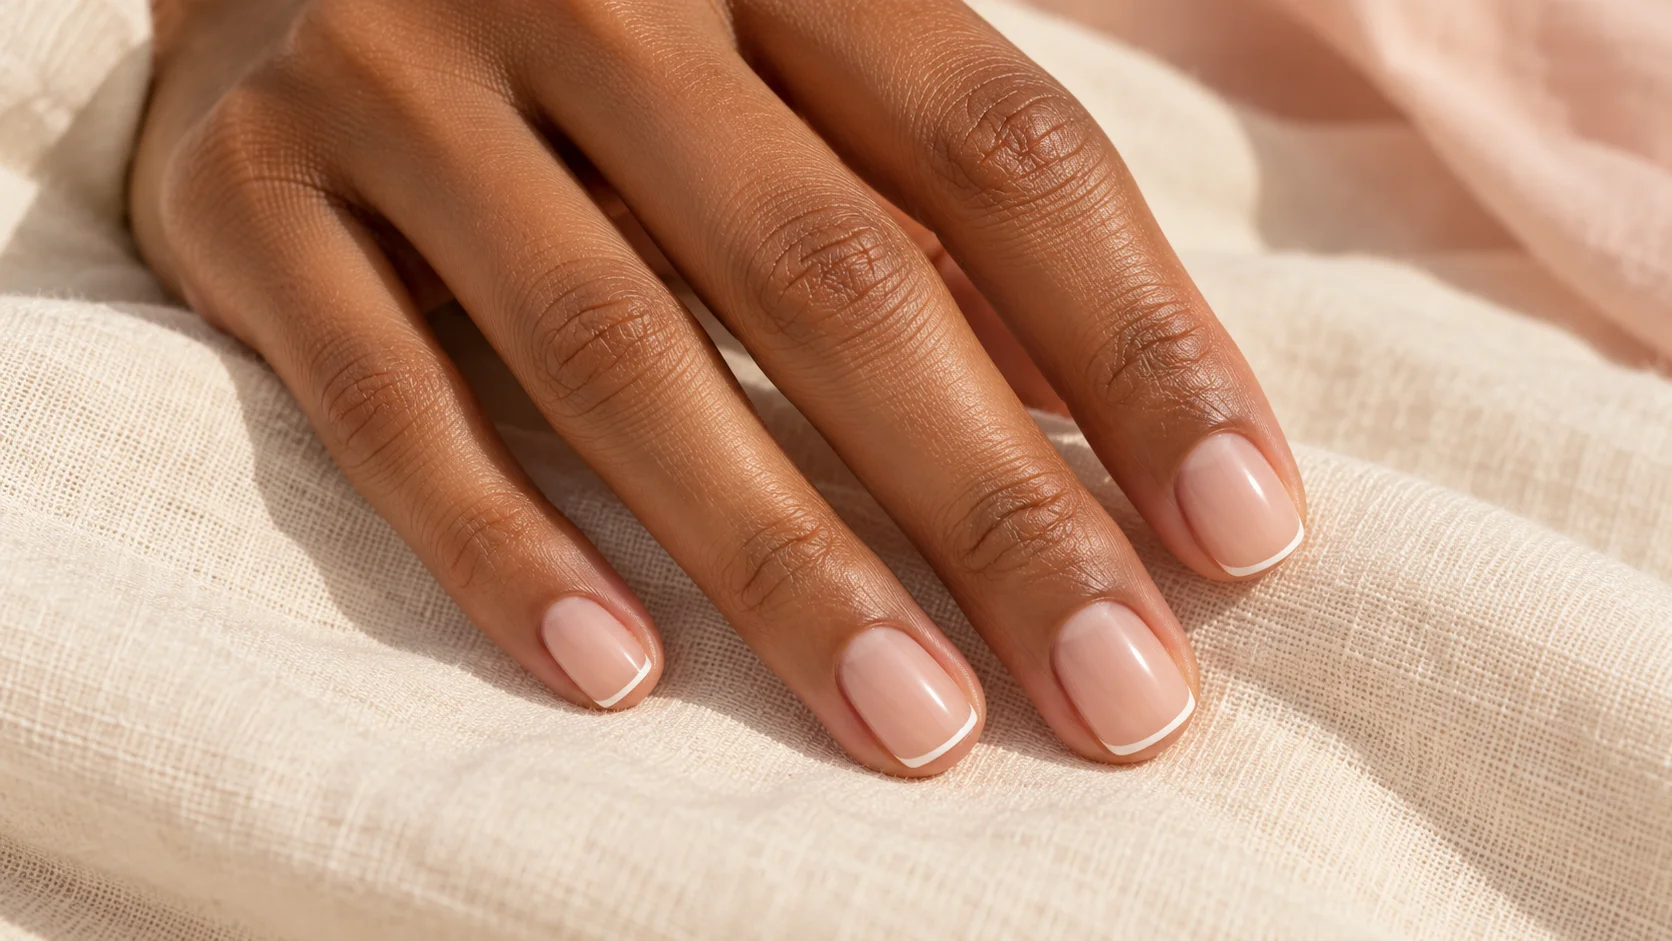
A micro French manicure puts most of its detail at the very edge of the nail. That makes it a useful design when you want something more deliberate than a plain sheer colour, but still want a lot of quiet space. The important choice is the relationship between the coloured line and the nail beneath it. A narrow line on a small nail can have plenty of presence; a line that disappears in a close-up photograph may be unnecessarily difficult to reproduce.
This is a planning guide for ordinary nail polish, with styling suggestions you can adapt yourself or discuss with a nail professional. The colour combinations are editorial ideas, not tested product pairings. For more ways to organise a manicure around a small canvas, browse our Nail Art & Trends collection.
Decide what you mean by micro French
In its French manicure guide, Essie describes the micro version as a very fine line at the nail tip, rather than a broad contrasting section. That is a helpful visual distinction, but it does not establish a universal width. Your available nail surface and the contrast between the colours matter more than whether a line meets an exact number of millimetres.
Make the main decision before choosing a bottle: do you want a line that is immediately visible across a table, or one that becomes apparent when someone looks closely? Neither is more correct. The first calls for stronger contrast or a slightly more substantial line. The second might use ivory over a pale base, or a muted rose tip rather than brilliant white. Describe the distance at which you want the detail to register.
Read the shape you already have
A rounded outline offers a different route for the line from a flatter one. You do not need to force all your nails into the shape of a saved photograph. OPI describes squoval as a combination of square and oval; that vocabulary can help explain a flatter tip with softened corners. It is a shape description, not a rule about which hands are attractive.
Look at both hands together, with your fingers relaxed. If one nail is shorter, decide whether you are happy to let its design be a little different. A consistent visual weight across the set can look more intentional than identical dimensions on nails of different sizes. On the shortest nail, a quieter tip colour may be easier to integrate than a heavy line added solely to match its neighbours.
Keep preparation gentle. The American Academy of Dermatology advises keeping cuticles intact and smoothing snags. A narrow painted border is not a reason to remove living skin or pursue a perfectly uniform outline at any cost.
Choose contrast before choosing decoration
Imagine the same fine line in three colours: ivory, rosewood and black. The proportions have not changed, yet the dark outline is likely to become the main feature of the design. Use that difference deliberately. If your first attempt looks too bold, the answer may be a softer colour relationship, rather than an even smaller brush or a more complicated technique.
A translucent base leaves some natural variation visible. A more covering base gives the line a more uniform background. Neither needs to match your skin exactly. Try describing the overall combination as warm, cool, rosy, beige or neutral, then compare it with clothing you actually wear. Looking at your hand beside a familiar sleeve is often more useful for a personal styling decision than deciding whether a shade fits an online category.
| Your priority | A design to consider | What to check first |
|---|---|---|
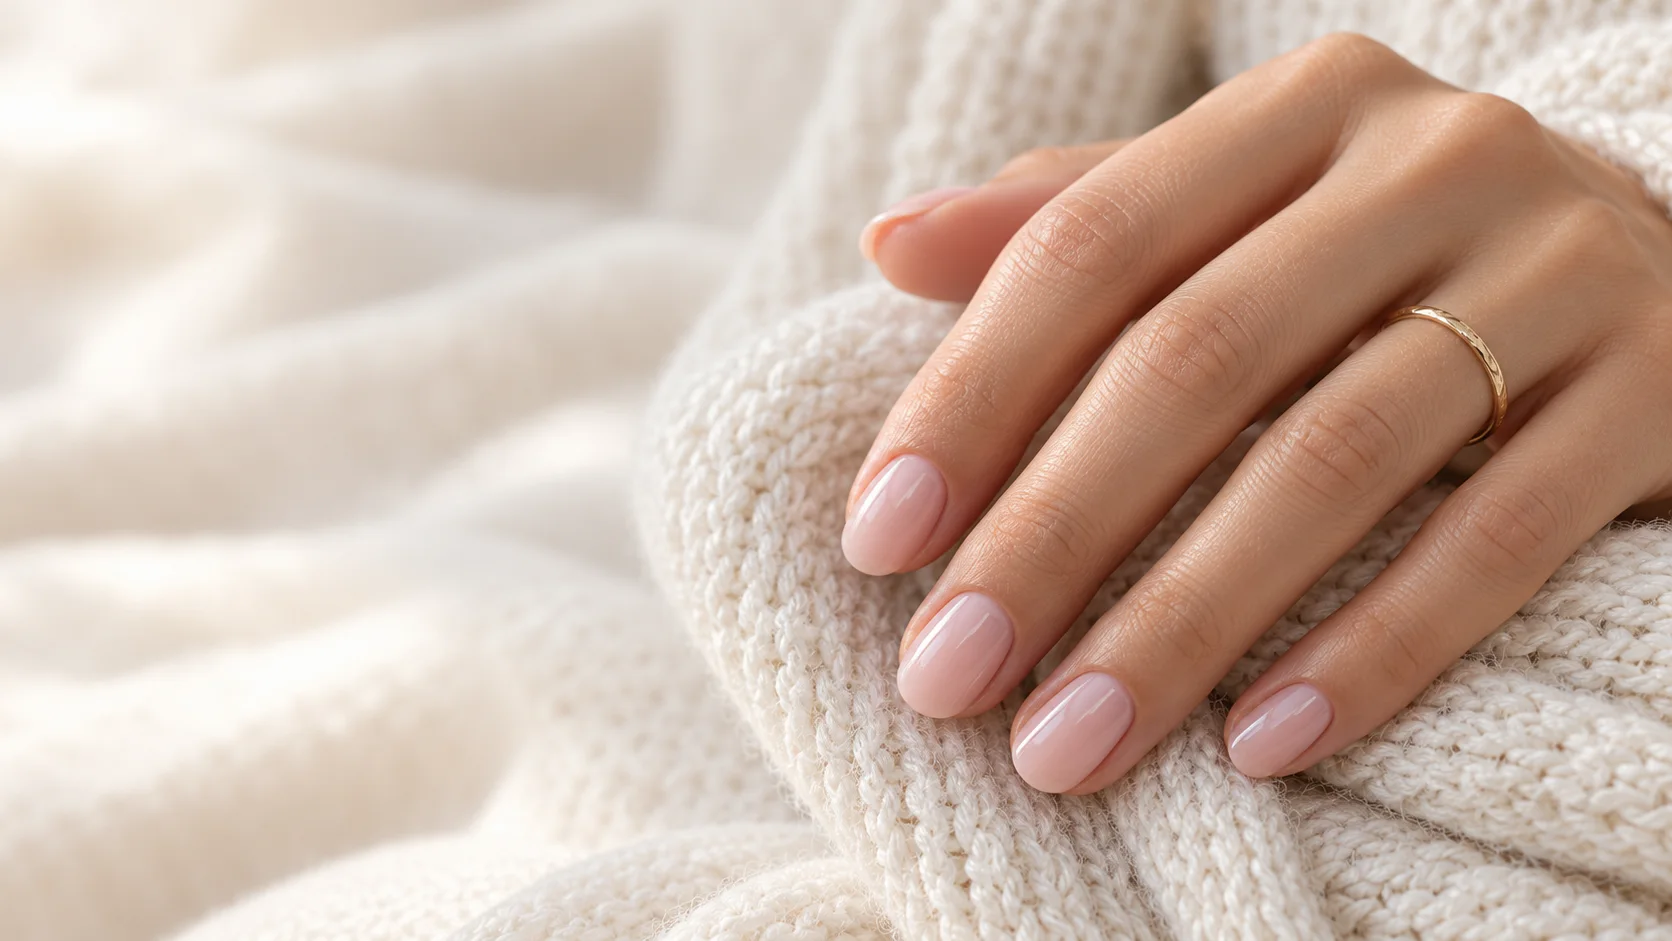
| Barely visible detail | Sheer pink base with an ivory edge | Can you still see the line in ordinary daylight? |
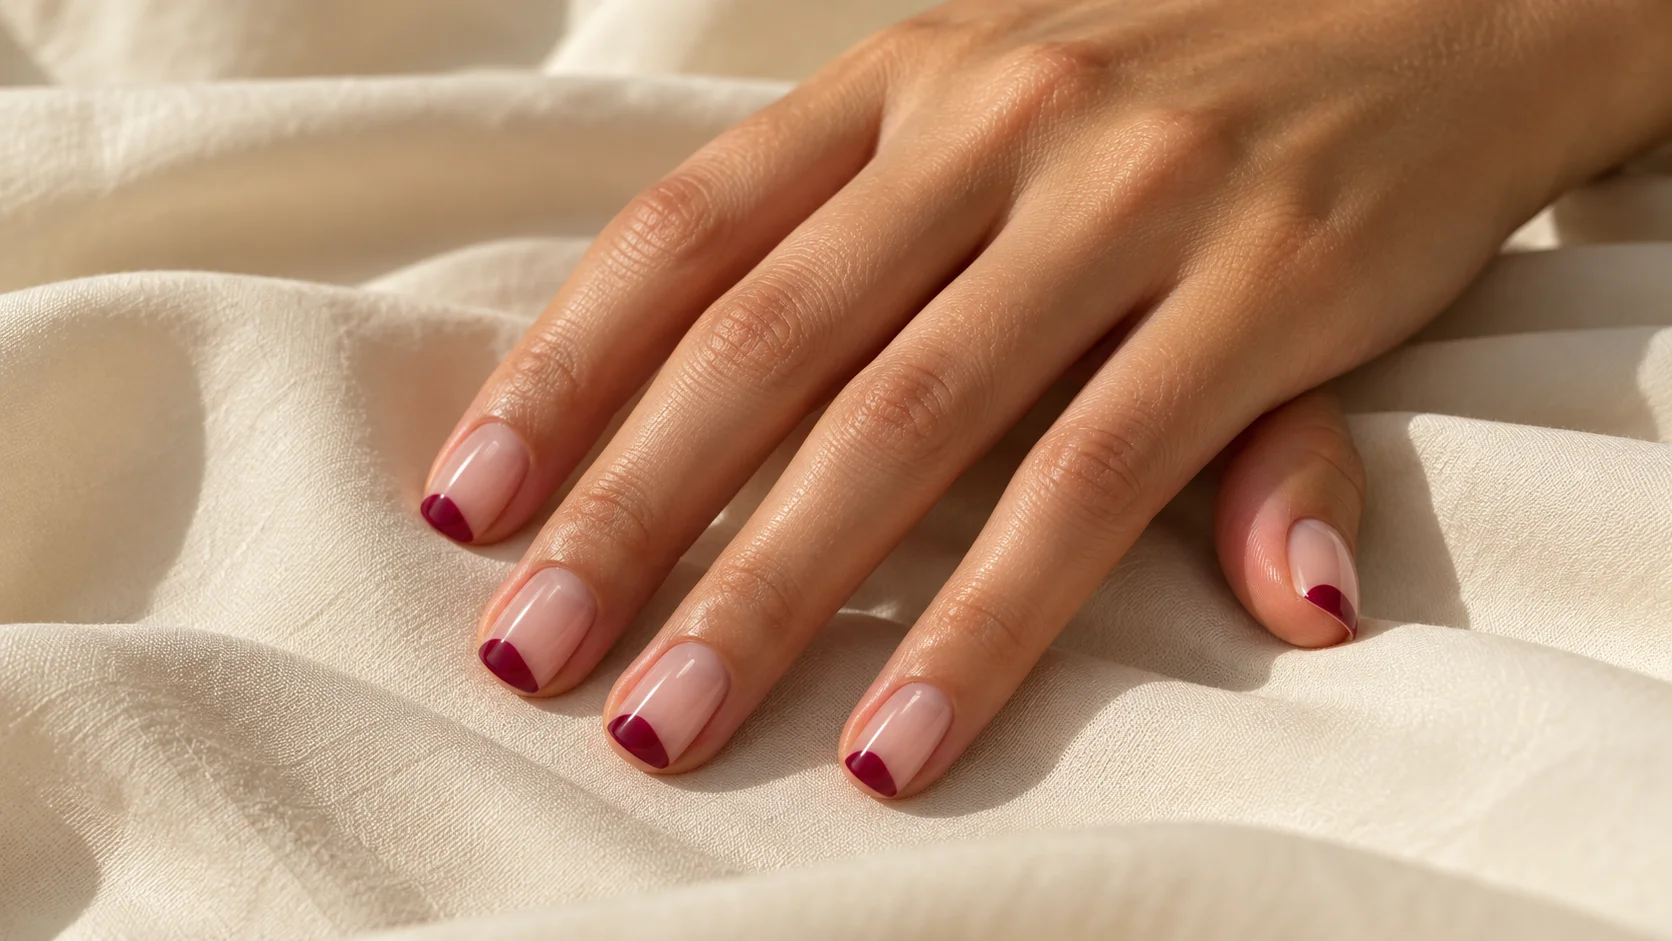
| A crisp outline | Quiet neutral base with a dark berry tip | Does the contrast feel balanced on the shortest nail? |
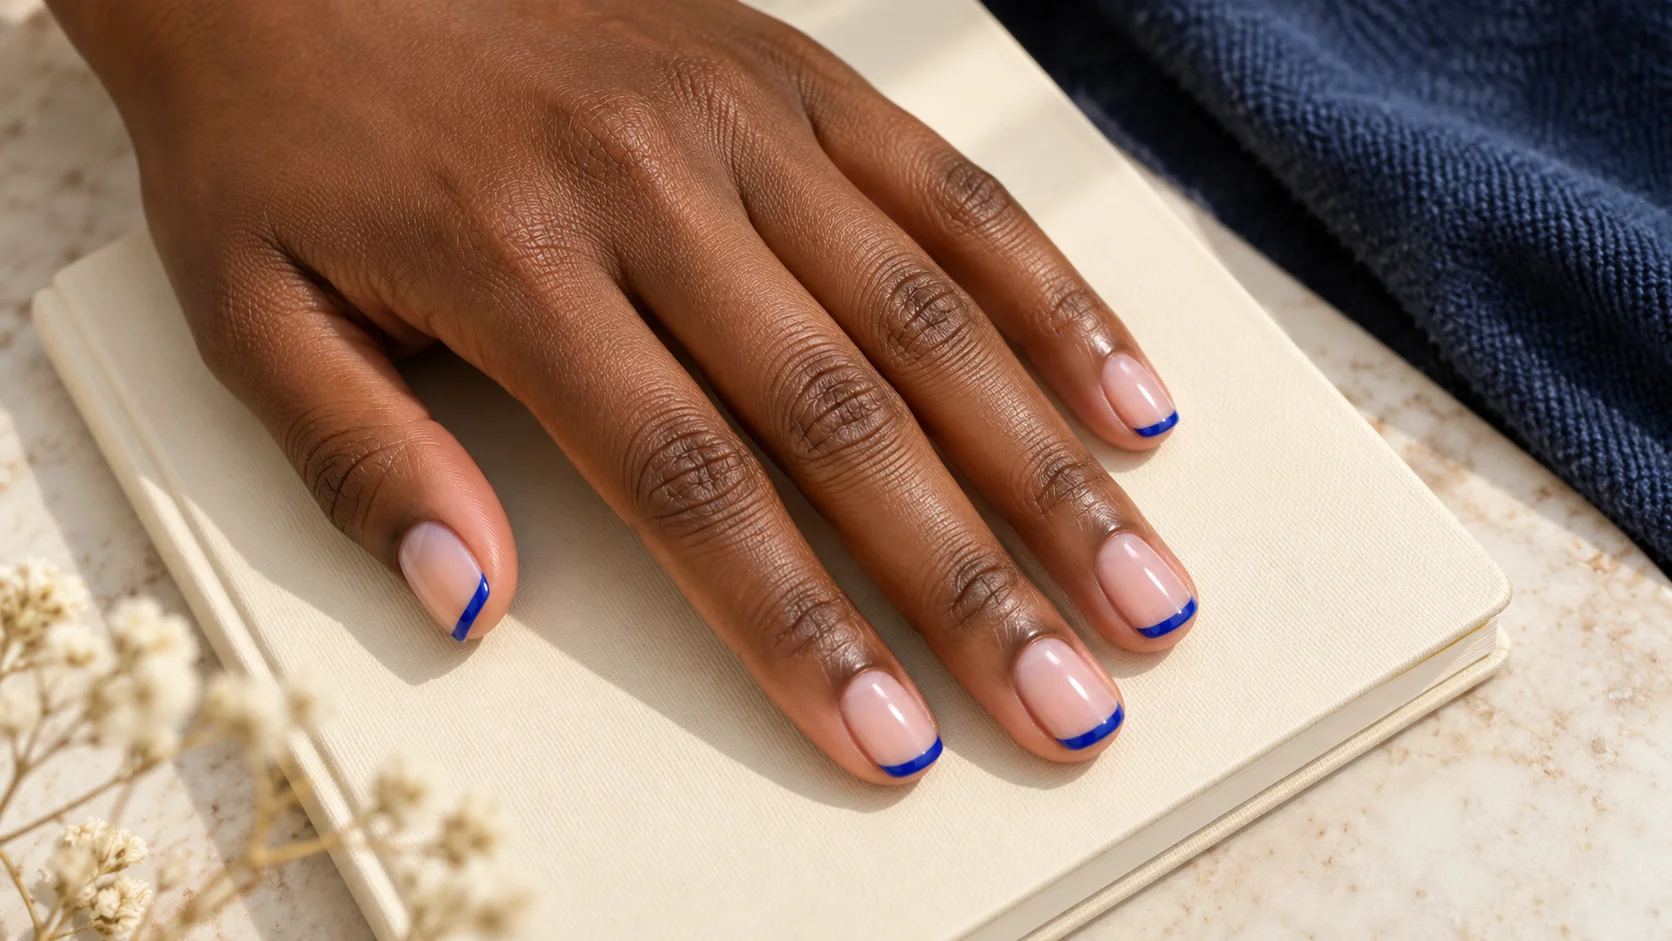
| A small colour accent | Clear-looking base with muted blue tips | Do you want blue on every finger or just one accent? |
| A softened geometric look | Flatter tip line with gently rounded corners | Does the line follow the existing outline comfortably? |
The table is a set of design options, not a performance comparison. None promises longer wear, stronger nails or an exact result with a particular brand. If you are trying a new combination, make a small sample before committing to the whole manicure.
Make one repeatable line
A useful practice exercise is to draw several nail outlines on paper and mark a centre point and two ends of the proposed tip. Change only the line width between drawings. This lets you decide what you like before working with wet polish. It also reveals whether your reference depends on a particularly deep curve or simply a strong colour contrast.
Essie’s French manicure instructions use a fine detail brush for the smile line. For your own manicure, follow the application and drying instructions of the products you have chosen. Start with a manageable amount of polish and a hand position you can hold comfortably. Treat the first nail as a design sample, rather than a commitment to finish ten identical tips immediately.
Once the sample is ready to assess, look at it with your hand resting naturally. Rotate it slightly and check both corners. If you want a change, decide whether the issue is width, curve or contrast. Altering all three at once makes it difficult to know which adjustment helped. A simple repeatable line is a better starting point than a design that only looks right from one carefully chosen angle.
Build your design in three decisions
- Set the outline.
Use the nail shape and comfortable length you have. - Set the contrast.
Choose whether the tip should whisper or clearly outline the nail. - Set the repetition.
Check one sample, then carry its visual weight across the set.
This sequence is an editorial planning tool, not a product application protocol.
Use colour without making the design busy
One coloured tip across all nails is the simplest variation to brief. A second option is to keep most tips neutral and give one nail a different colour. If you want a different shade on every finger, hold one other element steady: the same base, a similar level of softness, or a consistent line width. That gives the set a visible connection without requiring every colour to match.
For an occasion, take one small colour cue from an accessory rather than attempting to reproduce an entire outfit. A wine-coloured tip might echo a bag; a muted blue could connect with a shirt. These are suggestions to experiment with, not seasonal rules. You can also decide that plain white is the strongest version of the idea and stop there.
Write a useful salon reference
A reference image becomes more useful when you explain what you want to borrow. Write a short note such as: “I like the thin ivory edge and the sheer base, but I want my current short length.” Add whether you prefer a rounded or flatter line. This separates the actual design request from the model’s nail length, lighting and skin tone.
Ask which product system the appointment will use and how removal is handled. A photograph does not tell you whether the original manicure used ordinary polish, gel, extensions or editing. If you want ordinary polish only, say so while booking. The finish name describes the appearance; it does not supply the technical method.
Know when to simplify
If every correction makes the line wider, pause and reassess the design. You may prefer a conventional French tip, a single accent nail or a plain sheer manicure that day. A micro French is one option, not a test of patience or a requirement to keep repainting until the result resembles a close-up image.
Keep a note of the base, tip colour and proportions you liked. Photograph the finished design in ordinary light for your own reference, without changing its colour. Next time, you can make one intentional adjustment instead of starting the decision process again. The most useful result is a manicure you enjoy looking at and can describe clearly.
For the related design decisions, compare Short Nail Designs That Leave Room for Everyday Life, Blue French Tips: Navy, Cobalt and Powder Blue Ideas and French Ombré Nails: How the Fade Differs from a Classic French. For the practical details, use Sheer White vs Opaque White Polish: Finding the Finish You Want.
Common questions
How thin should a micro French tip be?
Choose a line that reads as a narrow edge relative to your own nail. There is no universal measurement in this guide. Compare the shortest and widest nails together, and aim for similar visual weight rather than an identical measured strip on every finger.
Can I plan a micro French manicure on very short nails?
Yes, the design can be planned around a short nail rather than a long white tip. Keep expectations tied to the available surface and comfortable length. If a fine border is difficult to place, a single accent or a plain sheer finish is another option.
Does the base have to be pink?
No. Pink is one familiar option, but a beige, rosy neutral or clear-looking base can also form part of the design. Choose the relationship between base and tip deliberately; you do not need a shade that exactly matches your skin.
Why does a dark tip look bolder than my white reference?
You may be responding to the stronger contrast rather than the width alone. Compare a softer tip colour before trying to make the line much smaller. Keep the shape and base consistent so that you can judge the colour change clearly.
Must all ten tips be exactly the same width?
The nails themselves may differ in size and shape, so identical measurements are not the only useful goal. Decide whether the set looks balanced with your hands relaxed. A slightly different line on a shorter nail can still belong to the same design.
What should I ask for at a salon?
Describe the length you want to keep, the base coverage, the tip colour and whether the line should be rounded or flatter. Bring a reference and identify the features you like. Also confirm the service type and removal process before the appointment.
Can I use a gel tutorial for ordinary polish?
Use instructions for the actual system you own. A visual design can inspire a different manicure, but gel-curing steps are not ordinary polish instructions. The appearance of the finished tip does not tell you which preparation, drying or removal routine applies.
What can I do if the line keeps getting wider?
Pause rather than continually correcting the same edge. Reconsider whether a conventional French tip or a simpler design would suit this attempt. For next time, practise the proportions on paper and make one sample before committing to the full set.
Sources and further reading
- Essie — How to do French nails at home — checked 2026-10-21
- OPI — How to find the best nail shape for your hands — checked 2026-10-21
- American Academy of Dermatology — Healthy nail tips — checked 2026-10-21