How to Build a Nail Inspiration Board Your Technician Can Use
Turn saved nail images into a short, specific brief that separates colour, shape, finish and practical constraints.
Archive edition: 2026-10-14 · This is an editorial allocation, not the first-publication date.
Key takeaways
- Main reference: choose the closest overall layout.
- Annotations: state what to keep from each supporting image.
- Full-hand map: include the thumb and both-hand arrangement.
- Priorities: separate essential features from optional accents.
- Consultation: confirm samples, service type, price, time and care instructions.
In this guide
- Key takeaways
- Begin with the result you want to wear
- Choose one main reference
- Use supporting images for one purpose each
- Describe colour without demanding a screen match
- Use movement for reflective effects
- Map the complete hand
- Separate priorities from optional details
- One board, five clear decisions
- Finish with a brief the technician can answer
- Common questions
- Sources and further reading
A useful nail inspiration board turns saved pictures into a decision your technician can discuss. It should show what you want to keep, what you are flexible about and what would make the manicure unsuitable for your routine. A small, annotated selection is often clearer than a long collection of images with conflicting shapes and finishes.
You do not need specialist design software. A phone album, a single page of notes or a paper sketch can work. The goal is a brief that separates colour, shape, coverage, pattern and finish, while leaving the technician room to explain what their available service can achieve.
Begin with the result you want to wear
Write one sentence before collecting more pictures. For example: “I want short nails with a soft pink base and one small berry detail.” This sentence is not the final design; it is a filter. A dramatic long chrome set may be beautiful, but it may not help answer that particular request.
Add the practical details you already know. Include your preferred length, whether you want raised decoration, any existing manicure that needs removal and the date of the appointment or event. State a budget or time limit if you have one, so the provider can discuss scope before work begins.
Keep personal preferences distinct from technical assumptions. “I prefer a smooth surface” describes an outcome. “Use this exact gel combination from a video” prescribes a method that may not suit the provider’s system. Bring the visual idea and let the professional explain the process they can offer.
Choose one main reference
Select the picture that comes closest to the overall result. It does not need to match every detail, but it should establish the basic direction. Make it the first image in the album or the largest image on the page so the technician does not have to guess which one takes priority.
Under it, write a short note such as “keep the soft colour and fine tip; use a shorter shape.” This separates the feature you like from the features you do not intend to copy. Without that note, a technician may reasonably assume the length or decoration is part of the request.
Avoid choosing a reference solely because the photograph is attractive. Lighting, jewellery and props can contribute to the mood without being part of the manicure. Look closely at the actual nails and identify the colour, coverage and layout you want to take away from the image.
Use supporting images for one purpose each
A second image might show the shape more clearly. A third might show the finish moving in light. Give each supporting image a specific job and remove duplicates that add no information. This keeps the board focused enough to discuss within a real appointment.
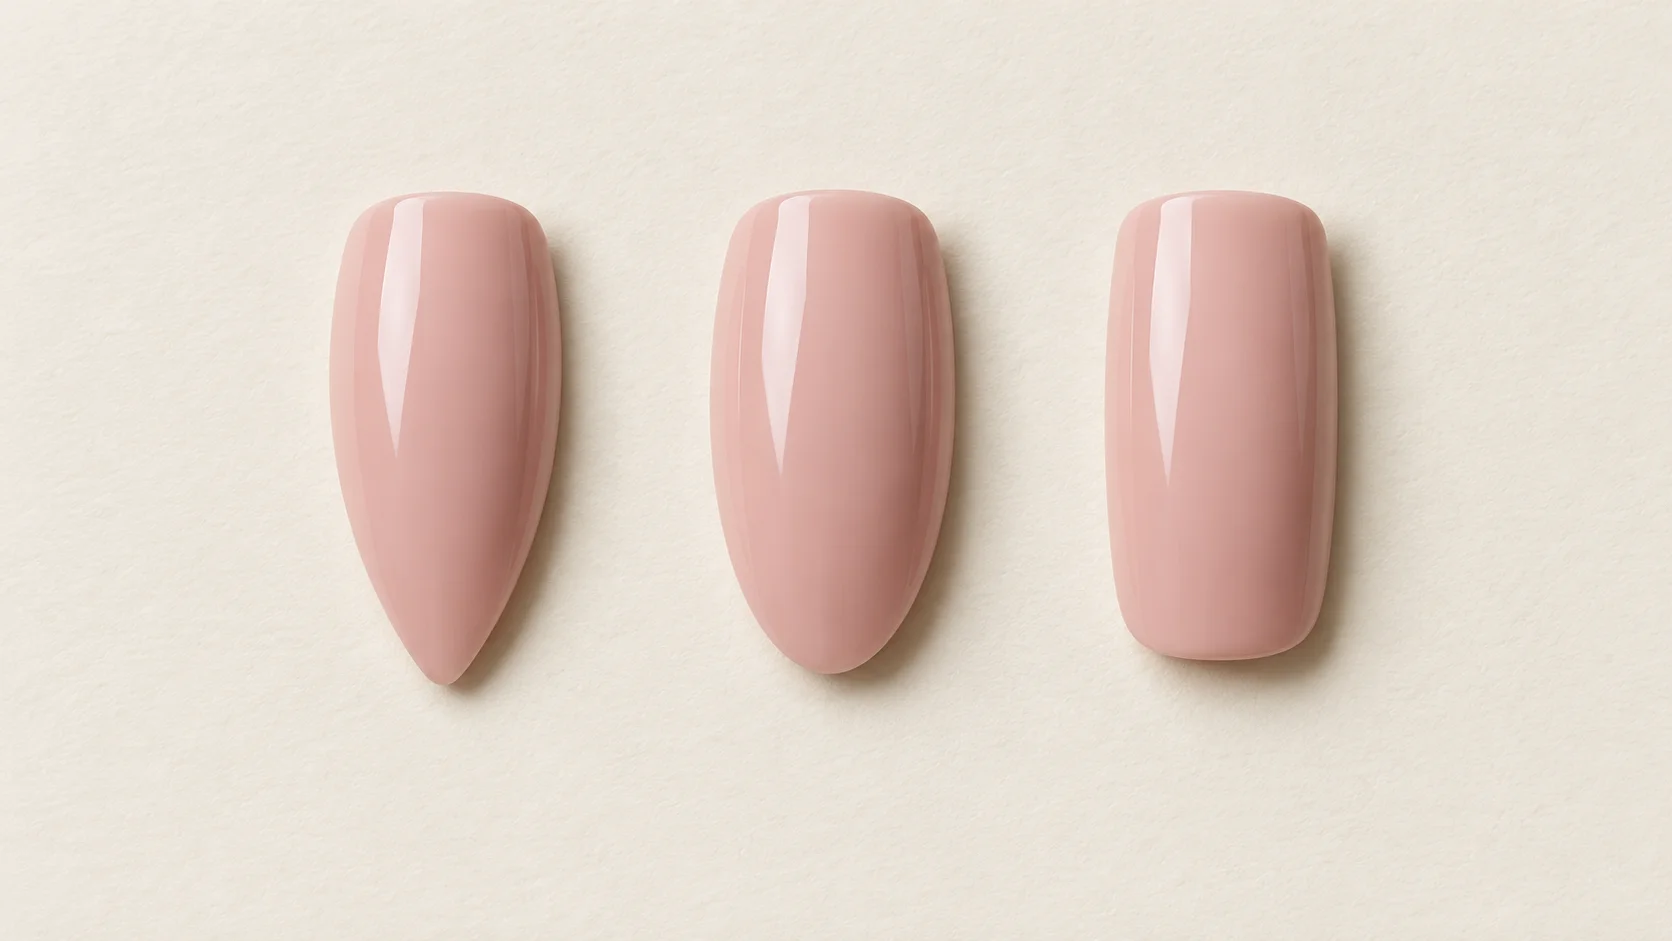
For shape vocabulary, OPI’s guide to nail shapes can help distinguish oval, almond and softly square outlines. Still include your intended length. A named shape alone does not show whether your reference requires more length than you want.
If a supporting image conflicts with the main one, resolve the conflict in the notes. Write “colour only” or “finish only” instead of expecting the technician to infer it. A board becomes useful when it makes priorities visible, not when it contains the greatest number of possibilities.
| Part | Useful evidence | Short annotation |
|---|---|---|
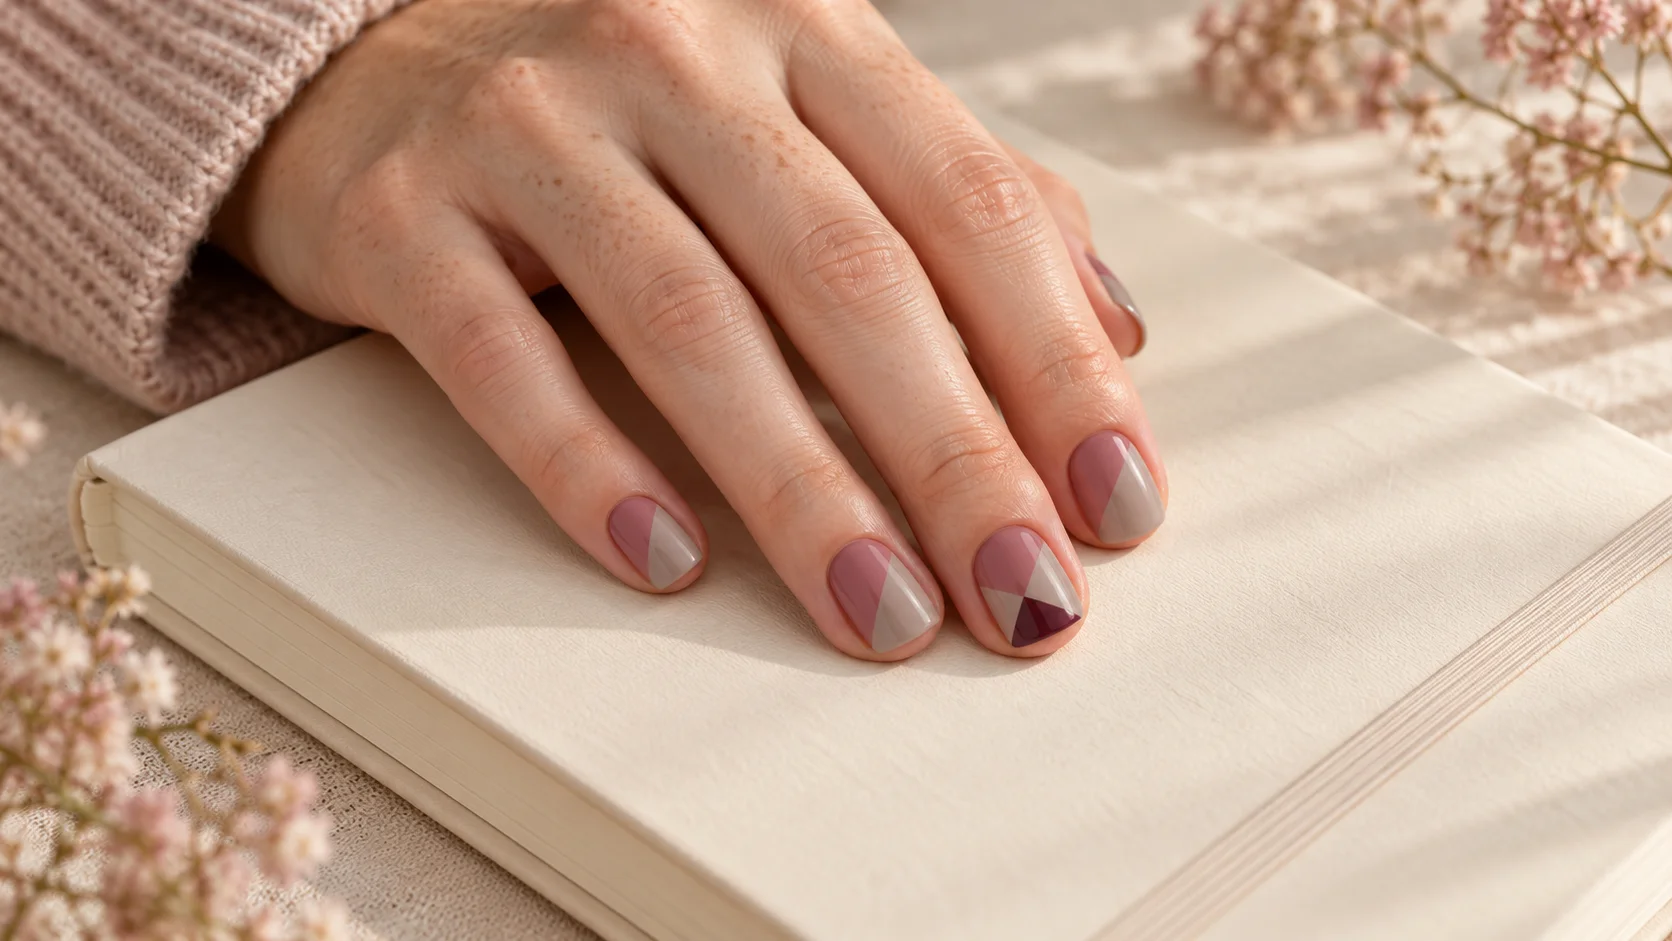
| Overall design | One complete-hand reference | Keep this layout, with fewer accents |
| Shape and length | A close view near the intended length | Short oval, with softly rounded edges |
| Colour and coverage | A sample or clear colour reference | Milky pink, with some natural nail visible |
| Finish | A moving sample where reflection matters | Broad magnetic glow, not a narrow stripe |
| Practical limits | A written note | No raised pieces; removal needed at booking |
Describe colour without demanding a screen match
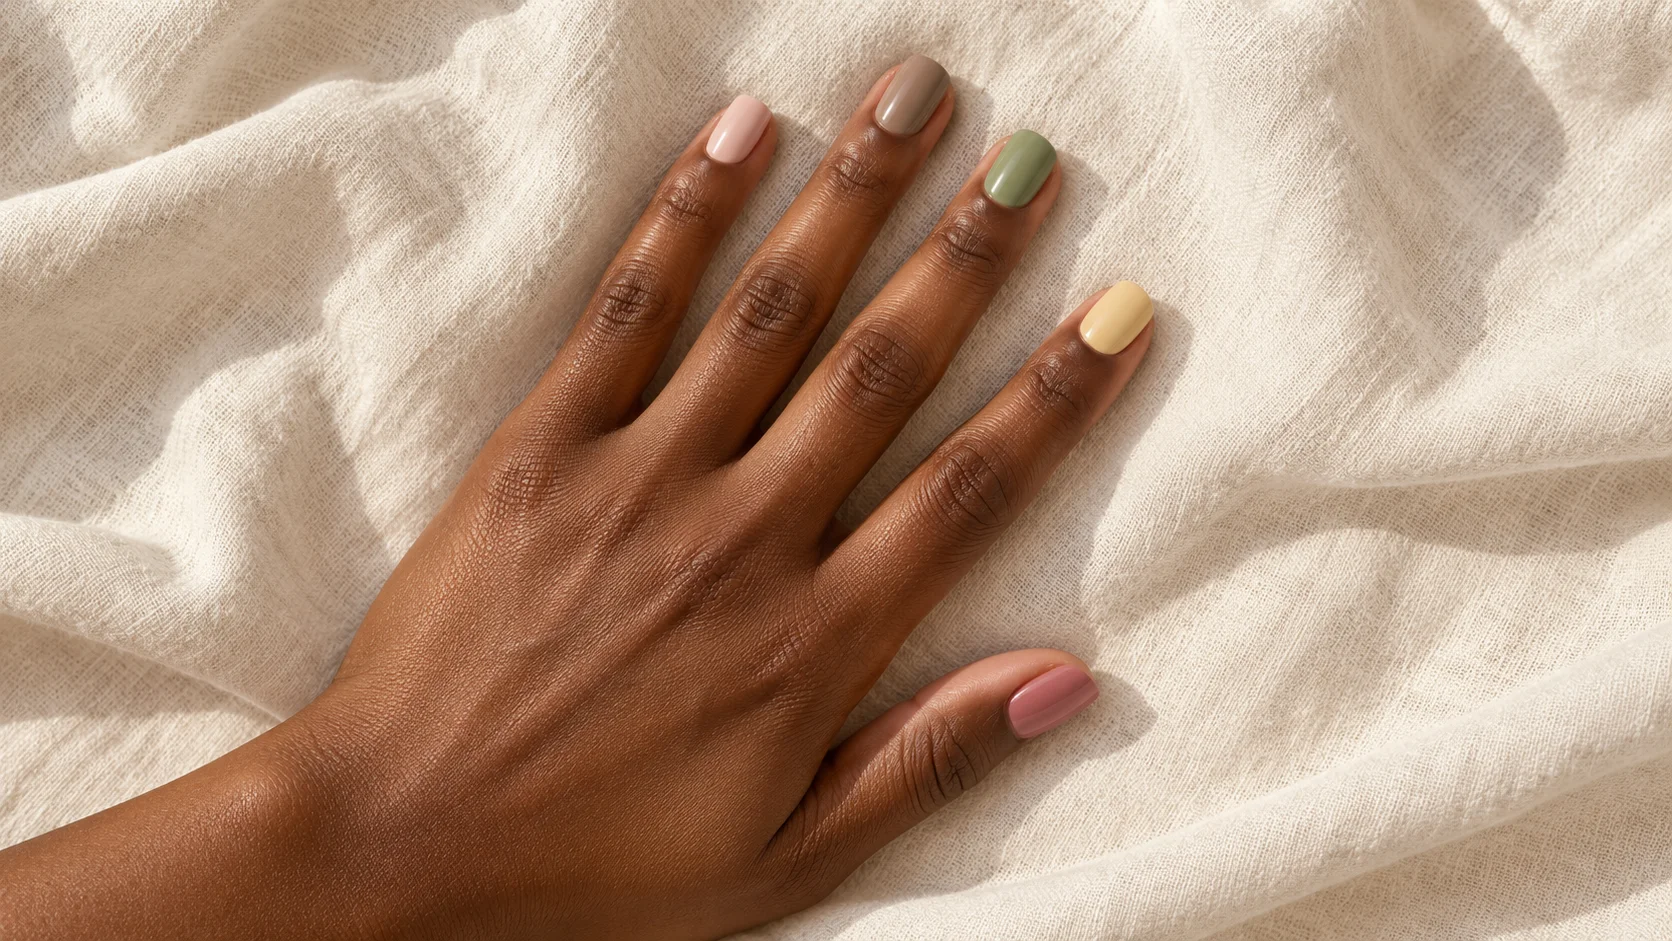
Record the colour direction in plain words: muted berry, pale pink, golden brown or blue-grey. Add whether you want it lighter, darker, warmer or more muted than the reference. Those comparisons are more useful than assuming every phone displays the same shade.
Where a product name is known, save the brand and range as well. A similar shade name can appear in different formats. OPI’s Work From Chrome, for example, is a metallic silver Infinite Shine polish. The word chrome in a saved note does not by itself identify a powder-based gel service.
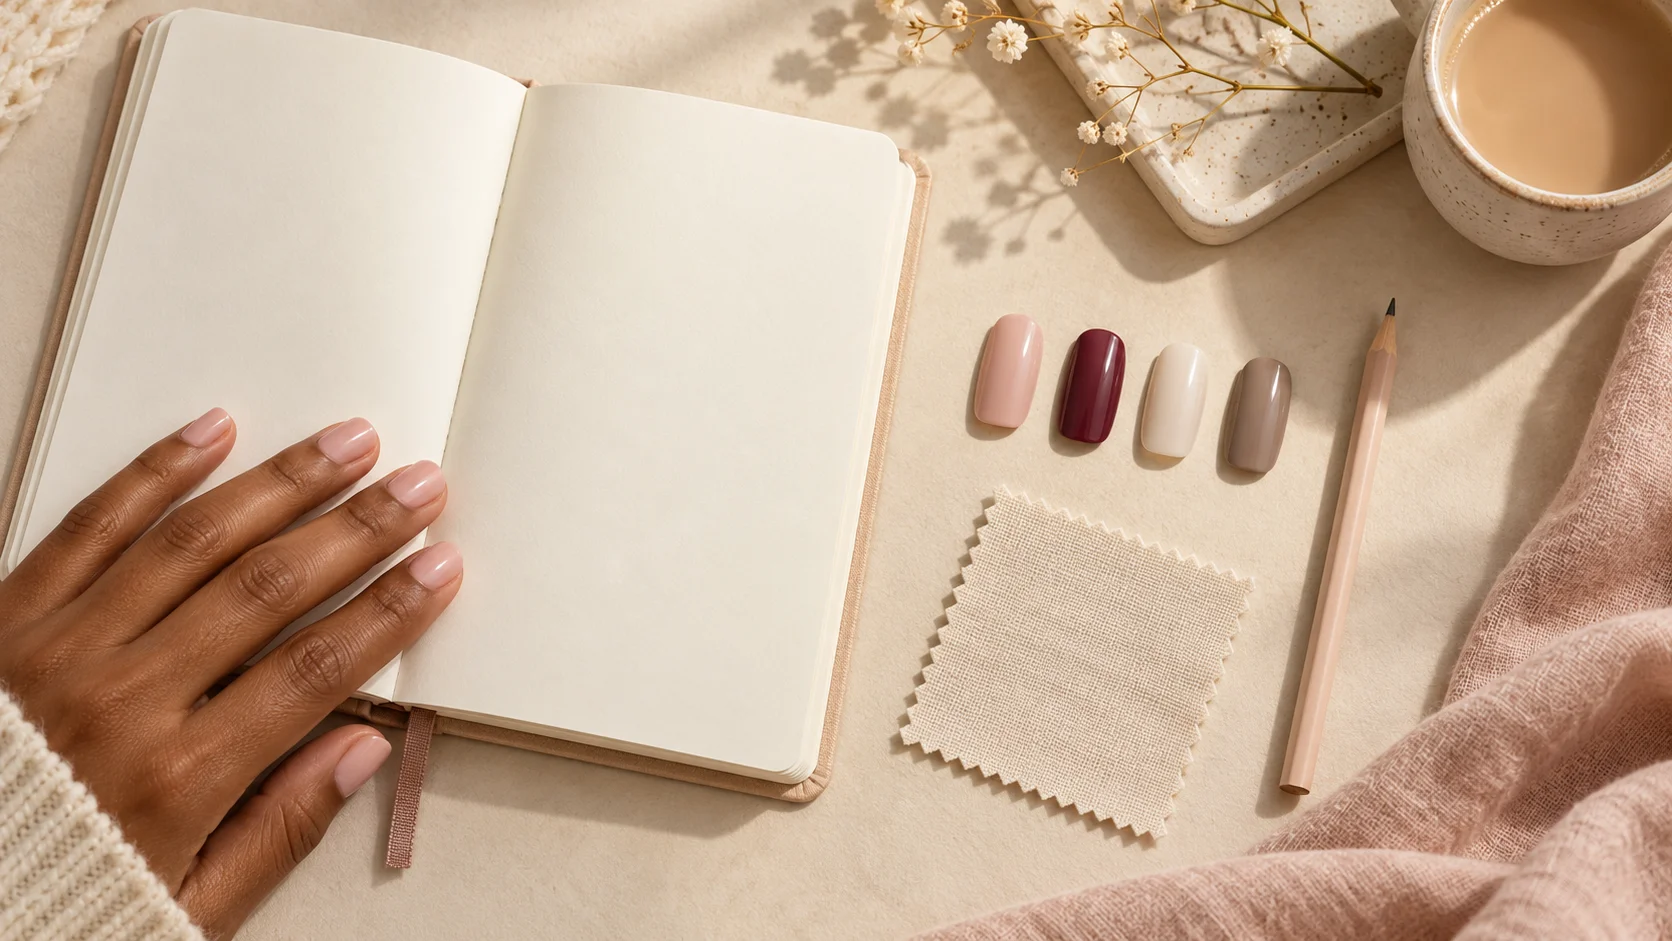
Let an actual sample make the final colour decision where possible. If you are coordinating with clothing, bring a fabric swatch or a clear photograph. Say whether you want a close relationship or a deliberate contrast, rather than asking for an exact match that the source image cannot establish.
Use movement for reflective effects
A still image can hide how a magnetic or highly reflective finish behaves. Save a short, clear video if the moving highlight is what attracted you. Prefer a steady light source and a slowly turning hand over a heavily edited montage with changing lamps.
Holo Taco’s magnetic guide shows different reflective patterns produced within its own system. That makes a useful distinction for a board: do you want a defined line, a broad glow or another pattern? The provider can then discuss the equivalent effect available with their products.
If only a still image is available, write what you believe you are seeing and ask the technician to confirm it. Do not treat a bright camera reflection as proof of a particular finish. A sample can resolve the uncertainty before the service begins.
Map the complete hand
Draw five simple nail outlines and label them thumb, index, middle, ring and little finger. Mark the colour or motif on each. This is especially useful for mixed sets, where several individually appealing references can become crowded when combined.
Decide whether the two hands should match, mirror one another or use different accent positions. Show the viewing direction clearly. A diagonal line can appear to reverse depending on whether you draw the nails as you see your own hand or as another person sees it.
Count any raised decorations or complex accents in the sketch. The provider can use that information when discussing price and appointment time. If the full plan exceeds your budget or booking, identify which accent can be removed while preserving the main idea.
Separate priorities from optional details
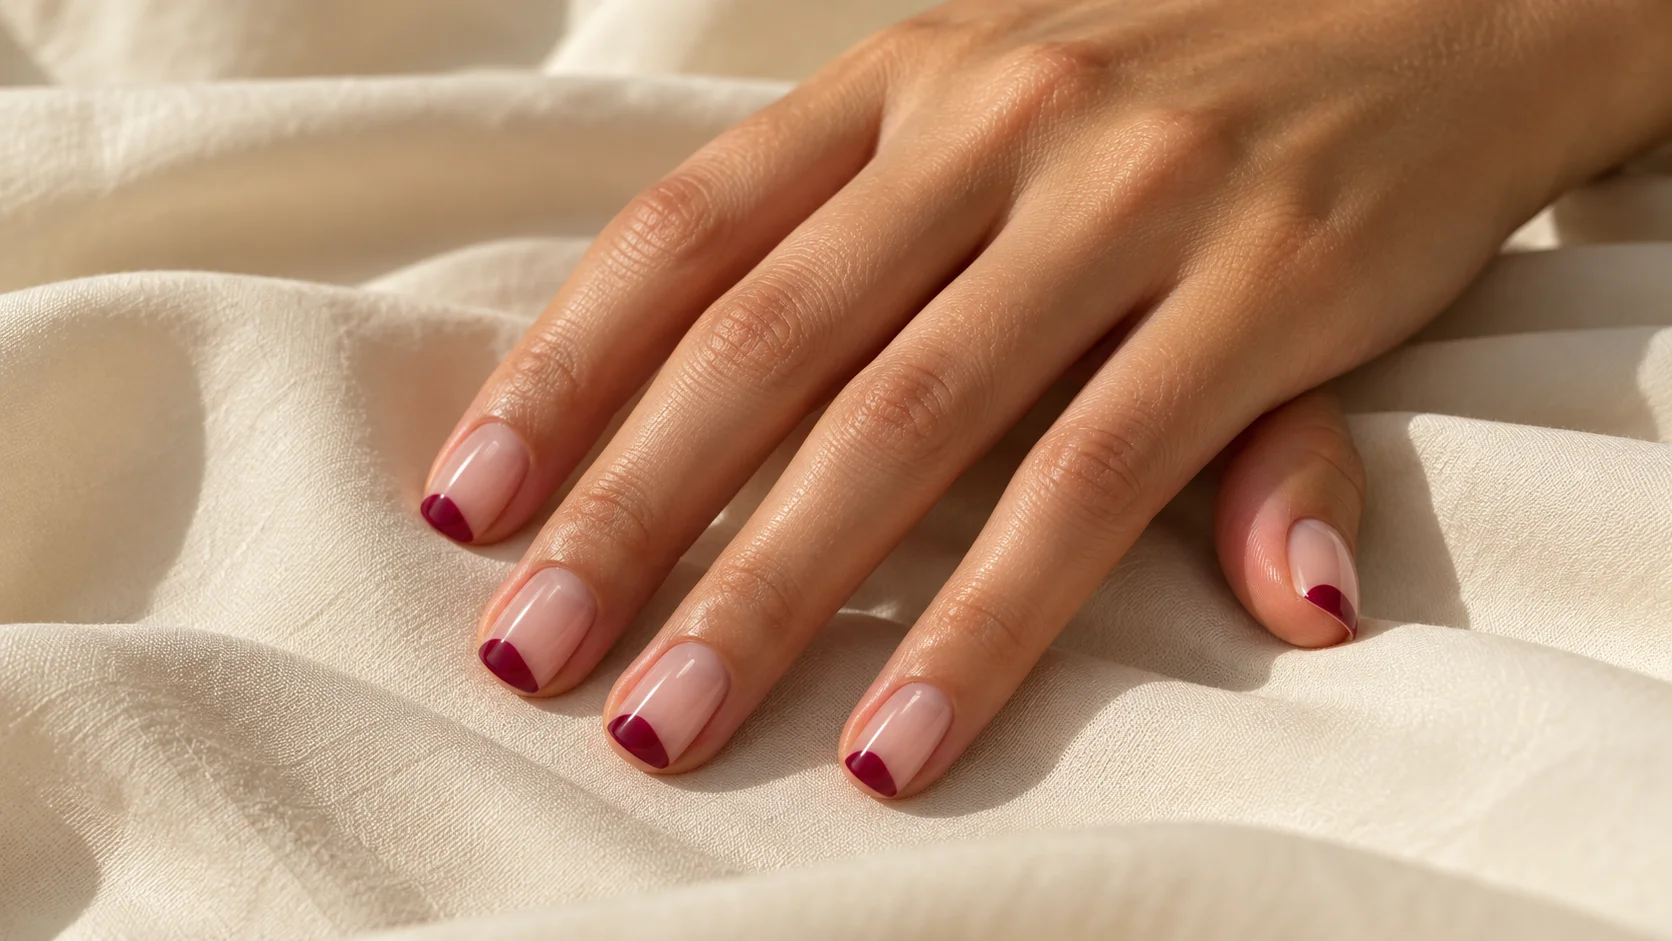
Make a short must-keep list containing the two or three features that define the manicure for you. These might be a short length, a sheer pink base and a very fine dark tip. Put optional features, such as a tiny star or metallic accent, in a separate note.
This helps if a product is unavailable or the reference cannot be reproduced exactly. The technician can suggest an alternative that preserves your priorities. Without that distinction, a small change in one optional detail may feel like a completely different design even when the central idea remains intact.
One board, five clear decisions
- Main reference: choose the closest overall layout.
- Annotations: state what to keep from each supporting image.
- Full-hand map: include the thumb and both-hand arrangement.
- Priorities: separate essential features from optional accents.
- Consultation: confirm samples, service type, price, time and care instructions.
Finish with a brief the technician can answer
Combine the decisions into a short request: “Short oval nails, a milky pink base, one berry dot on each ring nail, plain gloss and no raised decoration.” Show the main image, then explain any difference. Ask what is achievable within the booked service and confirm the final plan together.
After the appointment, save a clear photograph and the actual product details alongside the original board. Add one note about what you would repeat or change. That turns the board into a useful record for next time rather than an ever-growing collection of unrelated pictures. The nail art section offers more design terms to help label those preferences.
For the related design decisions, compare Almond, Oval or Squoval: A Visual Guide to Nail Shapes, Colour Block Nails: Simple Layouts for Two or Three Shades and Skittle Nails: Building a Five-Colour Palette That Feels Cohesive. For the practical details, use A Nail Care Checklist to Take to Your Next Salon Appointment.
Common questions
How many reference images should I bring?
Use one main image and only the supporting images needed to explain a separate feature, such as shape or reflective finish. There is no required count, but each image should have a purpose. Remove duplicates and annotate any detail that you do not want copied.
What if I like different parts of several manicures?
Label the role of each picture: colour only, shape only or finish only. Then combine those choices in a simple full-hand sketch. This resolves conflicts before the appointment and prevents the technician from assuming that every feature in every image is part of the request.
Do I need a digital mood-board app?
No. A phone album, a paper page or a short set of notes can communicate the design. What matters is the order and clarity of the information. Put the main reference first, identify your priorities and show the intended arrangement across the whole hand.
Should I save a video as well as a photograph?
A short video is useful when a moving reflection is central to the look, as with magnetic effects. Prefer steady lighting and a slow change of angle. A still photograph may show only one bright highlight and leave the actual finish ambiguous.
Can a technician match a colour exactly from my screen?
A screen image is a reference rather than a reliable colour standard. Lighting, editing and display settings can alter its appearance. Describe the colour direction and compare actual samples where possible, especially if the manicure needs to coordinate with a particular fabric or accessory.
What practical details belong on the board?
Include your preferred length, any existing product that needs removal, whether you want raised decoration and any relevant appointment or event date. If you have a time or budget limit, state it early. These details help the provider discuss a realistic scope.
How do I explain which details matter most?
Write a short must-keep list and separate optional accents from it. For example, a short length and sheer pink base may be essential while a tiny star is optional. This helps the technician suggest alternatives without losing the central idea you wanted.
What should I do with the board after the appointment?
Add a clear photograph of the actual result, the product details and one note about what you would repeat or change. Keep that record with the original brief. It gives the next consultation a useful starting point instead of another collection of unrelated images.
Sources and further reading
- OPI — Finding the best nail shape for your hands — checked 2026-10-21
- OPI — Work From Chrome — checked 2026-10-21
- Holo Taco — Magnetics guide — checked 2026-10-21