Aura Nails: Soft Colour Combinations and Salon Reference Tips
Plan an aura manicure through the size, position and contrast of the colour glow, then make a useful salon reference.
Archive edition: 2026-09-15 · This is an editorial allocation, not the first-publication date.
Key takeaways
- Pair: choose the background and centre colours together.
- Scale: decide how much background remains around the glow.
- Edge: specify a gradual fade rather than a hard ring.
- System: confirm the actual service and whether the effect is static colour or magnetic reflection.
In this guide
- Key takeaways
- Identify the centre, transition and background
- Choose the relationship between the two colours
- Adjust the glow to the nail shape
- Distinguish a static gradient from a magnetic glow
- Use references to describe the result, not invent the process
- Plan the set before adding further decoration
- Build an aura reference in four decisions
- Make the final brief easy to repeat
- Common questions
- Sources and further reading
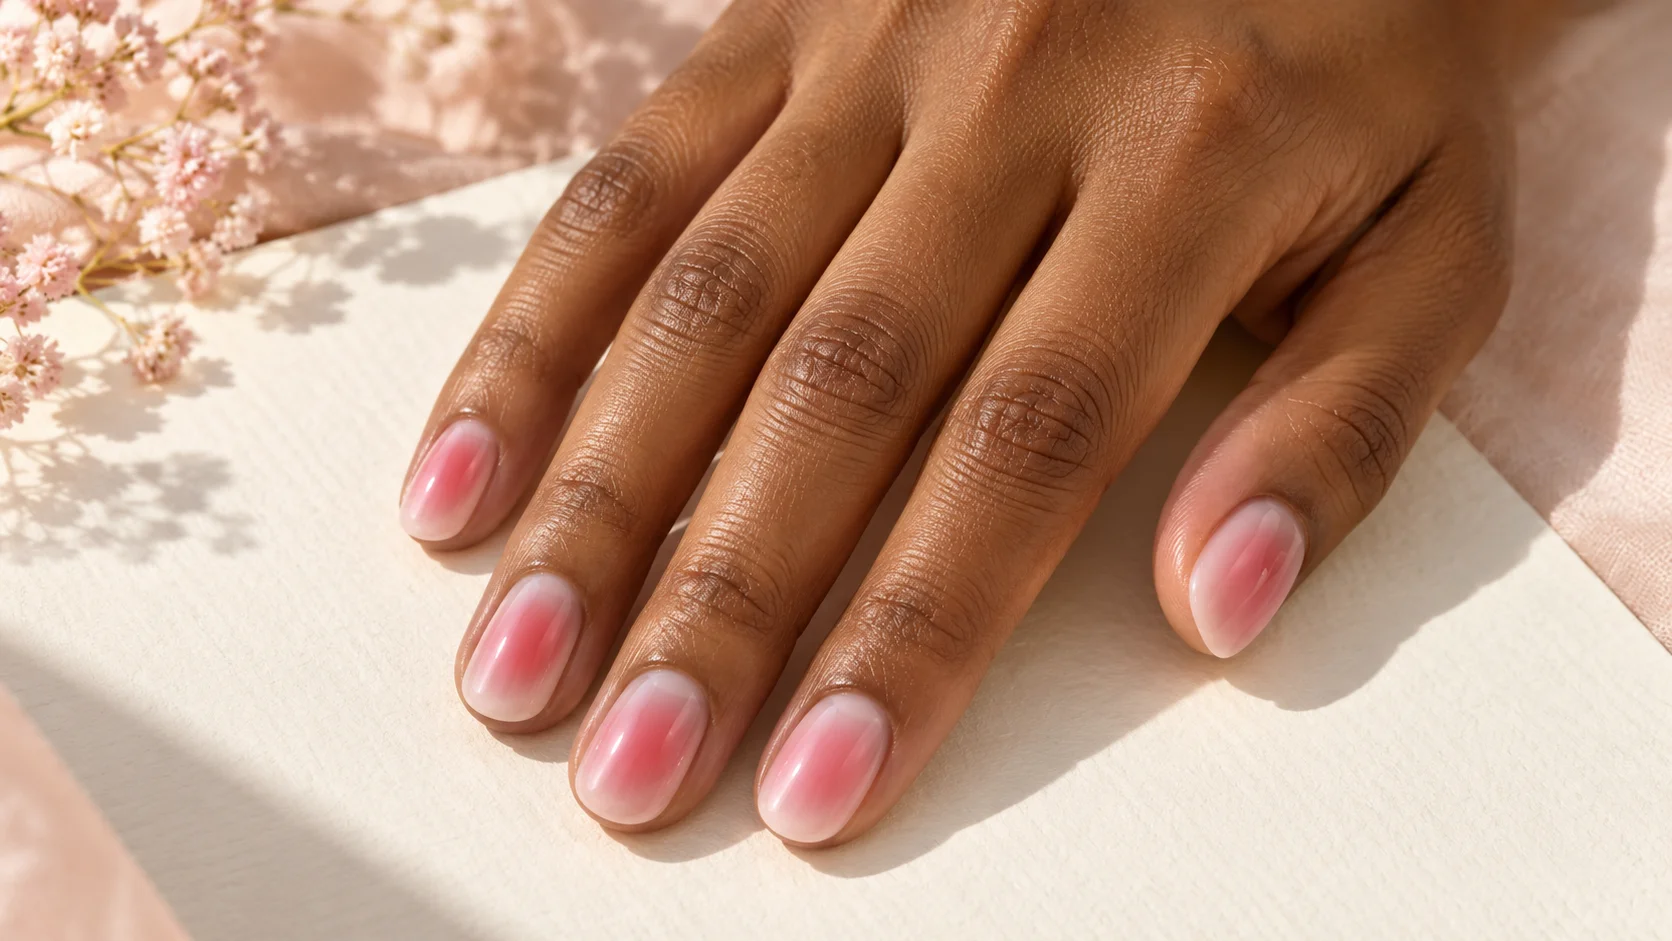
Aura nails place a softly diffused area of colour within a contrasting or lighter background. The centre may look like a small blush of colour or a broad oval glow, with the edges fading rather than forming a sharp ring. To choose a version you will enjoy, decide how much contrast you want and how much of the background should remain visible.
Start with the appearance, not an assumed tool or product. Aura is a design description, and a reference photograph does not reveal the whole application process. The ideas here are original styling guidance supported by manufacturer examples. Our featured image is an illustration, not a tested swatch or a photographed salon result.
Identify the centre, transition and background
Break the image into three areas. The centre contains the strongest concentration of the accent colour. The transition is the softer zone where it blends towards the background. The background remains visible around the outside. Naming these areas makes it easier to explain why one aura manicure appeals to you and another does not.
A small centre with a broad soft transition can feel different from a large saturated oval with only a narrow blurred edge. Neither is the standard version. Circle the part you like in your reference or describe it in words: a quiet pink centre, a vivid blue oval, or a glow that occupies most of the nail.
Check that you are looking at a colour effect rather than a reflection from the light source. A glossy highlight can create a bright streak on top of the design. Ask for a second angle or a real sample if that reflection hides the boundary you want to discuss.
Choose the relationship between the two colours
A close colour pairing, such as pale pink with a deeper pink centre, gives a gentle starting point. A contrasting pairing, such as blue and pink, creates a clearer division even though the edge is soft. Compare both directions before deciding that an aura manicure must be extremely bright or highly contrasting.
OPI’s Aura We There Yet design is a blue-and-pink example offered as short round press-ons. It shows that the visual idea can appear in a ready-made format as well as salon references. We have not tested that product, and its product page does not establish the method used by a different technician.
Keep the centre colour fixed while comparing two backgrounds. Then keep the preferred background and compare two centres. This is easier to evaluate than changing both colours, the shape and the finish at once. Save the final pair as actual product details where available, not only as a filtered screenshot.
Adjust the glow to the nail shape
A rounded centre can sit within a short round nail, while an oval centre can echo a longer outline. These are possible arrangements rather than strict rules. The important question is how much background remains between the soft edge and the sides of the nail.
On a narrower nail, a large centre may leave little surrounding colour visible. If you like the open border in a long-nail reference, ask for a smaller centre when adapting it. Preserving the relationship between areas is often more useful than copying the size of the original glow.
The centre does not have to sit at the exact middle. A slightly higher or lower glow creates a different composition, but agree that position in advance. If every nail should feel similar, ask for a consistent visual placement rather than a rigid measurement that ignores different nail lengths.
| Choice | Quieter starting point | More pronounced direction |
|---|---|---|
| Colour contrast | Two related pink or neutral tones | Clearly different colour families |
| Centre size | A small focal area with visible background | A broad oval occupying more of the nail |
| Transition | A wide, gradual fade | A stronger centre with a shorter soft edge |
| Placement | The same position across the set | Deliberate variation shown in a full-hand plan |
Distinguish a static gradient from a magnetic glow
A colour gradient and a magnetic reflective effect can look similar in a still image, especially when both are described as glowing. They are not the same visual mechanism. A gradient arranges colours with a blended transition; a magnetic effect arranges reflective particles so their appearance changes with viewing and lighting conditions.
Holo Taco’s magnetic guide describes its magnetic particles and tools for different reflective patterns. If you like the moving highlight in a video, tell the technician that movement matters. If you want a soft coloured centre visible without a concentrated reflection, explain that instead.
There is no need to memorise a technical label before booking. Bring a short video where possible and ask which effect it shows. Avoid assuming that an aura image requires a particular magnet, or that every luminous reference was made with an airbrush.
Use references to describe the result, not invent the process
Essie’s nail-art guide includes a sponge-blended ombré technique, illustrating one product-specific route to a softened colour transition. That does not make its directions a universal recipe for a circular aura effect, a gel service or an unrelated product range.
Ask your chosen provider which process and products they use, whether the effect is available at your intended length and what appointment time it needs. Let them explain a compatible method. A visual reference is useful evidence of your preference, but it is not an instruction to mix unfamiliar cosmetics or copy curing timings from elsewhere.
Plan the set before adding further decoration
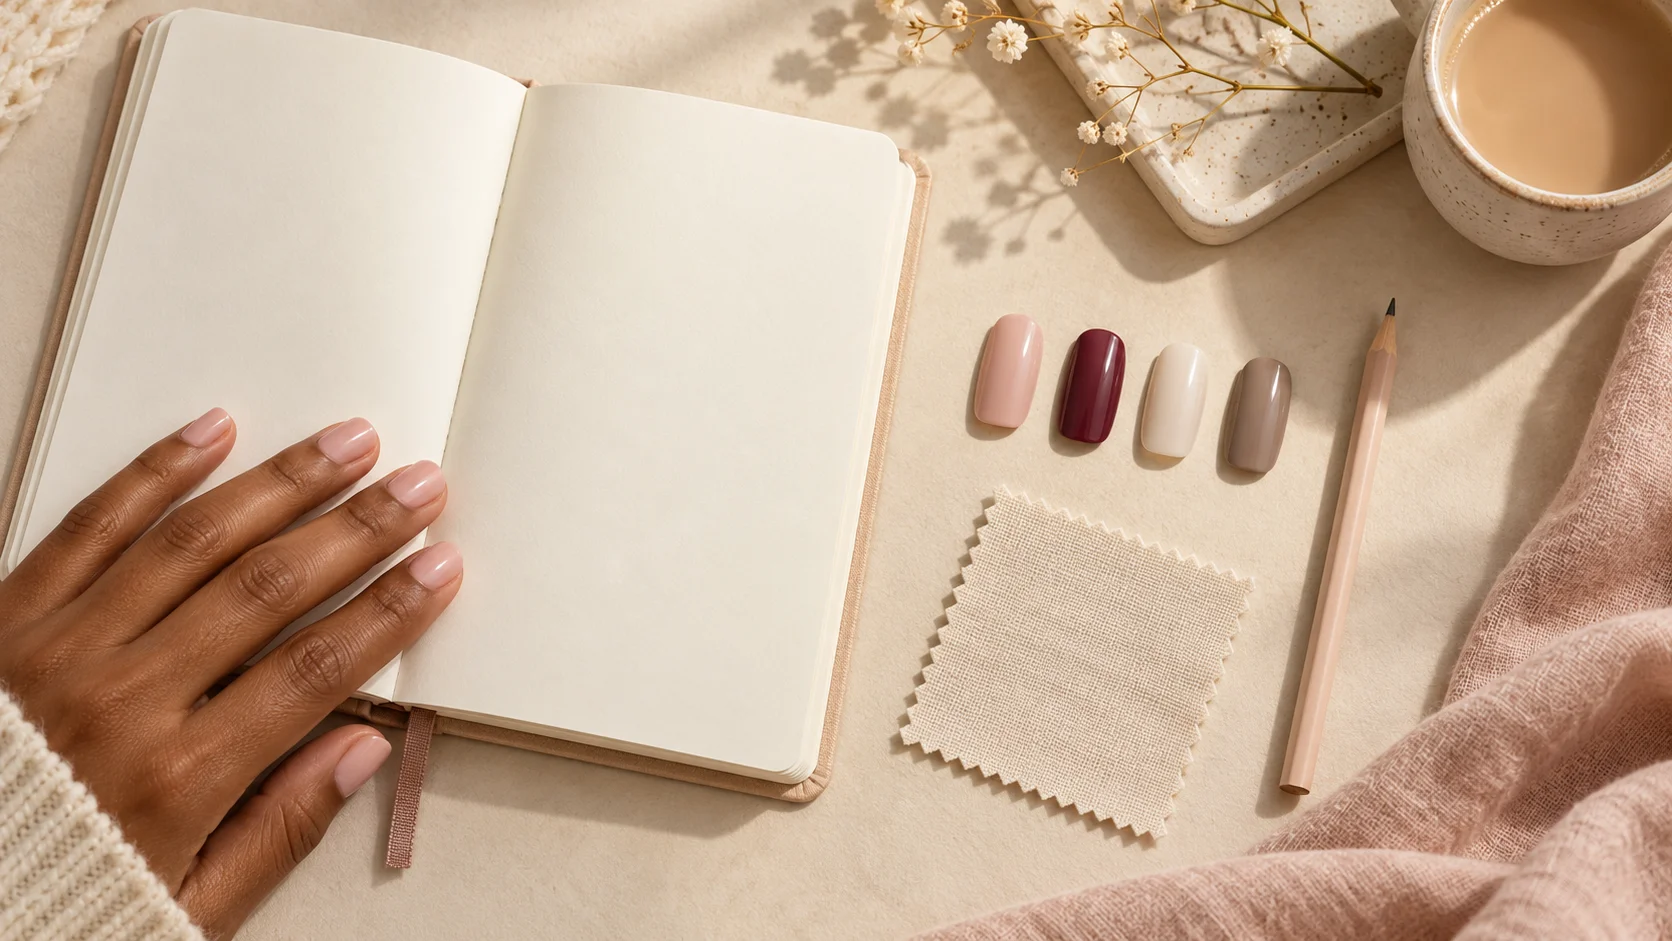
A repeated two-colour aura across every nail makes the glow itself the main feature. If you want a quieter set, use the effect on one or two accents and repeat the background colour on the remaining nails. Compare both arrangements on a simple five-nail sketch.
Small stars, lines or metallic details can be added as separate design choices, but decide whether they improve the effect you selected. An opaque motif placed over the centre may hide the very transition you liked. Keep the first plan simple enough that the glow remains readable at normal hand distance.
Build an aura reference in four decisions
- Pair: choose the background and centre colours together.
- Scale: decide how much background remains around the glow.
- Edge: specify a gradual fade rather than a hard ring.
- System: confirm the actual service and whether the effect is static colour or magnetic reflection.
Make the final brief easy to repeat
Try: “Short oval nails with a pale pink background, a small raspberry centre and a broad soft fade, repeated across the set.” Show one main reference and state the feature you care about most. Ask to view a sample in ordinary light, then save the product details and a clear photograph of the result.
For a later adjustment, describe one change at a time: a smaller centre, less contrast or a more even position across the hand. Those observations help refine the design without requiring you to know every technical step behind it. More planning ideas are collected in our nail art section.
For the related design decisions, compare Jelly Nails Explained: Sheer Colour, Gloss and Layering, French Ombré Nails: How the Fade Differs from a Classic French and How to Build a Nail Inspiration Board Your Technician Can Use. For the practical details, use Sheer Gel vs Opaque Gel Colour: Coverage and Regrowth Compared.
Common questions
What are aura nails?
In this guide, aura describes a coloured centre that fades softly into a surrounding background. The centre can be small or broad, and the colours can be closely related or contrasting. The name describes the appearance rather than a single required product or application method.
Do aura nails have to use bright colours?
No. A pale pink background with a deeper pink centre is one possible quiet version. Compare the same layout in related and contrasting colours. The size and strength of the centre can change the effect as much as the colour family itself.
Are aura nails the same as magnetic velvet nails?
Not necessarily. A blended colour centre and a magnetic reflective glow can look similar in a still photograph, but they describe different effects. Show a moving reference if possible and ask the provider whether the feature you like is colour placement or a changing reflection.
Can an aura effect work on short nails?
Discuss the design at your actual length and compare the amount of background left around the centre. A smaller glow may preserve the balance of a longer reference. The aim is a similar visual relationship, not an exact copy of the original centre size.
Does the centre have to be perfectly round?
No. A rounded, oval or slightly offset centre can be a deliberate design choice. Show the shape and position you want in a reference or sketch. Agree whether the same impression should repeat across the hand or whether some nails should vary.
Do I need an airbrush for aura nails?
The design name alone does not identify a required tool. Ask the provider how they create the effect with their products and service. Do not assume that a photograph reveals the method, or combine application directions from unrelated polish, gel and magnetic systems.
Can I keep aura only on accent nails?
Yes, a full-hand plan can place the effect on one or two accents and repeat the background colour on the others. Compare that arrangement with a repeated aura set. Keeping another feature consistent helps the accents feel connected rather than like unrelated samples.
What should I say if my reference is too intense?
Identify whether the intensity comes from the colour contrast, the size of the centre or the strength of its edge. Ask to adjust one feature first. A smaller or less contrasting centre may preserve the idea without changing the entire palette and layout.
Sources and further reading
- OPI — Aura We There Yet — checked 2026-10-21
- Essie UK — Mastering nail art — checked 2026-10-21
- Holo Taco — Magnetics guide — checked 2026-10-21