Jelly Nails Explained: Sheer Colour, Gloss and Layering
Understand the see-through effect, compare coverage and decide when to stop layering a jelly colour.
Archive edition: 2026-06-26 · This is an editorial allocation, not the first-publication date.
Key takeaways
- Jelly describes a translucent-looking colour effect; it does not identify one application system.
- Gloss and transparency are separate qualities.
- More colour layers can change the effect you originally liked, so compare labelled samples first.
- Use product-specific directions and avoid inventing a mixing recipe from a reference photograph.
In this guide
- Key takeaways
- Understand transparency, colour and gloss separately
- Jelly is not limited to one colour family
- Pick the base appearance before judging the colour
- Make a small layer comparison
- Know when to stop adding colour
- Choose the effect before the coat count
- Keep layering different from mixing products
- Photograph and record the result clearly
- Common questions
- Sources and further reading
Jelly nails are usually chosen for the way colour seems to sit over the nail without turning into a completely opaque block. The result can resemble a tinted glaze: glossy, coloured and still visibly translucent. Pink is one possible direction, but the idea is not limited to soft pink manicures. Pale, bright and deeper jelly colours can create quite different effects.
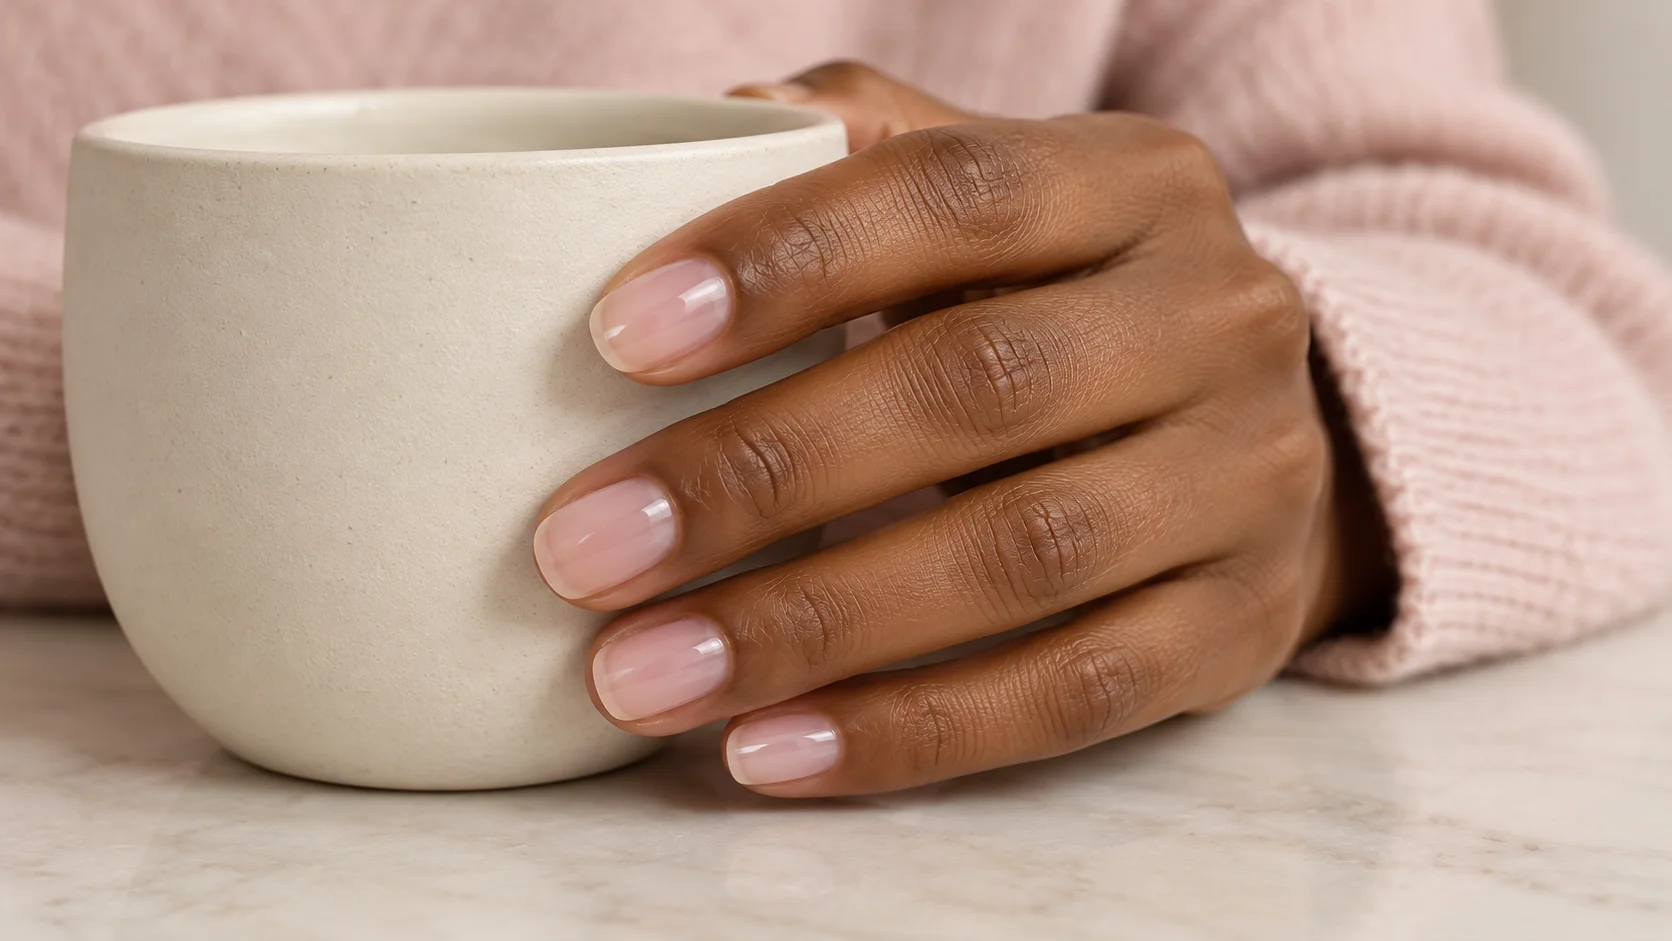
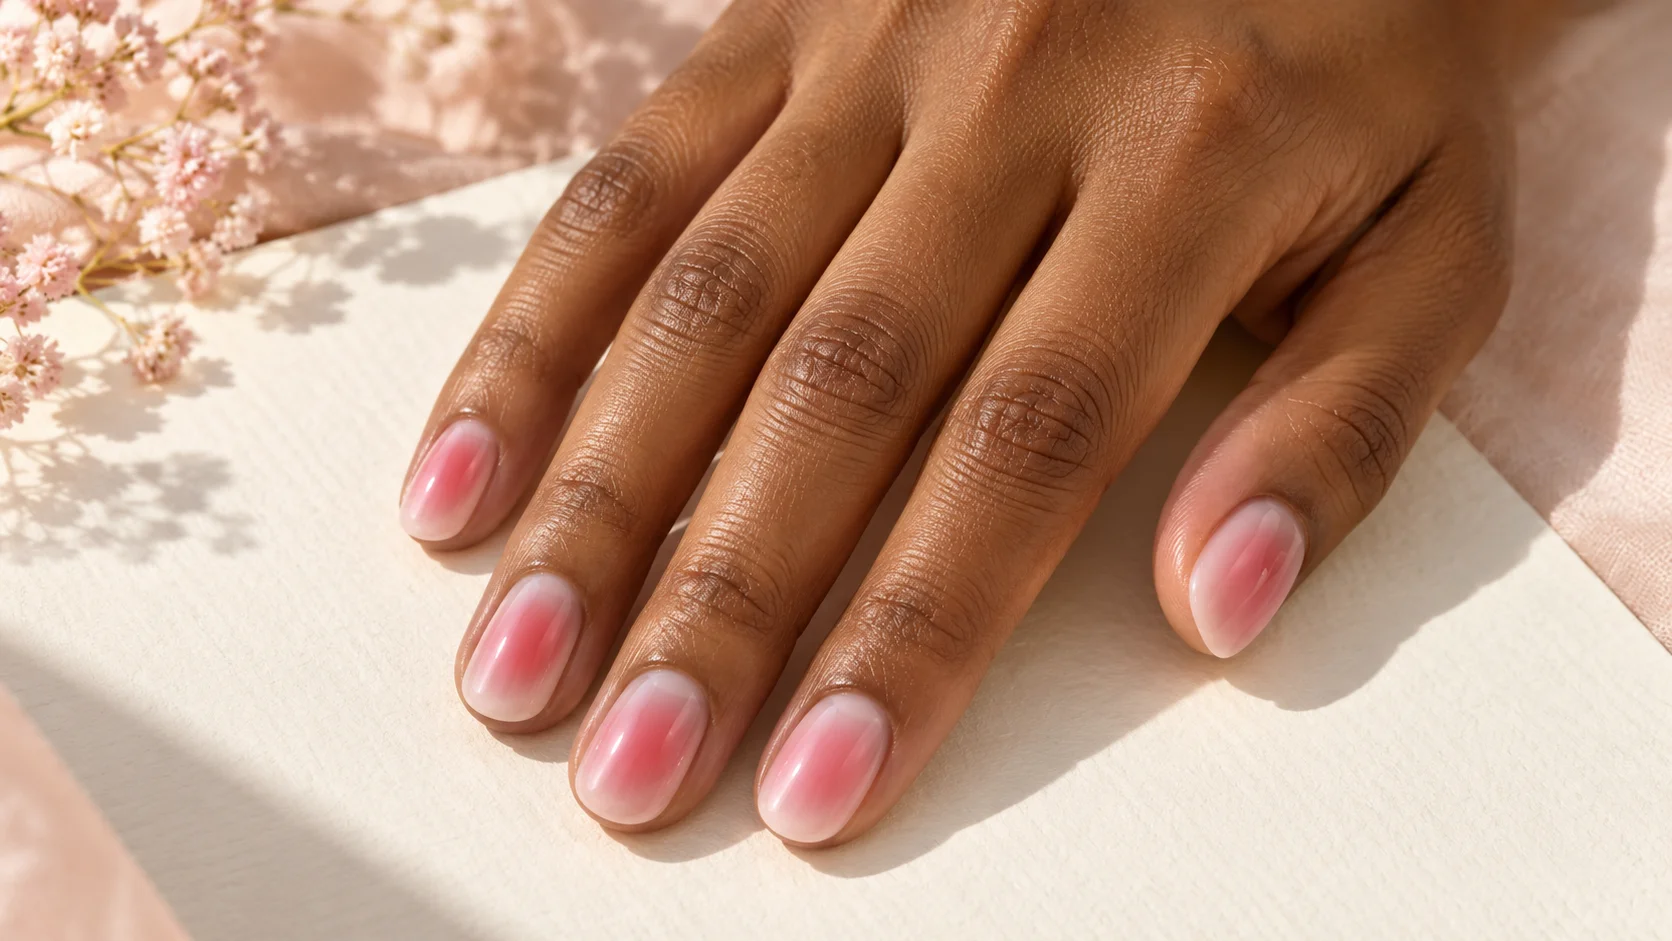
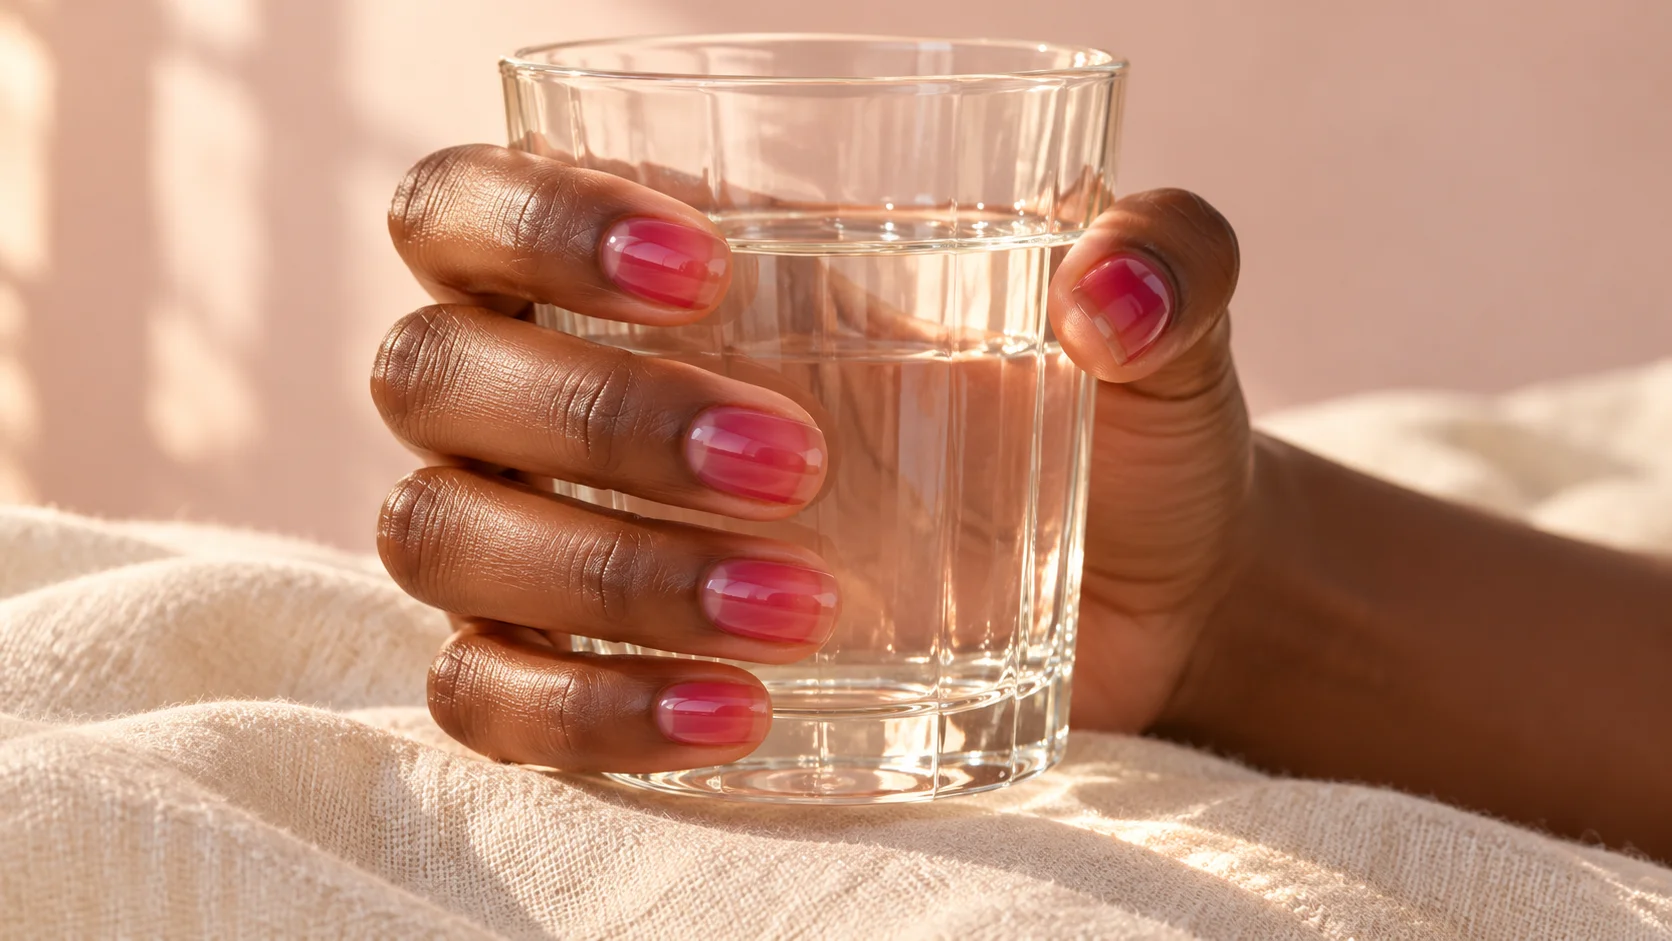
The challenge is knowing what to preserve when you build the finish. If you keep adding colour until every natural variation disappears, you may move away from the see-through appearance that attracted you. This guide focuses on ordinary-polish choices and sample planning. Its featured image is an AI-generated illustration of a tinted pink effect, not a product swatch or evidence of a particular coat count.
Understand transparency, colour and gloss separately
Start with three questions. How much of the nail underneath do you want to see? How strong should the colour look? How reflective should the surface be? A manicure can be very glossy and still opaque, so a shiny photograph alone does not establish a jelly finish. Conversely, a sheer colour may look less reflective under diffuse light even when the colour coverage is exactly what you wanted.
Use these questions when discussing a reference. Rather than asking only for jelly pink, explain whether you want a faint tint or a stronger translucent colour. Point out whether the visible nail edge in the picture is part of the appeal. That helps distinguish a genuinely see-through brief from a milky or opaque pink manicure with a similar glossy surface.
Jelly is not limited to one colour family
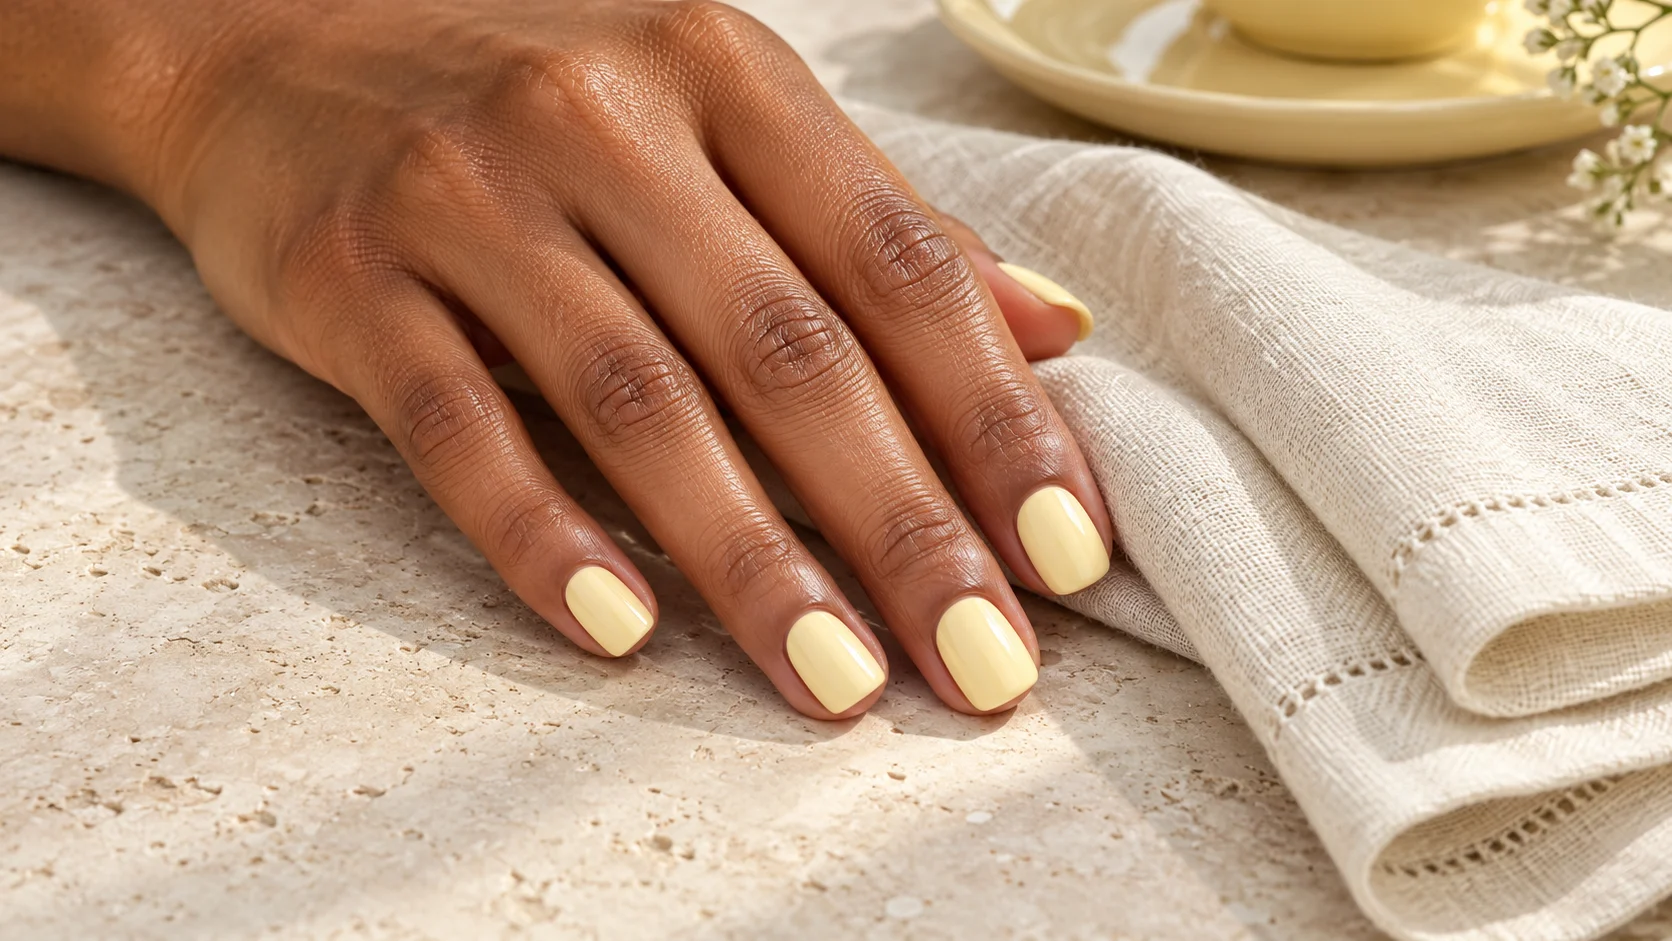
Essie’s product descriptions offer contrasting examples. Its UK Buttercup Jelly Gloss is described as a pale yellow sheer colour, while Ink Jelly Gloss is a sheer black. The US page for Arctic Jelly describes a soft white jelly with yellow undertones. These manufacturer examples show the range of colour directions; they are not a comparison based on our own application tests.
They also show why the word jelly cannot settle the final coverage by itself. A pale cloudy colour and a dark tint may use the same broad finish language while giving very different visual impressions. Check the selected product’s description, instructions and finished samples. Do not assume that all jelly products, including those from different ranges or brands, are intended to be combined in the same way.
Pick the base appearance before judging the colour
A translucent colour allows the surface beneath it to contribute to what you see. When comparing references, notice whether the base looks clear, softly pink or deliberately pale and cloudy. If you change that background, you may change the effect even when the colour layer has the same name. For a useful test, keep the base consistent across the first set of samples.
If your preference is to hide the natural nail edge entirely, say so at the beginning. You might prefer a more covered finish rather than a highly translucent one. There is no need to treat visible nail lines as a failure if they are part of your intended result, or to force yourself to enjoy transparency because a reference is labelled jelly. Choose the degree of coverage you actually want.
| Your aim | What to look for | What to avoid assuming |
|---|---|---|
| A faint colour tint | A sample with substantial visible transparency | That every pale shade is sheer |
| A stronger translucent colour | Colour intensity with some nail still visible | That more coats always preserve the same effect |
| A milky finish | More cloudiness or coverage in the sample | That milky and clear jelly are identical descriptions |
| A glossy surface | The reflection in the finished sample | That shine proves the colour underneath is translucent |
Make a small layer comparison
Use practice tips and the directions for the chosen ordinary-polish products. Prepare a small set with the same base and colour, changing only the permitted colour-coat count. Label each tip as you go. If the product gives a specific routine, use that as your starting point; do not turn a general article into permission for unlimited layers or a different preparation method.
Compare the finished samples together. Look for the point where the colour has enough presence while retaining the openness you want. The manufacturer directions for Buttercup describe a sheer wash with an option for greater milky coverage through layering. That is a product-specific example of a changing appearance, not a promise that another jelly will behave the same way or need the same number of coats.
Know when to stop adding colour
Before starting, write a stopping criterion in ordinary language: I still want to see the nail edge, or I want a stronger pink without a solid block of colour. That gives you something to assess other than whether the sample matches a highly processed photograph. If an added layer takes the result beyond your preference, keep the earlier sample as the reference for the next attempt.
Do not respond to every uneven-looking area by adding more colour across the whole nail. First decide whether you are seeing intended transparency, an application issue or a difference in the base. A fresh practice sample can be more informative than repeatedly correcting the same one. Product directions and the advice of a qualified nail professional are better guides to application problems than a universal coat-count rule.
Choose the effect before the coat count
- Describe the view through. Decide how visible the nail beneath should remain.
- Compare controlled samples. Keep the base and products consistent while following their directions.
- Keep the preferred version. Record the layers and finishing product that produced the appearance you liked.
Keep layering different from mixing products
A brand may describe particular colours as suitable for layering within its own range. That does not establish a general recipe for pouring products together, diluting colour in a bottle or combining unrelated systems. This article does not recommend those experiments. If you want a custom-looking effect, start with a manufacturer-supported combination or discuss a finished sample with your nail professional.
Likewise, a jelly appearance does not tell you whether the product is ordinary polish or a lamp-cured system. Read the product information rather than inferring the process from the name or the shine. Our design suggestions can help communicate an appearance, but they do not provide curing times, compatibility checks or instructions for using a gel product.
Photograph and record the result clearly
View the finished sample near a window and in the indoor light where you normally see your hands. A strongly backlit photograph may emphasise transparency differently from an everyday view. Keep an unfiltered image for layout reference and a written note of the actual product names, base and colour layers. The notes will be more dependable than trying to identify a bottle from the photograph months later.
A useful salon brief might be: a raspberry-pink tint, short oval nails, visible natural nail edge and a glossy finish. Change the colour or coverage words to fit your preference. For related ideas about sheer bases and small accents, explore our nail art and trends edit. Keeping the transparency decision clear is the simplest way to avoid losing the jelly effect while pursuing more colour.
For the related design decisions, compare Milky Pink Nails: How Sheer Layers Change the Finish, Aura Nails: Soft Colour Combinations and Salon Reference Tips and Negative Space Nail Art That Works on Short Nails. For the practical details, use Sheer White vs Opaque White Polish: Finding the Finish You Want.
Common questions
What makes a manicure look like jelly nails?
The defining idea here is coloured transparency: some of the nail or base beneath remains visible through the tint. A glossy surface often accompanies the look, but shine alone does not establish it. Describe how much you want to see through the colour when choosing a sample.
Are jelly nails always pink?
No. Manufacturer examples include pale yellow, soft white and sheer black as well as pink directions. The colour family and the level of transparency are separate choices. Compare the exact product and finished sample instead of assuming every jelly shade will produce the same soft pink effect.
Are jelly nails the same as gel nails?
Jelly describes an appearance, while the product information determines the application system. Do not infer whether a lamp is required from the colour name or shine. This guide discusses ordinary-polish sample planning and does not provide instructions, compatibility advice or curing times for a gel system.
How many coats should a jelly manicure have?
There is no universal count for every jelly product. Follow the selected product’s directions and compare labelled samples for the coverage you prefer. Stop according to your intended appearance, rather than adding layers until a translucent product resembles an opaque reference photograph.
Should the natural nail edge remain visible?
It can remain visible if that transparency is part of the look you want. If you prefer the edge fully hidden, say so when choosing the finish. A more covered manicure may suit that preference better than repeatedly building a very sheer product beyond the effect that attracted you.
Can I mix ordinary polish with a clear product to make jelly polish?
This guide does not recommend a mixing recipe. A brand’s instructions for layering selected products do not establish that arbitrary products can be combined in a bottle or diluted. Choose a suitable finished product or a manufacturer-supported combination, and follow the relevant application directions.
Why did my jelly sample become more milky?
Check whether the selected product is described as building towards more covered or milky colour with additional layers. Compare the base and coat count with your earlier sample. If you preferred the more translucent version, record that version rather than continuing to add colour to the same test.
Can I identify the featured image's polish from its colour?
The image is AI-generated and is not a verified swatch of a named product. Use it to communicate a tinted pink direction and general layout. Choose a physical sample for the actual manicure, then record its products and layers so the result can be repeated.
Sources and further reading
- Essie UK — Buttercup Jelly Gloss — checked 2026-10-21
- Essie UK — Ink Jelly Gloss — checked 2026-10-21
- Essie — Arctic Jelly — checked 2026-10-21