Scalloped French Tips: Soft Curves and Understated Colour Ideas
Plan a scalloped nail tip by choosing the curve size, border depth and contrast that work at your actual nail length.
Key takeaways
- Band: choose how much tip colour you want.
- Rhythm: fit the curve scale to the width of each nail.
- Contrast: compare a soft and a clearer colour relationship.
- Boundary: keep the physical nail edge smooth and the pattern in the polish.
In this guide
- Key takeaways
- Choose the side of the curve you want to notice
- Set the depth of the coloured band
- Use the nail width to guide the rhythm
- Choose a colour contrast you can read
- Practise rounded marks without changing the nail edge
- Plan the painted curve
- Give the final reference a clear priority
- Common questions
- Sources and further reading
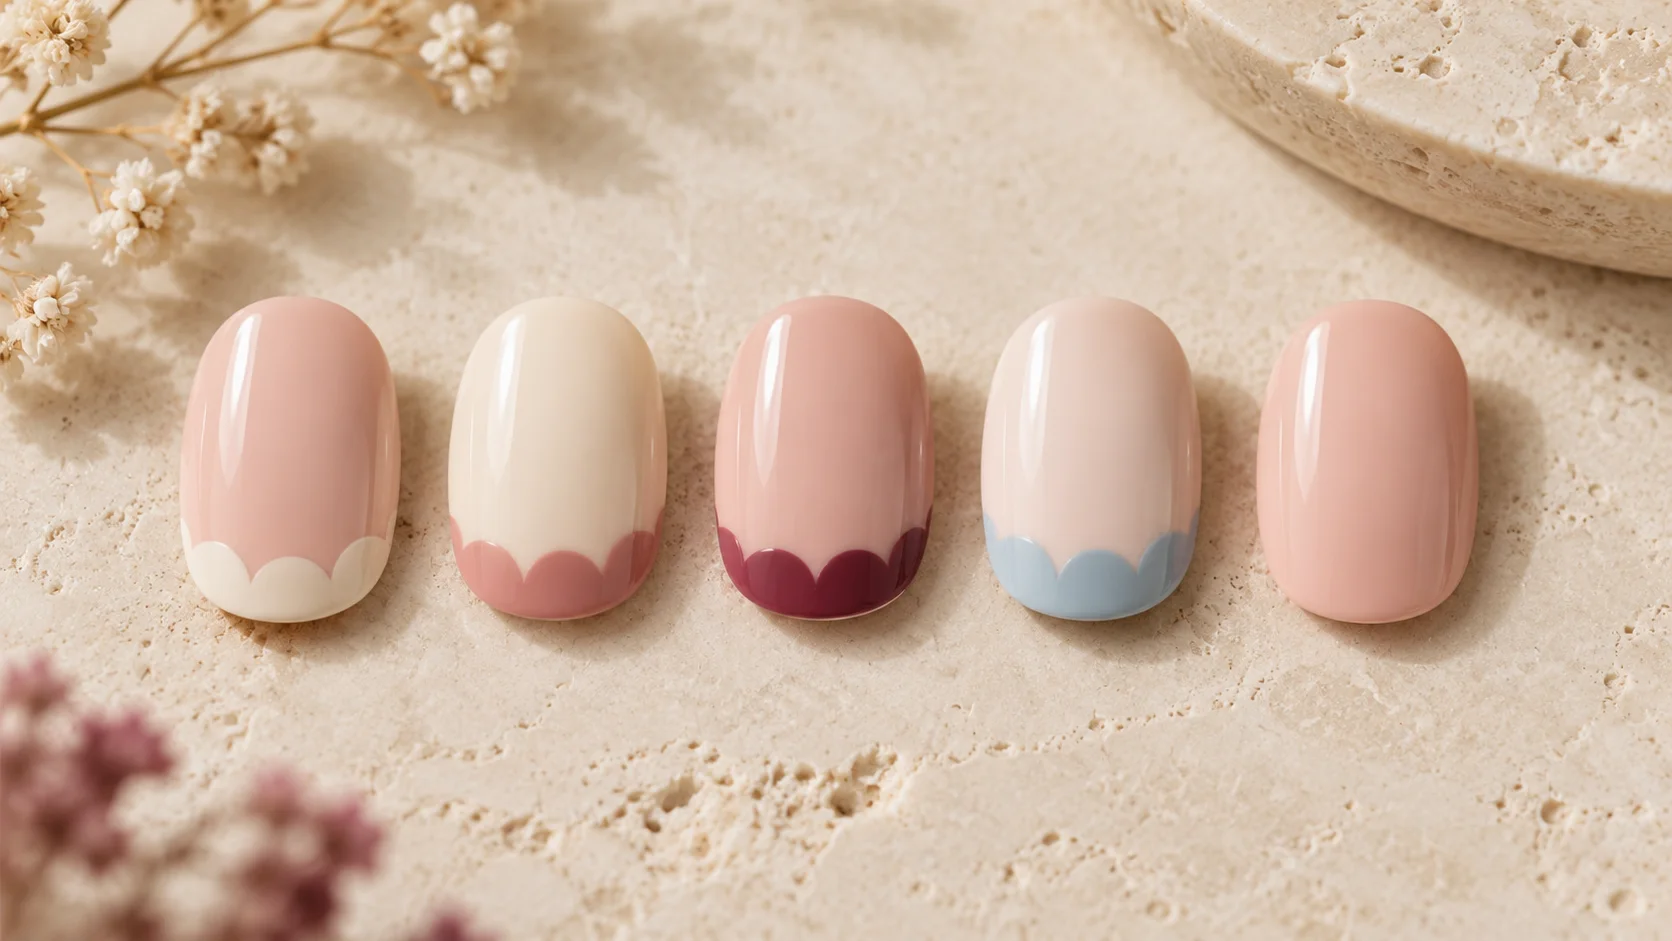
A scalloped French tip replaces the usual smooth colour boundary with a row of small painted curves. The physical nail edge remains smooth; it is the polish pattern that forms the scallops. Ivory over blush, rose over cream or a deeper coloured border can each express the idea without adding a separate motif to every nail.
This guide compares curve size, tip depth and contrast through original layout ideas. It is not a recommendation to cut or file scallops into the nail, and it does not provide a professional gel procedure. The generated illustration is styling inspiration rather than photographed client work or an exact product swatch.
Choose the side of the curve you want to notice
In a scalloped tip, the painted band can have rounded lobes facing towards the base while its outer edge follows the normal free edge. Another design may use only a line of curves without filling the tip completely. Show which version you mean, because both can be described loosely as scalloped French.
Start with a simple drawing of the border. Decide whether the curves should look shallow and subtle or deeper and more noticeable. A small number of broad curves creates a different rhythm from many tiny ones. The aim is a readable repeated shape, not a fixed number copied onto every nail.
Check which parts of your reference are colour and which are reflections or highlights. A glossy sample can make a painted boundary harder to interpret in a photograph. A clear sketch or a direct description can prevent the technician from recreating a feature you did not intend.
Set the depth of the coloured band
A narrow band leaves most of the base visible. A deeper scalloped band makes the colour a larger part of the manicure and can feel closer to a two-tone design. Choose the amount of tip colour before deciding how many scallops it contains.
Essie’s French-tip guide discusses base and tip choices, including softer and more defined colour effects. The transferable styling idea is that the contrast and width can be adjusted separately. A scalloped boundary adds another variable, so keep the other choices simple during the first comparison.
On a short nail, the deepest part of the scallop may occupy more space than expected. Compare a shallower curve or a thinner band before changing the nail length. You can preserve the motif without using the proportions of a much longer reference.
Use the nail width to guide the rhythm
A wider nail may comfortably show several curves, while a narrow one may need fewer. Matching the exact count across every finger can make some borders crowded and others sparse. A consistent visual scale is often a more useful goal than an identical number.
Draw the rhythm across a few outlines of different widths. Notice whether the curves meet cleanly or leave awkward small gaps at the sides. You can place a central curve first in the plan and balance the neighbouring curves around it, without treating the sketch as a technical application recipe.
Look at the whole hand after planning individual tips. If the rhythm feels too busy, use scallops on selected accent nails and ordinary plain colour elsewhere. The theme can remain clear without repeating the border on every finger.
Choose a colour contrast you can read
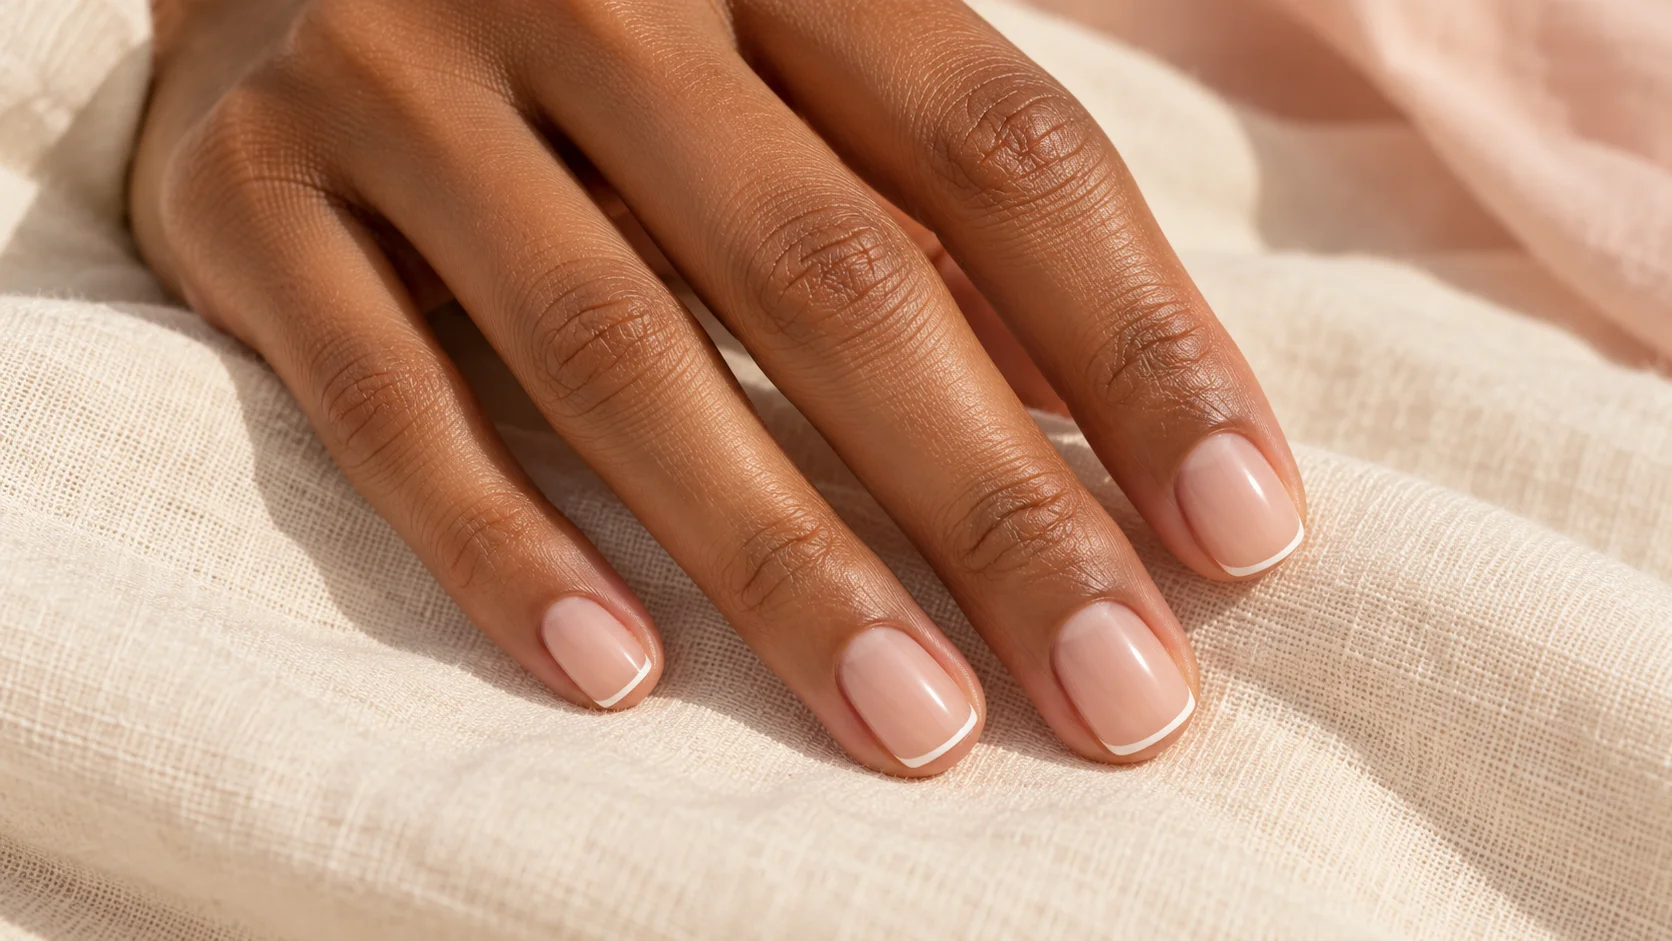
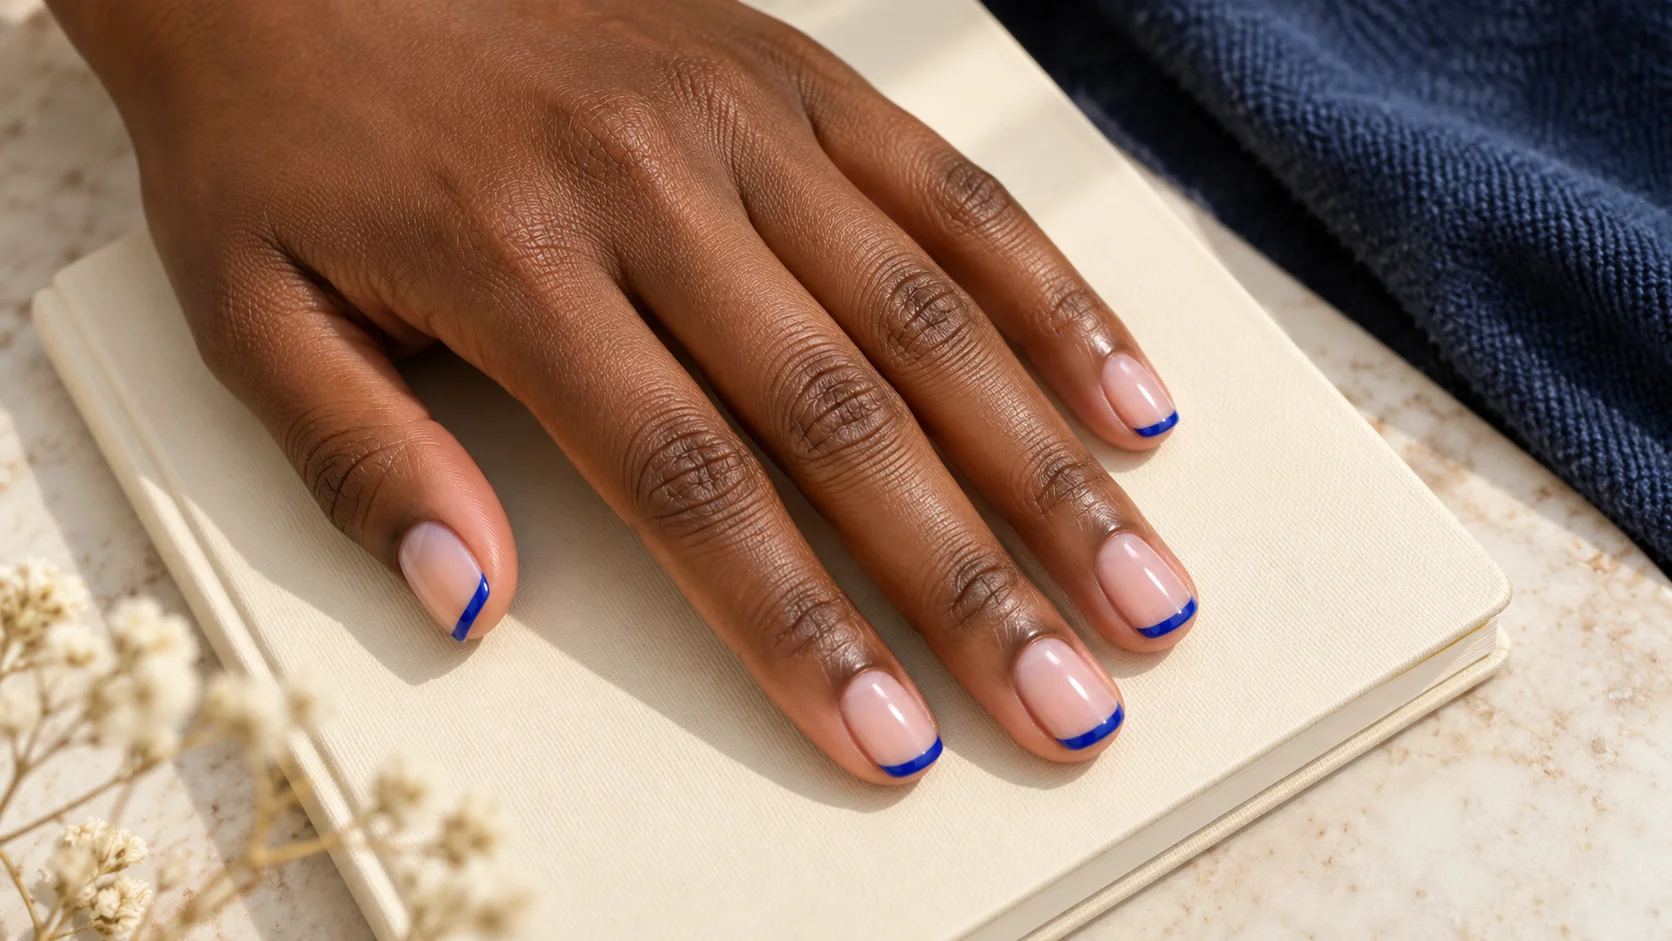
Ivory on blush offers a familiar pale French direction with a different boundary. Dusty rose on cream adds more colour while staying relatively soft. Berry or blue against a pale base can make the repeated curves more obvious. These are generic palette suggestions rather than exact product recommendations.
Keep coverage in mind. A sheer base leaves the natural nail visible behind the pattern, while an opaque base creates a more uniform panel. Decide whether the natural free-edge line is part of the look you like or whether you want more coverage beneath the decorative band.
If a low-contrast scallop disappears in ordinary light, compare a slightly deeper tip colour before making the pattern larger. A larger curve is not the only way to improve visibility. Conversely, a strong dark border may need less area to create the emphasis you want.
| Design choice | Quieter option | More noticeable option | What to check |
|---|---|---|---|
| Band depth | A narrow painted tip | A deeper two-colour area | The space left for the base |
| Curve size | Shallow rounded lobes | Broader or deeper curves | Readability at actual nail size |
| Colour contrast | Similar pale shades | A deeper colour over a pale base | Visibility outside bright close-up light |
| Repetition | Selected accent nails | The border across every nail | The rhythm of both hands together |
| Coverage | A sheer base if preferred | An opaque uniform base | Whether the natural nail line remains part of the design |
Practise rounded marks without changing the nail edge
For home practice with familiar ordinary lacquer, use an appropriate display surface to explore rounded marks and spacing. OPI’s Party Splasher guide demonstrates a dotting tool and drying between stages. That provides context for making small rounded marks; it is not a scalloped-tip recipe to copy or a general instruction for gel products.
Follow the actual product instructions and avoid building thick repeated corrections to force a pattern into shape. If the curves merge into a heavy band, simplify the design or start the practice again. A sample is a place to discover the useful scale before committing to the finished manicure.
The American Academy of Dermatology advises smoothing rough nail edges and leaving cuticles alone. Scallops belong in the painted design, not in the physical outline. Do not cut notches, file decorative waves into the free edge or alter the surrounding skin to match the illustration.
Give the final reference a clear priority
Describe the base coverage, tip colour and curve depth in one short note. If the reference uses long nails, explain that you want the scalloped idea at your own length. State whether it should appear on every nail or only selected accents.
For other edge treatments, explore Nail Art. Compare finishes in Polish & Tools and find occasion palettes in Seasonal & Bridal. Keep the repeated curves clear, leave enough base visible and let the design adapt to the nails you actually want to wear.
For the related design decisions, compare Micro French Nails: Choosing Tip Width, Shape and Colour, Blue French Tips: Navy, Cobalt and Powder Blue Ideas and Tiny Polka Dot Nails: Spacing, Scale and Colour Ideas. For the practical details, use Dotting Tools for Nail Art: Sizes and Simple Design Uses.
Common questions
Are scalloped tips created by cutting the nail edge?
No. The scallops in this guide are a painted colour boundary, while the physical nail edge stays smooth. Do not cut notches or file decorative waves into the nail to imitate the pattern. Adapt the polish design to a comfortable shape and leave surrounding skin intact.
How many scallops should each nail have?
There is no fixed number. The useful count depends on nail width, curve size and the amount of tip colour you want. Aim for a consistent visual rhythm rather than forcing identical counts onto different fingers. Compare a simple sketch or sample at actual size before application.
Can scalloped French tips work on short nails?
Yes, with suitable proportions. A shallow curve or narrower coloured band can preserve more of the base on a short nail. Compare those changes before deciding you need extra length. A direct copy of a long-nail reference may use more tip area than you intended.
Should I choose white tips for this design?
White or ivory over blush is one option, but rose, berry, blue or another colour can also create the painted border. Decide how much contrast you want and compare the shades at similar band depth. The scalloped shape does not require a particular colour to remain recognisable.
Is a sheer base different from an opaque base here?
Yes. A sheer base leaves the natural nail and free-edge line more visible within the design, while an opaque base creates a more uniform background. Choose the coverage deliberately and view it beneath the proposed scalloped band, rather than assuming every pale base will give the same result.
Can I practise the design with a dotting tool?
You can explore rounded marks on an appropriate display surface using a familiar ordinary-lacquer product and its instructions. The cited dotting example supports that practice idea, not a universal scalloped-tip or gel procedure. Work out scale and spacing before attempting the finished manicure, and avoid thick repeated corrections.
Do scalloped borders need to appear on every nail?
No. Selected accent nails can carry the pattern while the rest stay plain. Compare both hands together and decide how much repetition you enjoy. If the full set feels crowded, reducing the number of decorated nails may preserve the motif more clearly than making every curve extremely tiny.
What should I include in a salon reference?
Specify the base coverage, tip colour, band depth and whether the curves should be shallow or prominent. State your actual preferred length and whether the design repeats on every nail. A clear note prevents confusion between a painted scalloped boundary, a simple French tip and a physically shaped edge.
Sources and further reading
- Essie UK — French tip nail guide — checked 2026-10-23
- OPI — Party Splasher nail-art guide — checked 2026-10-23
- American Academy of Dermatology — How to trim your nails — checked 2026-10-23