Dotting Tools for Nail Art: Sizes and Simple Design Uses
Use tip sizes and simple practice patterns to plan dots, clusters and spacing without expecting exact printed dimensions.
Archive edition: 2026-09-19 · This is an editorial allocation, not the first-publication date.
Key takeaways
- Choose one rounded tip and compatible ordinary polish.
- Observe a few marks on a practice surface.
- Plan the gaps before adding complexity.
- Follow the colour and finishing instructions.
- Clean the exact tool as its manufacturer directs.
In this guide
- Key takeaways
- Understand what the tip measurement describes
- Start with one tool and one colour
- Use spacing as part of the design
- Explore rows and clusters without needing tiny artwork
- Respect the underlying polish routine
- Clean according to the actual tool construction
- Buy for the patterns you want to make
- Common questions
- Sources and further reading
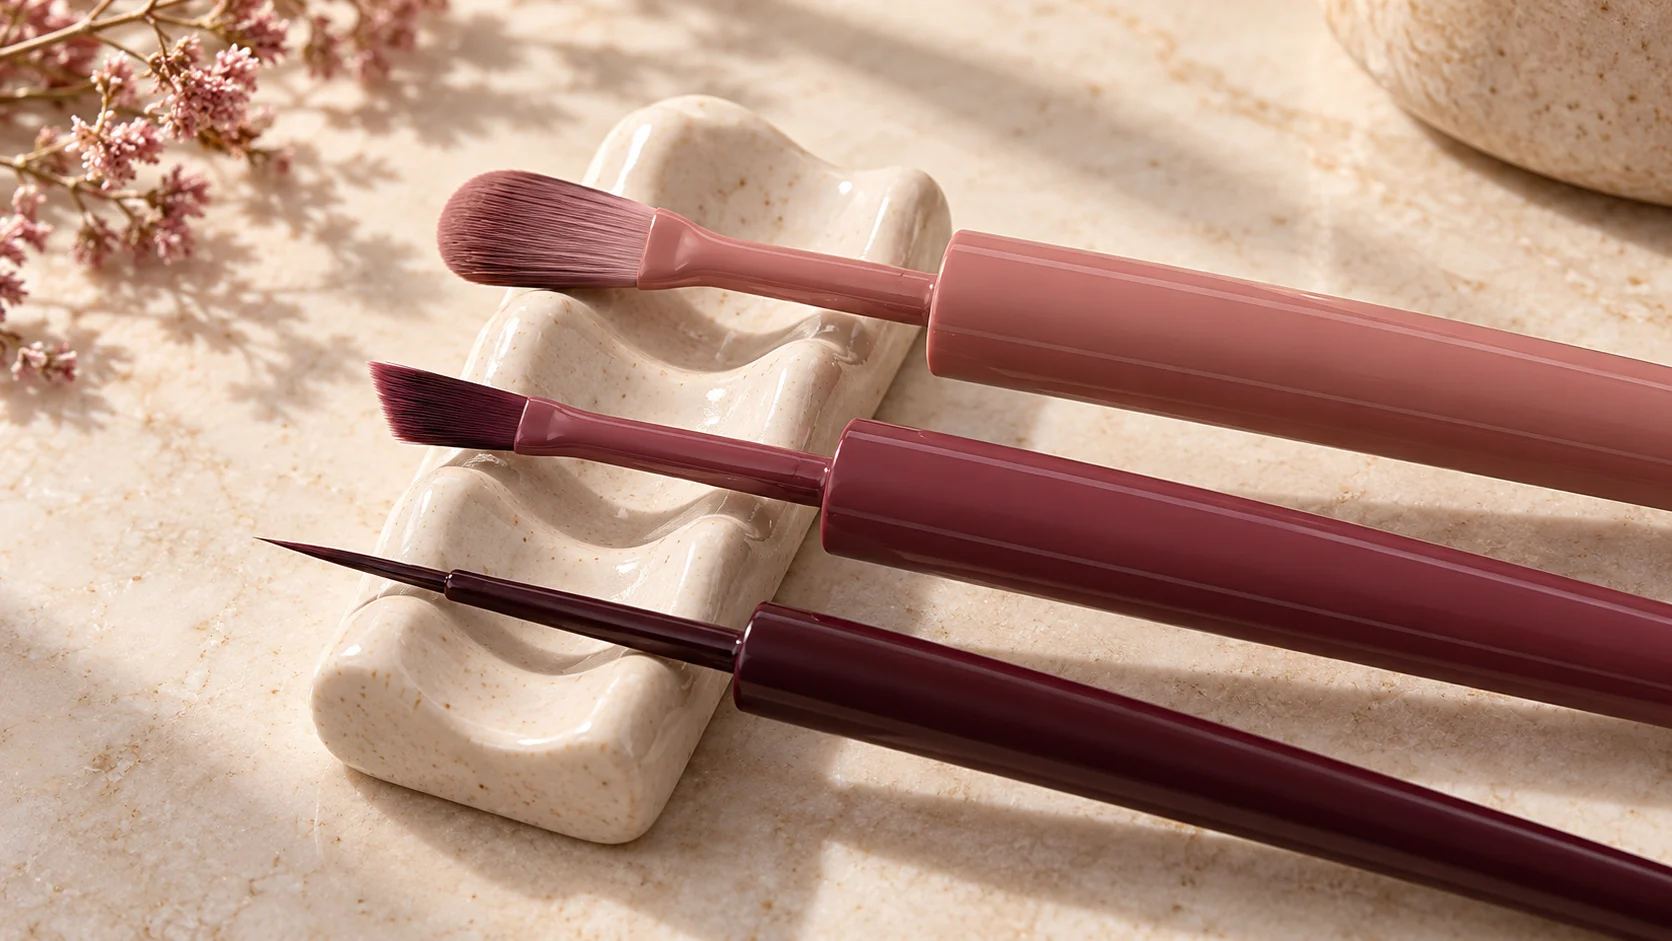
A dotting tool places small amounts of colour with a rounded tip, making it useful for simple nail-art marks and repeating patterns. Different tip sizes can give you more options, but the number printed on a tool set is not a promise that every dot will have that exact diameter.
The practical skill is learning how a chosen tool and ordinary polish behave together, then planning the spacing around the marks you can comfortably make. This guide uses manufacturer examples and original practice suggestions. It is not a calibrated tool test, a copied branded design or a tutorial for handling uncured gel on skin.
Understand what the tip measurement describes
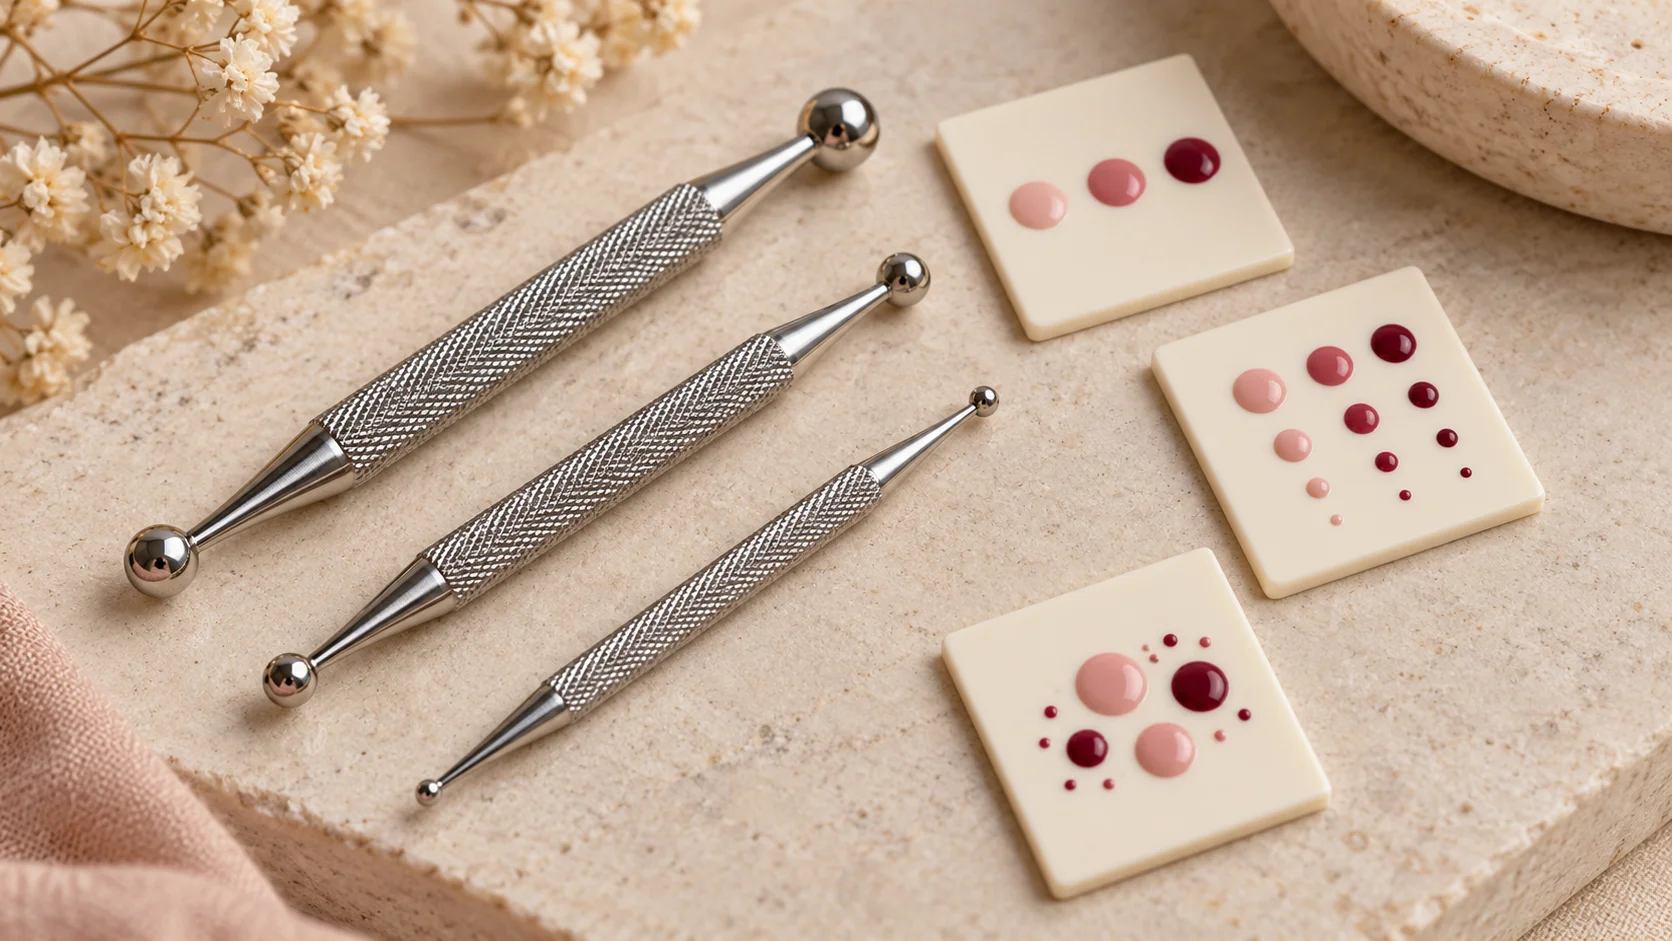
Cirque Colors’ On Point set contains three double-ended tools with six listed ball-tip sizes. The product information describes the tools themselves. It does not establish that a 1.3 mm ball, for example, will always leave a 1.3 mm painted circle.
The result also depends on the amount of colour carried, how you place it and the behaviour of the polish. Think of the tip size as one useful choice within the process rather than an exact printing stamp. Comparing marks on a practice surface can be more informative than choosing solely from the largest or smallest number.
Double-ended tools can provide several options without a large collection. Check whether the ends are clearly different and whether the handle feels easy to hold. More sizes are only useful if you can identify and control them; a compact set may be enough for the simple patterns you want.
Start with one tool and one colour
Before attempting a full manicure, use a suitable practice tip or surface and one ordinary lacquer whose instructions you understand. Try a short row of separate marks, leaving enough space to see each one clearly. The aim is to observe the tool, not to produce a perfect design immediately.
Notice whether the marks stay distinct and whether the amount of product changes along the row. If the result becomes inconsistent, pause and check your loading and the polish directions. Repeatedly pressing harder is not a useful substitute for understanding why the first and later dots differ.
Keep the experiment small. A few practice marks can tell you whether you want a different tip or a different spacing plan. You do not need to paint every nail repeatedly while learning, and you should not thin a formula with an improvised mixture merely to make a tool behave differently.
Use spacing as part of the design
A simple pattern often depends more on the gaps than on the number of colours. Decide whether you want a single accent, a short line, a scattered arrangement or a repeated cluster. Leave room around each mark so the intended pattern remains visible at normal viewing distance.
The OPI Party Splasher tutorial uses dotting-tool placement as part of a lacquer design. It is an example of how a few placed marks can contribute to a larger manicure, rather than evidence that every dotting design needs the same colours, positions or number of dots.
For your own first exercise, choose one clearly defined area of a practice nail and keep the rest simple. This helps you judge the relationship between the marks and the nail shape. A busy background can make it harder to understand whether spacing or colour contrast is causing the design to feel crowded.
| Practice idea | What to observe | Useful adjustment |
|---|---|---|
| One isolated accent | Mark size against the nail area | Try another tip before adding more dots |
| Short row | Consistency and gaps | Plan spacing before increasing length |
| Loose cluster | Whether marks stay distinct | Leave more open space around the group |
| Alternating sizes | Whether the contrast is visible | Choose two clearly different results |
| Offset rows | The rhythm created between rows | Practise alignment on a sample first |
| Two-colour pattern | Unwanted colour transfer | Follow the tool’s cleaning directions between colours |
Explore rows and clusters without needing tiny artwork
OPI’s Poptimistic design demonstrates offset rows of dots. The broader lesson is that a change in arrangement can create a different effect even with a simple mark. You can explore that idea on practice tips without reproducing the brand’s complete design.
Try placing a second row in the gaps between the first row’s marks, then compare it with two directly aligned rows. Keep the colour and tool the same so you can see the effect of spacing. This is an editorial exercise in composition, not a required application method for every polish.
A cluster can also suggest a flower-like or abstract motif, but the marks do not need to become a detailed illustration. If the design begins to merge visually, reduce the number of dots or use a larger area. Simpler placement is a valid finished look rather than merely a beginner stage.
Respect the underlying polish routine
Follow the colour and finishing products’ instructions about application stages. Do not assume every ordinary lacquer, quick-dry range or gel-like system accepts the same timing and top coat. The dotting tool changes how you place colour; it does not erase the formula’s directions.
Keep nail-art product off surrounding skin and stop if you are repeatedly losing control of the placement. Practising on a separate tip can help you change the design without repeated contact or removal on your own nails. Do not use a sharp household substitute to chase a tiny mark near the nail fold.
When finishing, use the supported top coat and method for the system. If a design smears, review the relevant instructions and practise the complete sequence before trying it again. A tool set cannot guarantee that every colour and top-coat combination will behave the same way.
Clean according to the actual tool construction
Cirque describes its On Point tools as all-metal and able to tolerate repeated acetone use, and names a remover for cleaning the ends. That is product-specific guidance. A painted handle, decorative grip or different construction may have different limitations, so do not transfer the statement to every tool that has a metal-looking tip.
Clean between colours according to the tool’s instructions to avoid unwanted transfer. Put the tool down where the rounded end will not pick up lint or unrelated residue. Keep the set dedicated to its intended nail-art use rather than mixing it with household craft tools whose product history is unclear.
After use, check that the tools are clean and undamaged before storing them. Removing visible polish is not a claim of sterilisation, and a personal practice routine should not be presented as a professional hygiene protocol. Follow the appropriate standards for the setting in which a tool is used.
Buy for the patterns you want to make
Choose a set with clear specifications and care instructions rather than the greatest number of pieces. If you mostly want a few accents, you may only use a small part of a large kit. Check whether the handle, size range and cleaning requirements suit your normal setup.
Learn one mark, then arrange it
- Choose one rounded tip and compatible ordinary polish.
- Observe a few marks on a practice surface.
- Plan the gaps before adding complexity.
- Follow the colour and finishing instructions.
- Clean the exact tool as its manufacturer directs.
Find more tool and finish guides in the Polish & Tools section. A simple pattern with deliberate spacing can be more satisfying than a crowded design built around every tip in the box.
To compare the connected product and routine choices, read Nail Polish Brush Shapes: Wide, Rounded and Fine Brushes Compared, Nail Stickers vs Water Decals: Application Styles Compared and An At-Home Manicure Toolkit: What to Buy and What You Can Skip. For the related care or design question, see Tiny Polka Dot Nails: Spacing, Scale and Colour Ideas.
Common questions
Does a dotting-tool size equal the diameter of the painted dot?
No exact result is guaranteed by the ball-tip measurement. The amount of product and how it is placed also affect the mark. Use the listed size to compare tools, then observe a few dots on a suitable practice surface before planning the spacing of a finished design.
How many tip sizes does a beginner need?
There is no required number. A small selection of clearly different rounded tips can support simple practice, while a large kit may contain sizes you rarely use. Choose manageable handles and clear care instructions, then add options only when a particular design gives you a reason.
What is a useful first dotting exercise?
Use one compatible ordinary polish and one rounded tip on a practice surface. Make a short row with generous gaps and observe whether the marks remain distinct. Keep the exercise simple enough to identify changes in loading or spacing before adding extra colours and more complicated patterns.
Why do later dots sometimes look different from the first?
The amount of product on the tool and your placement can change through a sequence. Observe those variables and the polish instructions rather than pressing harder to force identical marks. A practice surface lets you investigate the difference without repeatedly reworking a manicure on your own nails.
Can I use a sharp household object instead?
Choose a suitable rounded tool rather than using a sharp substitute near the nail fold or skin. The goal is controlled colour placement, not scratching a tiny mark into place. If the tool feels difficult to manage, simplify the design and practise separately before trying it on nails.
Can every metal-tipped dotting tool tolerate acetone?
Do not assume that it can. Cirque’s stated acetone tolerance applies to its all-metal On Point tools. Other products may have painted handles, grips or different construction. Read the care instructions for the complete tool, not just the appearance of its rounded end.
Do I need to thin polish before making dots?
Do not improvise a formula change as a standard preparation step. Use a compatible product and follow its directions; ask the manufacturer if consistency is a problem. A tool tutorial does not establish a universal thinner, dose or method for every lacquer or lamp-cured system.
How do I stop a dotted design becoming crowded?
Plan the gaps and the area of the nail before increasing the number of marks. Try a single accent, a short row or a loose cluster on a practice tip. Reducing the number of dots is a valid design choice, not a failure to use every tool or colour.
Sources and further reading
- Cirque Colors — On Point Dotting Tools — checked 2026-10-23
- OPI — Party Splasher — checked 2026-10-23
- OPI UK — Poptimistic — checked 2026-10-23