Nail Polish Brush Shapes: Wide, Rounded and Fine Brushes Compared
Compare brush width, tip shape and handle control to choose an applicator for all-over colour or fine nail art.
Archive edition: 2026-07-01 · This is an editorial allocation, not the first-publication date.
Key takeaways
- Decide between all-over colour and a small design.
- Compare width, tip, stem and handle separately.
- Check control on both broad and narrow nails.
- Follow the product's application and tool-care directions.
- Keep the option that feels manageable to you.
In this guide
A nail polish brush affects how you place colour, but its shape cannot tell you everything about the finished manicure. A broad brush may suit an all-over coat, a rounded tip may feel easier to position near a curved base, and a fine liner can help with small marks. Your nail width, grip and preferred design still matter. There is no single applicator that everyone must learn to like.
This guide separates the visible features of a brush from manufacturer performance claims. It is a buying and observation guide, not a comparison based on hands-on testing. Check the current product and its instructions: brushes can differ between ranges, markets and packaging revisions, even when the colour name sounds familiar.
Width, tip shape and stem are different features
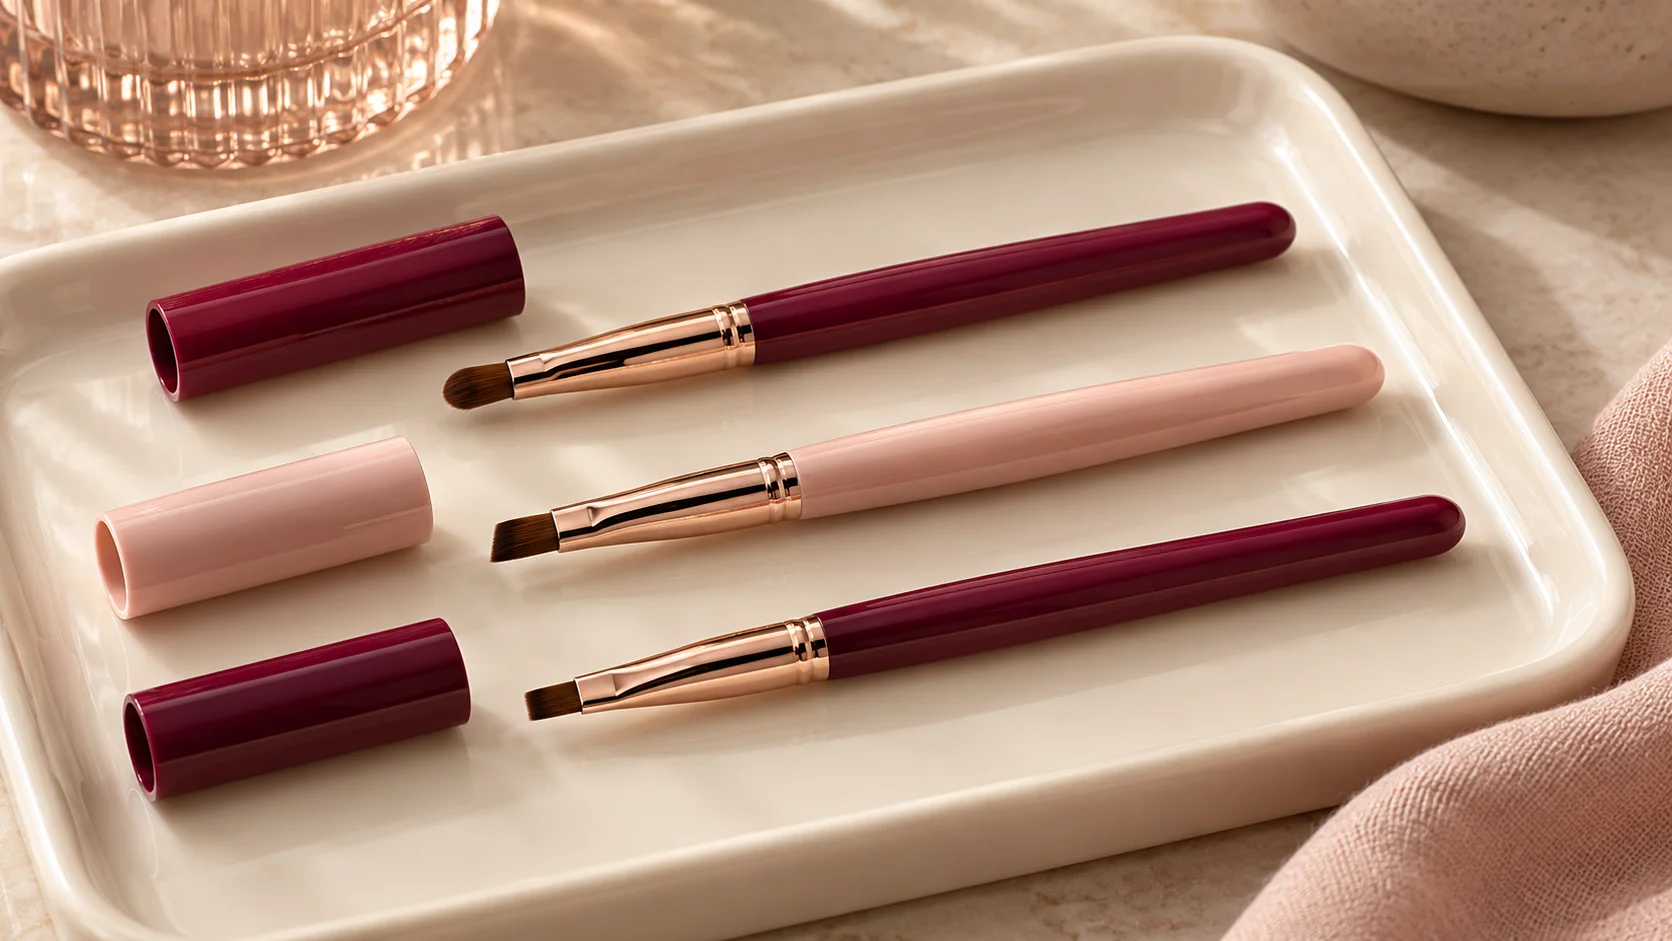
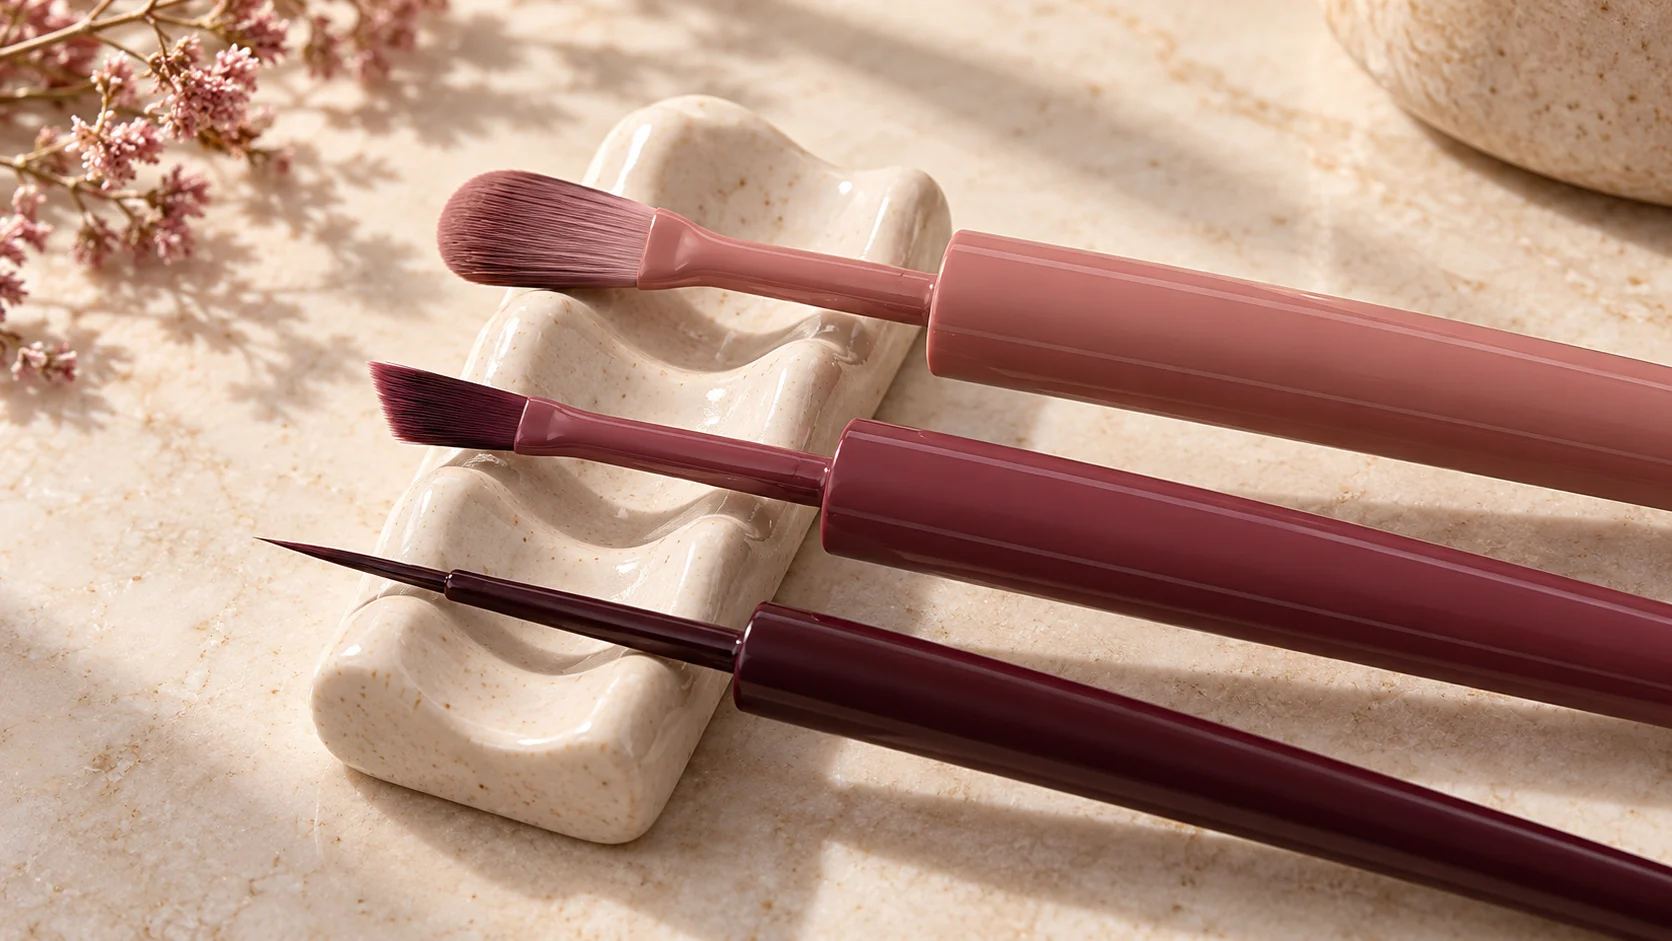
Width describes the brush across its bristles. Tip shape describes the edge that meets the nail: it might look straight, curved or slanted. The stem connects those bristles to the cap, while the cap itself becomes your handle. These features work together, so describing a brush only as wide can hide the detail that actually affects your control.
A rounded brush can also be broad. An angled brush may have a fairly generous width. A narrow brush does not automatically become a fine nail-art liner. When comparing product photographs, look for the complete applicator and its stated purpose rather than treating these words as mutually exclusive categories.
Remember that a loaded brush looks different from a clean one. Colour can obscure the bristle edge, and pressure changes the shape you see during application. An enlarged marketing image is useful for identifying a feature, but it is not a reliable ruler or proof of how far the brush will spread on your particular nail.
Broad brushes: consider the smallest nail too
A broad applicator offers a wider area for placing colour, which may appeal when you mainly paint one shade across the whole nail. The useful question is whether you can guide it comfortably while leaving the surrounding skin clear. A broad thumb does not mean the same width will feel equally manageable on the little finger.
Before buying several shades from a new range, consider trying one colour whose formula and removal process you already understand. Notice whether the cap feels secure and whether the brush gives you a clear view of where colour is going. This is a personal usability check, not a scientific ranking of the brand.
Do not judge quality by the number of strokes shown in a short video. Nail size, camera angle, polish loading and editing can all change that impression. A controlled application that follows the product directions is more useful than trying to reproduce somebody else’s one-stroke demonstration.
Rounded tips and swirl stems
A rounded bristle edge may be convenient when positioning colour near a curved nail base, but it does not need to touch the cuticle to look neat. Leave room to steer the brush. If the curve feels awkward, that is a reasonable preference rather than evidence that your nails have the wrong shape.
Stem design is a separate consideration. On its Take Me to Thread page, Essie UK describes a swirl-stem brush intended to control product distribution. That is the manufacturer’s design explanation. It does not establish a measured advantage over every straight stem or guarantee an even finish for every user.
Product pages can mix current descriptions with older customer reviews. Use the brand’s current specification for the product you are ordering, and treat a review about a brush bought years ago as someone’s experience with that purchase. Neither a review photograph nor a familiar bottle silhouette confirms the exact applicator in today’s local stock.
Angled brushes and your other hand
Essie’s Expressie guidance describes an angled brush intended for application with either hand. Its directions explain changing the angle when switching hands. This is a useful example of why the orientation of an applicator can matter as much as its width.
Read that advice alongside the instructions for the particular range. An angled brush does not mean every product using it has the same drying behaviour, coat count or need for a top coat. The applicator and the formula are related parts of the product, but one cannot substitute for the other’s directions.
For a more comfortable setup, put the bottle on a stable surface and support the hand you are painting. Check that you can reach the cap without balancing the bottle in your palm. If a handle feels slippery or difficult to hold, changing your setup may help you understand the issue before buying a different brush.
| Feature | Potential use | Personal check |
|---|---|---|
| Broad bristle width | All-over colour placement | Can you control it on your smallest nail? |
| Rounded edge | Following a curved colour boundary | Can you keep the surrounding skin clear? |
| Angled edge | Changing approach between hands | Are you following the range’s orientation advice? |
| Fine liner or detail brush | Stripes and smaller motifs | Is it suitable for your chosen product? |
| Cap and stem | Grip, reach and loading | Does the complete applicator feel manageable? |
Fine brushes serve a different task
For small designs, the brush supplied inside a colour bottle may not be the tool you want. In its Stripe Right lacquer design, OPI uses a detail or liner brush to place stripes. This illustrates a task-specific choice rather than a recommendation to replace every bottle brush with a tiny one.
Decide what you want to draw before choosing the tool. A single stripe, a filled shape and a miniature motif make different demands on placement. Begin with a simple design on a practice tip if you want to compare handling without repeatedly removing a manicure from your own nails.
Check the brush manufacturer’s compatibility and cleaning directions. A tool sold for a particular gel or art medium should not automatically be treated as suitable for every lacquer or cleaning solvent. Do not swap an unknown brush into a bottle simply because the cap seems to fit: the seal, stem length and material suitability also need to be right.
Turn a difficult application into useful notes
If colour repeatedly reaches the skin, note whether the problem happens on every nail or mainly the narrowest ones. If the result is streaky, record the formula, coat instructions and drying stage too. Those observations avoid blaming the brush for every issue, or buying a new tool when the product directions have not yet been followed.
Keep the comparison small: one or two brushes, the same simple design and a note on grip and visibility. You do not need an expensive collection to discover that you prefer a shorter handle or a narrower edge. Stop using a brush that has become damaged rather than trying to force stray bristles into place against your skin.
Choose the brush around the task
- Decide between all-over colour and a small design.
- Compare width, tip, stem and handle separately.
- Check control on both broad and narrow nails.
- Follow the product’s application and tool-care directions.
- Keep the option that feels manageable to you.
Explore the Polish & Tools section for more guides to formulas and application choices. A useful brush is one that suits the product and lets you place it deliberately, not necessarily the widest, finest or most heavily promoted option.
To compare the connected product and routine choices, read Clean-Up Brushes for Manicures: Shape, Size and Care, Dotting Tools for Nail Art: Sizes and Simple Design Uses and Quick-Dry Polish: How to Compare Application and Wear Instructions. For the related care or design question, see Colour Block Nails: Simple Layouts for Two or Three Shades.
Common questions
Is a wide nail polish brush always easier to use?
Not for everyone. Consider how it feels on your narrowest nail as well as your thumb, and whether you can see and control the colour boundary. Handle shape, polish loading and the formula also affect application, so width alone is not a reliable quality ranking.
Are rounded and wide brushes the same thing?
No. Rounded describes the shape of the bristle edge, while wide describes its width. A brush can have both features. Compare the complete applicator, including the stem and cap, rather than treating these descriptions as separate product categories with a guaranteed winner.
What is an angled brush for?
An angled edge changes how the brush approaches the nail. Essie describes its Expressie brush as supporting application with either hand and gives orientation guidance. Follow the instructions for your particular range; the brush shape does not establish the required coat count or drying method.
Do I need a liner brush for ordinary polish?
You do not necessarily need one for a plain all-over colour. A compatible detail or liner brush may help with a deliberate stripe or smaller motif. Choose it for the design you want to create, and check its product compatibility and cleaning instructions before use.
Can I replace a bottle brush with one from another polish?
Do not assume that a similar-looking cap makes a replacement suitable. Stem length, sealing and material compatibility also matter. Ask the manufacturer about an approved replacement rather than putting an unknown applicator into the bottle or expecting every polish range to share the same hardware.
Does a swirl stem guarantee a streak-free manicure?
No individual outcome is guaranteed by that feature alone. Essie describes its swirl stem as helping distribute product, but application also involves the formula, loading and your handling. Treat the design description as manufacturer information rather than independent proof that it outperforms every alternative.
How can I compare brushes without buying many bottles?
Start with one or two options and a simple intended task. Note grip, visibility and control on both hands, particularly the smallest nails. A practice tip can help you explore a design without repeatedly removing polish from your own nails. Keep observations separate from broad performance claims.
Why might the brush differ from an old review?
Packaging and applicators can change, and products may vary between ranges or markets. An older reviewer describes their particular purchase. Check the current local product specification or ask the supplier for confirmation rather than relying only on a familiar shade name or an old photograph.
Sources and further reading
- Essie — Expressie brush guidance — checked 2026-10-22
- Essie UK — Take Me to Thread — checked 2026-10-22
- OPI UK — Stripe Right — checked 2026-10-22