French Ombré Nails: How the Fade Differs from a Classic French
Compare a soft pink-to-white fade with a defined French tip, then choose the transition, coverage and shape.
Archive edition: 2026-10-07 · This is an editorial allocation, not the first-publication date.
Key takeaways
- Base: pink or neutral, with the intended coverage.
- Tip: soft milky lightness or a clearer opaque white.
- Transition: broad and gradual or concentrated nearer the edge.
- Service: confirm the actual product system and its specific care.
In this guide
- Key takeaways
- Compare the fade with a defined French tip
- Choose the base as a separate colour decision
- Decide how white the tip should look
- Set the transition length
- Separate the design from the product system
- Keep extra details in proportion
- Describe the fade in four parts
- Use a brief that describes the result
- Common questions
- Sources and further reading
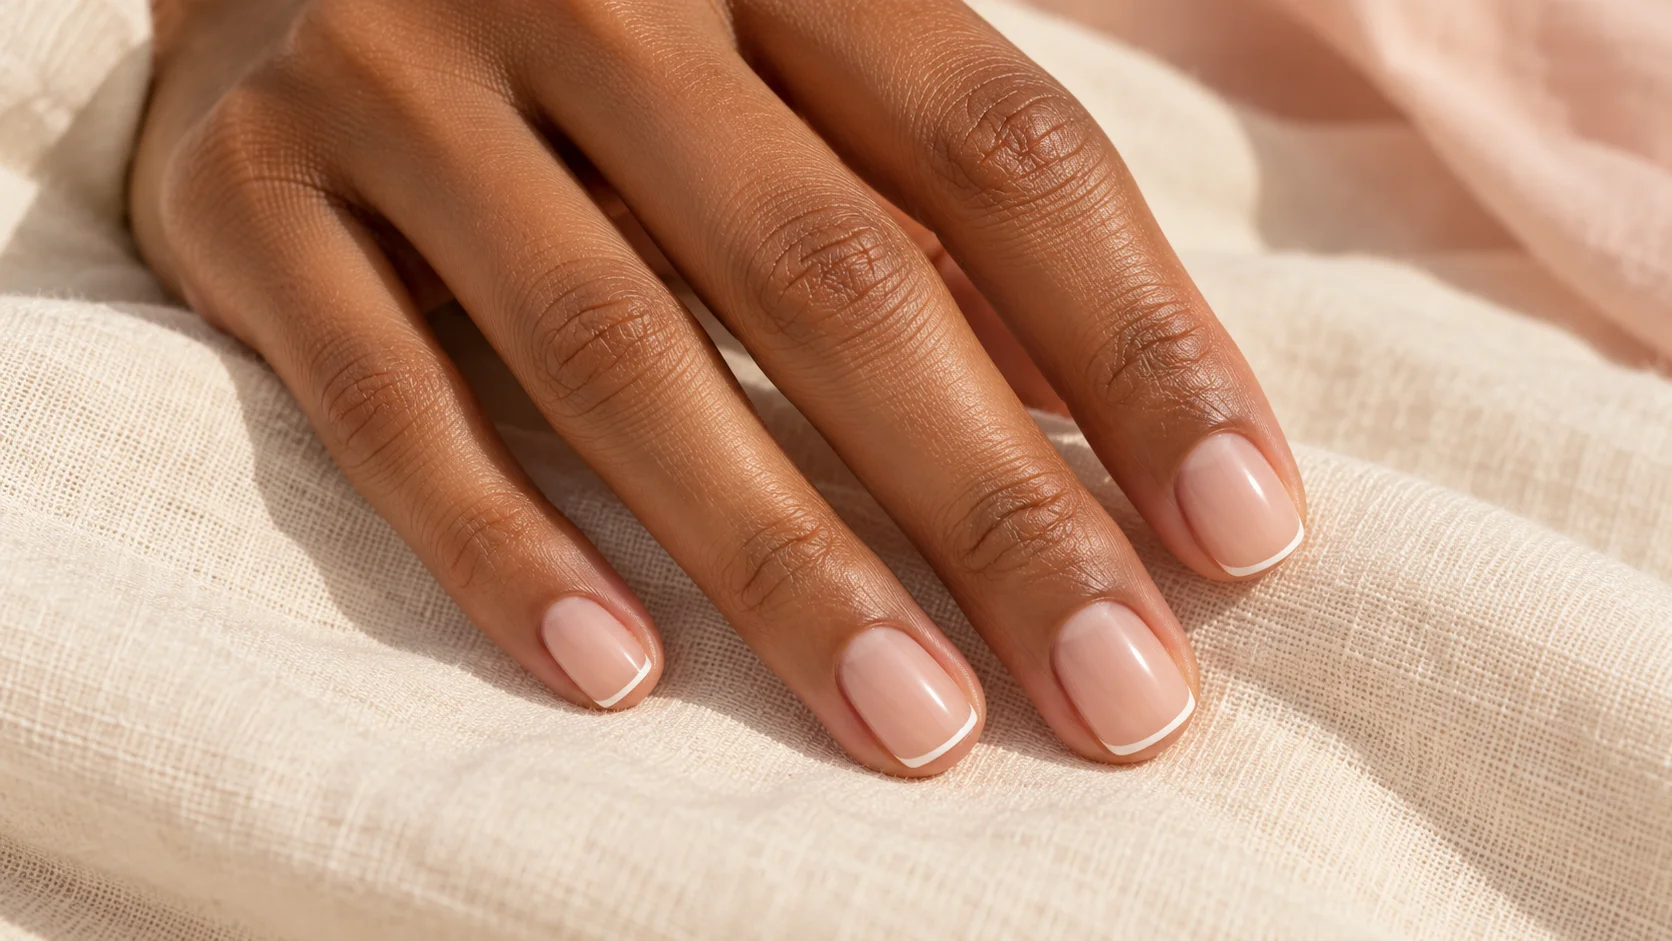
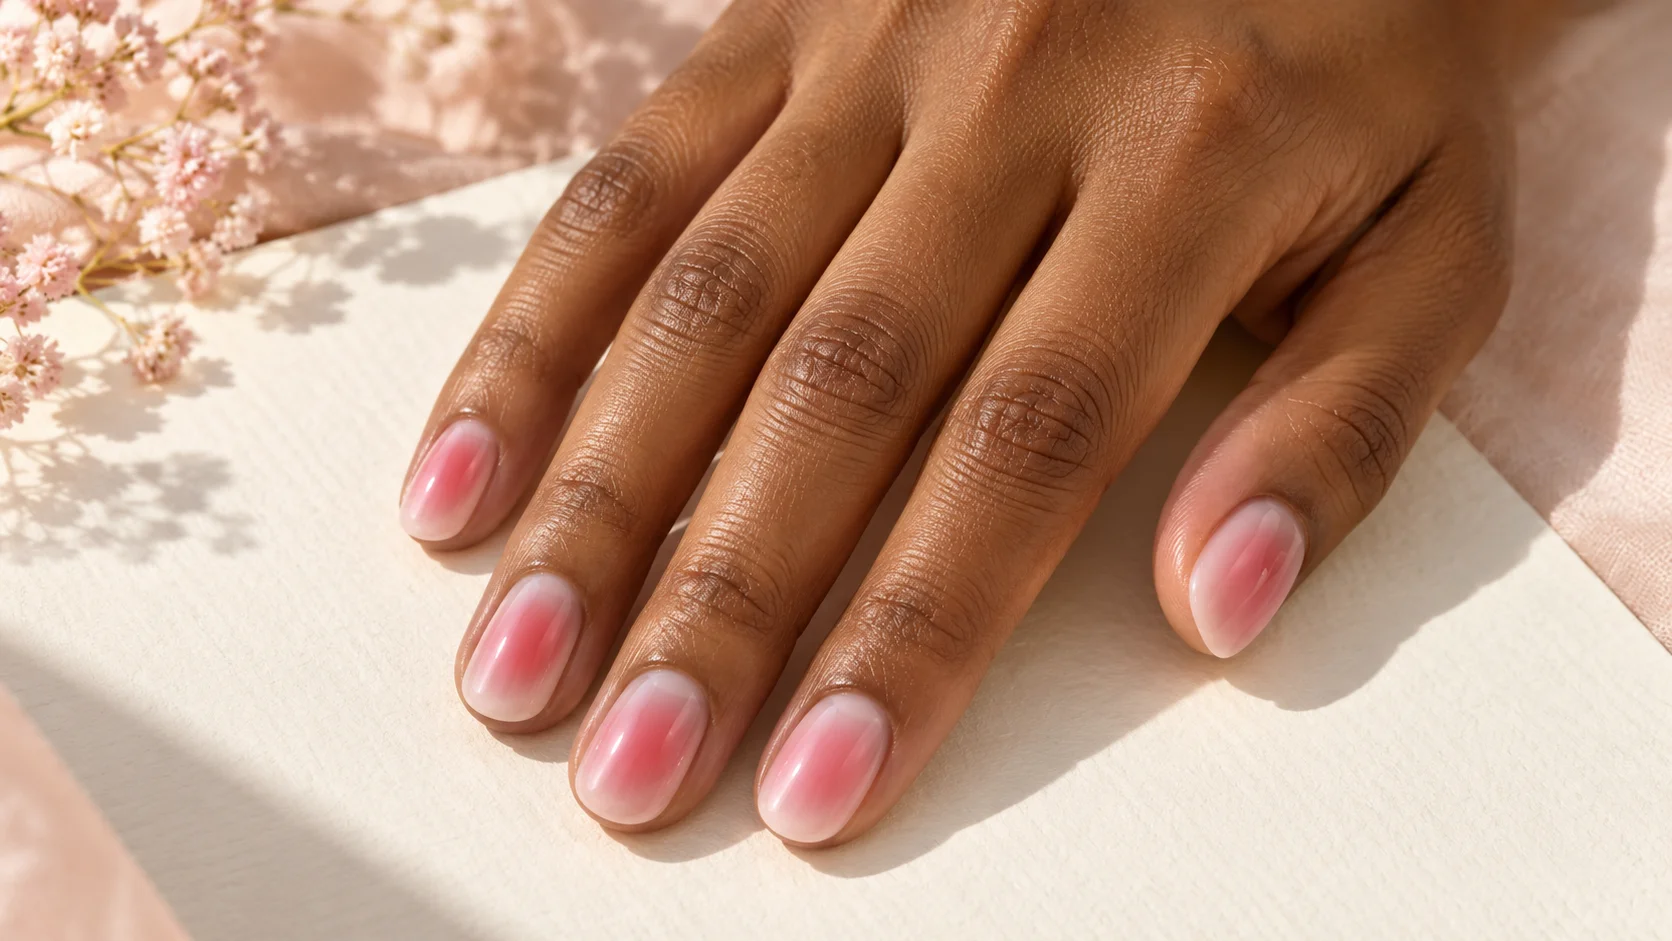
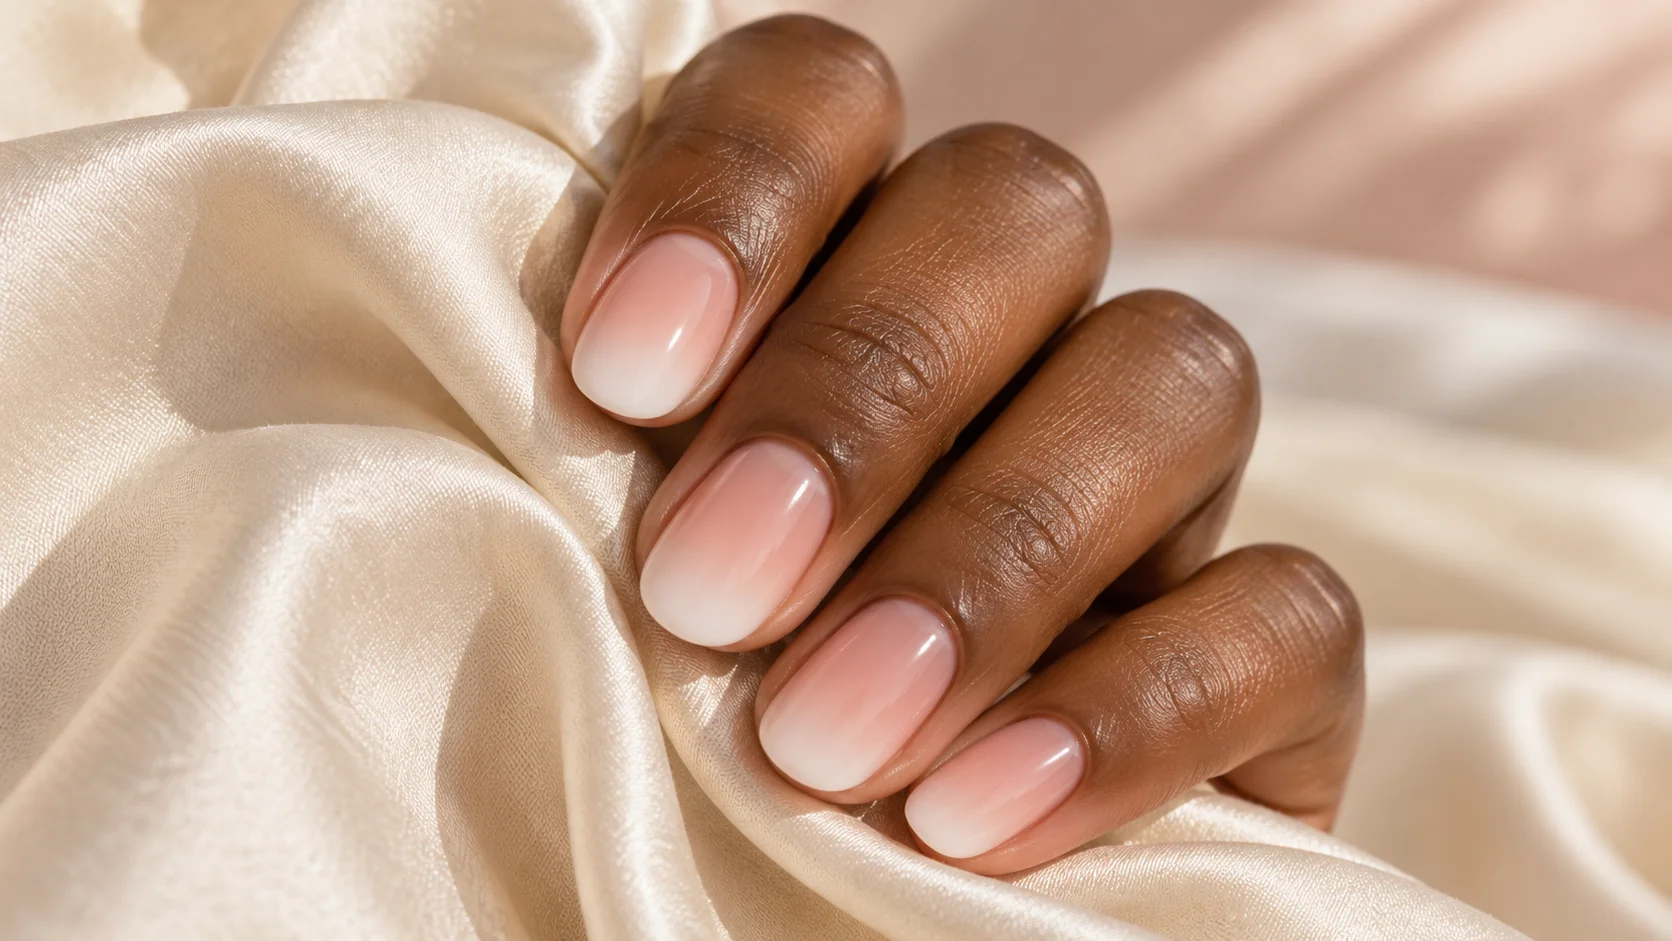
French ombré nails use a blended transition between a pink or neutral base and a lighter tip. A classic French manicure usually keeps a more defined division between those areas. The difference is the edge of the colour: a fade spreads the transition over an area, while a crisp tip presents a clearer line.
To choose a French ombré you will enjoy, look at the base colour, the brightness of the tip and the length of the transition. A very soft milky fade can feel different from an opaque white tip that blends into a strongly coloured base. Both may appear under the same design label.
Compare the fade with a defined French tip
Essie’s French manicure guide provides a reference for the familiar contrasting tip and base. In that structure, the boundary is part of the design. With an ombré version, the transition itself becomes a feature rather than a line to make sharper.
Put two references side by side and ignore the length for a moment. Follow the colour from the base towards the tip. If you can identify a sudden change, you are looking at a more defined division. If the colour gradually becomes lighter, the design is closer to the fade discussed here.
This comparison prevents a common mismatch in a brief: asking for a soft ombré while showing a crisp white tip because you like the shade of pink. Tell the technician which part of each image matters. You can borrow the base colour from one reference and the transition from another, but make that intention explicit.
Choose the base as a separate colour decision
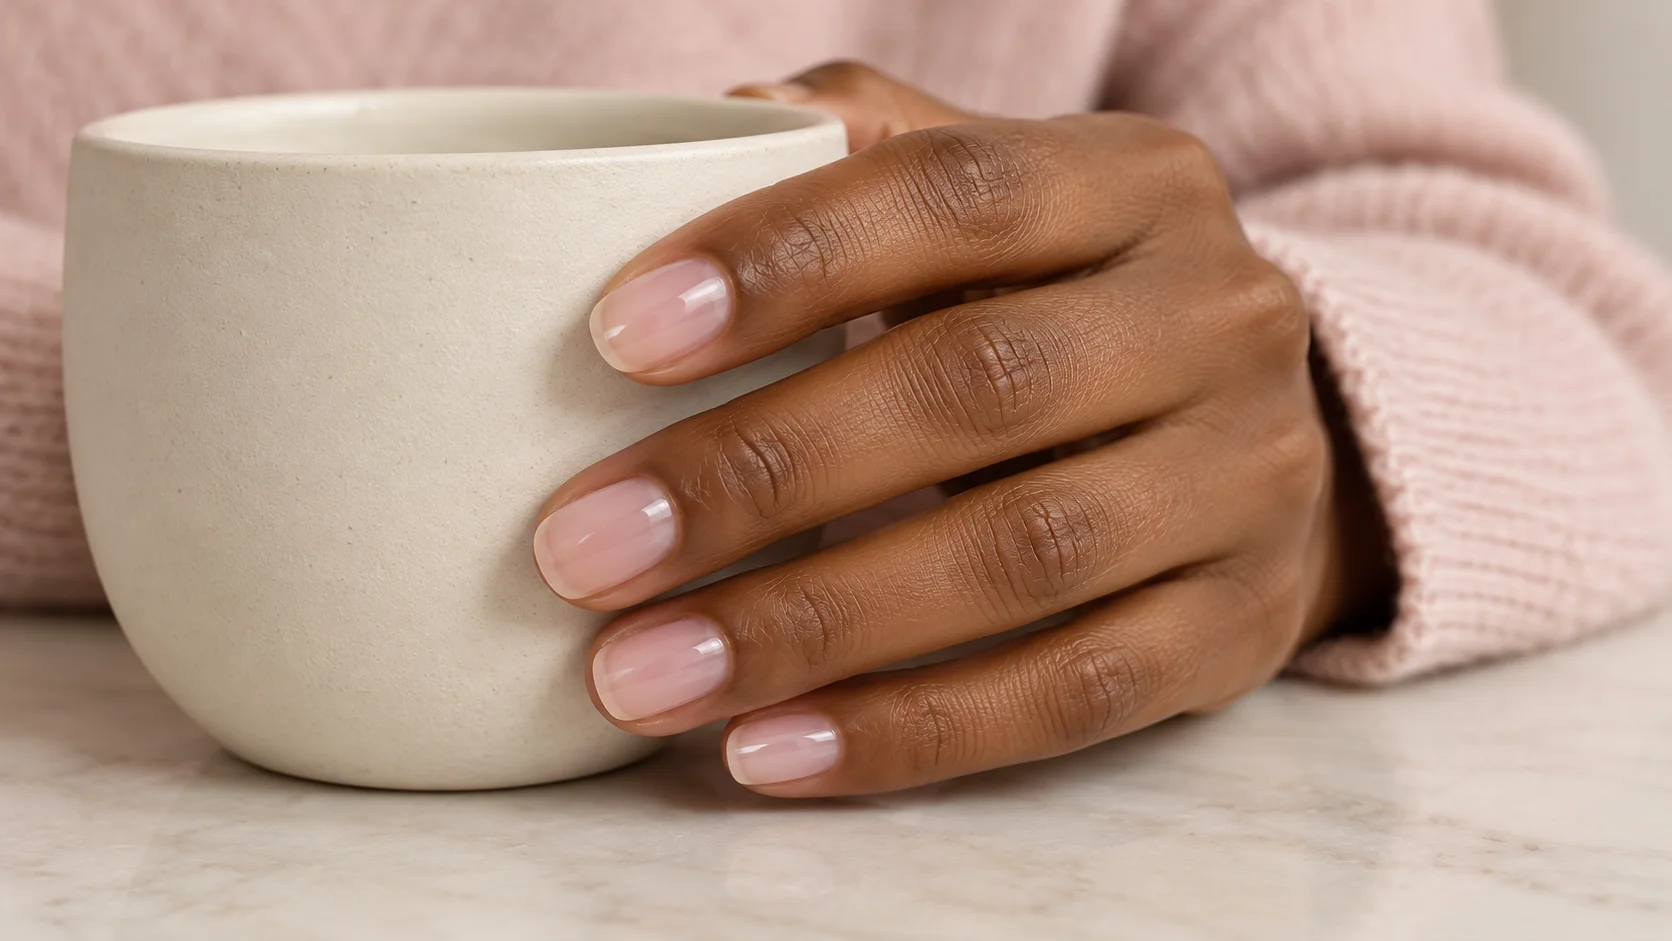
A sheer pink base can leave more of the natural nail visible. A milkier pink or a more opaque neutral creates a different starting field for the fade. Compare the base on a sample before deciding how bright the tip should become. The two areas need to work together.
There is no single neutral that suits every preference. You may want a pinker base, a warmer beige or a quieter milky tone. Hold the sample beside your hand and choose the relationship you like. Do not let a heavily edited reference dictate an exact colour match that the screen cannot reliably provide.
If your natural free edge remains visible through the base, ask how that will interact with the planned fade. A soft-looking image does not necessarily mean the whole manicure is sheer. The coverage should be described directly instead of inferred from the word natural.
Decide how white the tip should look
A soft cream or milky white gives a different contrast from a bright opaque white. Compare both beside the same base colour. A small change in tip brightness may achieve the gentler effect you want without requiring the technician to alter the entire fade.
Look at the tip in ordinary room light as well as under the salon lamp. Strong reflections can make a glossy surface appear whiter in a photograph. Ask to see a sample from another angle so you can separate the colour from the reflected highlight.
If you want only a suggestion of a lighter edge, say that. If you want the end of the nail clearly white with the softness concentrated further down, say that instead. Those are different instructions even though both involve blending.
| Structure | Colour boundary | Main choice to confirm |
|---|---|---|
| Classic French | A defined contrasting tip | Tip width and curve |
| Soft French ombré | A gradual pink-to-light transition | How subtle the white should remain |
| Higher-contrast French ombré | A fade leading to a clearly white tip | Where the stronger white begins |
| Ready-made ombré design | A fixed gradient on a supplied nail | Product format, shape, fit and actual colour sample |
Set the transition length
A longer transition spreads the change across more of the nail. A shorter transition concentrates it nearer the tip. Sketch the approximate region where you want the fade to happen, especially if your reference uses much longer nails than your intended manicure.
On a short nail, copying the same physical transition length from a long reference could leave very little visible base. Ask for a similar visual proportion instead. The goal may be to preserve a pink base, a softly blended middle and a light tip, rather than to copy an exact distance.
Check the complete set, including the thumb. Different widths and lengths can make the same transition look different. A technician can discuss how to keep the overall impression consistent without promising that every nail will be an identical miniature photograph.
Separate the design from the product system
Essie’s general nail-art guide describes sponge blending for an ordinary-polish ombré. That is one example of a softened transition. It is not an instruction to copy the same timings, products or process into a gel or other salon system.
The appearance also exists in ready-made formats. OPI France’s Dream Come Hue listing uses the Baby Boomer description for a nude-to-cream ombré press-on design. The listing illustrates the visual category; it does not mean every French ombré is a press-on or uses an identical application method.
Ask the provider what service they offer, what it includes and what care and removal instructions apply. If you are choosing press-ons, use the directions for that exact product. The shared design name does not establish a universal wear time, removal method or appointment duration.
Keep extra details in proportion
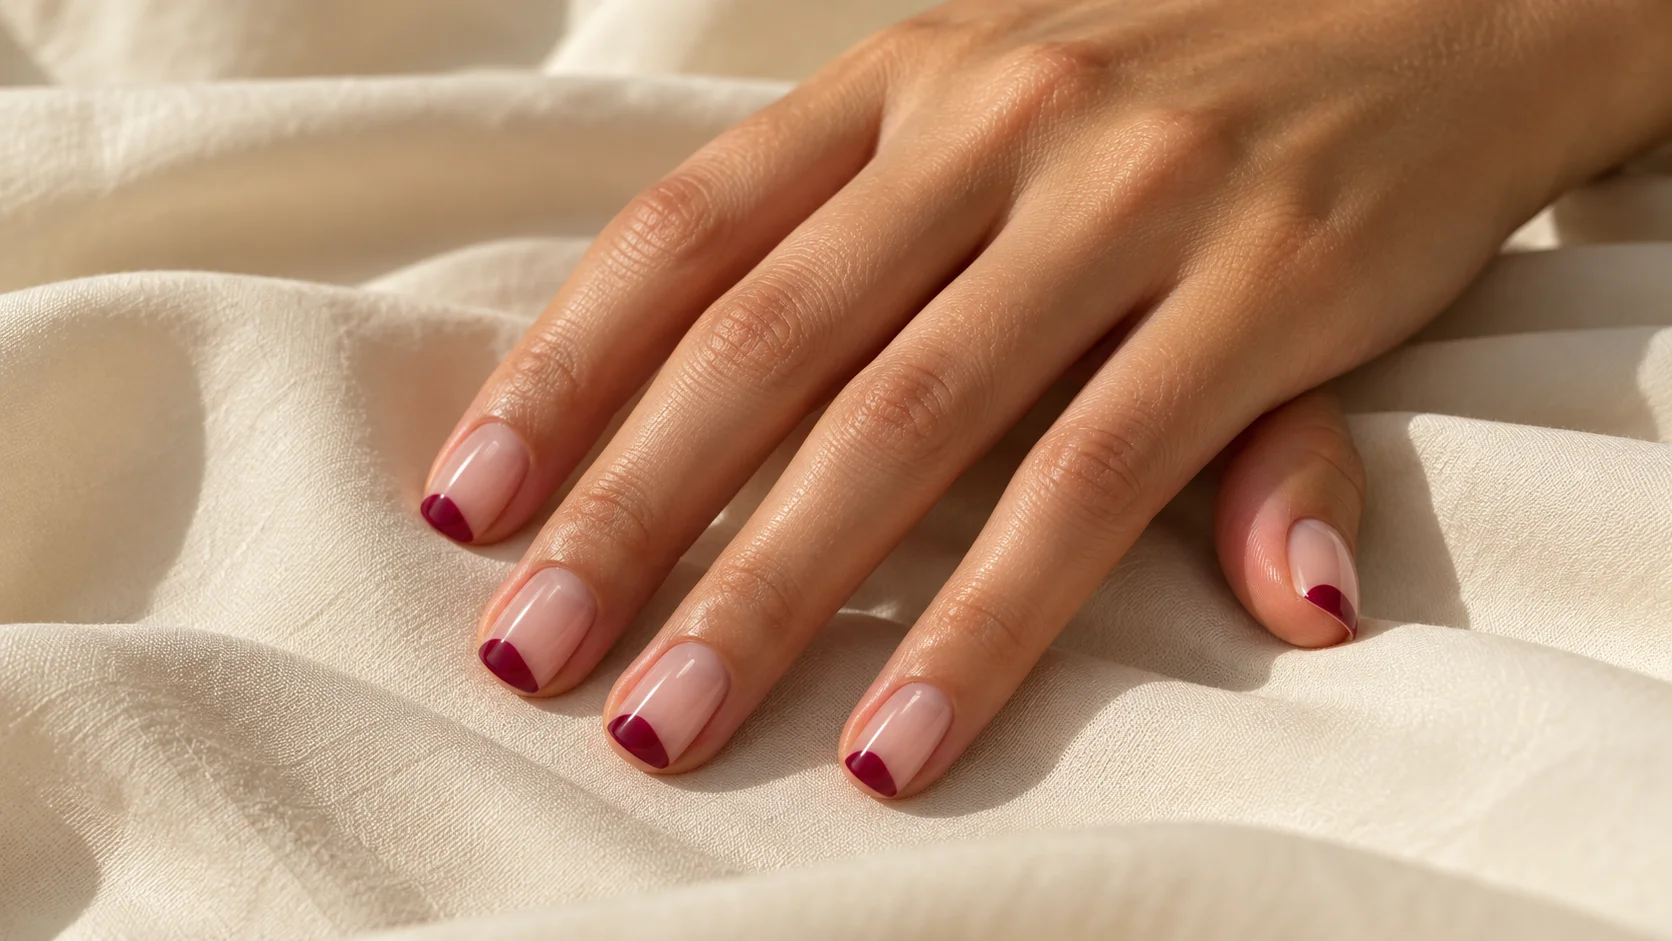
A plain fade lets the transition remain the main feature. Small pearl-like decorations, a metallic line or another motif can be optional additions, but decide whether they obscure the blend you selected. More decoration does not automatically make the gradient easier to appreciate.
For a first version, consider keeping the whole set in the same palette and finish. If you want an accent, choose its position before the appointment. A full-hand sketch can show whether the accent complements the fade or becomes a separate focal point.
Describe the fade in four parts
- Base: pink or neutral, with the intended coverage.
- Tip: soft milky lightness or a clearer opaque white.
- Transition: broad and gradual or concentrated nearer the edge.
- Service: confirm the actual product system and its specific care.
Use a brief that describes the result
Try: “Short oval nails with a milky pink base, soft white tips and a gradual fade that leaves the pink clearly visible.” Add whether the finish should be plain glossy and whether you want any accents. Show one main reference near your intended length, then compare the actual colour samples.
Keep a photograph and the product details after the appointment. For a future change, specify a less white tip, a longer transition or a different base tone. That feedback is more useful than simply asking for a softer French. Explore other edge and colour ideas in our nail art section.
For the related design decisions, compare Micro French Nails: Choosing Tip Width, Shape and Colour, Milky Pink Nails: How Sheer Layers Change the Finish and Aura Nails: Soft Colour Combinations and Salon Reference Tips. For the practical details, use Sheer White vs Opaque White Polish: Finding the Finish You Want.
Common questions
What is the difference between French ombre and a classic French?
A classic French usually has a more defined division between its base and contrasting tip. A French ombre blends that transition over an area. Compare the boundary in the reference, because the same pink and white palette can be used for either structure.
Are French ombre nails always bright white at the tip?
No. The tip can be softly milky or more clearly opaque white, depending on your preference and the chosen system. Compare the tip beside the intended base. A change in brightness may create the gentler effect you want without changing the whole fade.
Can I choose a beige base instead of pink?
A neutral or beige direction can be discussed as part of the design. Compare it beside your hand and the planned tip colour. The base coverage also matters, so specify whether you want a sheer, milky or more opaque starting area rather than giving only a colour name.
Can French ombre work on short nails?
Plan the transition at your actual length. A fade copied at the same physical size from a long reference could leave little visible base. Ask for a similar visual balance between base, transition and tip, then compare a relevant sample before deciding.
Does Baby Boomer describe a particular product system?
The term appears in descriptions of the pink-or-neutral-to-light ombre look, including ready-made press-ons. It does not by itself establish whether a service uses polish, gel or another format. Confirm the actual system, application and care instructions with the product or provider.
How do I ask for a softer fade?
Explain whether you mean a less bright tip, a longer transition or a quieter base colour. Those are separate adjustments. Show the part of the reference you want softened so the technician can change the relevant feature instead of guessing from one broad adjective.
Can I add pearl or metallic details to French ombre?
You can discuss those as optional accents, but decide whether they leave the fade visible. A decoration over the transition can become the main focal point. Map the complete set and keep the first plan simple enough that the blended colour still reads clearly.
How do I repeat a French ombre I liked?
Keep a photograph, the product range, base and tip colours, intended coverage and finish together. Note where the transition sits at your chosen length. For a future change, describe one specific adjustment rather than relying on the design name to reproduce every detail.
Sources and further reading
- Essie — How to do French tip nails — checked 2026-10-21
- Essie UK — Mastering nail art — checked 2026-10-21
- OPI France — Dream Come Hue xPRESS/ON — checked 2026-10-21