Black Nail Art with Fine Lines, Gloss and Negative Space
Plan black nail art by balancing line weight, glossy colour and open space across the whole hand.
Archive edition: 2026-08-16 · This is an editorial allocation, not the first-publication date.
Key takeaways
- Role: line, filled accent or background.
- Weight: compare fine and broader marks at normal viewing distance.
- Space: keep the open areas visible in the sketch.
- Rhythm: draw all five nails, including the thumb, before choosing the final arrangement.
In this guide
- Key takeaways
- Decide what role black will play
- Choose a line weight that remains readable
- Make the open space part of the design
- Try three complete-hand arrangements
- Use gloss and matte as deliberate choices
- Keep a home practice plan manageable
- Plan the black, then plan the space
- Write the brief in one sentence
- Common questions
- Sources and further reading
Black nail art can be a fine line, a small curve or one glossy accent rather than a full dark manicure. Its strongest design feature is contrast: a little black can remain easy to see against a quiet base. Start by deciding where you want the eye to go, then leave enough space around that detail for the shape to stay clear.
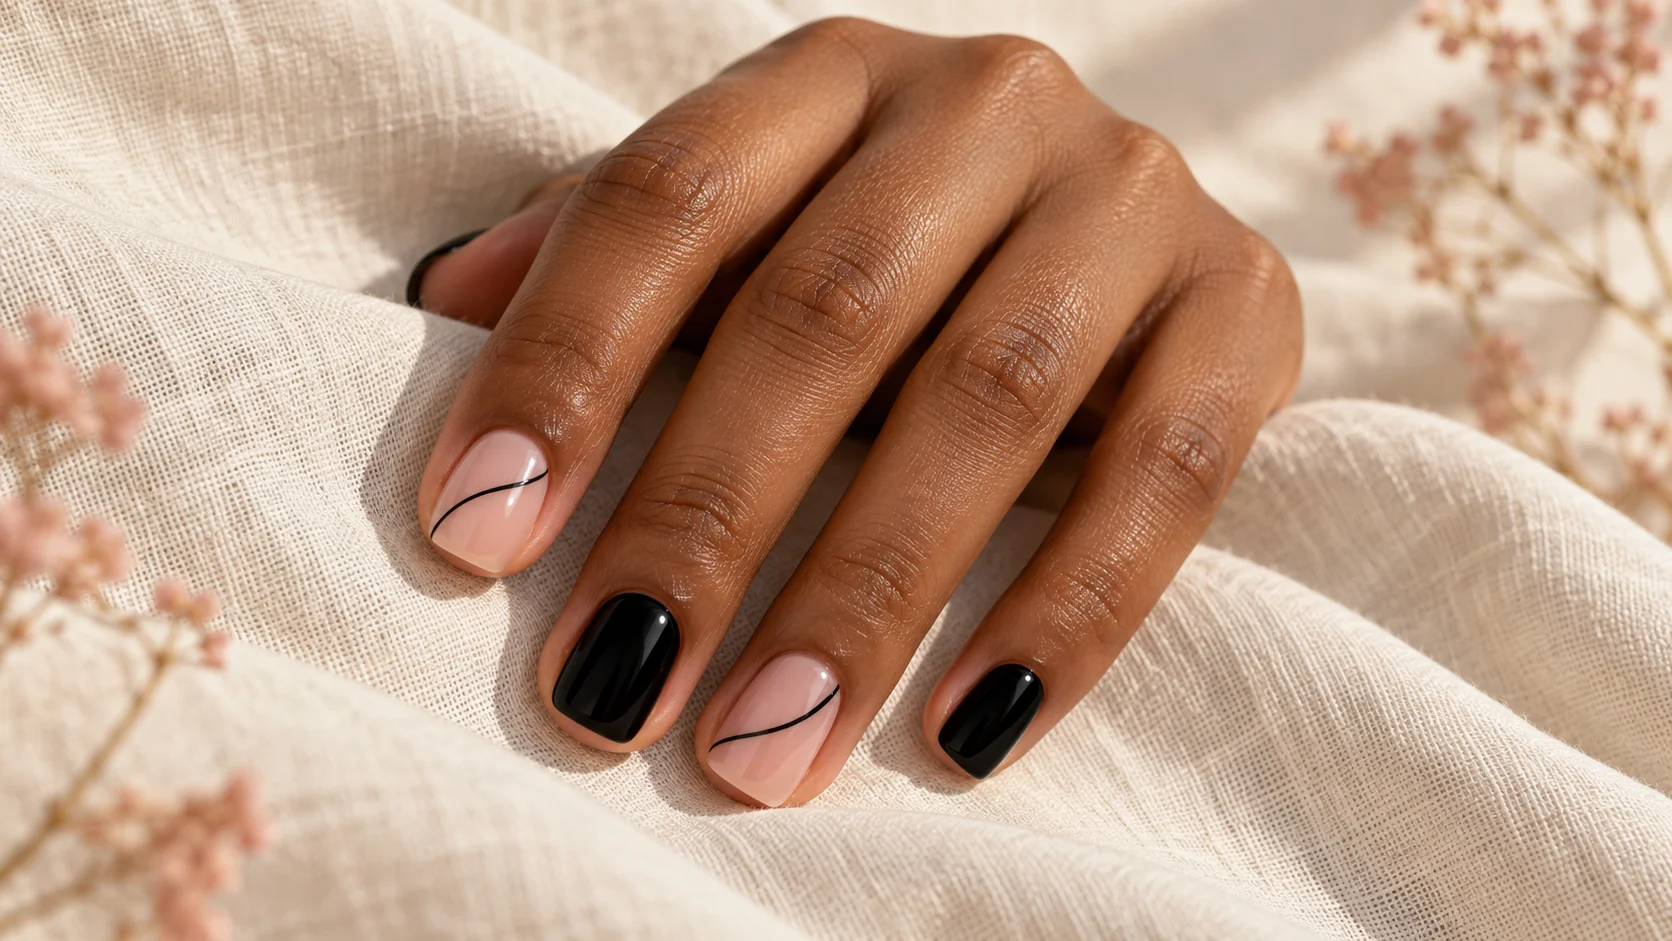
This guide offers layouts you can sketch or discuss at a salon. It does not rank products or promise a particular wear time. The featured image is a generated illustration of black lines and solid accents; use a real sample to choose your polish, finish and final proportions.
Decide what role black will play
Black can work as an outline, a filled shape or the background of a design. Those roles produce different effects even with the same colour. An outline describes an edge; a block becomes a stronger area of colour; a full black base makes any lighter detail the main contrast.
For a first plan, choose one role and repeat it. You might use a fine curved line on every nail, or one solid black nail beside four quieter ones. Combining an outline, a checkerboard, a French tip and several motifs is possible, but it makes a much busier brief than the phrase “minimal black nails” suggests.
A plain black colour is also different from a black containing shimmer or a sheer smoky effect. Essie UK describes Licorice as a jet black cream colour. That is a useful example of the finish to specify when you want a continuous dark mark. It is not a claim that we have tested that polish.
Choose a line weight that remains readable
A hairline detail can look delicate close up but become hard to recognise at normal hand distance. A broader line may remain clearer but occupy more of the nail. Draw both versions on a simple nail outline before deciding. The sketch does not need to be artistic; it only needs to show the amount of black you want.
Compare the line against the base you intend to use. A pale sheer base leaves the natural nail visible behind it, while an opaque beige or pink gives a more uniform field. Neither is automatically better. If the natural free edge distracts you from a line near the tip, discuss a different base coverage rather than simply making the line thicker.
Where a curve approaches the sides, decide whether it should disappear at the edge or stop short with open space around it. This small detail changes the drawing. Mark it in the reference so the technician does not have to infer whether you wanted a sweeping stripe or a self-contained shape.
Make the open space part of the design
Negative space means deliberately preserving visually open areas within the layout. It does not necessarily mean that every open-looking section has no product on it. A clear or sheer base can still be part of the manicure. Confirm that distinction if you have a specific coverage preference.
Essie’s Between the Lines design uses two blue shapes with open space between them. Although that example is blue rather than black, it illustrates the planning principle: separate shapes can remain connected by their arrangement without filling the whole nail. Our black layouts apply that general visual idea in a different palette.
To test the spacing, imagine adding another line in the empty area. If the design already reads clearly, the extra mark may not help. Leave some nails quieter than others when you want a full set to feel less crowded. Repetition can come from the colour and curve, not from covering the same amount of every nail.
| Layout | What repeats | What to specify |
|---|---|---|
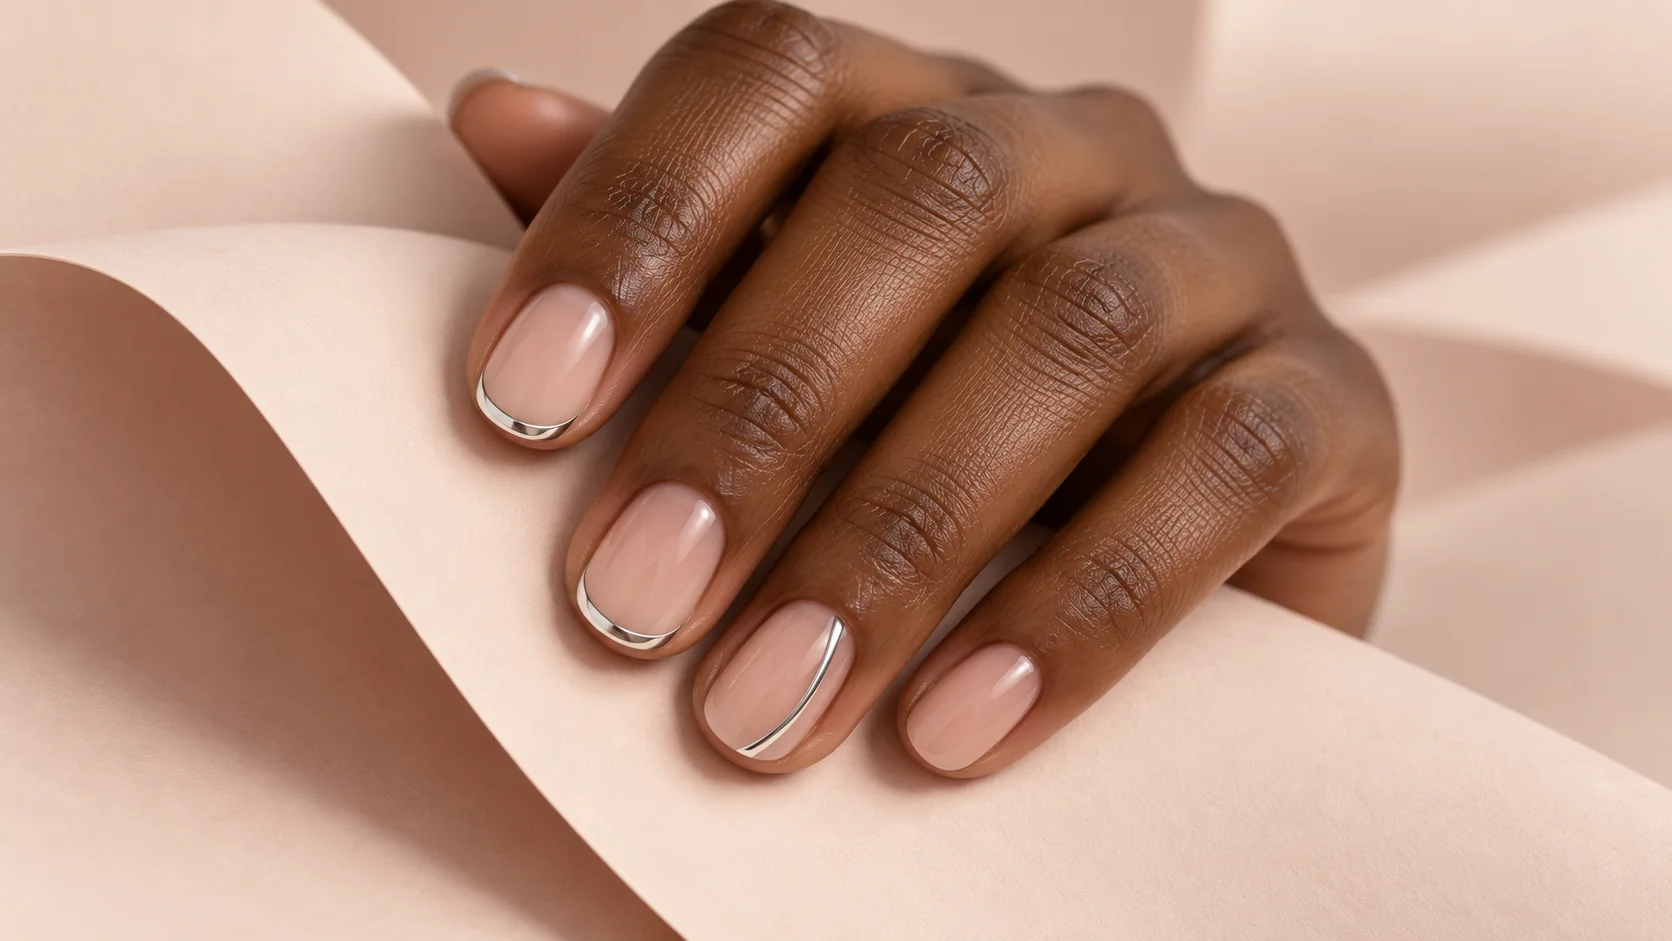
| Single curved line | A thin sweep across a sheer base | Line weight, direction and where it ends |
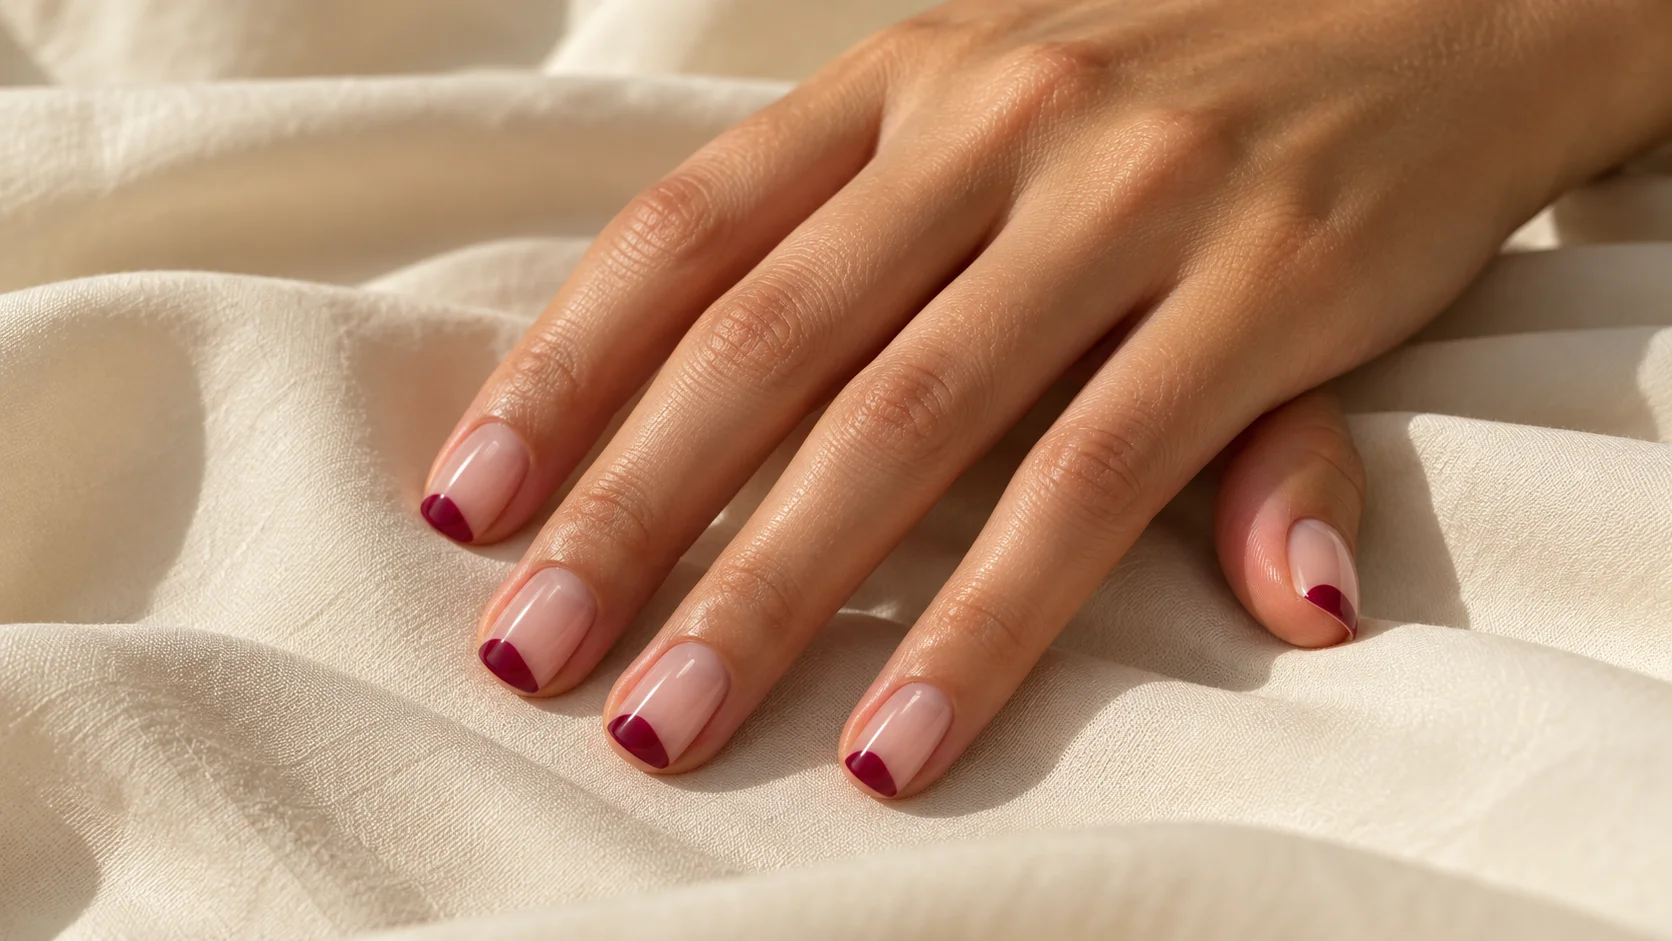
| Narrow black tip | A coloured edge on each nail | Tip proportion and depth of the curve |
| Solid accent | One glossy black nail beside open designs | Accent position and companion base |
| Small outlined shape | An open centre within a dark border | Shape size and space around it |
Try three complete-hand arrangements
The repeated curve: keep all five nails on the same sheer pink base and use one narrow black curve on each. Let the curve follow a similar direction across the hand. The main decision is whether each mark sits near the tip, through the middle or closer to one side.
The alternating accent: choose two plain black nails and three open designs. Repeat the same curve on the open nails so the set has a clear relationship. Before committing, draw the thumb as well; leaving it out can make a plan look balanced on paper but unexpectedly dark when the hand is complete.
The single focal nail: use a plain neutral set with one outlined oval, arch or small geometric mark. Keep the outline separate from the nail edge if you want it to read as a contained motif. This version lets you explore black art without repeating a graphic on every finger.
Use gloss and matte as deliberate choices
A glossy black area reflects light, which may partly obscure its outline in a photograph. Matte changes the surface appearance and can make the same layout feel different. Ask to see the intended finish on a sample rather than treating top coat as an invisible final step.
Essie’s nail-art guide discusses stripes and both high-shine and matte finishing options. Those are useful categories for a brief, but product directions still matter. If you combine finishes on one nail, check that the technician offers that particular effect and allow them to choose a compatible process.
Keep a home practice plan manageable
If you use ordinary air-drying polish, practise the line on a spare swatch before attempting a whole set. A small nail-art brush may offer a different level of control from the bottle brush. Follow your chosen product’s directions and let the practice result guide whether you want to simplify the shape.
Focus on one improvement at a time: a steadier curve, a more consistent width or a cleaner endpoint. Repeatedly adding paint to correct every tiny irregularity can change a fine line into a much heavier feature. If precision is the main attraction, a simpler mark is a reasonable design choice.
Plan the black, then plan the space
- Role: line, filled accent or background.
- Weight: compare fine and broader marks at normal viewing distance.
- Space: keep the open areas visible in the sketch.
- Rhythm: draw all five nails, including the thumb, before choosing the final arrangement.
Write the brief in one sentence
Try: “Short squoval nails with a sheer pink base, one fine black curved line on the index and ring nails, and glossy black on the middle and little nails.” Then decide the thumb separately and show your sketch. Save the finished result with the product details so future adjustments can be specific: fewer solid nails, a finer line or a more opaque base.
For the related design decisions, compare Negative Space Nail Art That Works on Short Nails, Chrome Accent Nails: Small Metallic Details with a Clean Finish and Colour Block Nails: Simple Layouts for Two or Three Shades. For the practical details, use Matte vs Glossy Top Coat: How Finish Changes the Same Colour.
Common questions
How can I make black nail art feel less heavy?
Reduce the area filled with black and give the remaining marks more open space. A narrow curve on a sheer base makes a different statement from a solid black nail. Compare the complete hand before deciding whether additional accents improve the design.
Does negative space mean there is no polish on that area?
Not necessarily. An open-looking area can have a clear or sheer base while remaining visually separate from the black design. Tell your technician what coverage you want. The design term describes the layout and does not specify every product underneath it.
Should every black line have exactly the same width?
A consistent visual weight can help a repeated pattern feel connected, but nail widths differ. Ask for a similar impression across the hand rather than assuming one measurement works everywhere. Check the thumb and narrower nails as part of the same plan.
Can a black design work with a pink base?
Yes, a pink base can provide a setting for black outlines, tips or small shapes. Compare sheer and more opaque options with the same black mark. The coverage changes how much of your natural nail remains visible behind the design.
What if a very fine line disappears from a distance?
Try a slightly stronger line on a sketch or sample before adding more motifs. The issue may be line weight rather than lack of decoration. Judge it at the distance from which you normally see your hands, as well as close up.
Is matte black better than glossy black for line art?
Neither is universally better; they give different surface appearances. A glossy area reflects light, while matte changes that reflection. Ask to see the proposed finish on a sample, particularly if you want different finishes within the same manicure.
How should I practise a simple black curve at home?
Use a spare swatch and ordinary air-drying polish according to its directions. Test a small brush and one uncomplicated curve before planning a whole hand. Concentrate on width or direction first, rather than trying to perfect several different motifs at once.
What information should go in my salon reference?
Include the base coverage, line shape, approximate visual weight, accent positions and final finish. Draw all five nails so the thumb is not forgotten. If different images supply different ideas, explain exactly which element you want from each one.
Sources and further reading
- Essie UK — Licorice — checked 2026-10-21
- Essie UK — Between the Lines — checked 2026-10-21
- Essie UK — Mastering nail art — checked 2026-10-21