Reverse French Nails: Subtle Arcs Near the Base of the Nail
Compare thin reverse-French arcs, half-moon shapes and colour placement near the base of the nail.
Key takeaways
- Position: near the base, with the free edge plain or separately defined.
- Area: a fine curve or a filled half moon.
- Contrast: a colour difference, a finish difference or both.
- Boundary: product stays on the nail; skin is left intact.
In this guide
- Key takeaways
- Clarify which reverse-French shape you mean
- Choose the arc width at your actual length
- Keep the surrounding skin out of the design
- Use colour and finish as separate choices
- Decide whether to repeat or accent
- Describe the arc clearly
- Keep the finished plan specific
- Common questions
- Sources and further reading
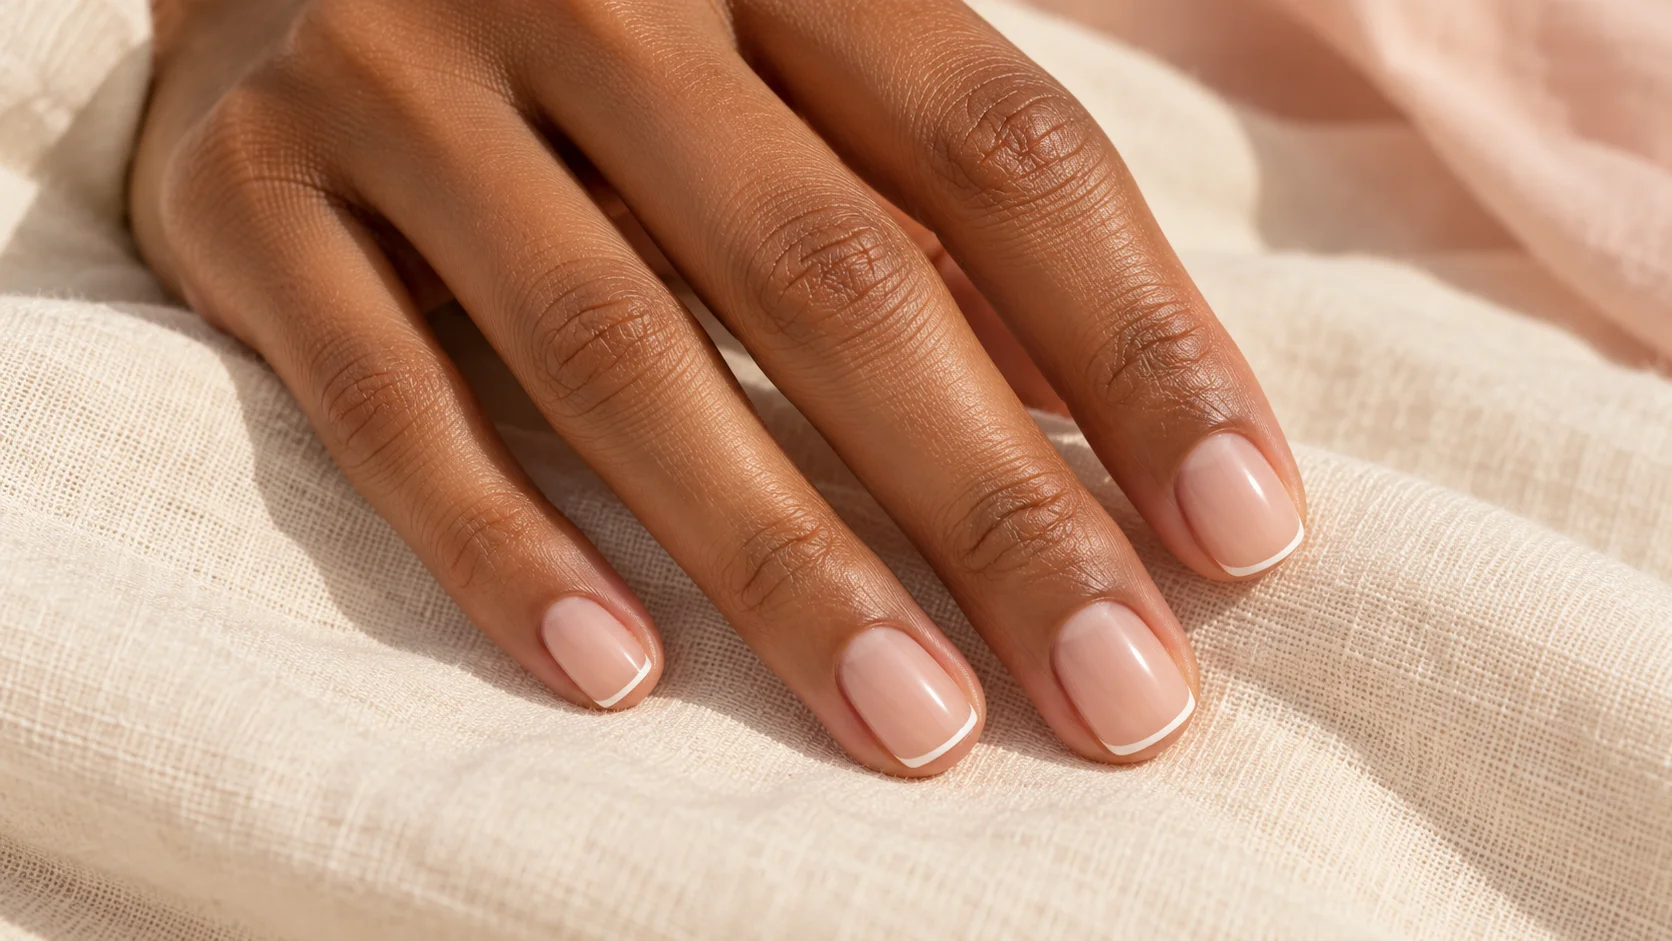
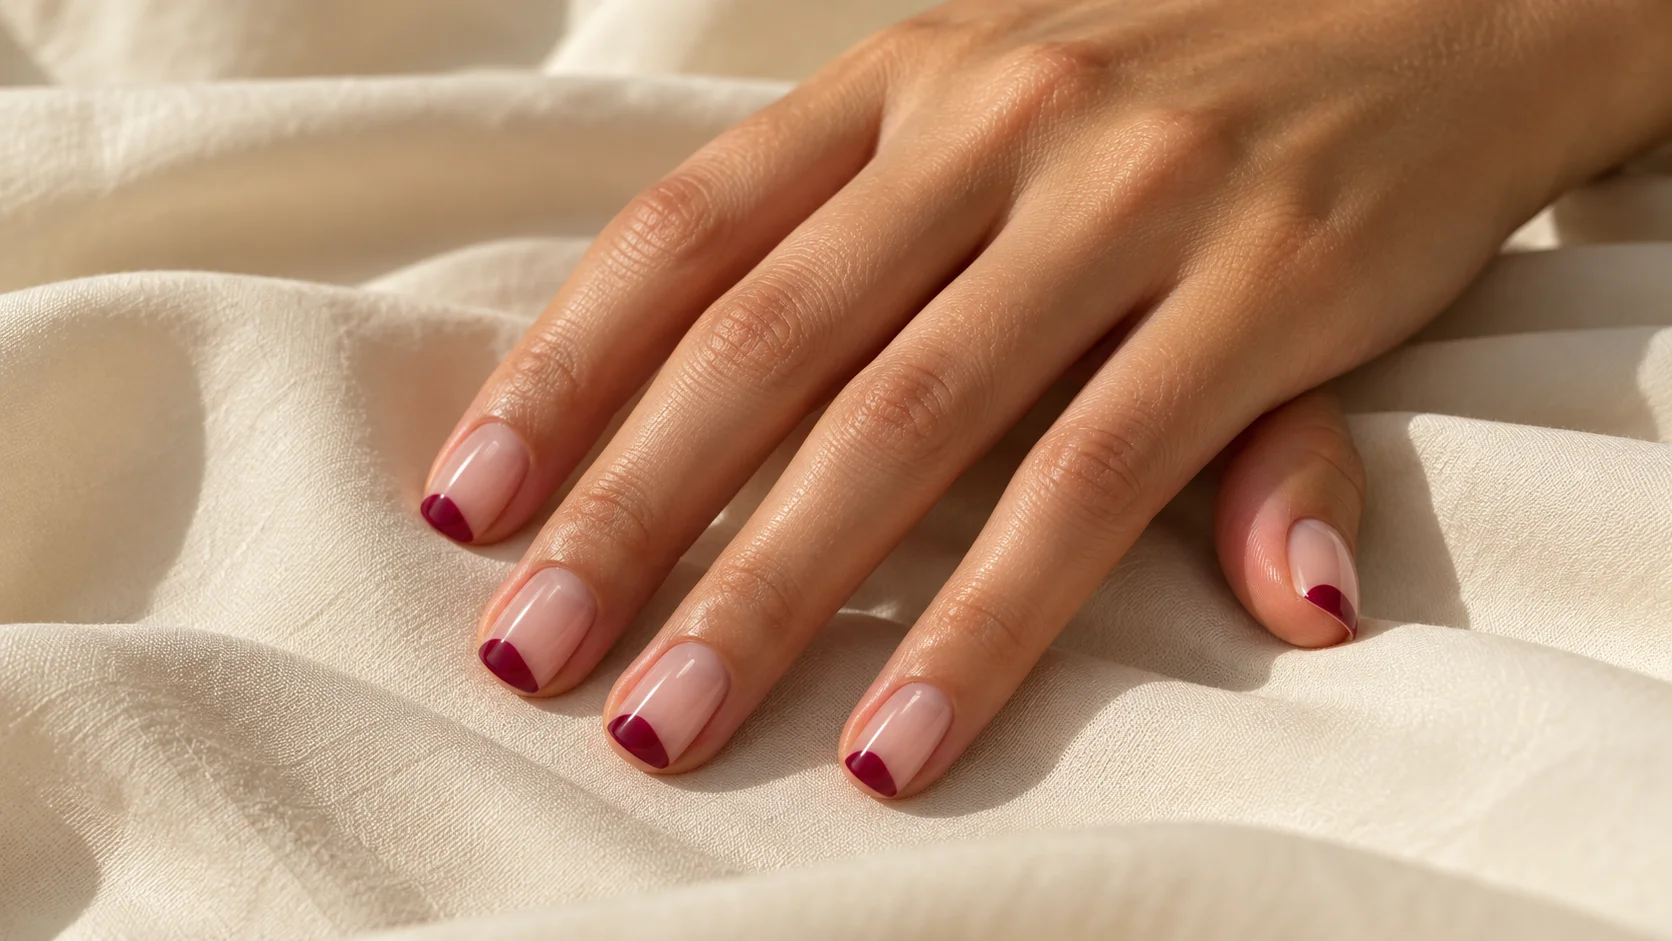
Reverse French nails move the visual emphasis from the free edge to an arc near the base of the nail. The detail can be a narrow coloured curve, a small filled half moon or a contrasting finish. Its position makes it different from a conventional French tip, even when the same pale base and accent colour are used.
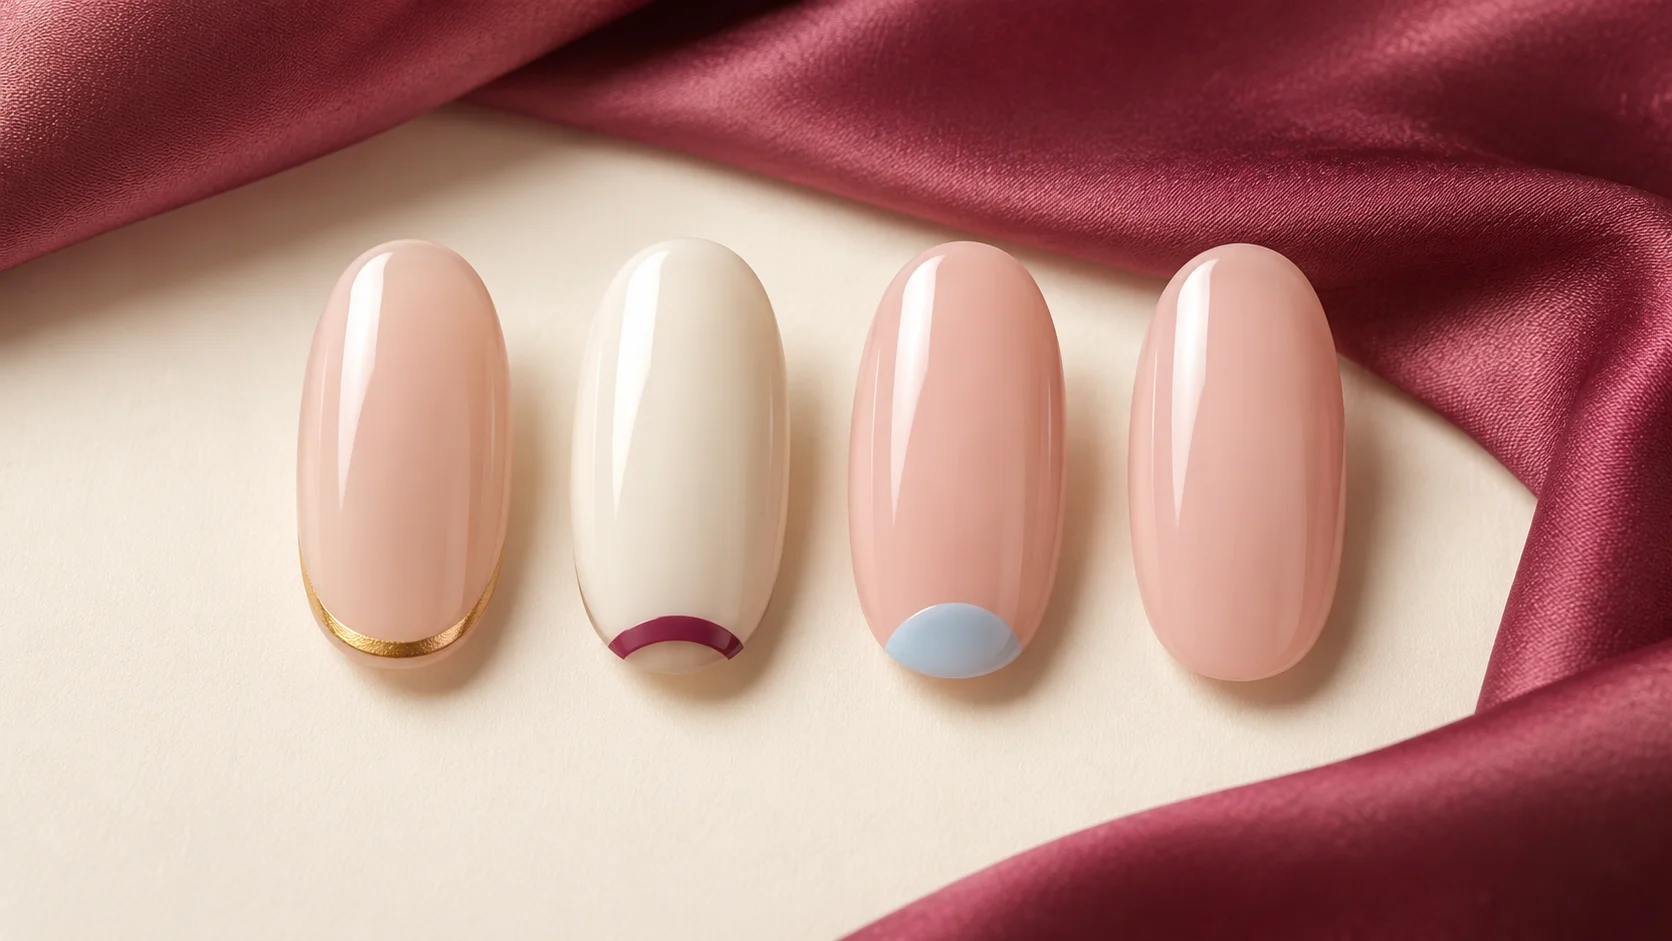
This guide helps you describe the design and adapt its scale. It is not a professional gel application tutorial, and it does not recommend cutting or pushing skin to make room for the arc. The original illustration shows layout concepts rather than a service we performed. Keep the product on the nail and choose an application method appropriate to the actual system.
Clarify which reverse-French shape you mean
The term can describe more than one layout. A thin arc follows part of the base curve and leaves most of the nail in the main colour. A filled half moon creates a larger second area. Some designs combine a base accent with a conventional tip, producing two separate borders.
OPI’s Two Hearts and Half Moons design uses an opposite French placement. It is a useful visual reference for the idea, rather than a universal recipe for every product. You can keep the placement while choosing your own colour, coverage and amount of detail.
Before an appointment, label the part of the reference you like. For example: a very narrow berry arc near the base, with the free edge left plain. That sentence avoids confusion between a reverse arc, a normal French tip and a manicure decorated at both ends.
Choose the arc width at your actual length
A broad half moon can occupy a substantial part of a short nail. A thin curve may preserve more of the base colour and feel lighter. Neither is inherently correct; the useful comparison is the proportion of the whole visible nail, not a fixed width copied from an enlarged photograph.
Start by sketching a narrow version and a fuller version on similar-sized outlines. Look at them together as a set. If the wider shape makes the nail feel visually crowded to you, reduce the filled area before changing the main colour. If the narrow line is too faint, adjust contrast rather than immediately making it much thicker.
Natural nail shapes vary across the hand. The arc does not need identical geometry on every finger to feel coherent. Ask for a consistent visual weight that follows the available surface, rather than forcing each base curve into the same template.
Keep the surrounding skin out of the design
The accent belongs on the nail surface, not on the surrounding skin. A photograph may make a coloured arc appear extremely close to the fold, but that is not a reason to flood the area with product or alter the skin to recreate the image. Give the technician room to place it appropriately.
The American Academy of Dermatology advises leaving cuticles alone. A reverse French design does not create an exception. Do not cut skin or aggressively push it back to enlarge the painted half moon, and do not treat a natural difference in the base outline as something that must be corrected.
If you are unsure whether you can place a product accurately, choose a simpler design or seek a suitable professional service. This article’s layout suggestions do not replace product instructions, training or advice about a nail or skin concern.
Use colour and finish as separate choices
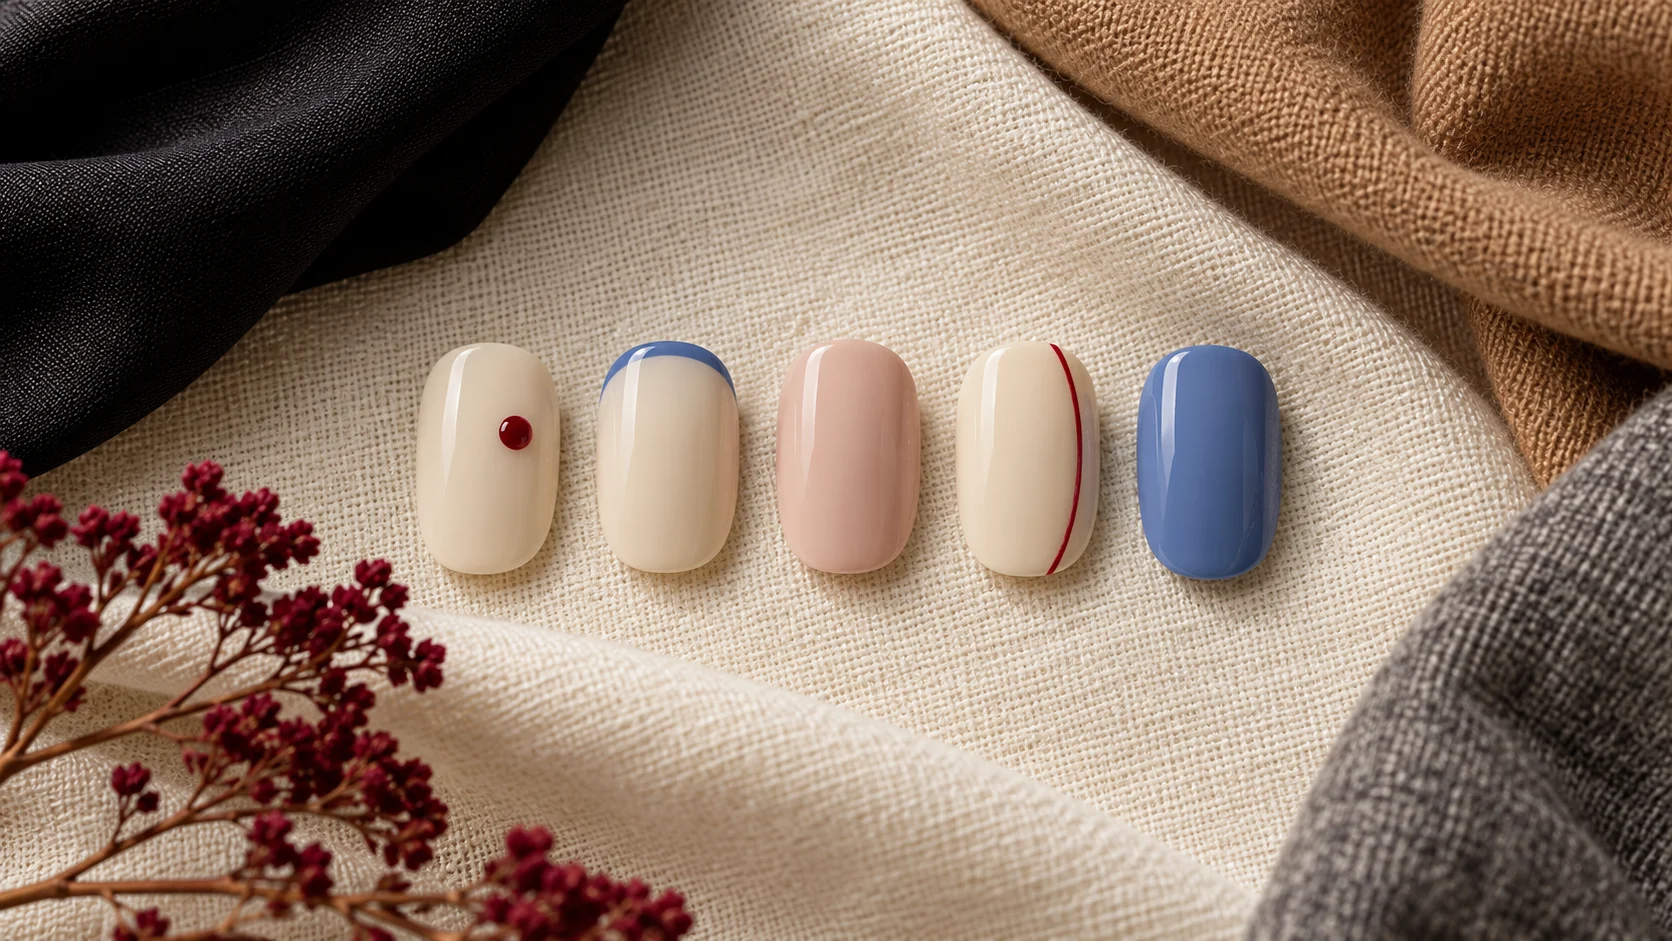
A dark arc on a pale base creates a clearer border than two similar pale shades. A metallic-coloured arc adds another type of contrast. You can choose the base first, then compare a matching-family accent and a contrasting one without changing the shape of the design.
OPI’s professional Glow With the Flow example combines a reverse moon with a difference between matte and shiny areas. That illustrates a finish contrast as well as a colour contrast. Its professional gel procedure and curing directions are specific to that system and are not reproduced here as general instructions.
Plain gloss throughout is also an option. If you want to see the shape clearly without adding shimmer or a second finish, a simple colour contrast may be enough. Ask to compare the design in ordinary light, since a reflective accent can appear stronger in a bright close-up than elsewhere.
| Choice | Visual effect | What to explain in a reference |
|---|---|---|
| Thin base arc | A small curved accent | The preferred width and whether the free edge stays plain |
| Filled half moon | A larger second colour area | How much of the nail it should occupy |
| Base arc plus tip | Two borders around a central area | Which border should be more prominent |
| Contrasting finish | A change in reflection | Matte, gloss or shimmer as distinct choices |
| Low-contrast colours | A softer outline | Whether the arc remains visible enough for your preference |
Decide whether to repeat or accent
You can repeat the reverse arc across every nail for a clear pattern. Alternatively, use it on one or two nails and leave the rest plain. If you prefer different colours, keep the arc placement consistent so the set has a shared structure.
Plan both hands at the same time. An accent on different fingers can be deliberate, but it is useful to see the relationship before application. Consider where a ring sits and whether you want the painted curve to draw attention to that finger or another one.
For a first attempt at the look, fewer variables make the choice easier to assess. Keep the same base and arc colour, then compare width or placement. You can explore several colours or mixed finishes once you know which proportion you enjoy.
Keep the finished plan specific
A useful salon note names the length, base coverage, arc colour and approximate visual width. Include one clear reference for each feature only when necessary. Avoid mixing several photographs whose arcs sit in different places without explaining which version you want.
Our nail-art section offers other ways to use fine borders and small marks. For system and finish differences, explore Polish & Tools. A reverse French manicure works as a design choice because of where the emphasis sits; it does not require a complex process or an altered cuticle to make that idea readable.
For the related design decisions, compare Micro French Nails: Choosing Tip Width, Shape and Colour, Negative Space Nail Art That Works on Short Nails and French Ombré Nails: How the Fade Differs from a Classic French. For the practical details, use Sheer White vs Opaque White Polish: Finding the Finish You Want.
Common questions
What is a reverse French manicure?
It places a curved accent near the base of the nail rather than focusing only on the free edge. The accent may be a fine arc or a larger filled half moon. Show which version you mean, because the term can also be used for designs with borders at both ends.
Can reverse French arcs work on short nails?
Yes, when the proportion is adapted to the available surface. A thin arc leaves more of the main colour visible, while a filled half moon occupies a larger area. Compare both at your actual length rather than copying a fixed width from a close-up of much longer nails.
Should I cut the cuticle to make space for the arc?
No. The design does not require removing or aggressively pushing skin to enlarge the painted area. The American Academy of Dermatology advises leaving cuticles alone. Keep the decoration on the nail surface and let the natural outline guide placement, rather than altering the skin to match a reference photograph.
Does the reverse arc have to touch the skin?
No. The accent belongs on the nail, and a close-up photograph is not a reason to place product on surrounding skin. Ask the provider for appropriate placement within the available surface. If accurate application feels difficult at home, choose a simpler design or a suitable professional service.
Can I combine a reverse arc with a normal French tip?
Yes, but that creates two borders rather than one base accent. Decide which should be more noticeable and how much central space remains. A short nail may benefit from narrower borders or one feature being omitted. Explain the intended relationship instead of presenting two conflicting references without guidance.
Is a matte-and-gloss reverse French a standard home procedure?
Not necessarily. The professional example cited in the article illustrates finish contrast, but its gel process belongs to that specific system. The guide does not reproduce curing directions as universal instructions. Choose products and methods you understand, or discuss the requested finish with the technician providing the service.
Must every arc be exactly the same shape?
Natural nail outlines vary across the fingers, so identical geometry is not always the most useful goal. A consistent visual weight can connect arcs adapted to each nail. Compare the set as a whole and avoid forcing the same template through aggressive preparation or an unsuitable amount of product.
What should I put in a reverse French reference note?
Name the intended length, base coverage, arc colour and whether you want a thin curve or filled half moon. State whether the free edge stays plain. If finish contrast matters, specify gloss, matte or shimmer separately so the technician understands which features of the reference are essential.
Sources and further reading
- OPI — Two Hearts and Half Moons — checked 2026-10-23
- OPI UK — Glow With the Flow — checked 2026-10-23
- American Academy of Dermatology — How to trim your nails — checked 2026-10-23