How to Remove Press-On Nails Using the Manufacturer’s Method
Identify the tip and adhesive, follow the matching removal directions and know when to pause instead of peeling, levering or guessing.
Archive edition: 2026-06-15 · This is an editorial allocation, not the first-publication date.
Key takeaways
- Identify: match the exact tips with the adhesive actually used.
- Prepare: read the removal steps and product warnings.
- Follow: use the stated method without pulling or improvising heat.
- Reassess: pause for resistance, pain or unexplained nail changes.
In this guide
- Key takeaways
- Identify both parts of the system
- Read the complete removal instructions before starting
- Keep removal and reuse as separate decisions
- Prepare a suitable place for the products
- Follow the sequence without adding scraping or force
- Handle leftover material according to the instructions
- Check the nails and skin afterwards
- Identify, prepare, follow, reassess
- Common questions
- Sources and further reading
The right way to remove press-on nails depends on the tips and the adhesive that attached them. Find the matching manufacturer instructions before soaking, trimming or using a remover. There is no single water, oil or acetone routine that this guide can safely assign to every product sold as a press-on.
The consistent practical rule is to avoid turning removal into a pulling contest. If a tip resists the recommended process, pause and seek clarification rather than levering it away. Saving the natural nail and surrounding skin matters more than saving the decorative set.
Identify both parts of the system
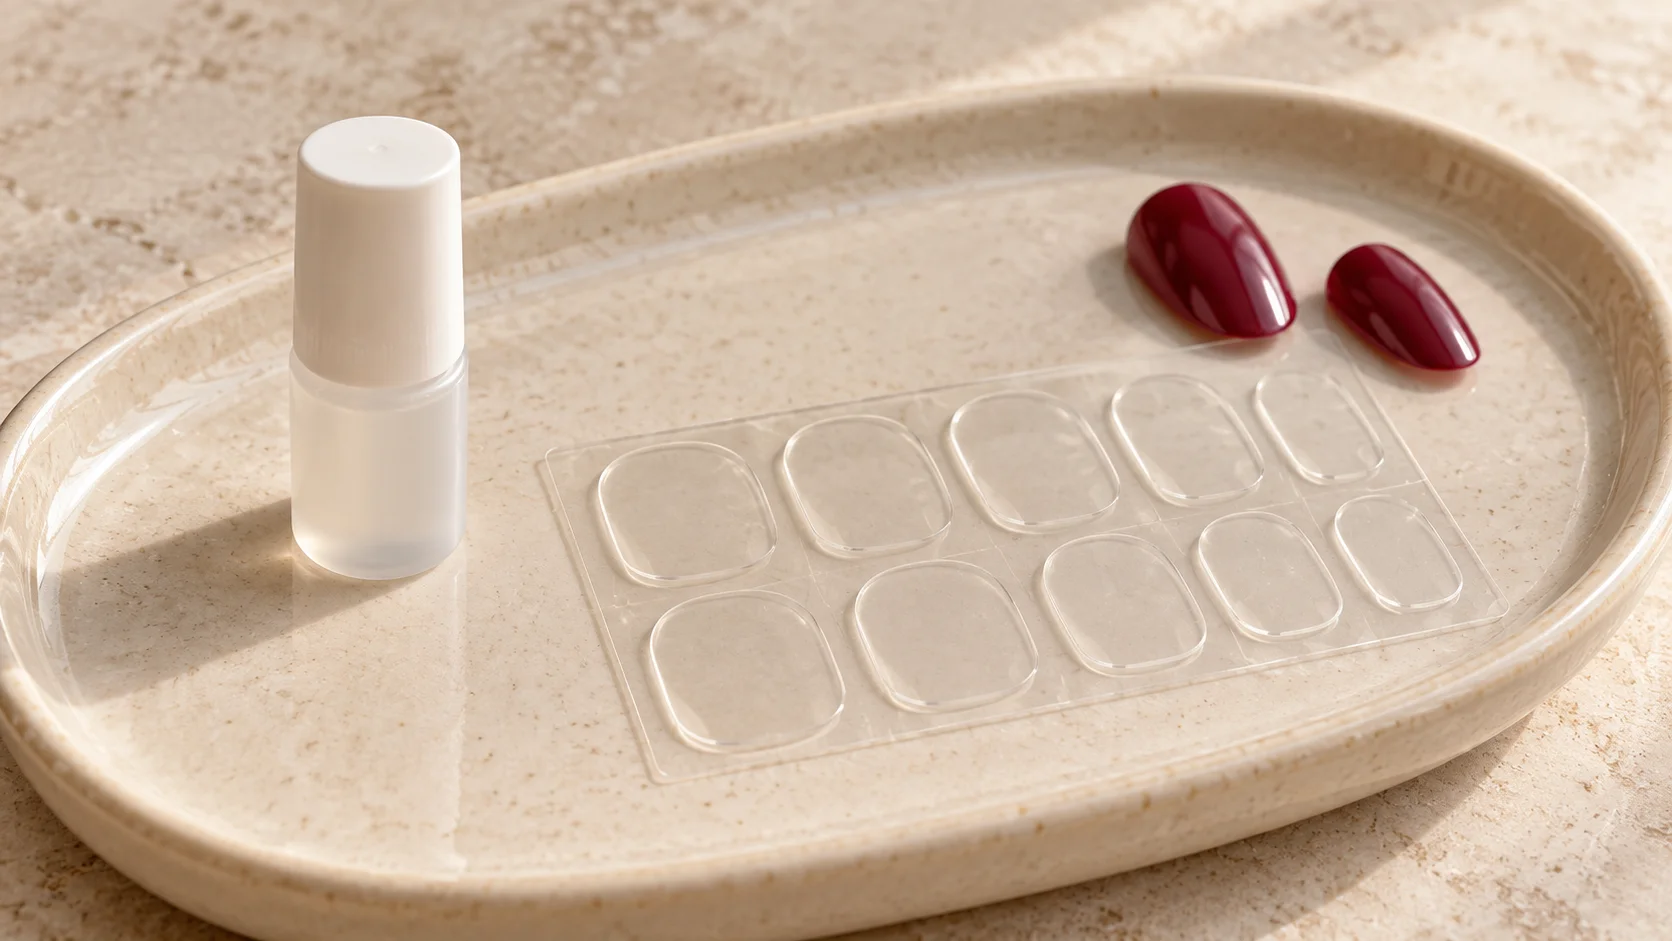
Check the box, order history and adhesive bottle. Note whether the nails were attached with liquid nail glue, separate tabs or a pre-applied adhesive. If you changed the supplied adhesive, the instructions for the original box may no longer describe the combination you used.
Look for the exact range name as well as the brand. A manufacturer may sell several systems with different directions. A general search result or an older tutorial can describe another product even when the photographs look familiar.
If someone else applied the nails, ask what was used before starting removal. Lamp-cured full-cover extensions should not be assumed to be ordinary removable press-ons. When identification remains uncertain, a qualified nail professional can help establish a suitable approach rather than relying on a guess.
Read the complete removal instructions before starting
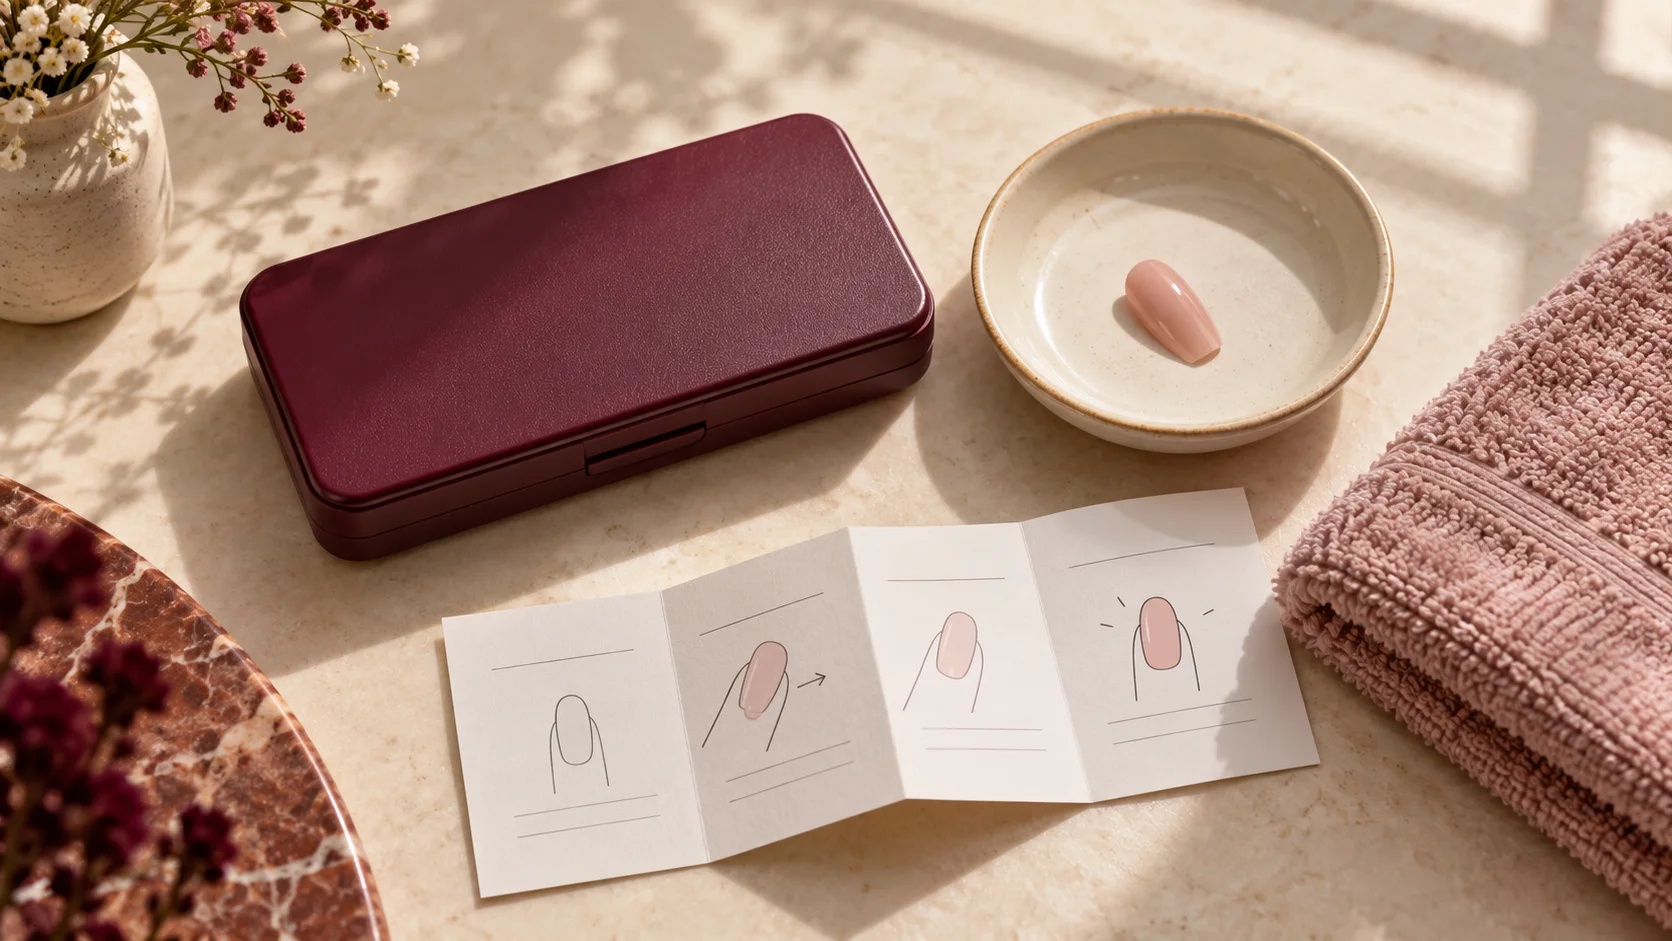
Check the required product, timing, any preparation of the artificial tip and what to do if it does not release. Read warnings on the remover too. Assemble the appropriate materials before beginning so you do not have to improvise halfway through.
KISS’s glue-on FAQ, for example, describes its own removal route using Glue Off as directed or acetone until the nails soften, with preparation of the artificial surface. It also explicitly warns against forcing or pulling the nails away. Those directions should not be transferred to every adhesive tab.
For another example, OPI’s Make It Stick Tabs page gives a particular warm-water and base-treatment sequence. This illustrates why even a tab system deserves its own instructions rather than an assumed peel-off method.
Keep removal and reuse as separate decisions
A removal method that is appropriate for the natural nail may leave the artificial tip unsuitable for another wear. Decide whether reuse is supported before application, but do not let that preference override a necessary removal process later.
Olive & June’s removal guide distinguishes between routes and states that its dedicated removal-system method does not allow reuse of the tips. That is a product-specific example, not proof that warm water preserves every brand or adhesive combination.
If the instructions are unclear about the remover’s effect on decoration or material, ask the manufacturer. Do not skip a required step or begin prising at the tip because you want to keep an expensive design intact.
| Information | Where to check | Why it matters |
|---|---|---|
| Exact tip range | Box or order record | Different systems can share a brand name |
| Actual adhesive used | Supplied tabs, bottle or application record | A substituted adhesive changes the relevant instructions |
| Specified removal product | Current manufacturer directions | Water and solvents are not interchangeable by default |
| Resistance instructions | Full removal steps or product support | A timer ending does not authorise pulling |
| Reuse conditions | Care guidance for that range | Removal may change the tip or its adhesive surface |
Prepare a suitable place for the products
Use a stable surface and keep the relevant labels within reach. Put away unrelated bottles so the selected remover cannot be confused with a different liquid. Keep children and pets away from the workspace and return products to their labelled containers after use.
The FDA’s nail-product safety guidance stresses label directions, ventilation and warnings about ingestion, eye contact and ignition sources. These are useful handling precautions; the page’s US regulatory discussion is not a statement of UK law.
Do not heat acetone or another remover to speed the process. Keep potentially flammable products away from flames, cigarettes, hot styling tools and other heat sources. If the directions mention warm water, that is not permission to heat a solvent or use water hot enough to hurt the skin.
Follow the sequence without adding scraping or force
Use the current directions for your exact product, including any stated waiting or repeat steps. A time estimate describes the process; it does not mean every tip must be ready at precisely that moment. Resistance is a reason to reassess the instructions, not increase leverage.
Do not slide another artificial nail, dental floss or a sharp object underneath to prise the tip away. Do not pull up a partly released edge to finish faster. If the recommended method is not working as described, contact the manufacturer or seek professional removal help.
Keep any filing step clearly distinguished between the artificial product and the natural nail. Do not continue filing into your own nail surface, and do not add a power tool because a home method feels slow. This guide does not provide an electric-file removal procedure.
Handle leftover material according to the instructions
After the tip releases, some adhesive may remain. Check the directions for that residue rather than scraping until the surface appears perfectly smooth. A rough patch is not an invitation to repeat aggressive buffing or chase every visible mark with a tool.
Stop if the process hurts, irritates the skin or seems to be removing the natural nail surface. Keep the product identity available when seeking advice. A nail professional can help with product removal questions, while a clinician is the appropriate route for a health concern.
Do not immediately cover an area you cannot assess with another set. First understand what remains and whether the nail and surrounding skin are comfortable. A new application should not be used to hide the result of a difficult removal.
Check the nails and skin afterwards
Look at the nails in ordinary good light once the product is removed and the hands are clean and dry. Avoid diagnosing a colour change from an online photograph. The NHS recommends GP assessment for unexplained nail shape or colour changes, unexplained nail loss, and sore, red, swollen and warm skin around the nail.
For routine care, the same NHS guidance includes regular hand cream on nails and fingertips and avoiding picking. A comfortable, familiar moisturiser can be part of ordinary care, but it is not a treatment for an unexplained nail problem or a reaction to an adhesive.
Keep a brief note if removal was unexpectedly difficult: product names, the method used and which step caused trouble. This is useful for a manufacturer enquiry and for deciding whether the same system suits your next manicure.
Identify, prepare, follow, reassess
- Identify: match the exact tips with the adhesive actually used.
- Prepare: read the removal steps and product warnings.
- Follow: use the stated method without pulling or improvising heat.
- Reassess: pause for resistance, pain or unexplained nail changes.
Save the current removal instructions with your size record before the next application. The Press-On Nails section includes fit and reuse questions to help you choose a system whose complete routine works for you.
To complete the fit, wear and removal plan, read Nail Glue vs Adhesive Tabs: Choosing for Your Wear Time, Reusable Press-On Nails: How to Check Care Instructions Before Buying and When to Remove a Press-On Set Instead of Reattaching a Loose Nail. For the related care, tool or design decision, see Acetone vs Non-Acetone Remover: Product Suitability and Care.
Common questions
Can every press-on set be removed with warm water?
No. Warm water is part of some manufacturers’ directions, but it is not a universal removal method for every adhesive or tip. Identify the exact products and follow their current instructions. If the combination is unclear, ask before beginning a guessed soak routine.
Can every press-on set be removed with acetone?
Do not assume that a solvent is appropriate for every set or compatible with saving the tips. Check the actual product and remover instructions, including warnings and required steps. A method described for a particular glue-on range should not automatically be applied to a different system.
What if the stated soaking time has ended but the tip resists?
A time estimate does not authorise pulling. Follow any stated repeat or reassessment instructions, and seek manufacturer or professional help if the process is not working as described. Do not increase force, add a sharp tool or improvise heat to finish more quickly.
Can I slide dental floss underneath to remove a nail?
Do not use floss, another artificial nail or a sharp object to lever a tip away. Use the removal process specified for the products you actually applied. Resistance means the process needs reassessment, not a stronger pulling or prising technique beneath the artificial nail.
Should I heat remover to speed things up?
No. Do not heat acetone or another remover, and keep potentially flammable products away from ignition sources and hot tools. Follow the label in a suitably ventilated space. A direction involving warm water is not permission to heat a solvent or use painfully hot water.
How should I deal with leftover adhesive?
Read the product’s directions for residue rather than scraping or repeatedly buffing until the surface looks smooth. Stop if the process hurts or irritates the skin. Seek clarification when you cannot tell whether the remaining material or the natural nail surface is being affected.
Does careful removal guarantee I can reuse the tips?
No. Reuse depends on the range, adhesive and removal method, as well as the condition afterwards. Some supported removal processes leave the artificial nails unsuitable for another application. Do not skip a required removal step merely to preserve an expensive design.
When should I seek advice about my nails after removal?
The NHS advises GP assessment for unexplained nail colour or shape changes, unexplained nail loss, and sore, red, swollen and warm surrounding skin. Do not cover a concern with a new set. Keep the adhesive and remover details available when describing what happened.
Sources and further reading
- KISS — Nails FAQ — checked 2026-10-22
- OPI — Make It Stick Tabs — checked 2026-10-22
- Olive & June — Press-on removal — checked 2026-10-22
- FDA — Using nail products safely — checked 2026-10-22
- NHS — Nail problems — checked 2026-10-22