Can You Reshape Press-On Nails? What to Check Before Filing
Check the manufacturer’s alteration guidance, the printed design and the fit before deciding whether to file or shorten a press-on set.
Archive edition: 2026-08-05 · This is an editorial allocation, not the first-publication date.
Key takeaways
- Permission: check the exact product's alteration guidance.
- Purpose: identify the specific change you want.
- Design: consider what material or decoration would be removed.
- Fit: stop when alteration is being used to force an unsuitable tip.
In this guide
- Key takeaways
- Confirm that the instructions apply to your tips
- Name the change you want before choosing a tool
- Consider what the original shape allows
- Check the decoration before changing the edge
- Do not use reshaping to force a poor fit
- Clarify timing and handling
- Know what would make you stop
- Use the result to improve the next purchase
- Permission, purpose, design, fit
- Common questions
- Sources and further reading
Some manufacturers allow their press-on nails to be filed, trimmed or reshaped, but the permitted method depends on the actual product. Check the instructions before buying a set that needs alteration. A minor change to the end is a different decision from substantially changing the fitting surface or removing a printed design.
This guide helps you decide what to ask and when another starting shape may be simpler. It does not provide one filing grit, cutting tool or sequence for every artificial-nail material. The aim is a suitable finished tip, not making any available set fit at all costs.
Confirm that the instructions apply to your tips
Find the range name, material information and current manufacturer guidance. Ordinary decorated press-ons, full-cover extension tips and professionally constructed enhancements are not interchangeable products. Advice for one should not automatically be used on another.
Glamnetic’s customisation FAQ says its nails can be trimmed, filed or shaped. That is an example of a manufacturer supporting alteration within its product range, not proof that the same approach suits every brand or decorated finish.
Similarly, OPI’s xPRESS/ON guide discusses using its file to customise shape and length. Read the specific kit instructions for the details relevant to your version. If a page gives only a broad permission, ask for the missing method rather than inventing one.
Name the change you want before choosing a tool
Describe the desired result clearly. You may want a slightly softer corner, a shorter free end or a different outline. Those are more precise requests than saying the set needs reshaping, and they help a manufacturer answer the actual question.
Keep cosmetic changes separate from fit problems. A tip that overlaps skin at the base or presses uncomfortably across the nail may need a different size or curve. Shortening the free edge does not automatically solve those issues.
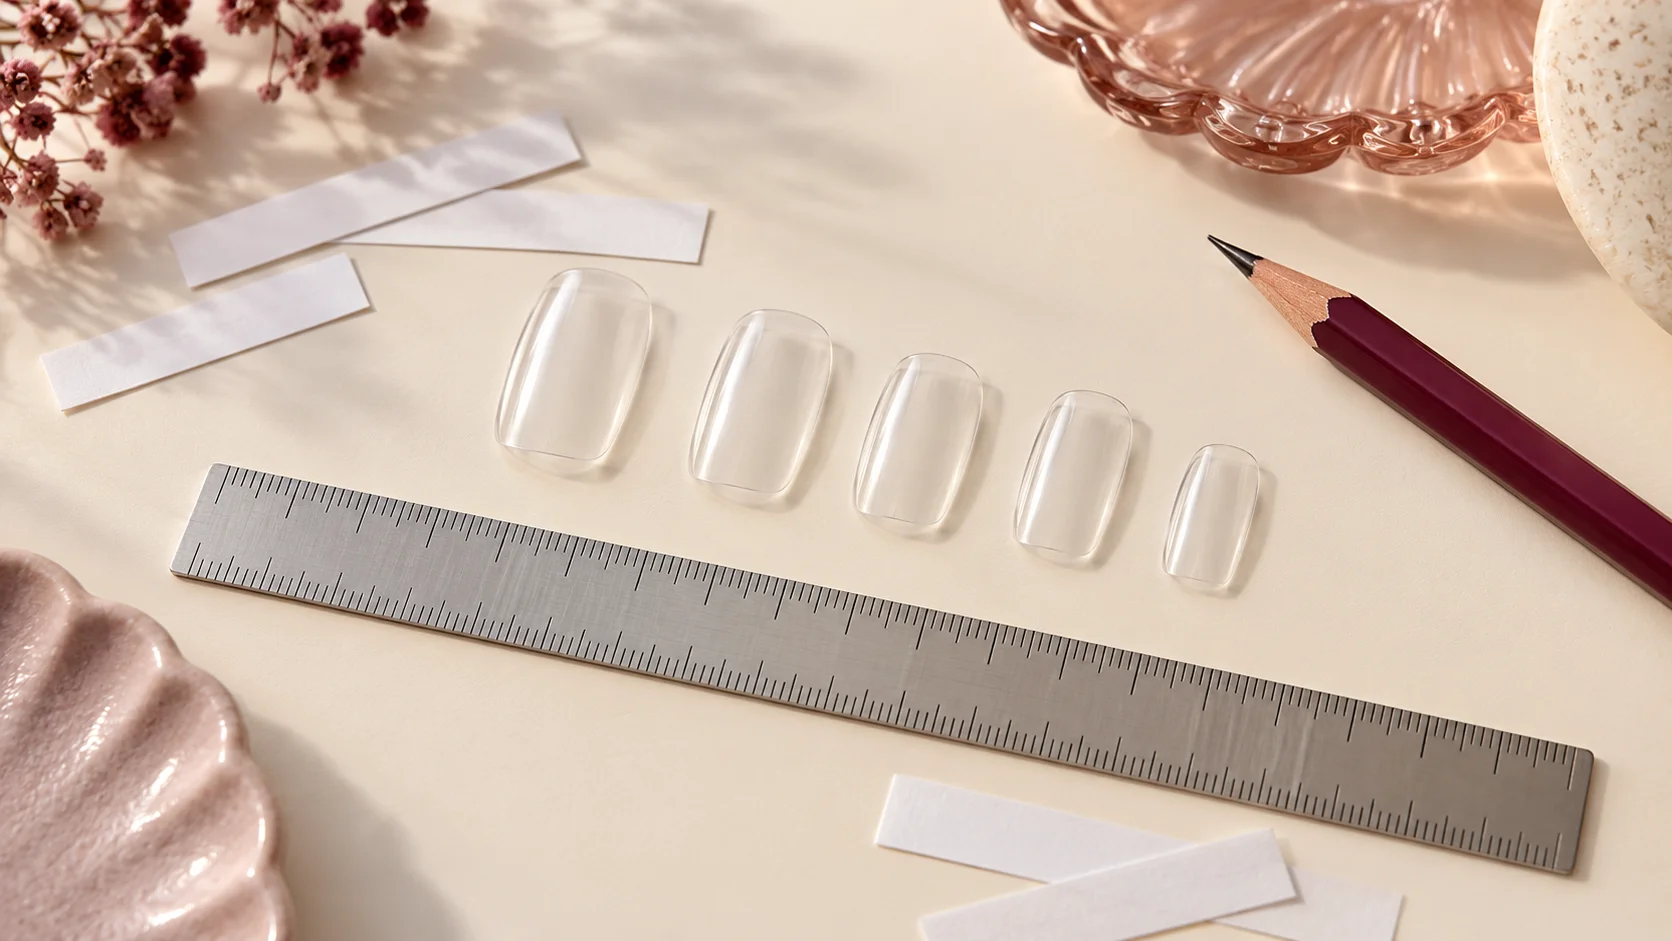
Look at the tip from above and from the side before application, following the dry-fit guidance. Note which part seems unsuitable. Do not begin removing material until you know whether the issue is length, decoration, width or the way the mould sits.
Consider what the original shape allows
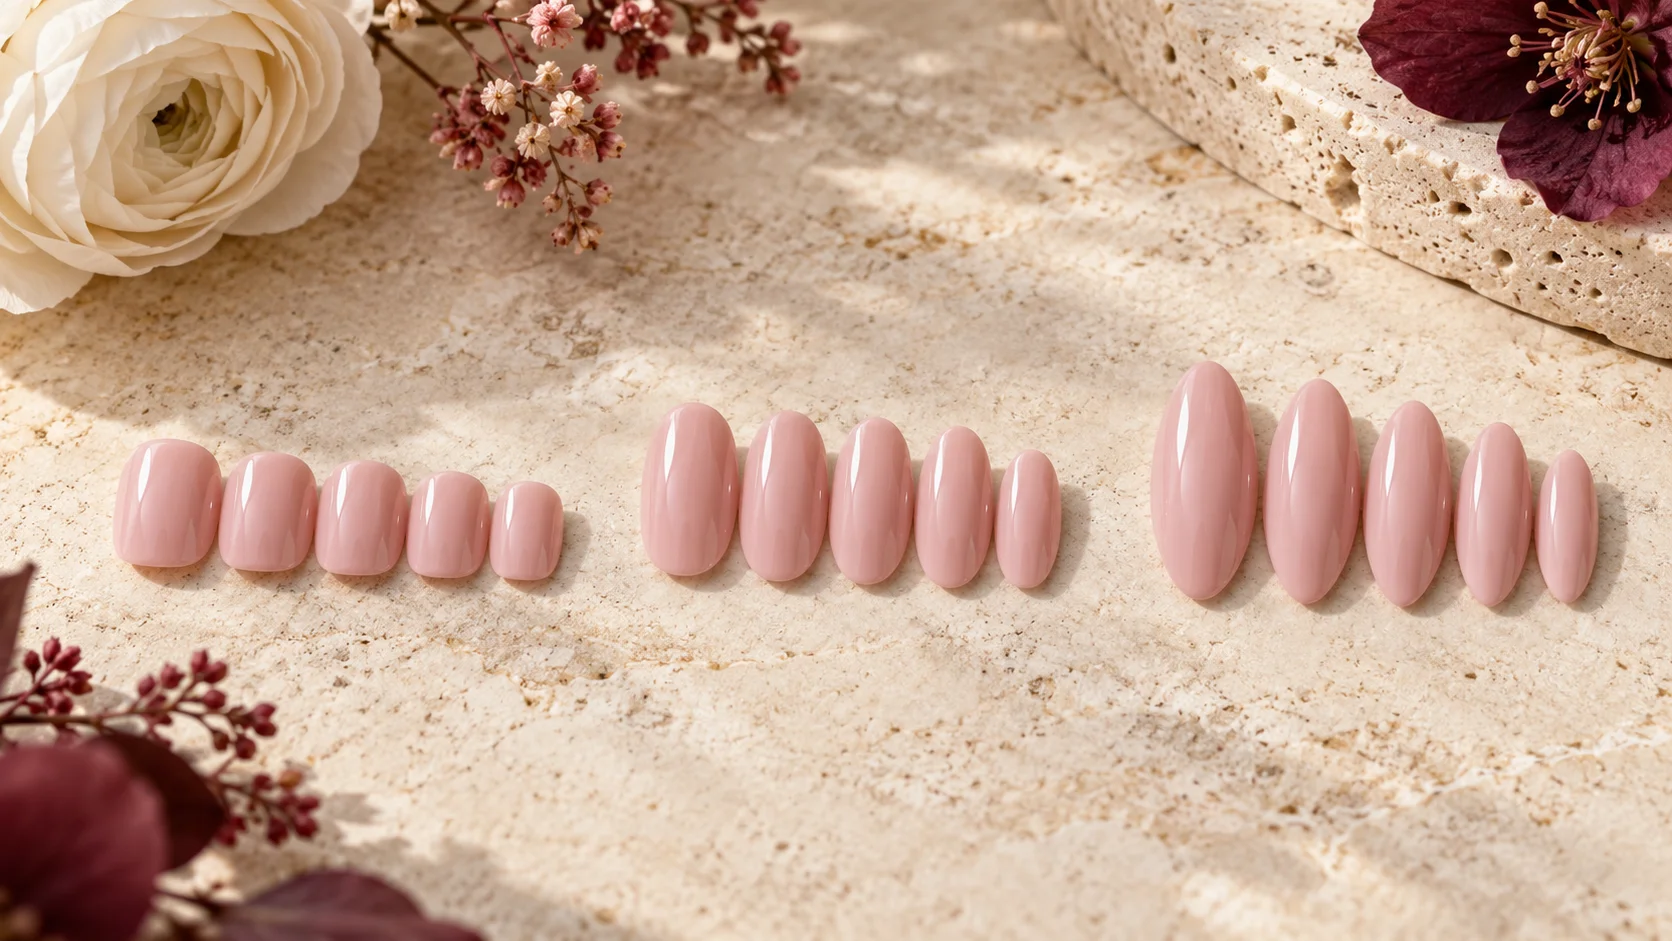
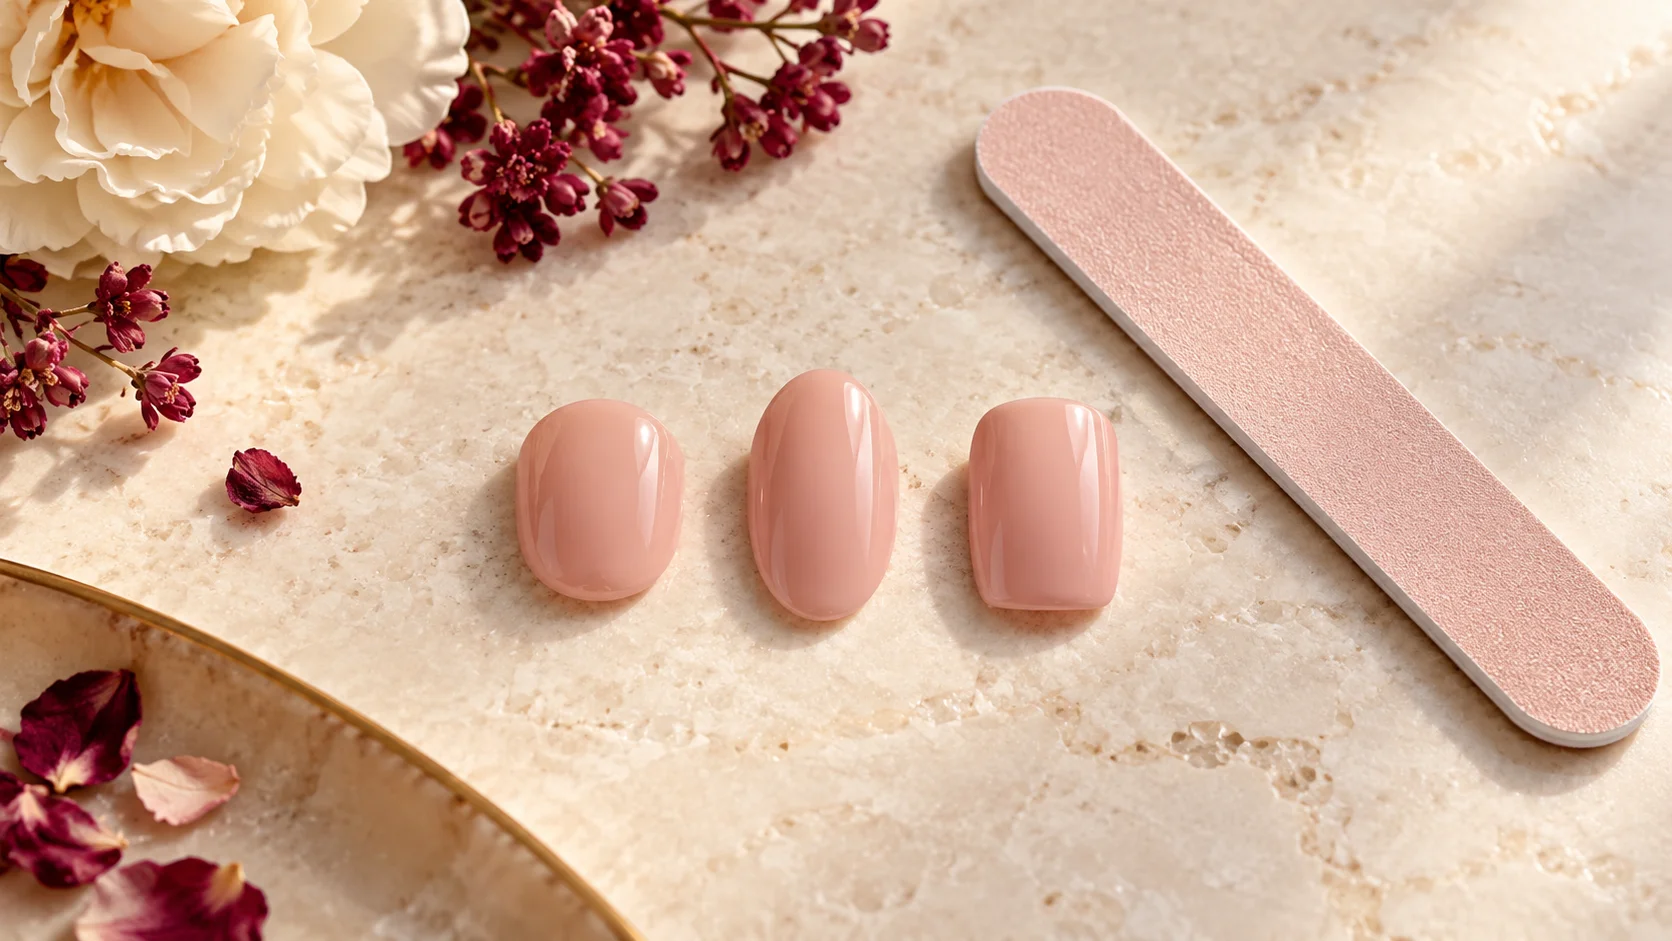
Filing removes material; it does not add length or width where there is none. A very tapered outline cannot become a broad square end of the same length simply through filing. The available material limits the possible result.
Think about the whole silhouette rather than only the tip’s end. A substantial reduction may change the proportions of the sidewalls and the remaining shape. If the change is large, compare a range already closer to your preference before deciding to alter the first one.
You can use a product photograph to describe the direction you want, but do not treat it as a cutting template. The actual size, curve and finish matter. A generic online diagram cannot establish how much of your particular product can be removed.
| Proposed change | Question to ask | Alternative to consider |
|---|---|---|
| Softer corners | Does the range support minor filing at the free edge? | A rounded-square version of the design |
| Shorter length | Which tool and method does the maker specify? | A closer starting length |
| Different silhouette | Is enough material present for the intended outline? | A purpose-made shape |
| Narrower fitting area | Is adjustment permitted, or is another size or mould needed? | A matching sizing kit or another range |
| Preserved French band | Will the proposed reduction remove the printed detail? | A design made with the desired proportions |
Check the decoration before changing the edge
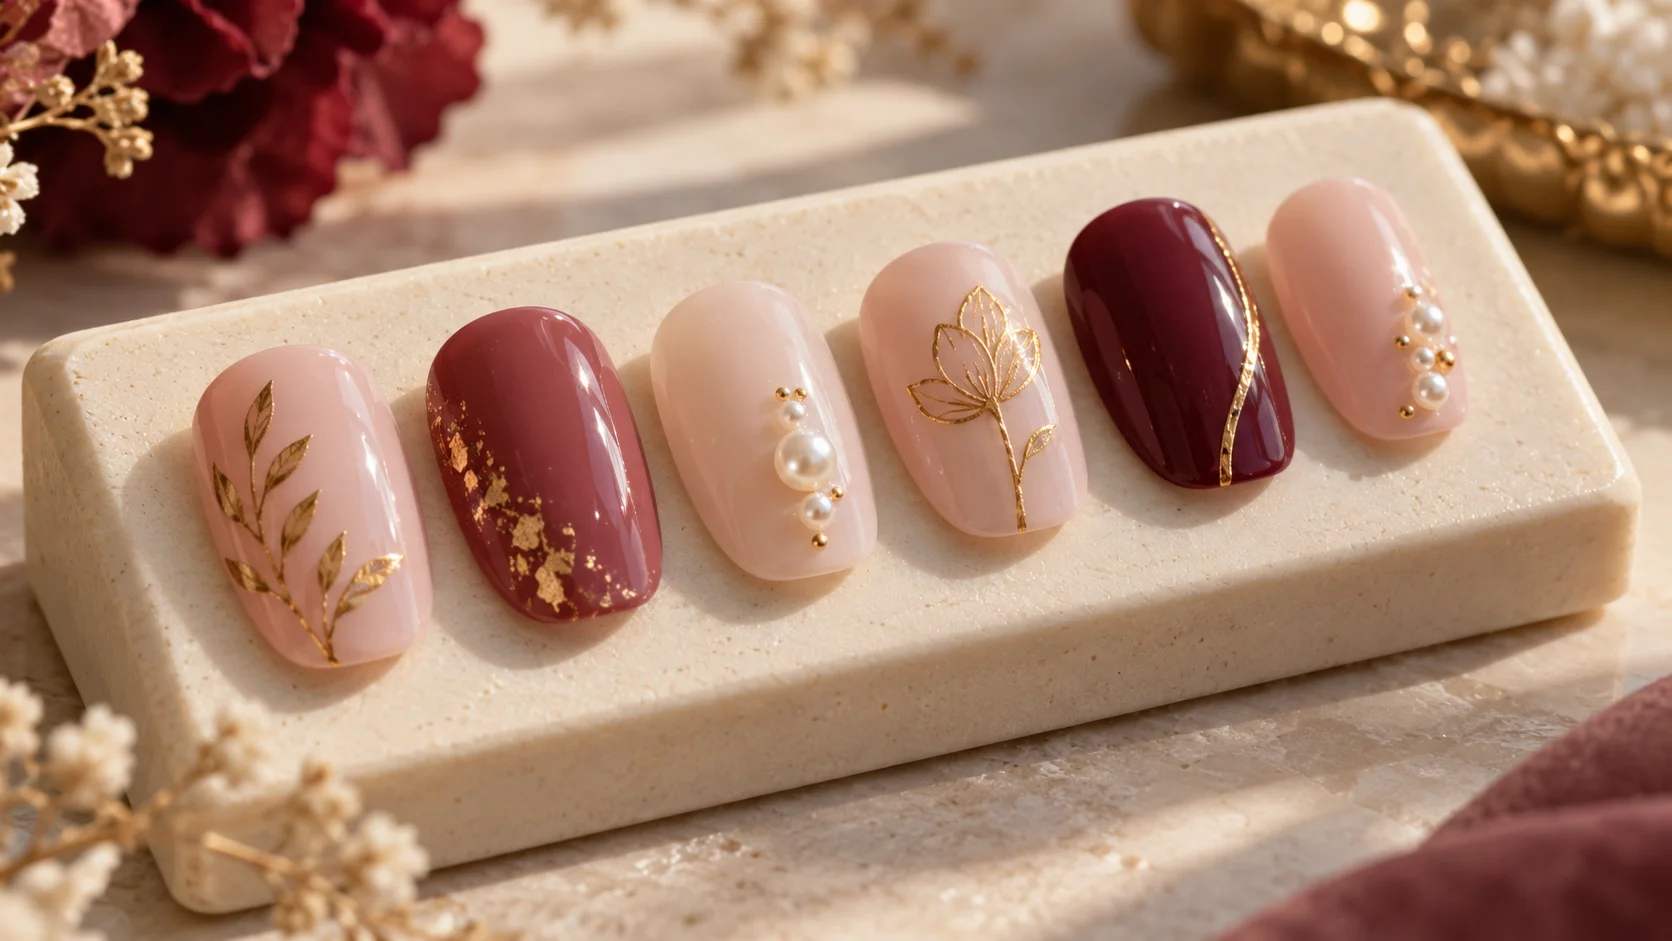
A French band, border, foil effect or printed motif may sit exactly where you want to remove material. Shortening can therefore change more than length. Inspect the actual design on the smaller tips as well as the thumb sample.
A surface effect may also depend on its original finish. Do not assume you can seal a newly filed edge with any top coat or restore artwork with an unrelated product. Ask what the manufacturer supports for that particular design and material.
If preserving the decoration is essential, choose a set whose original length and outline already suit you. Buying an unsuitable long design because you like the artwork can create a problem that filing cannot neatly resolve.
Do not use reshaping to force a poor fit
Olive & June’s sizing guidance emphasises fit without force and notes that different styles have different curves. Width alone does not explain every mismatch. A tip may look close from above while sitting incorrectly across the nail.
Do not file the sides of your natural nail to make it narrower for an artificial tip. If the manufacturer allows a minor adjustment to the tip, keep that instruction specific to its product. Another brand’s between-size rule may be different.
When a proposed alteration becomes substantial, ask whether a different size or mould is the appropriate answer. More adhesive, stronger pressure or a further round of filing should not replace understanding why the tip does not sit comfortably.
Clarify timing and handling
Check whether the manufacturer expects a particular alteration before or after attachment. Directions can depend on how the product is handled and supported. Do not move a step around simply because another tutorial uses a different sequence.
Keep tools and their purposes clear. A manual file supplied for the artificial tip is not permission to file into the natural nail or surrounding skin. This article does not recommend an electric file or an improvised cutting method for home reshaping.
If the tip is already attached and the proposed change is unclear, ask before proceeding. Do not pull at a fitted nail to inspect its underside or try to lever it into a better angle. Removal, if needed, must follow the actual adhesive system’s instructions.
Know what would make you stop
Pause if the tip cracks, bends, develops a sharp damaged edge or no longer sits as intended. A changed product needs reassessment rather than an improvised patch. Ask the manufacturer whether it should be retired or replaced.
Stop if the process causes pain or irritation, or if you cannot tell which surface the tool is affecting. A cosmetic shape change should not require working through discomfort. Seek suitable advice rather than continuing because several nails are already finished.
Do not assume that matching the visible outline proves the fit remains appropriate. Check the product’s intended position and comfort again before any supported application. A neat-looking edge is only one part of a usable result.
Use the result to improve the next purchase
Record the original range, shape and length alongside any manufacturer-supported change you made. A short note about what you wanted can help identify a closer ready-made option next time. Keep the product instructions with that record.
If you regularly need the same substantial alteration, reconsider the starting product. Another range may offer the desired silhouette with less uncertainty about the artwork or fitting surface. That can make the next manicure easier to plan without turning preparation into a repair project.
Permission, purpose, design, fit
- Permission: check the exact product’s alteration guidance.
- Purpose: identify the specific change you want.
- Design: consider what material or decoration would be removed.
- Fit: stop when alteration is being used to force an unsuitable tip.
Before filing, write down the range and the change you want, then resolve any missing instructions with the manufacturer. The Press-On Nails section includes size and length comparisons that can help you choose a closer starting point.
To complete the fit, wear and removal plan, read How to Measure Your Nails Before Buying a Press-On Set, Press-On Nail Lengths: Comparing Short, Medium and Long Sets and Decorated Press-On Nails: Checking Raised Details Before You Buy. For the related care, tool or design decision, see Glass Nail Files vs Emery Boards: Choosing a File for Your Routine.
Common questions
Can every press-on nail be filed or trimmed?
Do not assume so. Some manufacturers explicitly support alteration, but the method and limits depend on the actual range, material and finish. Find the current guidance for your tips before choosing a tool, particularly if the product is decorated or needs a substantial change.
Can filing turn any shape into any other shape?
No. Filing removes material and cannot add width or length where it is missing. The starting silhouette limits the possible result. If you want a major change, compare a product already closer to your preferred outline before relying on a substantial alteration.
Will shortening preserve a French tip?
Not necessarily. The contrasting band or other artwork may occupy the area being removed, and its remaining proportions can change. Check the exact design and manufacturer guidance. A set made near your preferred length may be more predictable than reducing a longer printed design.
Can I file my natural nails narrower to fit the tips?
Do not change the sides of your natural nails to accommodate an unsuitable artificial tip. Check another size or mould, and ask whether a minor adjustment to the product is supported. Reshaping should not become a way to force a poor-fitting set onto your nails.
Should reshaping happen before or after attachment?
Follow the sequence specified for the exact product and alteration. Manufacturers may give different handling instructions, so do not transfer timing from an unrelated tutorial. If the guidance is vague, ask before proceeding rather than moving steps around for convenience.
Which filing grit should I use?
This guide does not specify one grit for every material and finish. Use the tool and method recommended by the manufacturer for your particular tips. A generic number cannot establish compatibility, and a supplied manual file does not authorise using an electric file or working into the natural nail.
What if the tip cracks during reshaping?
Pause and reassess it according to the manufacturer’s guidance rather than patching it with more adhesive or forcing it into place. A damaged edge or changed fitting surface may make the tip unsuitable. Ask about replacement when the product’s retirement criteria are unclear.
When is another set a better starting point?
Consider another range when the desired change is substantial, would remove important decoration or is being used to compensate for unsuitable fit. A closer original shape and length can reduce uncertainty. Record what you wanted to change so the next purchase addresses the actual preference.
Sources and further reading
- Glamnetic — Customising nails — checked 2026-10-22
- OPI — xPRESS/ON guide — checked 2026-10-22
- Olive & June — Sizing record — checked 2026-10-22