Nail Glue vs Adhesive Tabs: Choosing for Your Wear Time
Compare nail glue and adhesive tabs by intended use, compatible sets, removal and practical handling instead of a promised number of days.
Archive edition: 2026-05-02 · This is an editorial allocation, not the first-publication date.
Key takeaways
- Compatibility: choose a supported attachment method.
- Fit: resolve sizing before adhesive strength.
- Wear plan: follow the actual product guidance.
- Removal: know the endpoint before application.
In this guide
- Key takeaways
- Understand the two formats
- Choose around your intended endpoint
- Compare fit before comparing adhesive
- Keep liquid glue away from unsuitable materials
- Do not assume no-glue means no possible reaction
- Make removal a separate comparison
- Check reuse claims independently
- Compatibility, fit, wear plan, removal
- Common questions
- Sources and further reading
Nail glue and adhesive tabs offer different ways to attach a press-on set. The useful choice depends on the set’s compatibility, the wear you intend, the instructions you can follow and how you plan to remove the nails. It is not simply a contest to find the strongest possible bond.
Start by checking which attachment methods the manufacturer supports for that range. Some tips accept separate tabs or glue; others arrive with adhesive already applied. Avoid mixing methods unless the actual product instructions support the combination.
Understand the two formats
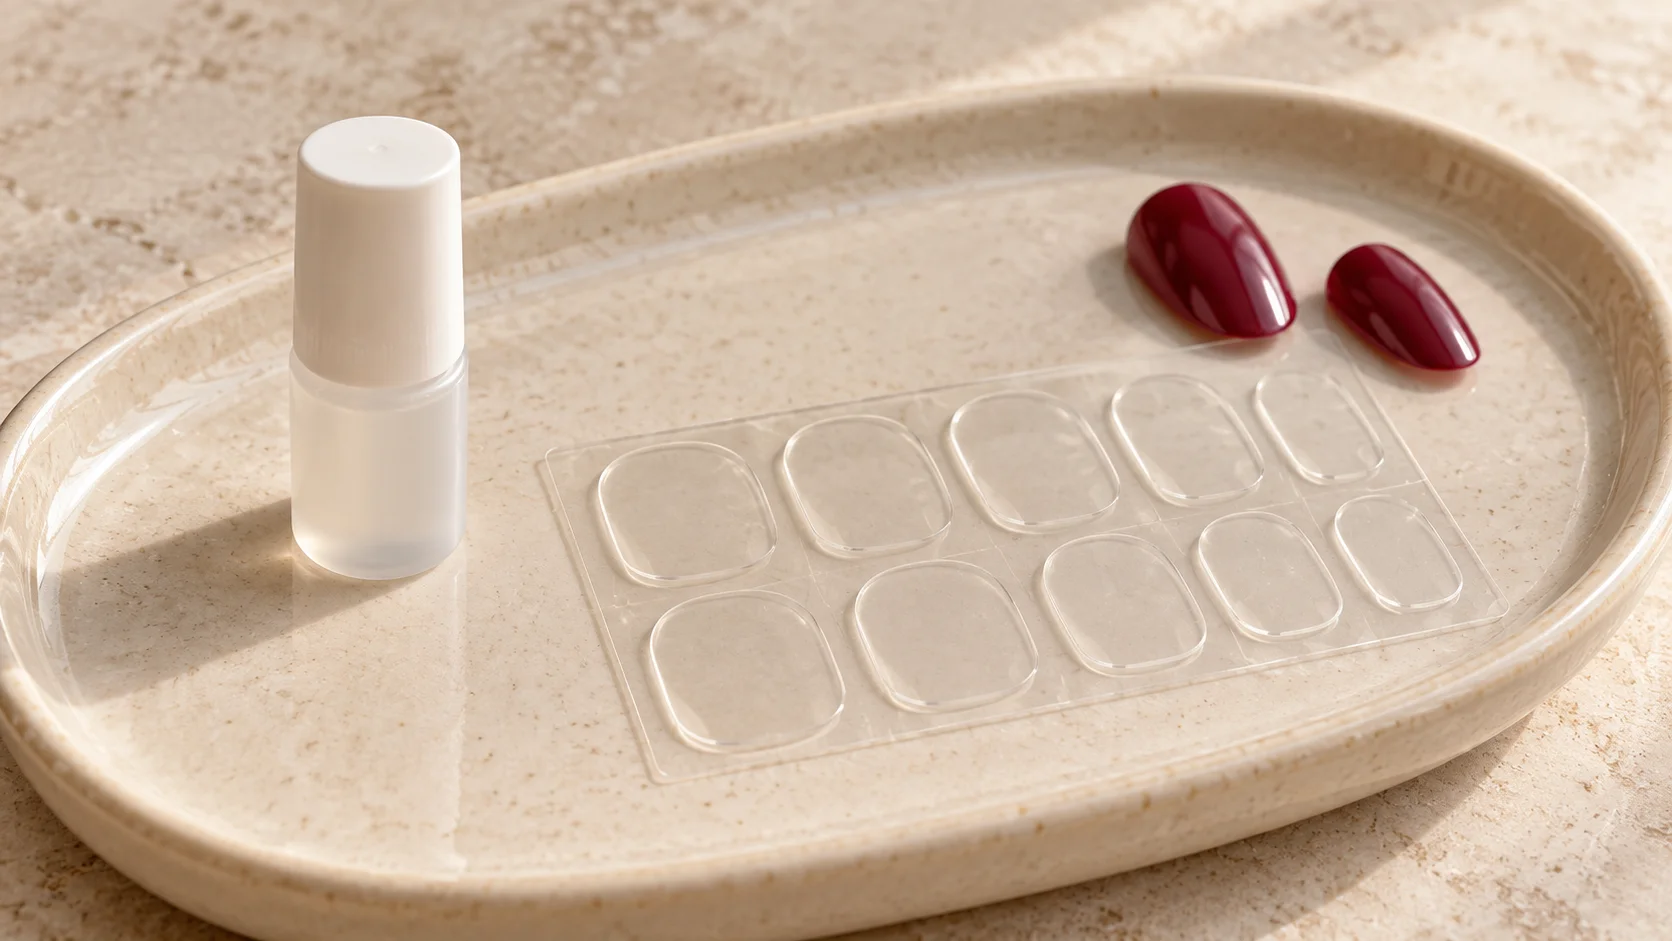
Liquid nail glue is applied from a tube or brush-on bottle according to its directions. OPI’s Make It Stick Glue, for example, is a brush-on product whose listed ingredients include ethyl cyanoacrylate. This is distinct from a gel attachment product that requires a curing lamp.
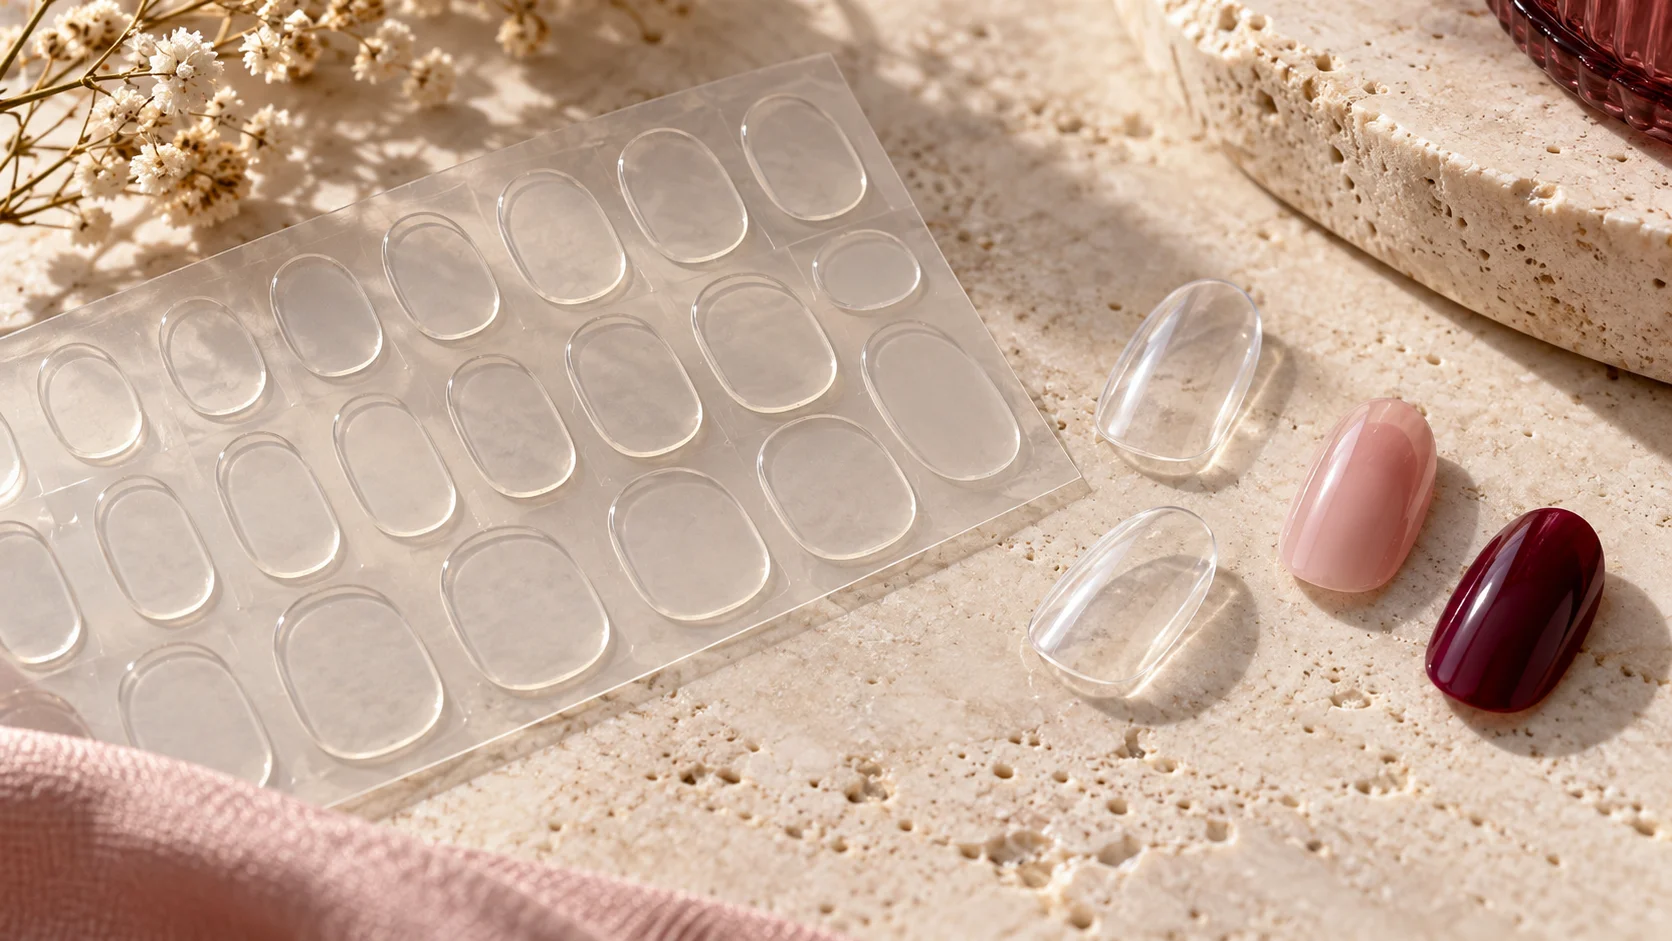
Adhesive tabs are preformed pieces selected and positioned as directed for the set. OPI’s tab product is described as compatible with named OPI press-on ranges. That does not prove compatibility with every decorative nail sold elsewhere.
Read the box rather than inferring the method from the word “press-on”. A ready-to-stick nail, a loose tab sheet and a glue-on kit can look similar in a finished photograph while requiring different preparation and removal.
Choose around your intended endpoint
If you want a manicure for one occasion, begin with the question of how it will be removed afterwards. Ask whether the selected adhesive is intended for that use and whether the necessary removal materials are available. An easy application does not automatically mean immediate removal is straightforward.
If you want longer wear, read the current instructions for that exact product instead of treating a marketing maximum as a personal guarantee. Consider whether you can follow the care and removal requirements. A longer claimed duration is not useful if it conflicts with your work or schedule.
Write the intended endpoint into the plan before attaching anything. This makes the comparison concrete: the choice is about a product you can use and remove as intended, not only how secure it feels during the first hour.
Compare fit before comparing adhesive
A tip that does not match the nail’s width or curve is a fit question first. Do not choose stronger glue to compensate for pressure, a substantial gap or a shape that overlaps the skin. Review the available sizes and the manufacturer’s guidance.
When using separate tabs, check the tab-size instructions as well as the tip size. The attachment material needs to be selected for the intended placement. Do not assume that the largest tab or several stacked tabs will improve every fit.
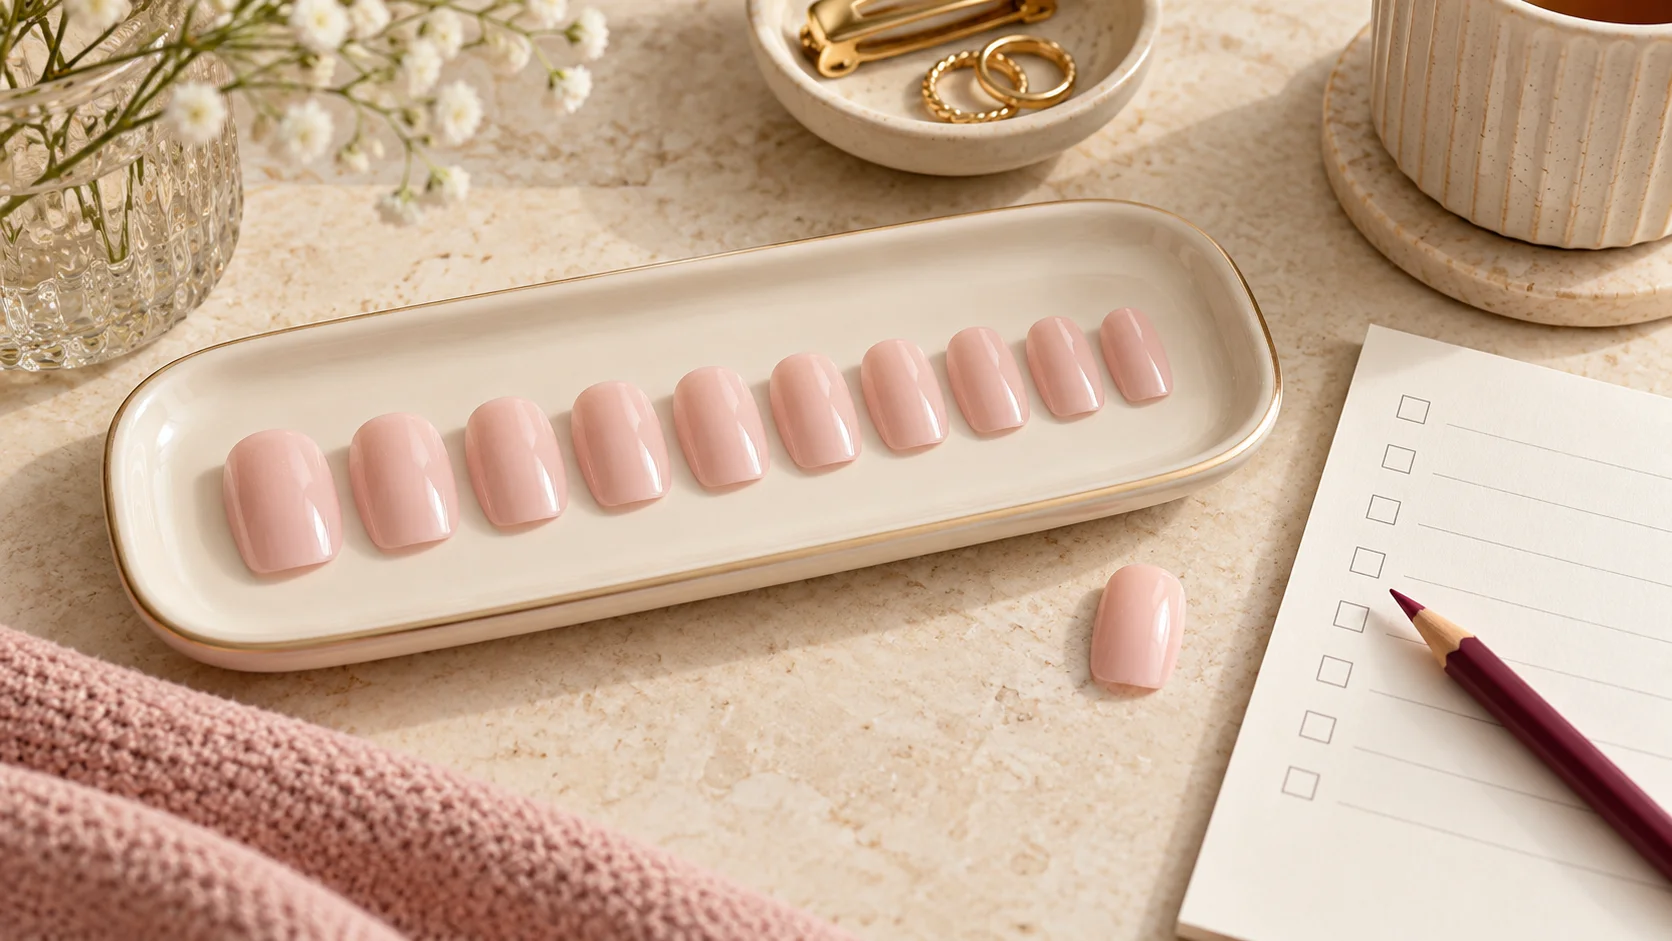
Dry-fit the nails before opening liquid glue or peeling adhesive backing. Keep the choices in finger order so you are not making sizing decisions halfway through application. If a fit is uncertain, resolve it before adding adhesive.
| Question | Liquid nail glue | Adhesive tabs |
|---|---|---|
| Compatibility | Check the exact tip and glue instructions | Check the supported sets and tab placement |
| Handling | Liquid adhesive needs careful controlled use | Backing and tab sizing need attention |
| Wear plan | Use the specific product’s guidance | Use the specific product’s guidance |
| Removal | Identify the glue-removal route before use | Follow the actual tab-system method |
| Reuse | Check the nail range, not just adhesive strength | Check whether reuse is supported for that set |
Keep liquid glue away from unsuitable materials
ANSES describes a thermal-burn risk when cyanoacrylate nail glue contacts cotton or wool. Do not rest an open glue bottle on those fabrics or use a cotton pad to wipe a spill. Read the actual label precautions before arranging the workspace.
Keep the bottle closed between uses and away from children or pets. Avoid skin, eye and mouth contact, and have the product instructions available if an accident occurs. Do not pull bonded skin apart or improvise a remedy for an eye exposure.
Use a product intended for the stated nail purpose. Household adhesive and lamp-cured gels should not be substituted because they sound stronger. Likewise, a lamp is not an added step for ordinary nail glue simply because another system uses one.
Do not assume no-glue means no possible reaction
A tab is still an adhesive product with its own ingredients and instructions. The absence of liquid glue does not identify what caused a previous skin concern or provide personalised clearance. If you have reacted to nail cosmetics, seek appropriate advice before trying another attachment method.
Keep the actual packaging and ingredient information available for that discussion. Do not test a suspected trigger on the skin to see whether it feels different. A new format or a reassuring product phrase cannot replace assessment of the original problem.
If symptoms arise during use, pause further application and obtain suitable advice. Do not repeatedly switch between tabs and glue to diagnose the cause by trial and error. The product history is more useful when it remains clear.
Make removal a separate comparison
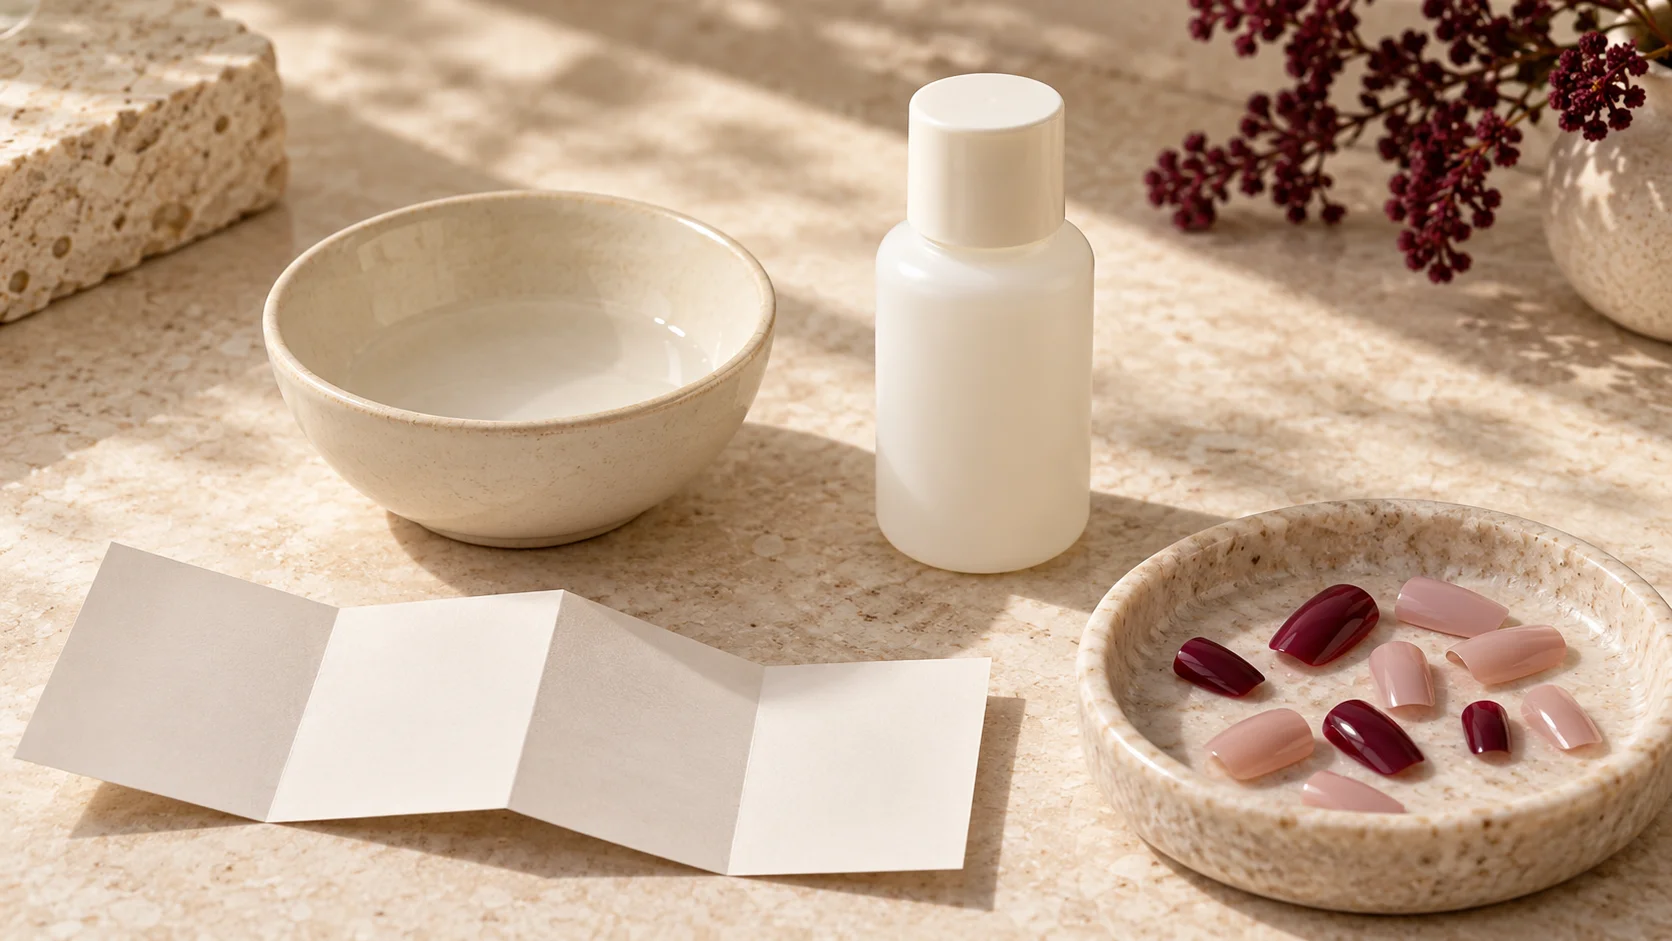
Read the removal directions for the particular adhesive rather than borrowing a method from a similar-looking set. Instructions for a ready-to-stick nail may differ from those for a liquid-glue application. Keep the relevant remover or booking route in the plan.
The KISS FAQ specifically warns against forcing or pulling off its glue-on nails. That is a useful boundary when removal is not progressing as expected. Do not make the process more forceful solely to preserve a reusable tip or meet an event deadline.
If instructions conflict across a brand’s pages, check the supplied product information and ask the manufacturer to clarify the exact range. Do not blend timings or materials from different methods into a new protocol of your own.
Check reuse claims independently
A nail that remains intact after removal is not automatically approved for reuse. Check the range’s care and reuse instructions, including how any old adhesive is handled. Do not assume that changing to tabs turns every single-use nail into a reusable set.
KISS’s FAQ distinguishes its general single-use products from a named range with different reuse guidance. That is an example of why the product line matters. It should not be converted into a universal number of times every press-on can be worn.
Consider the whole kit cost if repeat wear matters to you. Replacement adhesive, supported cleaning and eventual removal are part of the choice. A low first-use price does not answer all of those practical questions.
Compatibility, fit, wear plan, removal
- Compatibility: choose a supported attachment method.
- Fit: resolve sizing before adhesive strength.
- Wear plan: follow the actual product guidance.
- Removal: know the endpoint before application.
Use the Press-On Nails section for more detailed fitting and removal questions. The best comparison is the one that connects the product to your real plans without promising a guaranteed number of days.
To complete the fit, wear and removal plan, read Adhesive Tabs for Press-Ons: Fit, Thickness and Short-Term Wear, Why Press-On Nails Pop Off: Fit and Preparation to Review and How to Remove Press-On Nails Using the Manufacturer's Method. For the related care, tool or design decision, see How to Read Nail Polish Ingredient and Safety Labels.
Common questions
Are tabs always for one night and glue always for weeks?
Those are not universal rules. Read the intended use and removal instructions for the exact products rather than converting a broad marketing comparison into a fixed schedule. Your chosen set, fit, activities and ability to follow the process all matter when deciding which method suits the plan.
Can I use adhesive tabs with any press-on set?
Check compatibility rather than assuming it. A manufacturer may name the ranges supported by a tab product, and another set may have a different attachment design. Use a method intended for the actual nails and ask the supplier when the combination is not clearly described.
Will stronger glue fix a poor fit?
No adhesive choice establishes that an unsuitable tip fits correctly. Review width, curve and the manufacturer’s sizing guidance before attachment. Do not use extra glue, stacked tabs or force to compensate for pressure, substantial gaps or a shape that overlaps the surrounding skin.
Is a sticky tab automatically safe after a glue reaction?
Do not treat a change of format as personalised clearance. Tabs have their own adhesive ingredients, and the cause of the original concern may be unknown. Keep the product information and seek appropriate advice rather than testing another application to diagnose the reaction yourself.
Do I need a lamp for ordinary nail glue?
Do not add a lamp to a conventional nail-glue process unless the actual product instructions require it. Liquid nail glue, sticky tabs and lamp-cured gel attachments are different systems. A technique seen with one should not be transferred to another because the finished nails look similar.
What is the main handling concern with cyanoacrylate glue and fabric?
Contact with cotton or wool can trigger a heat-generating reaction and cause burns. Keep liquid nail glue away from those materials and do not use a cotton pad for a spill. Follow the label precautions and seek suitable advice for an accident without pulling bonded skin apart.
Can I remove tabs and glue with the same method?
Do not assume the directions are interchangeable. Read the removal guidance for the adhesive and range actually used, including any required materials. If instructions conflict, ask for clarification. A similar-looking set or an easy application does not establish the correct removal process.
Does using tabs make a single-use set reusable?
Not automatically. Reuse depends on the nail range and its care instructions as well as the adhesive. Check whether repeat wear is supported and how old adhesive should be handled. An intact-looking tip is not enough to override the manufacturer’s intended use for that product.
Sources and further reading
- OPI — Make It Stick Tabs — checked 2026-10-21
- OPI — Make It Stick Glue — checked 2026-10-21
- KISS — Nails FAQ — checked 2026-10-21
- ANSES — Nail glues and thermal burns — checked 2026-10-21