Adhesive Tabs for Press-Ons: Fit, Thickness and Short-Term Wear
Check tab compatibility, footprint and the complete fit instead of assuming a thicker or thinner adhesive layer is automatically better.
Archive edition: 2026-09-04 · This is an editorial allocation, not the first-publication date.
Key takeaways
- Identify the exact tip and adhesive format.
- Confirm compatibility and placement directions.
- Check each tip without forcing its shape.
- Read wear, removal and reuse instructions together.
- Reconsider the set if fit or suitability remains uncertain.
In this guide
- Key takeaways
- Identify which kind of adhesive system you have
- Check compatibility before comparing thickness
- Separate the footprint from the thickness
- Fit the tip before trying to solve it with adhesive
- Plan the application around the occasion
- Read wear claims as conditions, not appointments
- Glue-free does not mean allergy-free
- Decide the removal route before the first tab
- Common questions
- Sources and further reading
Adhesive tabs can make a short-term press-on manicure appealing, but the right choice depends on the whole system: the artificial tip, the natural nail, the adhesive footprint and the manufacturer’s directions. A tab that looks especially thick or thin in a product photograph is not automatically the better option.
Start with compatibility and fit. This guide explains what to inspect and what to ask before buying replacement tabs. It does not rank adhesive strength or provide laboratory thickness measurements; we have not tested the products discussed.
Identify which kind of adhesive system you have
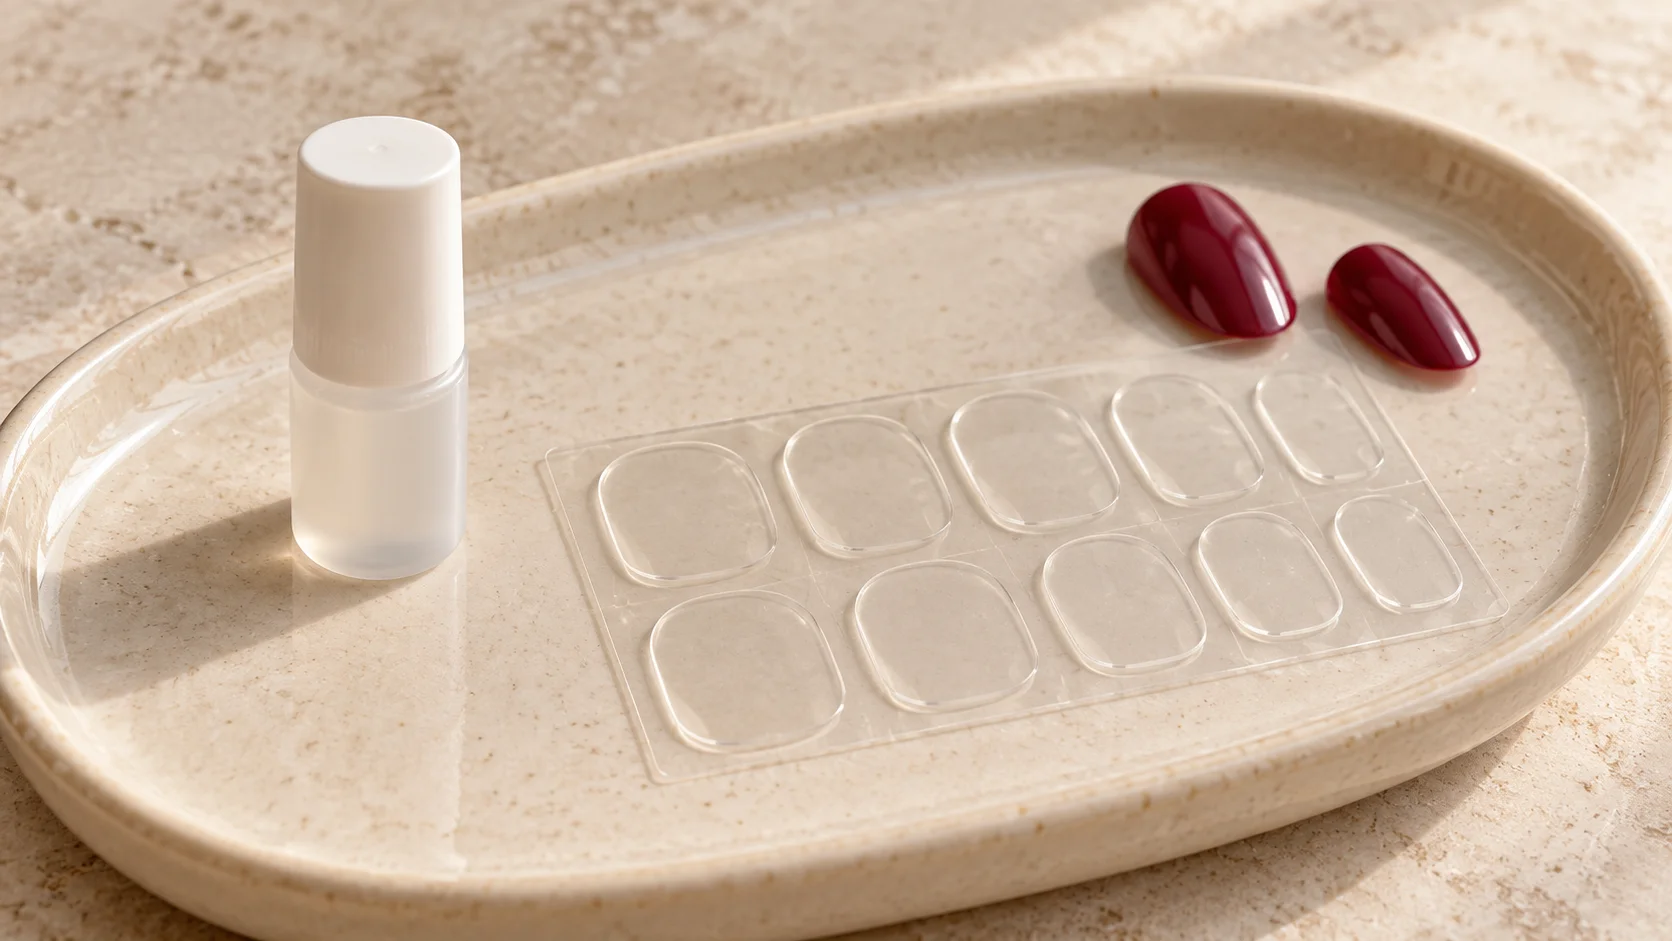
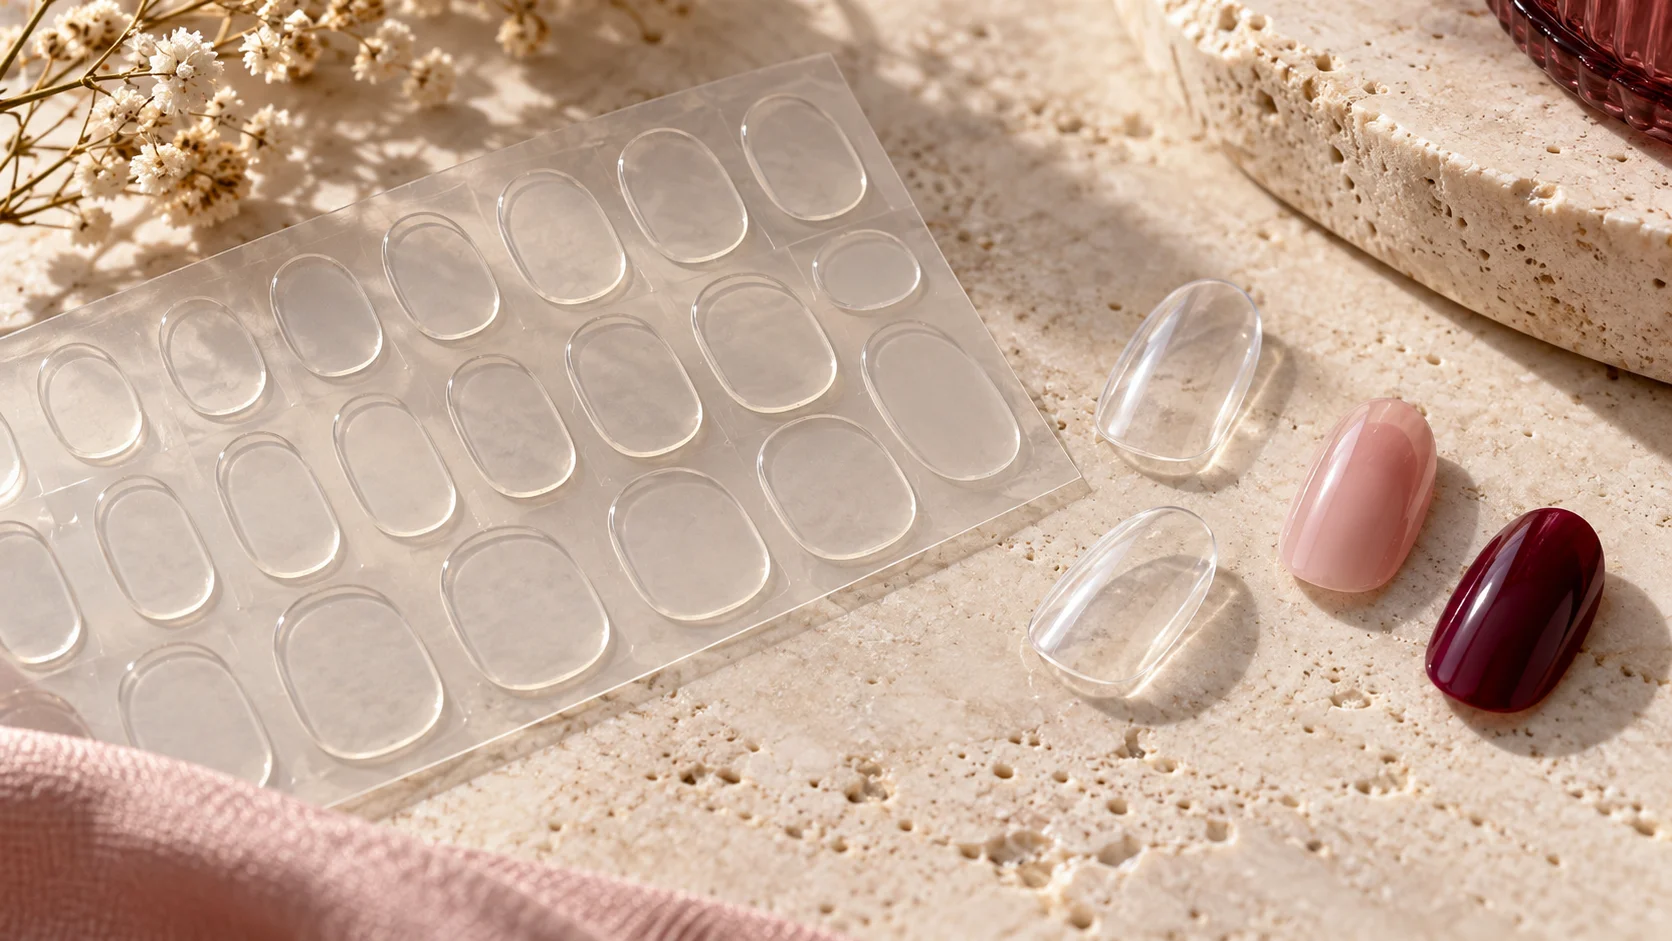
Some nails arrive with adhesive already attached. Others use a separate sheet of tabs, while glue-on sets use a liquid adhesive. These formats can have different application, removal and reuse instructions. The word “press-on” alone does not tell you which procedure applies.
Olive & June distinguishes its Super Stick Mani and Instant Mani systems, including their different adhesive formats. Advice for one should not be transferred to the other just because both products come from the same brand.
Find the exact product name on the packaging, then check whether replacement adhesive is supported. If a pre-attached adhesive has been used or disturbed, do not assume a separate tab restores the original system. Ask the manufacturer what replacement, if any, it recommends.
Check compatibility before comparing thickness
OPI’s Make It Stick Tabs page names compatible nail ranges. That is useful information because it identifies an intended combination, rather than promising that the tabs work with every artificial tip available.
When buying another brand’s replacement sheet, look for the same clarity. Does the seller identify the tips or materials the tabs are intended for? Are application and removal instructions supplied? A low price or a large piece count cannot answer those questions.
Do not stack tabs, add glue over a tab or thin an adhesive layer to create an improvised combination. Those changes move away from the supplied directions. If a recommended combination does not fit, resolve the fit or choose another system rather than altering the adhesive structure.
Separate the footprint from the thickness
The footprint is the outline and area of the tab when viewed from above. Thickness describes its depth. These are separate properties: a wider tab is not necessarily thicker, and a thicker tab does not necessarily cover the intended area correctly.
Look at the manufacturer’s placement illustration before selecting a tab. Check how its outline should relate to the natural nail and artificial tip. Do not allow an oversized adhesive piece to become an excuse for contact with surrounding skin; follow the product’s stated placement boundaries.
The sources checked for this guide do not provide comparable numerical tab-thickness measurements. We therefore cannot offer a reliable “best millimetres” figure or place the products in thickness order. Photographs, perspective and protective backing can also make a visual comparison misleading.
Fit the tip before trying to solve it with adhesive
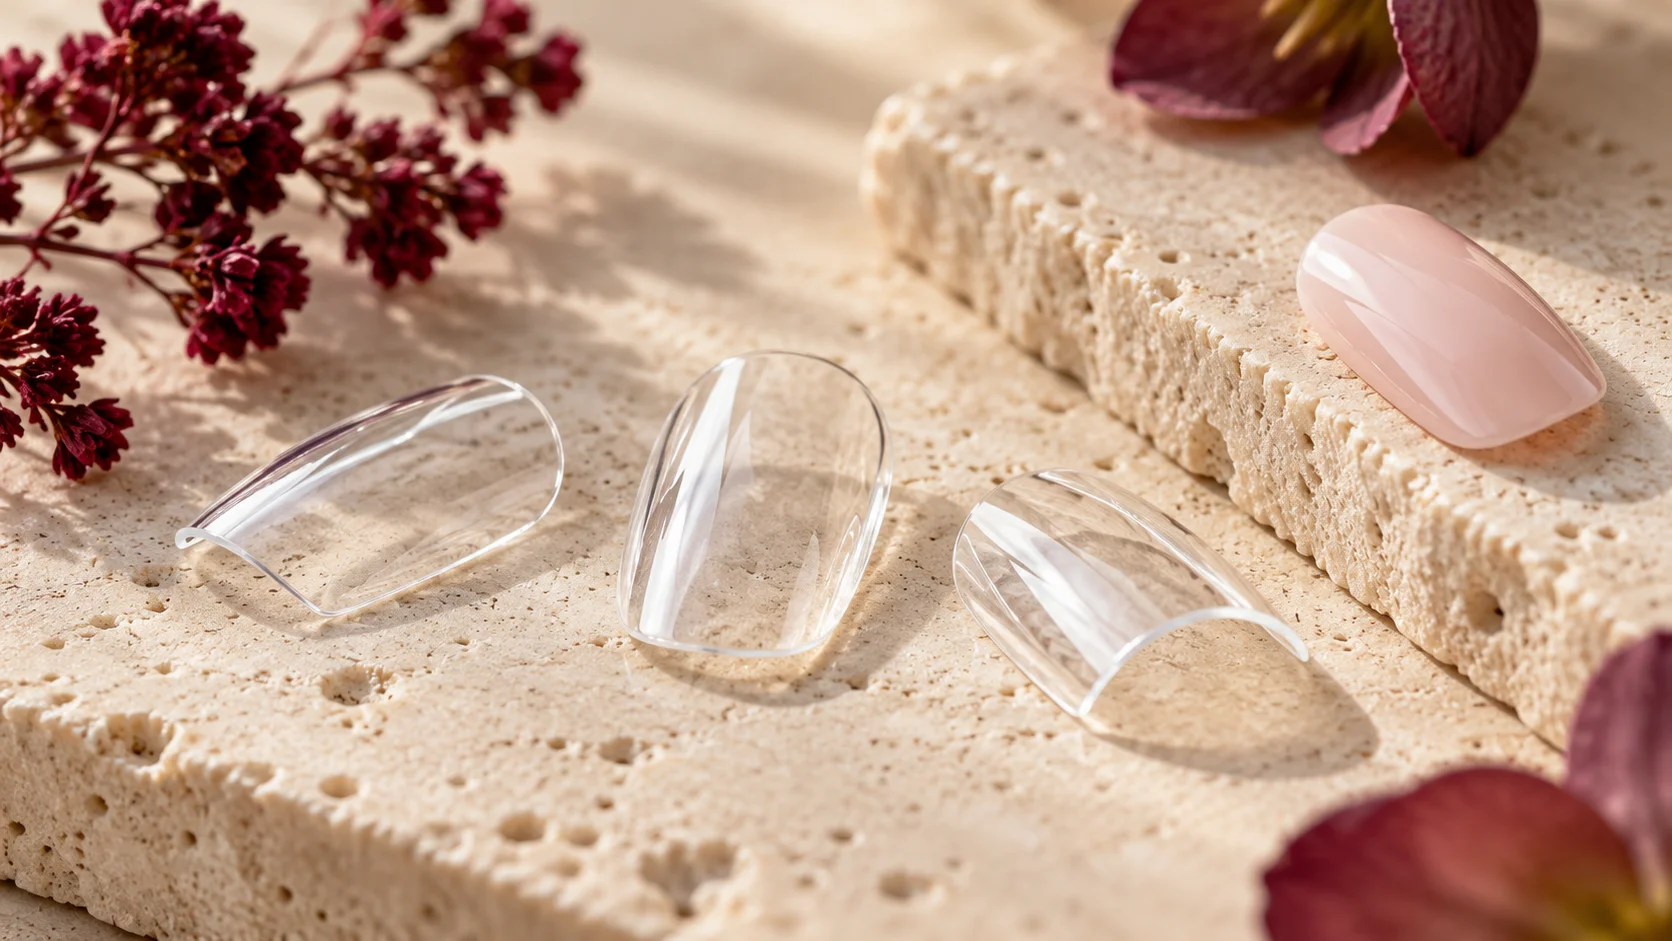
Check the artificial nail using its dry-fit instructions before applying adhesive. Width, base outline and curve all matter. A tip can look attractive from above while feeling tight or resting unevenly when positioned on the nail.
Olive & June’s sizing guidance emphasises a comfortable fit without forcing and explains that styles can have different curves. Its advice is product-specific, but the need to assess the actual tip is a useful starting point.
A thicker-looking tab is not a general remedy for a gap, and a thinner-looking tab is not a remedy for pressure. If the tip needs force to stay in its intended position, pause before attaching it. Describe the mismatch to the seller, including the exact style and affected finger.
| Question | Useful evidence | What it cannot prove |
|---|---|---|
| Is it compatible? | Named ranges and directions from the manufacturer | Suitability for every brand or material |
| Does the outline fit? | Placement guidance and the available tab sizes | Comfort of a badly fitting artificial tip |
| How thick is it? | A stated measurement with a clear method, if supplied | Better wear solely because of greater thickness |
| Can the tips be reused? | The exact set’s removal and reuse instructions | Reuse permission from the presence of spare tabs |
Plan the application around the occasion
A short event still needs enough time for careful fitting, application and eventual removal. Read the instructions before the day itself, especially any preparation or water restrictions around application. Do not turn an advertised quick manicure into a reason to rush an uncertain fit.
Lay out the tips in finger order and identify the matching adhesive choices without exposing them prematurely. Follow the pack’s sequence for removing protective films and pressing the tip into place. Pressure and timing should come from that system’s directions, not a general social-media routine.
If necessary handwashing or another task conflicts with an application window, move the manicure to another time. A decorative set is optional. There is no need to compromise hygiene to preserve a newly applied adhesive or to meet a planned photograph time.
Read wear claims as conditions, not appointments
A product marketed for temporary wear may suit someone who wants an occasional look, but its stated duration is not a promise for your nails or activities. Fit, application and the manufacturer’s care conditions remain relevant. We have not measured those effects or assigned a personal wear prediction.
Check the set when it feels different. A lifting edge, discomfort or exposed adhesive needs attention under the product’s care and removal directions; it is not a reason to press the nail down repeatedly until the event ends. Keep the instructions available throughout wear.
Do not compare two products only by the largest duration printed on the box. Also compare whether the correct tab sizes are available, how removal works, and whether the artificial tips are meant for one use or possible reuse.
Glue-free does not mean allergy-free
A separate tab is still an adhesive product. OPI lists Acrylates Copolymer for its tabs, and Olive & June advises people with a known acrylate or nail-adhesive allergy to avoid its relevant products and consult a dermatologist. “No liquid glue” is not enough information to establish personal suitability.
Read the ingredient and warning information for the exact item. Do not perform an improvised skin test or use a different adhesive as a workaround for a previous reaction. If there is a known allergy or an unexplained reaction history, seek appropriate clinical advice before trying another system.
Decide the removal route before the first tab
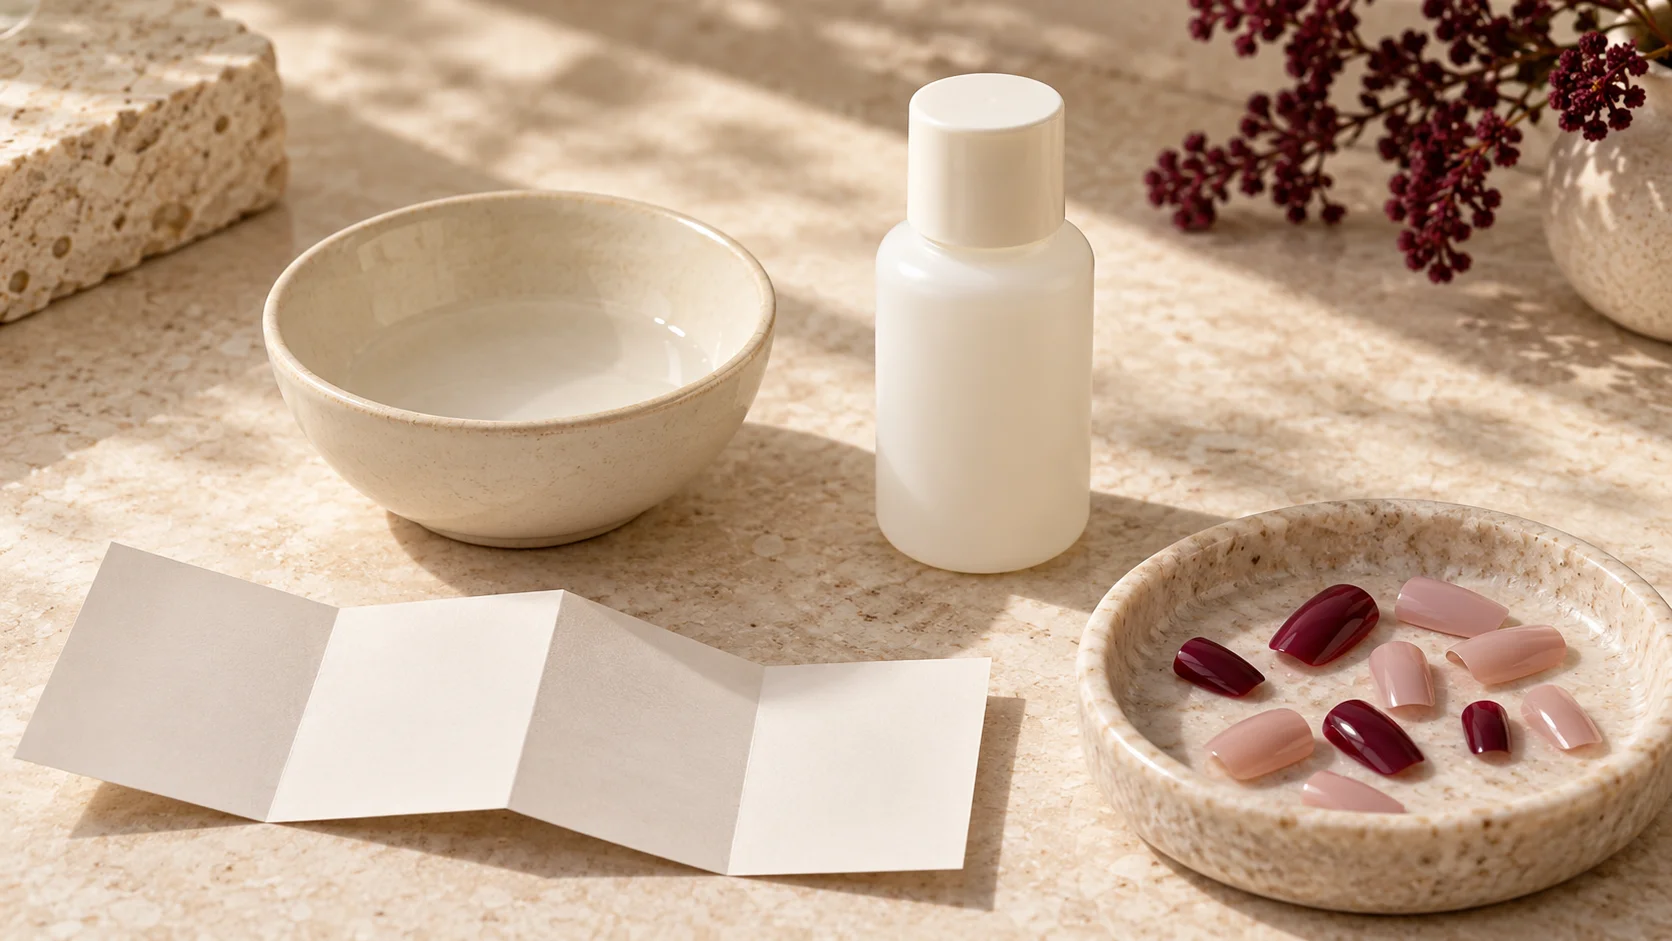
Read the removal instructions while the pack is still unopened. Products can differ in which liquids, waiting periods and tools they specify. Instructions for one tab should not become a universal warm-water, oil or solvent recipe for every adhesive.
Whether the tip survives removal is a separate question from whether it is approved for another wear. Keep reuse permission, cleaning directions and replacement-tab compatibility together. Spare adhesive does not automatically make a single-use set reusable.
Choose the system, then check the fit
- Identify the exact tip and adhesive format.
- Confirm compatibility and placement directions.
- Check each tip without forcing its shape.
- Read wear, removal and reuse instructions together.
- Reconsider the set if fit or suitability remains uncertain.
Keep your notes with the product name rather than recording only “thin tabs” or “strong tabs”. An exact range, size choice and description of the fit are more useful when asking a seller for help. Explore the press-on nails section for related fitting and removal guides.
To complete the fit, wear and removal plan, read Nail Glue vs Adhesive Tabs: Choosing for Your Wear Time, Press-On Nail Curvature: Why a Size Can Fit but Still Feel Wrong and How to Remove Press-On Nails Using the Manufacturer's Method. For the related care, tool or design decision, see How to Read Nail Polish Ingredient and Safety Labels.
Common questions
Are thicker adhesive tabs always stronger?
The sources checked here do not establish that relationship or provide comparable thickness measurements. Choose a compatible system and follow its placement instructions. A visibly thicker layer cannot prove longer wear or compensate reliably for an artificial tip that does not fit comfortably.
Can I use replacement tabs with any press-on set?
Do not assume universal compatibility. Check whether the tip manufacturer permits replacement tabs and whether the adhesive supplier identifies your range as suitable. Pre-attached adhesive systems and separate-tab systems can have different instructions, even when their finished appearance looks similar.
Should I stack two tabs to fill a gap?
Do not improvise a stacked adhesive layer. A gap may reflect the tip’s width or curve, and adding material does not establish that the fit is suitable. Recheck the dry fit and ask the manufacturer about the exact combination before attaching it.
Does glue-free mean suitable for an adhesive allergy?
No. Tabs are adhesive products and can contain ingredients relevant to an allergy history. Read the exact ingredient and warning information. If you have a known adhesive or acrylate allergy, seek appropriate clinical advice rather than treating the absence of liquid glue as reassurance.
How do I choose the correct tab outline?
Use the placement guide supplied with that adhesive system and compare the available outlines before exposing the adhesive. Check the intended boundaries on the nail and tip. Do not assume a larger footprint is better or allow excess adhesive to justify contact with surrounding skin.
Can a thin tab solve pressure from a curved tip?
A thinner-looking tab is not a general solution to a mismatch in the tip’s curve. Assess the artificial nail using its dry-fit directions without forcing it into shape. If the fit remains uncomfortable, ask about another size, mould or system rather than changing adhesive thickness.
Will spare tabs make my press-on nails reusable?
Not necessarily. Reuse depends on the exact tip’s instructions, the removal method and the condition of the product afterwards. Spare adhesive only establishes that more adhesive is available. Confirm that repeat wear and the proposed replacement tabs are supported before planning another application.
Do all adhesive tabs come off with warm water?
Follow the exact product’s removal instructions rather than a universal recipe. Different systems can specify different liquids, waiting periods and handling methods. Read the removal section before applying the set, and avoid forcing a tip away because another brand’s method worked previously.
Sources and further reading
- OPI — Make It Stick Tabs — checked 2026-10-22
- Olive & June — Two press-on systems — checked 2026-10-22
- Olive & June — Fit guidance — checked 2026-10-22