When to Remove a Press-On Set Instead of Reattaching a Loose Nail
Separate a loose attachment from permission to reuse it, and know when to remove the set or seek advice rather than add more glue.
Archive edition: 2026-10-03 · This is an editorial allocation, not the first-publication date.
Key takeaways
- Notice lifting, damage or discomfort without probing.
- Follow the exact system's removal guidance.
- Check the natural nail and surrounding skin.
- Confirm reuse permission before considering another wear.
- Resolve fit or health concerns before the next set.
In this guide
- Key takeaways
- Notice whether the nail is loose, detached or damaged
- Do not seal a lifting area with extra adhesive
- Consider possible causes without treating them as a diagnosis
- Use the removal instructions for the actual system
- Reuse permission is a separate question
- Look at the natural nail before deciding on another set
- Decide what to do with the rest of the manicure
- Make the next application a fresh decision
- Common questions
- Sources and further reading
A loose press-on is a reason to pause, not automatically an invitation to add more glue. The tip may still be partly attached, the natural nail may need attention, or the product may not be designed for another application.
Separate those questions before trying to restore the manicure. This guide helps you decide what information to check and when to remove the set or seek advice. It cannot diagnose the cause of lifting or provide one removal method for every adhesive.
Notice whether the nail is loose, detached or damaged
A tip that has fallen away completely is different from one that lifts at an edge while remaining attached elsewhere. Do not turn a partial lift into a full detachment by pulling, twisting or using another nail as a lever.
Look at what is visible without probing underneath. Is the artificial tip cracked? Is there discomfort? Can you see a change in the natural nail or surrounding skin? The purpose is to identify a reason to stop and reassess, not to make a diagnosis from appearance.
If the situation involves an injury or a suspected reaction, prioritise appropriate care over restoring the set. There is no requirement to keep wearing the remaining nails simply because they were applied together or because an occasion is still underway.
Do not seal a lifting area with extra adhesive
Adding glue into a gap while the tip remains attached does not resolve uncertainty about the fit or the condition beneath it. It also changes the application from the procedure described for a prepared nail and correctly fitted tip.
Read the kit’s directions for a loose nail and its removal method. If those directions are absent or unclear, ask the manufacturer about the exact set and adhesive. A generic online repair video may be demonstrating another material or attachment system.
Do not use household adhesive, combine a tab with liquid glue or add a curing product as a workaround. The fact that a tip needs to stay on for only another hour does not establish that an improvised combination is suitable.
Consider possible causes without treating them as a diagnosis
Olive & June’s early-detachment guidance discusses preparation, fit and adhesive amount as possible contributors for its glue system. That is useful context for reviewing the instructions, but it cannot explain every loose nail.
Record the exact product, which finger was affected and what you noticed. A repeated problem on one finger may be worth discussing with the manufacturer, particularly if the selected tip never felt comfortable. Do not assume every detachment means the glue was too weak.
Review the supplied sequence rather than changing several variables at once. Extra buffing, stronger solvents or more glue are not general solutions offered by this guide. If the product’s fitting options do not work, another style or no artificial nail may be more appropriate.
Use the removal instructions for the actual system
The KISS nails FAQ gives removal guidance and says not to force or pull nails off. Its product-specific method should not be treated as a universal recipe for every press-on adhesive or decorated tip.
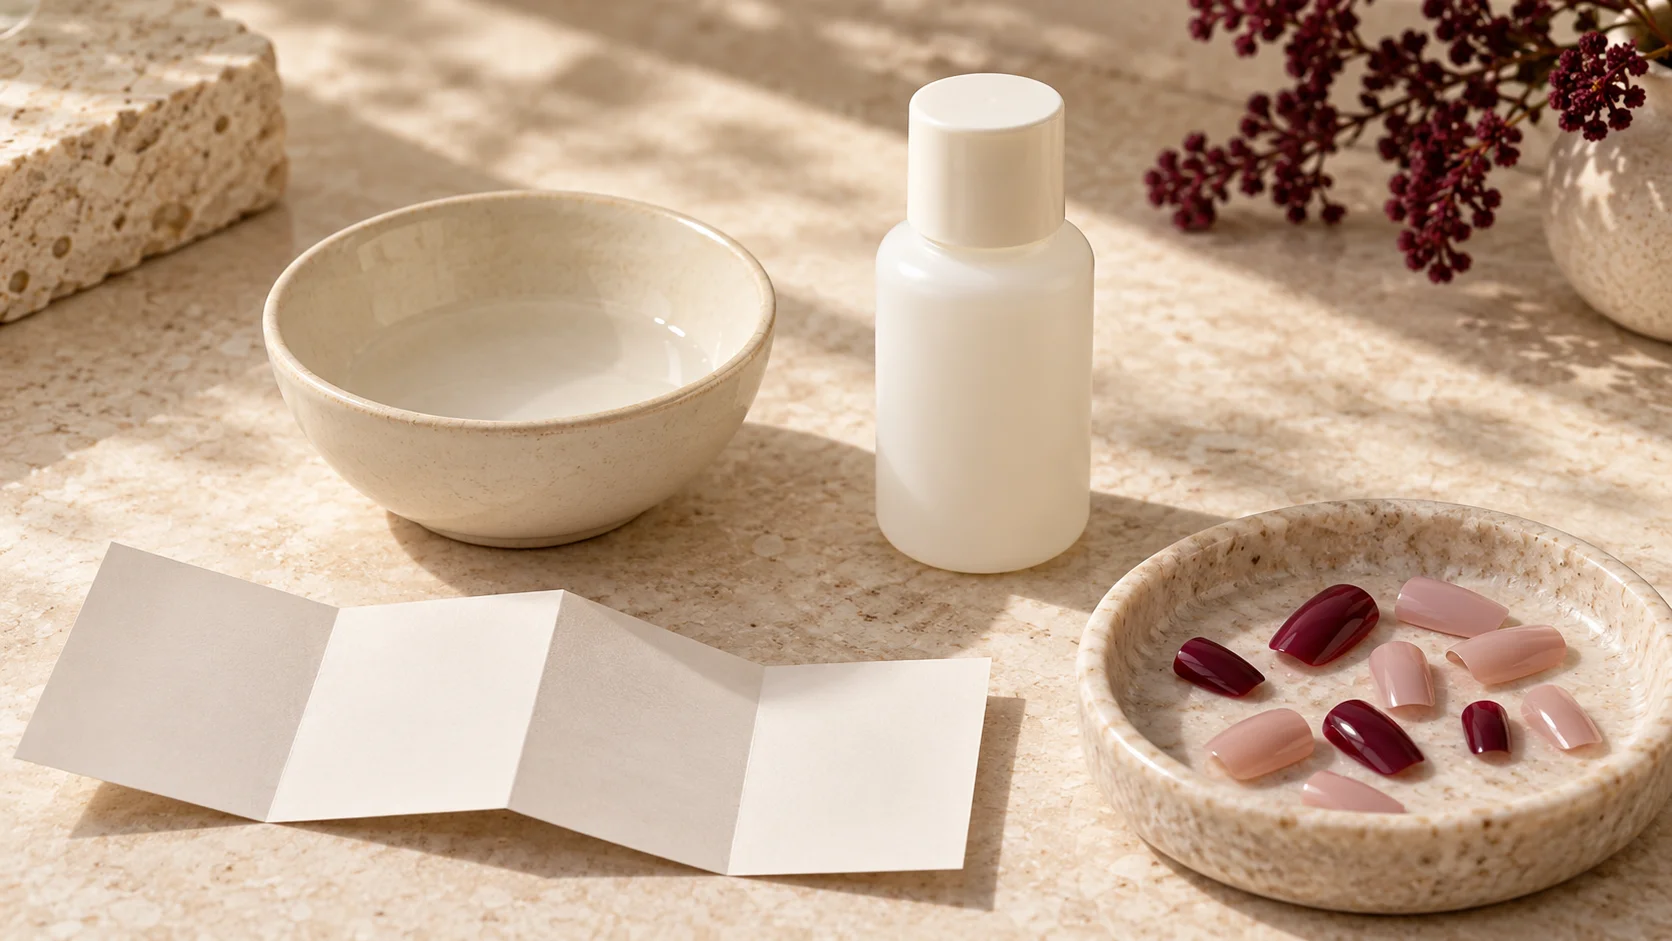
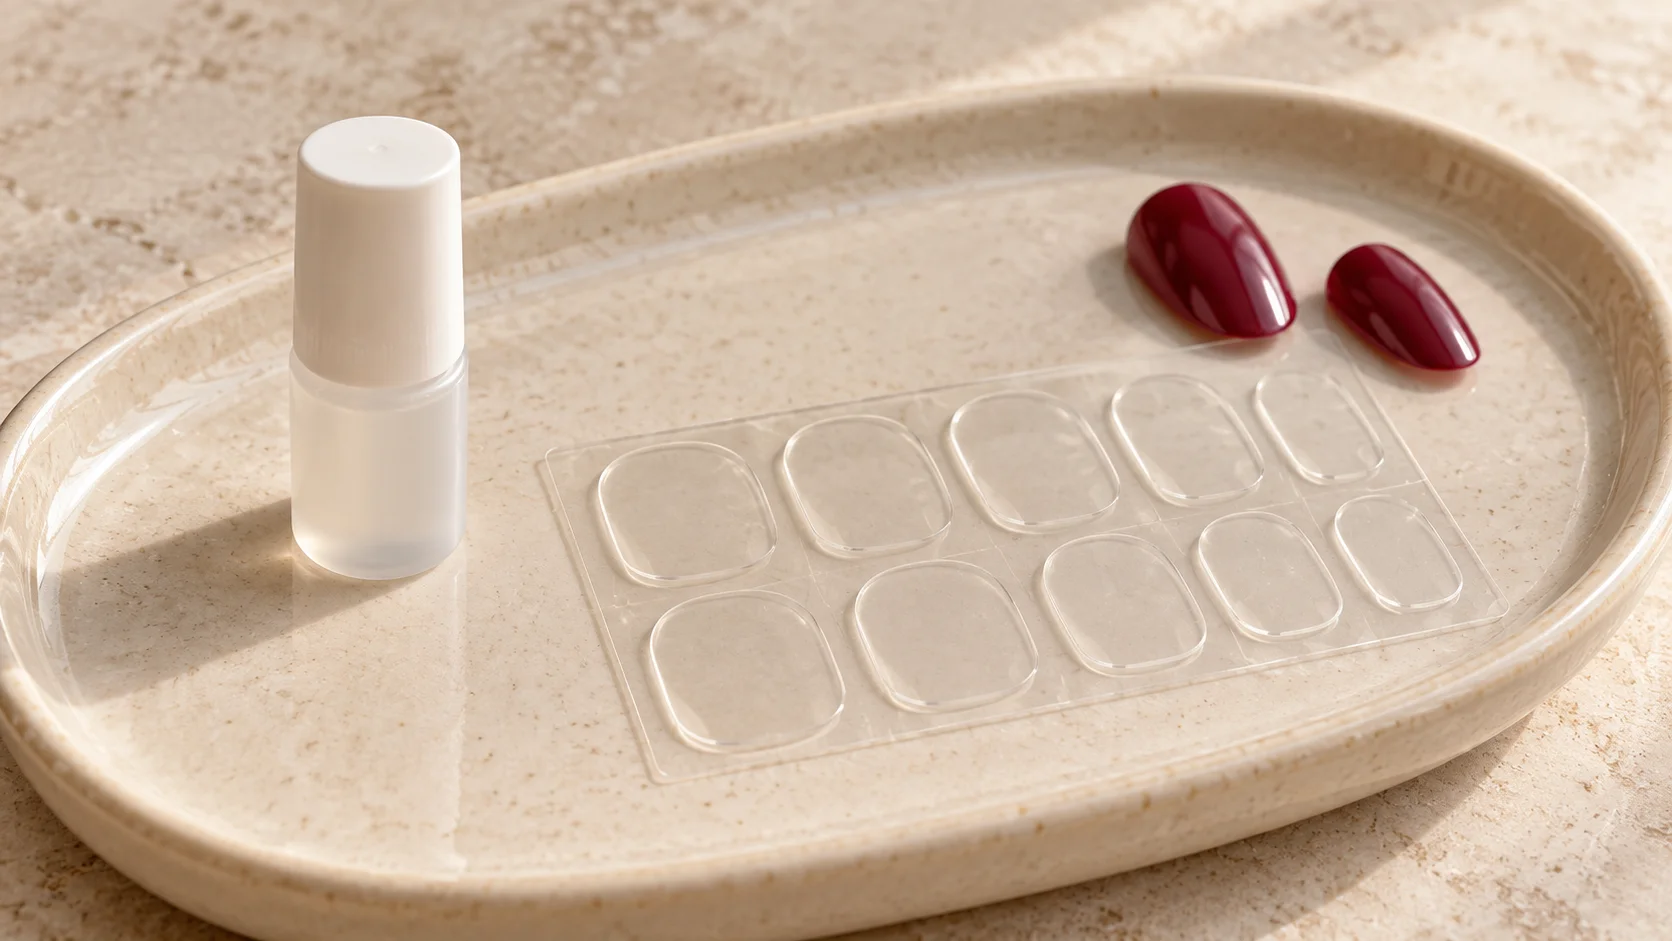
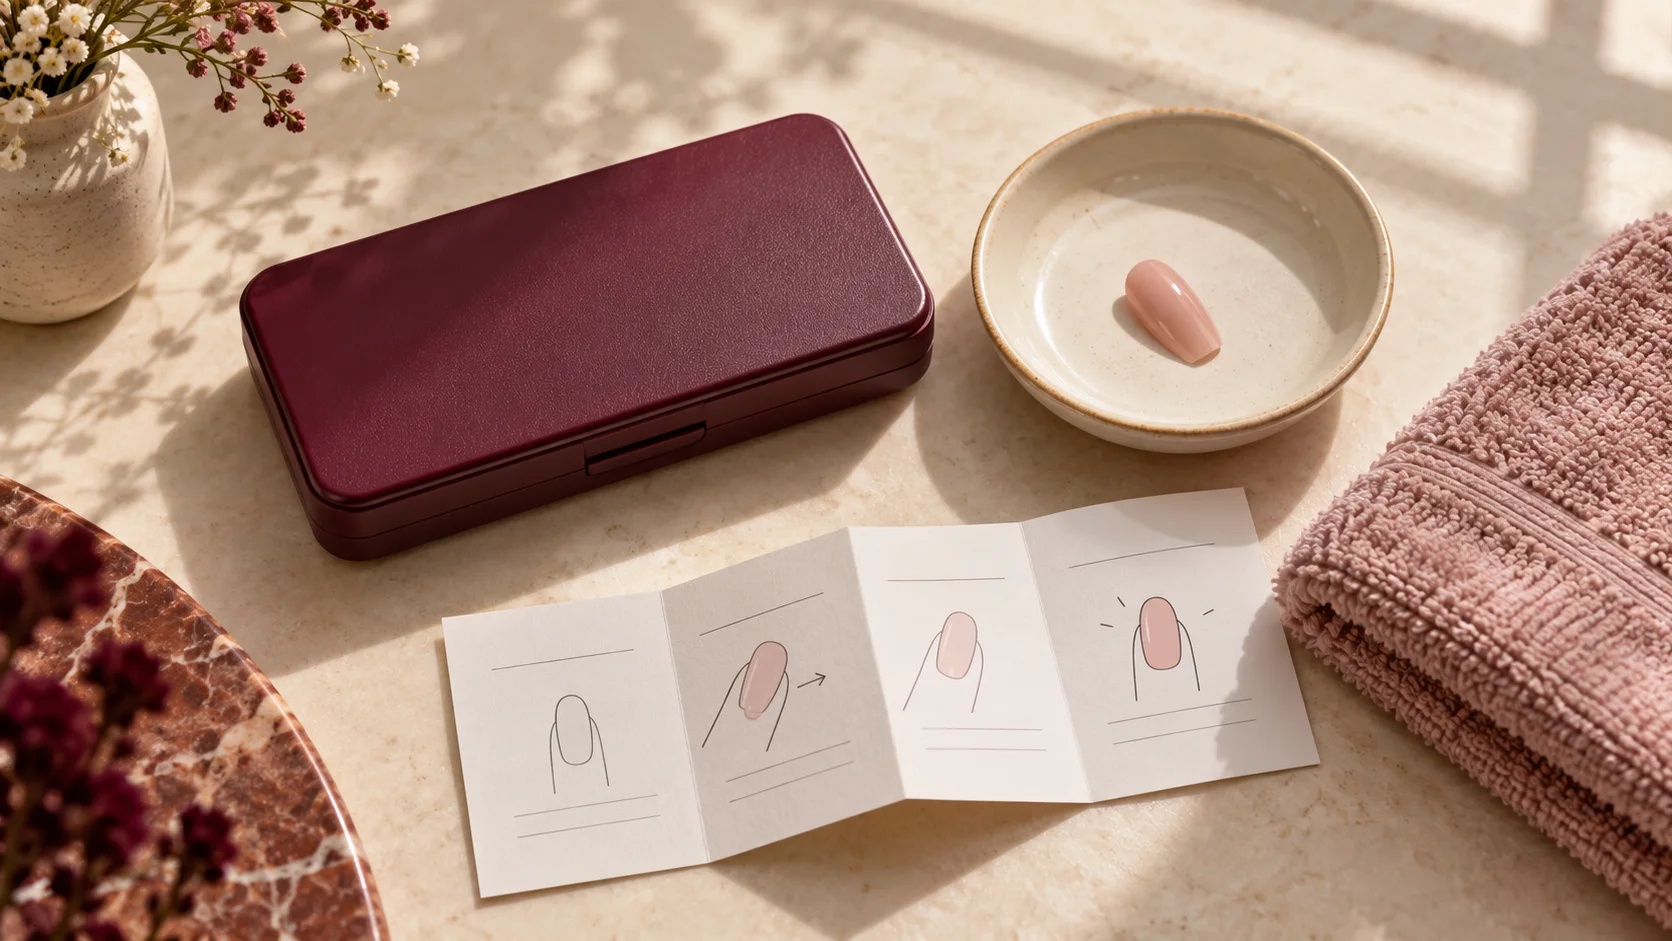
Identify whether your set uses liquid glue, separate tabs or pre-attached adhesive. Read the relevant directions and gather the specified supplies before beginning. Do not assume warm water alone, oil or a particular solvent is appropriate because another set used it.
If a method includes softening an attachment, resistance is not permission to prise harder. Follow the manufacturer’s guidance and seek clarification or appropriate help when you cannot remove the product as directed. Avoid improvised cutting or scraping beneath the tip.
| What you notice | Next consideration | Avoid |
|---|---|---|
| An edge lifts but part remains attached | Read the exact care and removal directions | Pulling the tip off or adding glue into the gap |
| The tip has detached fully | Inspect the nail and check whether reuse is supported | Assuming an intact-looking tip can be immediately reapplied |
| The tip is cracked or damaged | Leave it off and ask about an appropriate replacement | Improvised adhesive or coating repairs |
| Pain or unexplained nail changes appear | Seek appropriate advice and reconsider the cosmetic product | Covering the change to complete the manicure |
Reuse permission is a separate question
A detached artificial nail may look intact, but appearance does not establish that it is suitable for another wear. The manufacturer may describe the range as single-use, or permit reuse only after a particular removal and cleaning process.
The KISS FAQ distinguishes its general guidance from a specifically named reusable range. Keep that distinction when reading about the brand: instructions for one range do not transfer to all of its nails. Customer accounts of repeat wear do not replace the stated product directions.
If repeat use is allowed, check the tip’s condition, the approved cleaning procedure and replacement-adhesive compatibility. Do not apply over old material simply because removing it would take time. If the necessary instructions are missing, leave the tip off until the uncertainty is resolved.
Look at the natural nail before deciding on another set
After appropriate removal, do not rush straight into concealing the nail again. Notice whether it feels comfortable and whether there are visible changes compared with its usual appearance. This is an observation step, not a self-diagnosis exercise.
The NHS advises GP assessment for unexplained changes in nail shape or colour, a nail falling off without an obvious cause, or sore, red, swollen and warm skin around a nail. Those signs should not be covered while experimenting with a different glue.
A previous suspected adhesive reaction also needs consideration before another product is used. Do not assume a tab is automatically suitable because the earlier set used liquid glue. Seek appropriate clinical advice about a reaction rather than conducting an improvised skin test.
Decide what to do with the rest of the manicure
One detached tip does not tell you whether every other attachment is sound or problematic. Check how the remaining nails feel and follow the same product guidance. Avoid pulling at them as a strength test.
If keeping an uneven set bothers you, removing the remaining nails as directed is a valid cosmetic choice. A manicure does not have to be repaired immediately. It is better to allow time for the correct procedure than to create a rushed replacement routine at an unsuitable location.
For a recurring issue, keep a brief note of the style, size choice and removal experience. This can help you ask a focused question before the next purchase. It does not need to become a detailed wear experiment or a claim that a whole brand is unsuitable for everyone.
Make the next application a fresh decision
Before another set, revisit whether the shape, length and adhesive format suit your activities. Confirm the dry fit using the manufacturer’s method and resolve any discomfort before adhesive is introduced. Do not plan around correcting a mismatch with extra product.
Keep the removal directions available from the start. Planning how the manicure ends is as useful as choosing its colour. A set that needs to come off earlier than expected has not created an obligation to extend its wear.
Pause before reattaching
- Notice lifting, damage or discomfort without probing.
- Follow the exact system’s removal guidance.
- Check the natural nail and surrounding skin.
- Confirm reuse permission before considering another wear.
- Resolve fit or health concerns before the next set.
Find more product-specific planning questions in the press-on nails section, including guides to fit, adhesive choices and removal preparation.
To complete the fit, wear and removal plan, read How to Remove Press-On Nails Using the Manufacturer's Method, Why Press-On Nails Pop Off: Fit and Preparation to Review and Reusable Press-On Nails: How to Check Care Instructions Before Buying. For the related care, tool or design decision, see When a Broken Nail Needs More Than a Cosmetic Fix.
Common questions
Can I add glue underneath a lifting press-on?
Do not fill a gap while continuing to wear the same partly attached tip. Follow the exact product’s care and removal directions, then reassess the nail and fit. Extra adhesive does not resolve uncertainty about why the attachment lifted or what is happening beneath it.
Should I pull off a nail that is almost detached?
Do not force, pull or twist a partly attached tip away. Even a small remaining attachment needs the appropriate removal process. Identify the adhesive system and follow its instructions; resistance is not permission to prise harder or insert a tool beneath the artificial nail.
Does early lifting prove that the glue is weak?
No. Manufacturer troubleshooting may discuss preparation, fit and application as possible factors, but those possibilities are not a diagnosis of your situation. Record the exact product and what happened, then review its instructions or ask for guidance instead of automatically switching to more adhesive.
Can I immediately reapply a tip that has fallen off?
First assess the natural nail and check whether the exact tip is approved for reuse. An intact appearance does not establish that it is ready to attach again. Any supported cleaning and replacement-adhesive requirements still apply, and discomfort or unexplained changes should be addressed before another set.
Do spare tabs make a single-use tip reusable?
No. Availability of replacement adhesive is separate from the manufacturer’s reuse instructions for the artificial nail. Check the range, removal method and condition of the tip. Do not convert a single-use product into a reusable system based only on having more adhesive available.
Must I remove every nail when one comes loose?
One loose tip does not establish the condition of all the others. Follow the product’s guidance and consider discomfort, damage or other concerns without pulling at the remaining nails as a test. Removing the rest appropriately is also a valid choice if you prefer to end the manicure.
Which nail changes should I avoid covering again?
Seek appropriate advice about pain, suspected reactions or unexplained changes. NHS guidance includes GP assessment for unexplained shape or colour changes, a nail falling off without an obvious cause, or sore, red, swollen and warm surrounding skin. Do not conceal those signs while experimenting with another adhesive.
How can I prepare better before the next set?
Review the exact style, selected sizes and the instructions used, then resolve any fitting uncertainty before application. Keep removal supplies and directions available from the start. Avoid making extra buffing, stronger solvents or an improvised adhesive combination your default response to an earlier loose nail.
Sources and further reading
- Olive & June — Unexpected early detachment — checked 2026-10-22
- KISS — Nails FAQ — checked 2026-10-22
- NHS — Nail problems — checked 2026-10-22