Pearl Nail Details: Placement Ideas for a Balanced Manicure
Choose the scale, spacing and placement of raised pearl details, with a clear distinction from pearlescent polish.
Archive edition: 2026-08-24 · This is an editorial allocation, not the first-publication date.
Key takeaways
- Format: pearlescent colour or separate raised decoration.
- Scale: compare the width and height on a relevant sample.
- Placement: choose one motif and map the full set.
- Service: confirm attachment, care, removal, price and appointment time.
In this guide
- Key takeaways
- Separate pearl colour from pearl decoration
- Choose scale against your actual nail width
- Start with one clear placement
- Balance the base colour and the pearl tone
- Map the whole set before adding extras
- Discuss the practical service details
- Four decisions before the appointment
- Keep the final brief specific
- Common questions
- Sources and further reading
Pearl nail details can add a small raised focal point to a plain manicure. The most useful decisions are scale, spacing and placement: how large the decorations look on your nails, how closely they sit together and whether they appear on one accent or across the set. Begin with a simple arrangement before adding more pieces.
First clarify what you mean by pearl. A pearlescent polish produces a light-reflecting finish within the colour; a pearl-like embellishment is an individual decoration placed on the nail. This guide is about planning those raised details and discussing a suitable service, rather than providing a generic adhesive or gel application recipe.
Separate pearl colour from pearl decoration
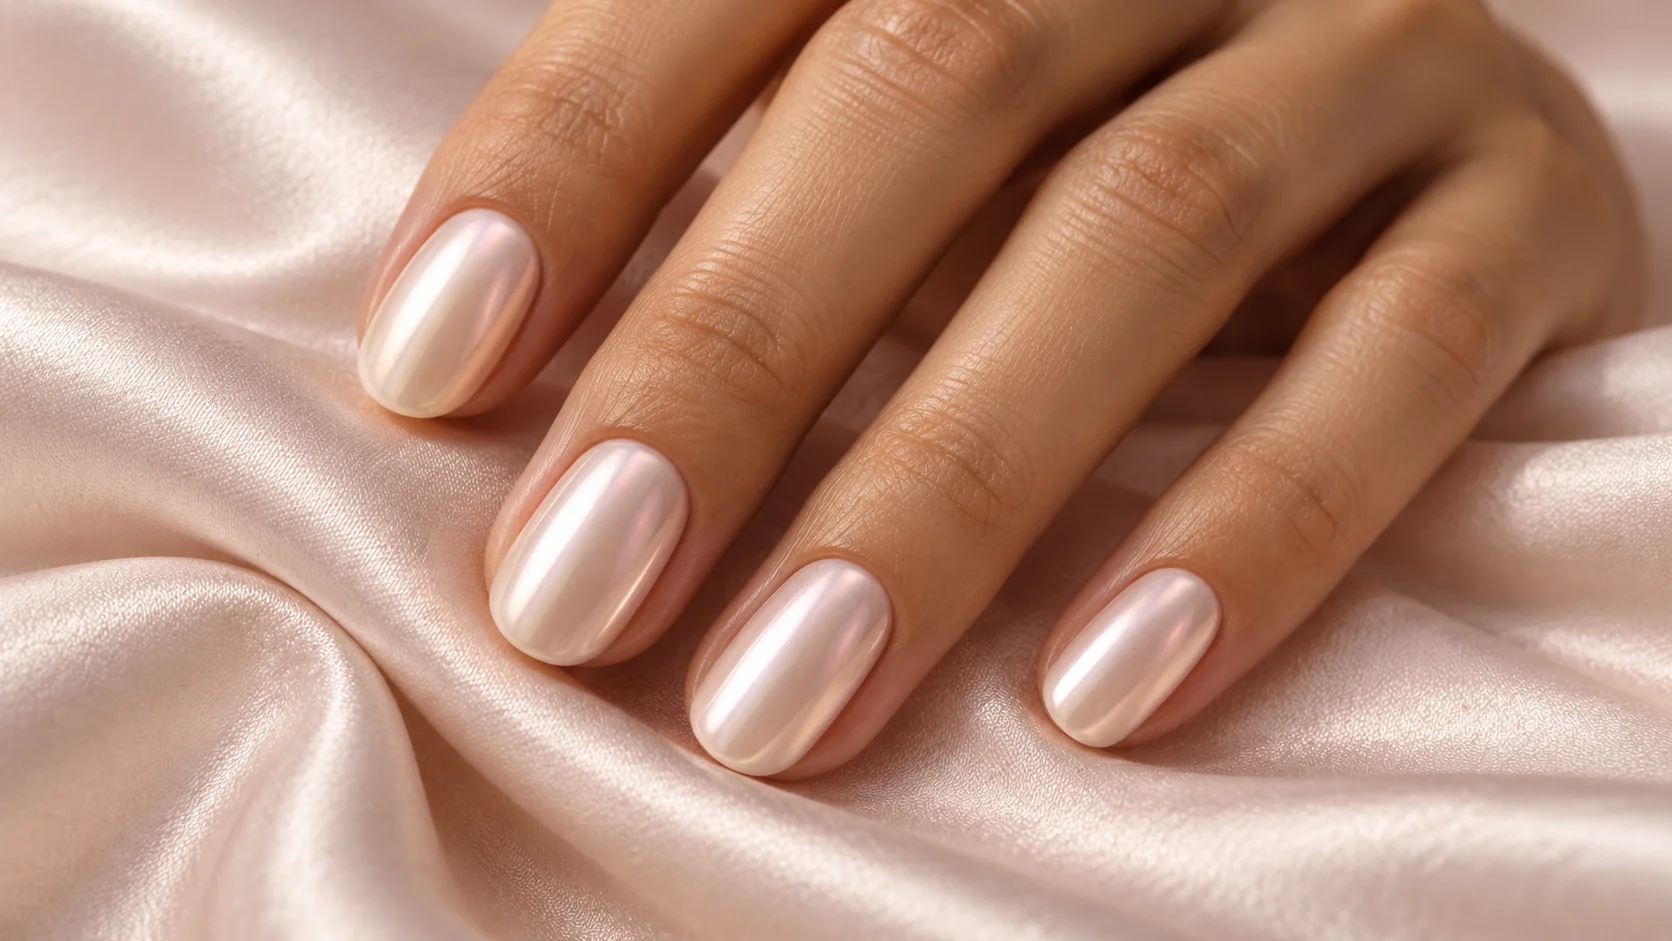
Mylee’s pearl polish collection describes pearlescent and iridescent finishes. That is different from asking for small rounded objects on the nail. If you want the look of a softly luminous manicure without separate decorations, a finish sample is the relevant starting point.
For raised detail, the word pearl also does not establish the material. Nail Ink’s own flat-back pearls, for example, are described as half-round pearl rhinestones. Do not assume that a decoration marketed for pearl nail art is a natural gemstone. Ask what the salon uses if the material or finish matters to you.
A reference photograph may combine pearlescent colour and raised details. Identify which element you like most. You might prefer the little cream dots against a plain base, or the all-over glow with no objects at all. Separating those ideas can reduce both the complexity and ambiguity of your request.
Choose scale against your actual nail width
A decoration that looks tiny in a close-up can occupy a large part of a short nail. Ask to see the proposed size beside your nail or on a similar swatch. A written measurement helps, but the visual relationship matters more than selecting the smallest item in a box automatically.
Sheba Nails lists a professional-use pearl wheel with 1.5, 2 and 3 millimetre sizes. This illustrates that small nail decorations can still vary noticeably in scale. Those figures are product examples, not a prescribed size for every nail or a recommendation based on testing.
Consider the height as well as the width. A flat-backed rounded decoration still creates a raised profile. If you prefer a smooth surface for your everyday routine, discuss a painted dot or a pearlescent finish instead. These alternatives give a different appearance, so compare them honestly rather than expecting them to look identical.
Start with one clear placement
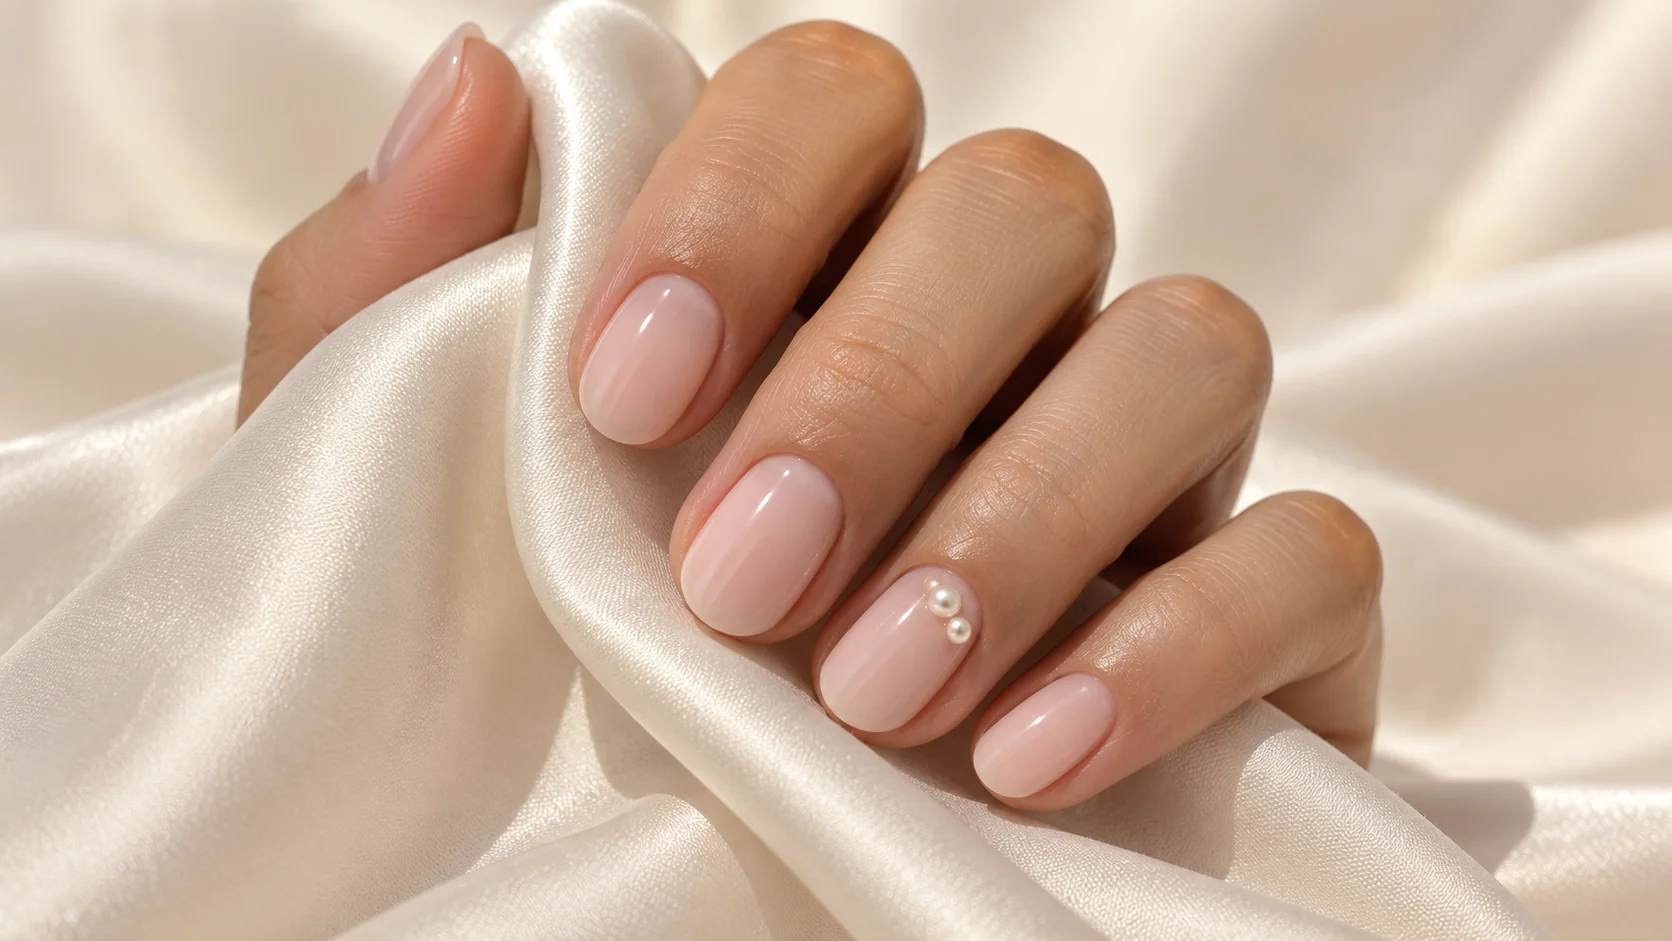
A single pearl-like detail can act as a focal point on one nail. A short pair or cluster creates more of a motif. A row along a curve becomes a border. Decide which of these you want before choosing an accent colour, because the arrangement will influence how much of the base remains visible.
Keep the intended placement within the nail surface in your sketch. A reference that appears to place decorations over the surrounding skin may not show the final wearable service clearly. Let the technician explain where the chosen pieces can sit with their system and the shape of your nails.
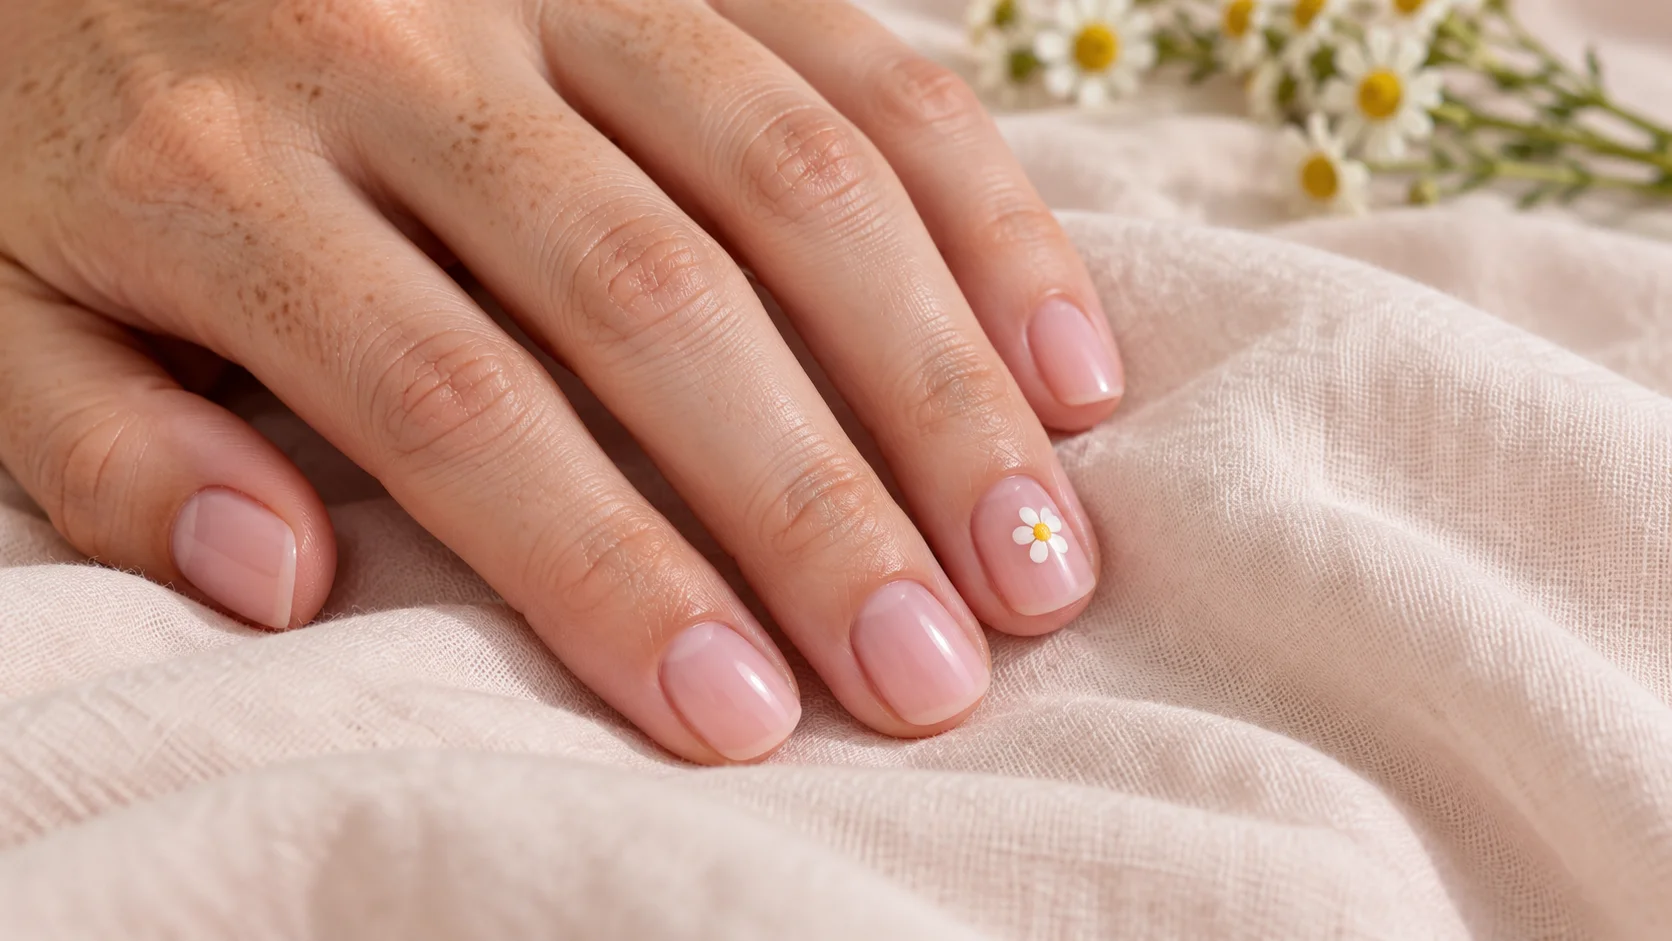
For a restrained first design, try a small cluster on one accent nail and leave the others plain. Look at the full hand at normal distance. If the detail is already easy to recognise, additional rows or decorations may move the design away from the quiet effect you wanted.
| Layout | Visual character | Check with the technician |
|---|---|---|
| Single small detail | One contained focal point | Size, height and position on the nail |
| Short cluster | A compact decorative motif | Spacing and whether sizes should match |
| Curved row | A border that follows a chosen line | How much base remains visible around it |
| Scattered accents | More movement across several nails | A complete-hand plan and the total number of pieces |
Balance the base colour and the pearl tone
White, cream and iridescent-looking details do not create the same contrast. A bright white decoration may stand out against a warm beige base; cream may sit closer to that colour. Compare the actual pieces with a finished base sample rather than relying on the name “pearl” to describe their tone.
For a soft arrangement, try a milky pink or pale neutral base with a small cream detail. For a more graphic contrast, compare the same decoration against a deeper colour. These are styling options, not rules about who can wear them. Choose the relationship you enjoy in ordinary lighting.
A highly reflective base can compete with the decoration in photographs. If your reference has both a strong shimmer and several raised pieces, ask which feature should remain dominant. A plain base may make the shape of a small cluster easier to see, while a pearlescent base may give a more blended impression.
Map the whole set before adding extras
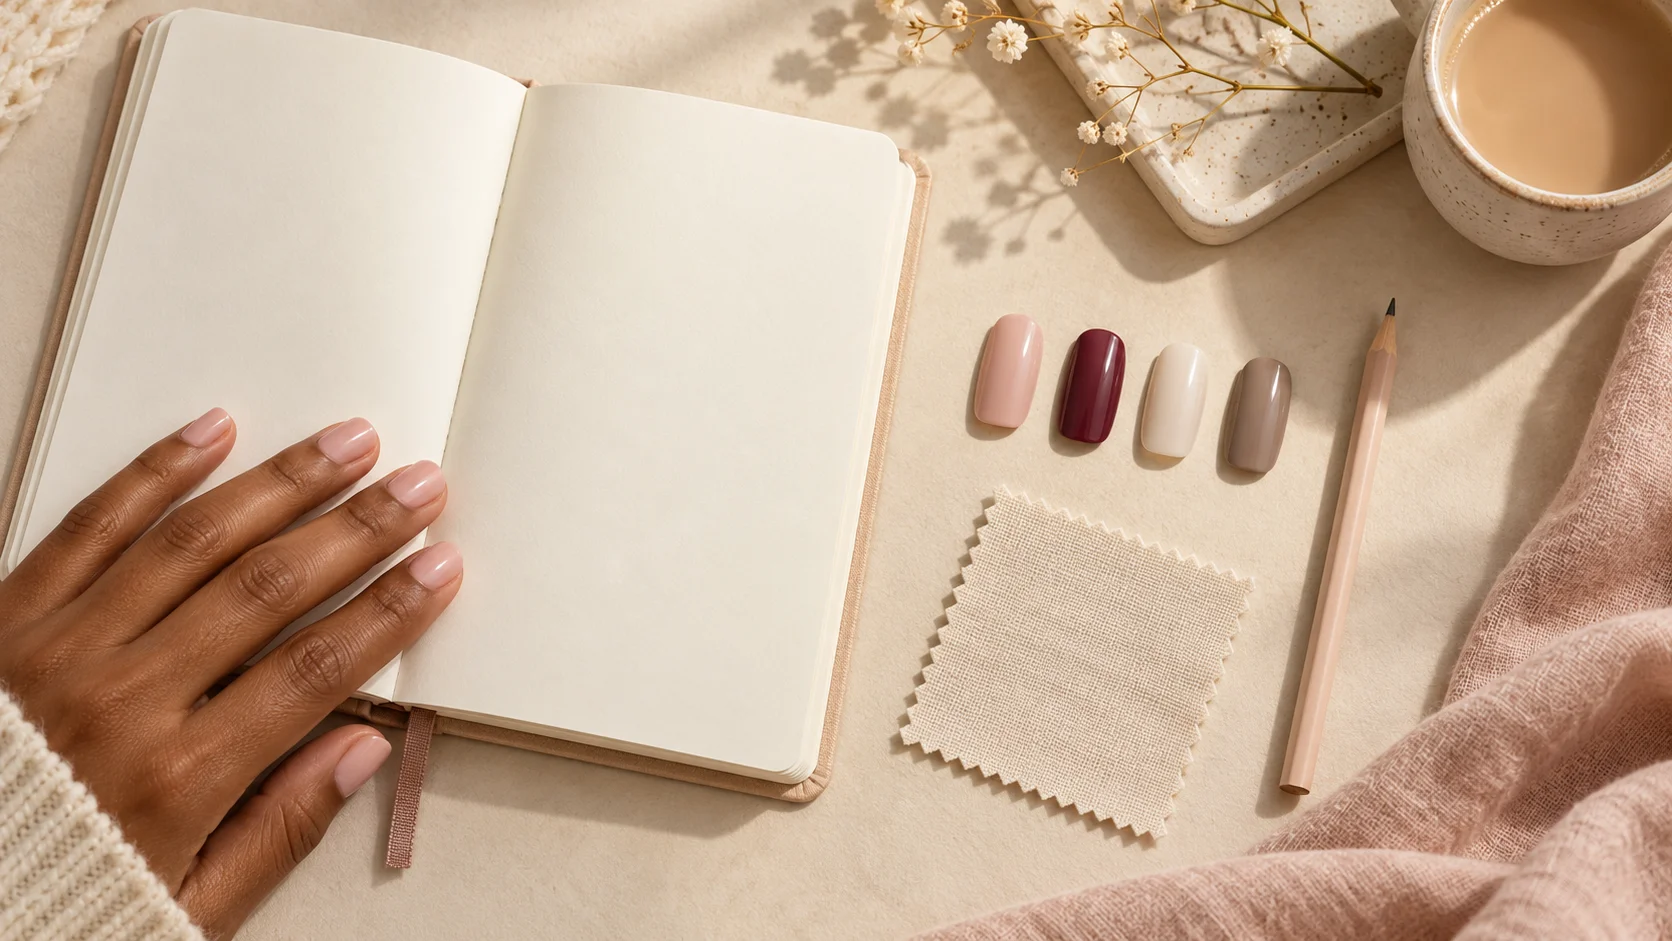
Sketch five simple nail outlines and mark the proposed accents. Decide whether the two hands should mirror each other or use different positions. A deliberate asymmetry can work well, but it should be part of the plan rather than an accidental result of choosing nails one at a time.
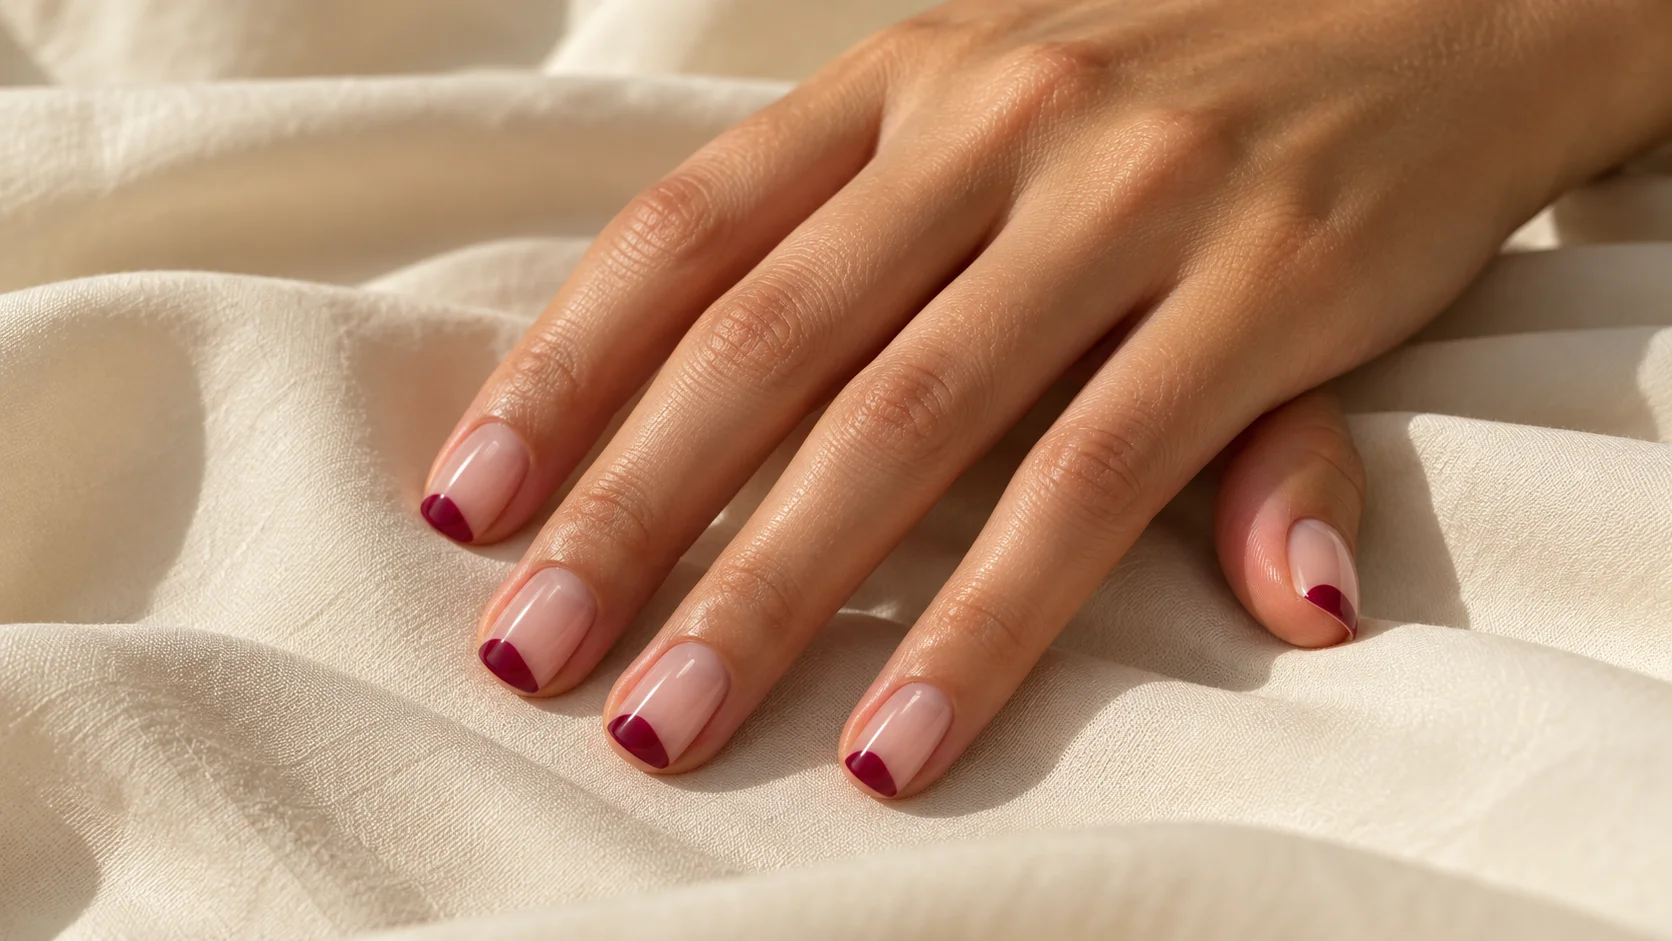
If you also want a French tip, a tiny bow or another motif, draw that before placing the pearls. Check that the elements have enough space to remain separate. On a shorter nail, simplifying one feature may communicate the design more clearly than reducing every detail until it becomes difficult to recognise.
Keep the first reference concise. One main image plus a note about size and placement is usually easier to interpret than several conflicting designs. Tell the technician if you like the colour in one image but the decoration in another, so they know which elements are meant to be combined.
Discuss the practical service details
Ask how the salon attaches and removes its chosen decorations, what care instructions apply and what to do if a piece becomes loose. The answer should relate to the actual products used. An unspecified craft adhesive or an application method from an unrelated manicure is not a substitute for those directions.
Explain any preference for a low profile and describe activities where you especially notice raised objects on your hands. Let the provider discuss alternatives or a trial accent. Do not assume that a smaller piece has a guaranteed wear time or that a decorative service will behave like a completely plain polish finish.
Four decisions before the appointment
- Format: pearlescent colour or separate raised decoration.
- Scale: compare the width and height on a relevant sample.
- Placement: choose one motif and map the full set.
- Service: confirm attachment, care, removal, price and appointment time.
Keep the final brief specific
A useful request is: “Short oval nails in milky blush, with a small cream pearl-like cluster on one accent nail on each hand and the rest plain.” Confirm the number of pieces and their position after seeing the available decorations. Save a clear photograph and those details if you would like the arrangement repeated.
For the related design decisions, compare Pearl and Glazed-Look Nails: Choosing a Softer Shine, Minimal Floral Nail Art: Small Details and Balanced Placement and How to Build a Nail Inspiration Board Your Technician Can Use. For the practical details, use Decorated Press-On Nails: Checking Raised Details Before You Buy.
Common questions
Are pearl nail details made from real pearls?
The name alone does not establish the material. Nail decorations may be described as pearl-like rhinestones or other embellishments, while pearlescent polish is a different finish altogether. Ask the provider about the exact product if the material is important to your choice.
What is the difference between pearl polish and pearl embellishments?
Pearlescent polish creates a reflective appearance within the colour. A pearl embellishment is a separate object placed on the nail and creates a raised profile. A reference may combine both, so identify which element you actually want before booking the service.
How do I choose the size of a pearl detail?
Compare the proposed piece beside your nail or on a swatch near your nail width. Consider its height as well as its diameter. A close-up photograph can make scale difficult to judge, so use actual pieces where possible rather than relying on the smallest-looking image.
Can pearl details suit short nails?
A small, simple arrangement may be planned for a short nail, but inspect the scale and available space first. One detail or a compact cluster is a useful starting point. Let the technician explain how the chosen pieces will sit within your nail shape.
Do I need pearls on every nail?
No. A single accent on each hand can provide the decorative focus while the other nails stay plain. Map the positions before adding more pieces. Repeating the base colour can connect the set without requiring every nail to contain the same raised motif.
Can I combine pearls with a French manicure?
You can discuss that combination, but plan the tip and decoration together. Both need enough visible space to remain clear, especially on short nails. Ask which element should be dominant and simplify the other if the complete arrangement looks crowded.
Which adhesive should I use for pearl decorations?
Use directions for the exact nail-art products and service involved, or ask your technician to handle the application. This guide does not prescribe a generic adhesive. A material intended for unrelated crafts or an unfamiliar gel process should not be substituted simply because the decoration looks similar.
What should I ask about care and removal?
Ask how the chosen decorations are attached, how that service should be removed and what the provider recommends if a piece loosens. Describe any preference for a low profile. Keep those instructions with the product details rather than assuming plain-polish care covers every embellished manicure.
Sources and further reading
- Nail Ink — Flat Back Pearls — checked 2026-10-21
- Sheba Nails — Baby White Pearls Nail Art Wheel — checked 2026-10-21
- Mylee — Pearl gel nail polish collection — checked 2026-10-21