Press-On Nails for Narrow Nail Beds: Size and Curve Explained
Compare smaller tip sizes without confusing narrow width, short length and flatter curve, then check the exact set before attaching it.
Archive edition: 2026-05-31 · This is an editorial allocation, not the first-publication date.
Key takeaways
- Width: compare the exact small sizes, not the label alone.
- Length: choose your preferred extension independently.
- Curve: check how a matching sample sits without force.
- Combination: confirm enough copies for both hands.
In this guide
- Key takeaways
- Keep width, length and curve distinct
- Work out what petite means for that product
- Check all ten fingers, especially repeated small sizes
- Look beyond the smallest advertised number
- Use a dry fit to understand the curve
- Be precise about where a tip overlaps
- Choose decoration for the surface you actually have
- Three dimensions, ten individual choices
- Common questions
- Sources and further reading
For narrow nail beds, a useful press-on set needs suitable smaller widths and a curve that sits comfortably. Choosing the shortest box, the most pointed shape or a product called petite does not automatically answer those fit questions. Separate the dimensions before deciding which set to try.
This guide is for comparing adult press-on options, not changing the shape of your natural nails. A narrow nail can still have a long nail bed, a noticeable curve or a preference for a broad-looking free edge. Your purchase should accommodate those details rather than reducing them to one size label.
Keep width, length and curve distinct
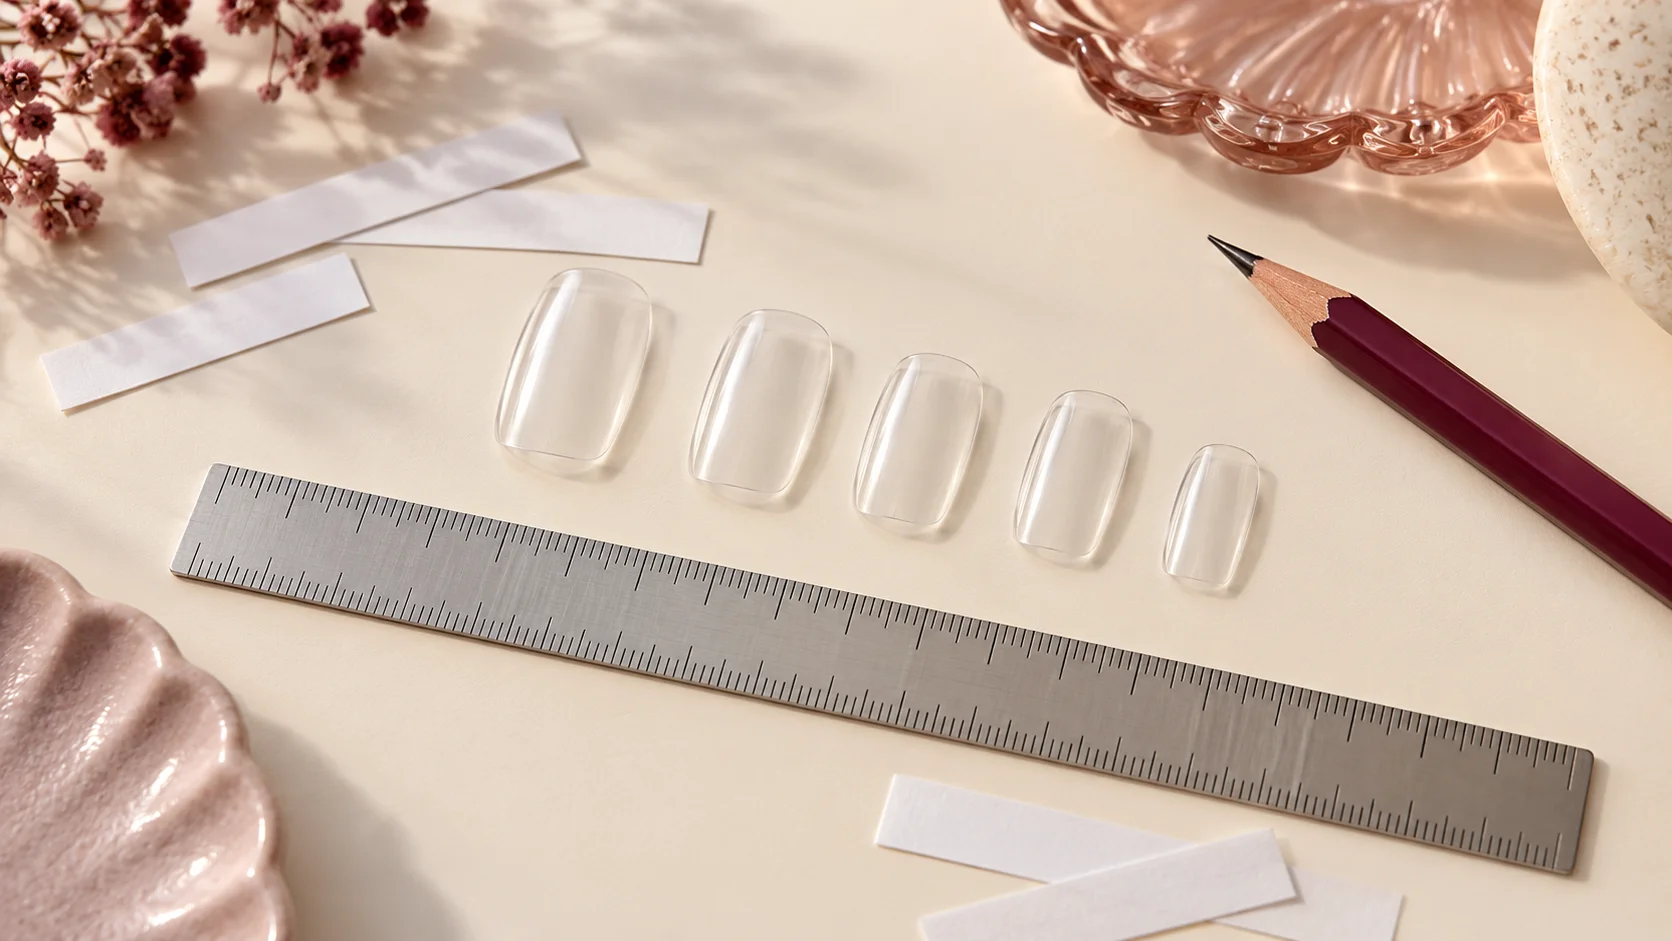
Width describes how the tip spans the nail. Length describes the distance along it. Curve describes its profile across the surface. A narrow tip can be long, and a short tip can be too wide. A similar measured width can also sit differently when the profile changes.
The Glamnetic shape guide gives separate length and width ranges for different styles. Those columns are useful precisely because they describe different features. Read each one rather than treating the short label as a complete sizing specification.
Do not infer the fitting width from a pointed end. Almond or coffin styling changes the visible outline towards the free edge, while the area covering your natural nail may remain wider. Compare the base and fitting measurements where available, alongside the shape you want to see.
Work out what petite means for that product
Petite, mini and extra short are shopping labels whose meaning must be checked in the listing. One may describe overall length, another the included size selection. A photograph of a small-looking set does not establish its dimensions or intended user group.
For an adult set, read the product’s intended use and warnings rather than assuming that a children’s product is an interchangeable solution to narrow nails. If the listing does not explain the fit, ask the seller for dimensions and a relevant size chart before ordering.
A useful shortlist has enough information to distinguish two similarly named options. Save the exact product family, shape and smallest available width, then note whether individual tip measurements are supplied. This makes the comparison reproducible when you return to the listings later.
Check all ten fingers, especially repeated small sizes
You may need one of the smallest sizes on several fingers, or only on your little fingers. Record each hand separately instead of assuming that every nail must use the narrowest option. A set should fit the complete combination, not just the most difficult finger.
The MuseMoodNails guide is an example of a seller asking for individual curved-width measurements in millimetres. Use the method specified by the seller you choose, and keep measured widths separate from the printed numbers on sample tips.
If the smallest supplied tip still overlaps surrounding skin, take that as a reason to seek a different option. Do not assume that the package must contain a suitable size because it includes many nails. The variety and distribution need to match your actual requirements.
| Listing detail | What it can tell you | What still needs checking |
|---|---|---|
| Extra short | The seller’s length category | Width and the amount of extension on your nail |
| Petite | A named product range or sizing description | Actual dimensions and intended use |
| Smallest tip number | A reference within that range | Its measurement and whether numbering transfers |
| Thirty nails included | The total number of pieces | Distinct sizes and duplicates of the small tips |
| Curved profile | A description of the tip’s shape | How a sample sits on your own nail |
Look beyond the smallest advertised number
A minimum width describes the edge of a range, not the fit of every tip. It does not tell you which sizes are supplied between the minimum and maximum or how many copies are available. Ask for the information that affects your specific fingers.
Glamnetic’s fit information distinguishes kits containing different totals and numbers of sizes. That is a useful reminder to compare size variety separately from the headline piece count. A large pack can still leave a gap in your preferred combination.
If you need several copies of a small size, ask whether custom combinations or spare tips are offered. Do not count on mixing two differently named shapes to complete a uniform manicure unless you are happy with the resulting difference in outline and finish.
Use a dry fit to understand the curve
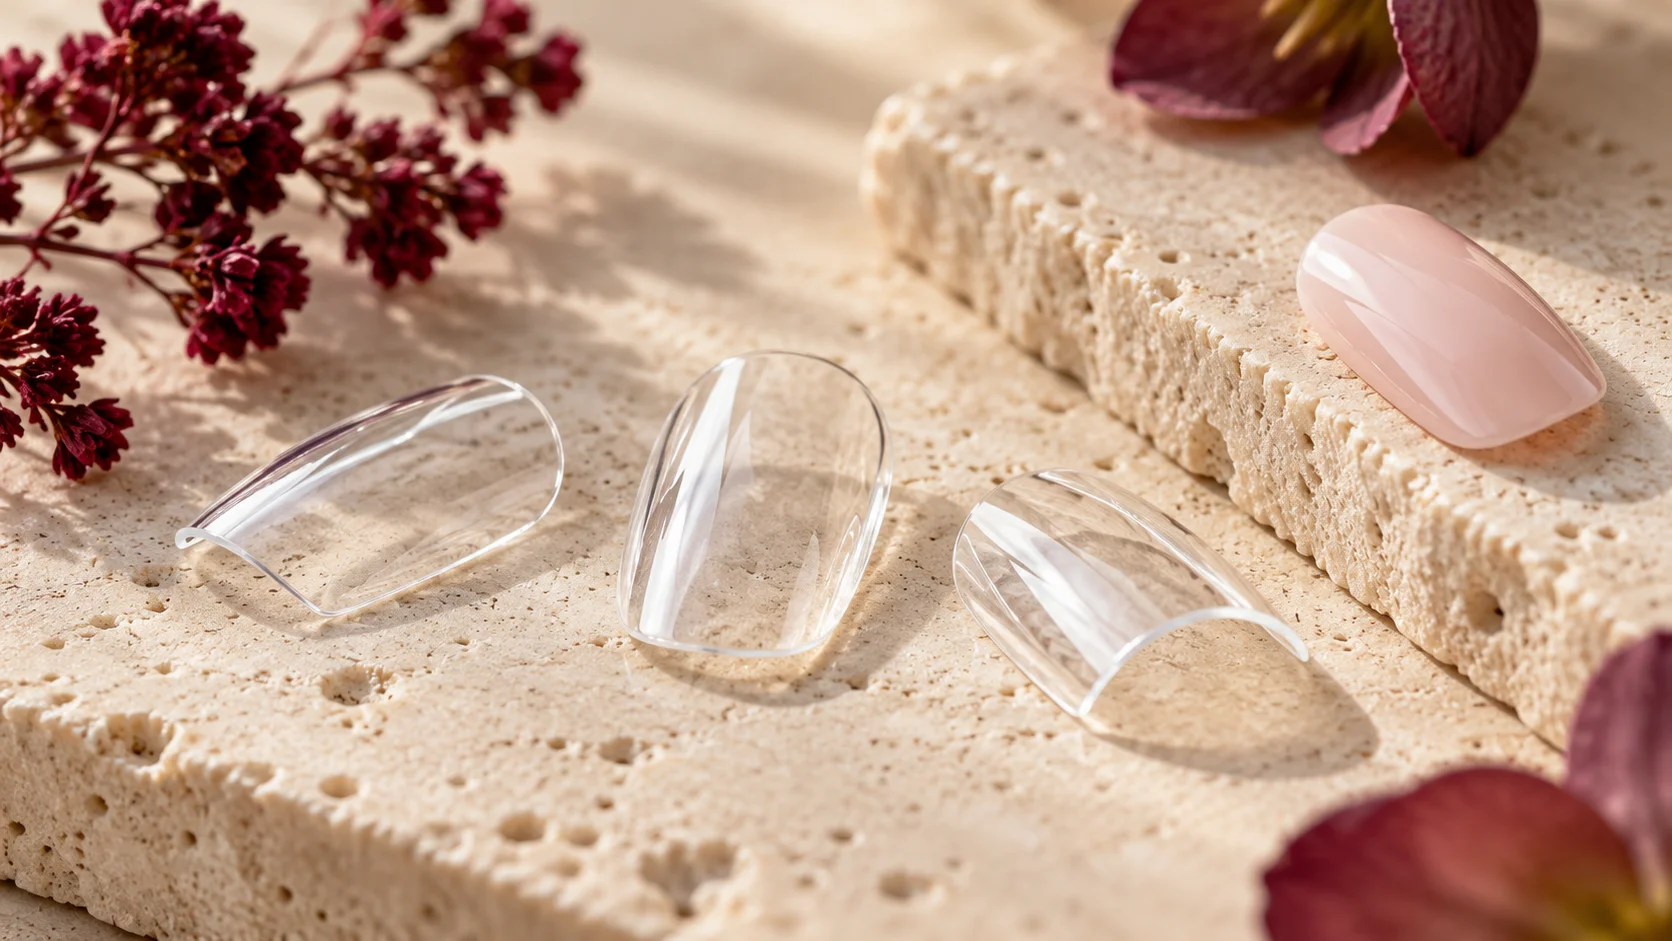
Where a sample is available, examine how it sits before using adhesive. The goal is not to flatten a tip by force or to squeeze your nail into its outline. Follow the instructions for the range and pause when the fit remains unclear.
Olive & June’s guidance links comfortable sizing with avoiding force and notes that different styles have different curves. Its own between-size recommendation should not be turned into a universal instruction for every other product.
A width that seems promising on paper may therefore deserve a sample check. Ask whether a sizing kit uses the same mould as the finished design. A generic sample can be less helpful if the decorative set comes from a different family of tips.
Be precise about where a tip overlaps
When asking the seller for help, describe whether the problem is at the side edges, the base or the free end. Those are different observations. A tip that seems too wide near the base may not be solved by choosing a shorter length.
It can help to compare the unattached sample from above and from the side without pressing it into place. Record what you observe in ordinary language. You do not need to diagnose your nail anatomy or invent a technical measurement to explain that an edge touches surrounding skin.
Do not file away the sides of your natural nails to match the artificial set. If alteration of the tip is suggested, confirm the exact permitted method with its manufacturer. An instruction for one material or design does not automatically apply to another.
Choose decoration for the surface you actually have
A slender tip can suit a single colour, a narrow line or a small central motif. Dense artwork may read as texture rather than as separate details. Choose which effect you prefer by looking at the smaller tips in the set, not only the enlarged thumb photograph.
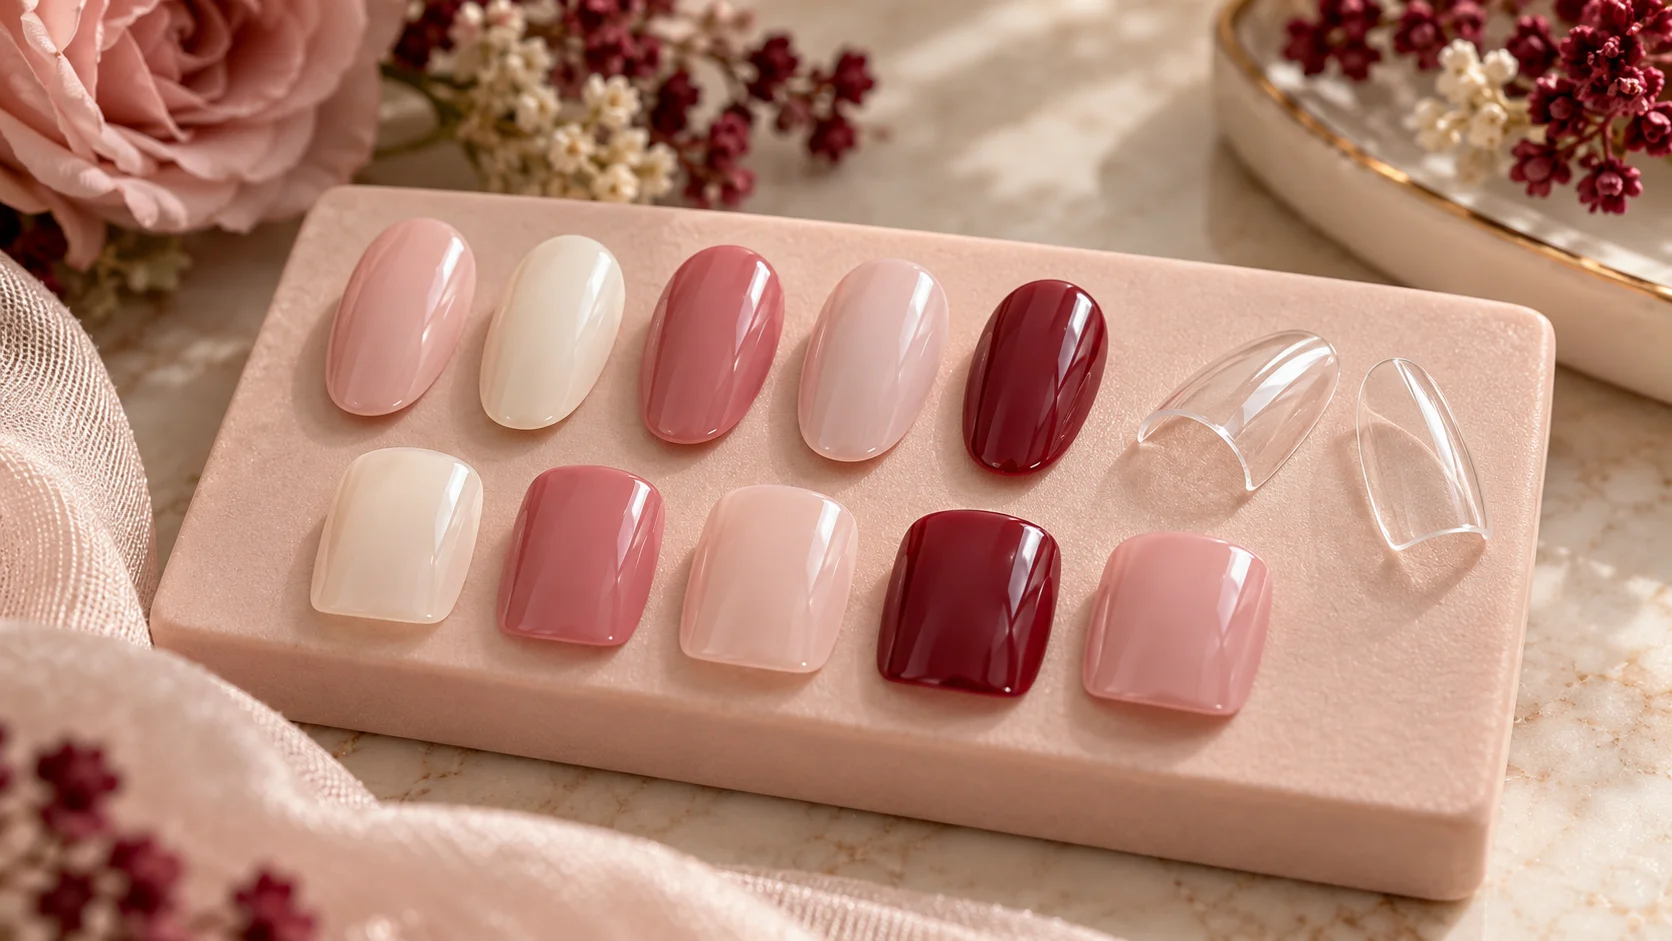
There is no requirement to make narrow nails look wider or longer. If you enjoy a square end, a deep berry colour or a very plain finish, those preferences can guide the design once the fit is resolved. Styling advice should give you options rather than prescribe a correction.
Also consider how the correct width affects the available length. If the size that fits is shorter than you want, look for another range with a different proportion. Moving to an oversized tip just to gain length trades away the fit you were trying to establish.
Three dimensions, ten individual choices
- Width: compare the exact small sizes, not the label alone.
- Length: choose your preferred extension independently.
- Curve: check how a matching sample sits without force.
- Combination: confirm enough copies for both hands.
Make your next purchase decision from a short record: exact range, measurements, sample result and required size sequence. Add the intended adhesive and removal instructions before applying the set. The Press-On Nails section can help you plan those next steps.
To complete the fit, wear and removal plan, read How to Measure Your Nails Before Buying a Press-On Set, Press-On Nail Curvature: Why a Size Can Fit but Still Feel Wrong and A Press-On Nail Shopping Checklist for Your First Set. For the related care, tool or design decision, see Almond, Oval or Squoval: A Visual Guide to Nail Shapes.
Common questions
Does petite always mean a narrower press-on?
No. The label needs to be interpreted within the specific product listing. It may describe length, a named range or a size selection. Ask for the actual fitting dimensions and intended use rather than assuming that every petite product answers the same narrow-fit question.
Are narrow nails always short?
Width and length are separate dimensions. A narrow natural nail can have a long nail bed, and a short artificial tip can still be too wide. Compare both measurements, then consider the curve and the amount of extension you would like beyond the fingertip.
Can I use the same tip number in another brand?
Treat the number as a reference within its own range unless the manufacturer confirms otherwise. Keep the brand, shape and product family with your size record. A matching printed number on another tip does not establish matching dimensions or a comparable curve.
What if the smallest tip still overlaps skin?
Do not assume the kit must contain a suitable option or force the tip into place. Ask about a different range, a matching sizing sample or the manufacturer’s supported adjustments. Describe where the overlap occurs so the seller can address the actual fit question.
Does a pointed shape solve a narrow-fit problem?
A pointed outline changes the appearance towards the end of the tip, but it does not prove that the fitting area is narrow enough. Check the dimensions where the product covers your natural nail and choose the visible outline separately from that practical fit decision.
Why check duplicates of the smallest sizes?
Several fingers may need the same small tip, while the kit provides only a limited number of copies. The presence of one suitable width does not guarantee the full combination for both hands. Confirm the distribution before relying on the headline number of nails supplied.
Will a sizing kit always match the finished design?
Ask whether it uses the same mould, shape and range as the set you intend to buy. A sample from a different product family may not answer the same curve or width question. Keep the sample identification with your measurements and final size choices.
Should I choose an oversized tip to gain length?
That exchanges a fit problem for a length preference. If the correct width is shorter than you want, compare another range with different proportions. The useful aim is a suitable width, curve and preferred length together, rather than accepting skin overlap to obtain a longer end.
Sources and further reading
- Glamnetic — Nail shapes and measurements — checked 2026-10-22
- Olive & June — Choosing press-on size — checked 2026-10-22
- MuseMoodNails — Sizing guide — checked 2026-10-22
- Glamnetic — Small and large nail beds — checked 2026-10-22