Halloween Nails with Small Details: Moons, Stars and Fine Lines
Plan a small Halloween motif with clear placement, limited colour and enough space to suit your nail length.
Archive edition: 2026-09-30 · This is an editorial allocation, not the first-publication date.
Key takeaways
- Base: choose pale, dark or a deliberate mix.
- Motif: select one shape that still reads when simplified.
- Space: leave a clear margin around the detail.
- Repeat: decide how the two hands relate before application.
In this guide
- Key takeaways
- Decide how obvious the theme should be
- Use contrast to make a small mark clear
- Choose a motif you can simplify
- Plan both hands before painting
- A four-part Halloween layout
- Practise the mark separately from the manicure
- Make the design usable beyond one evening
- Common questions
- Sources and further reading
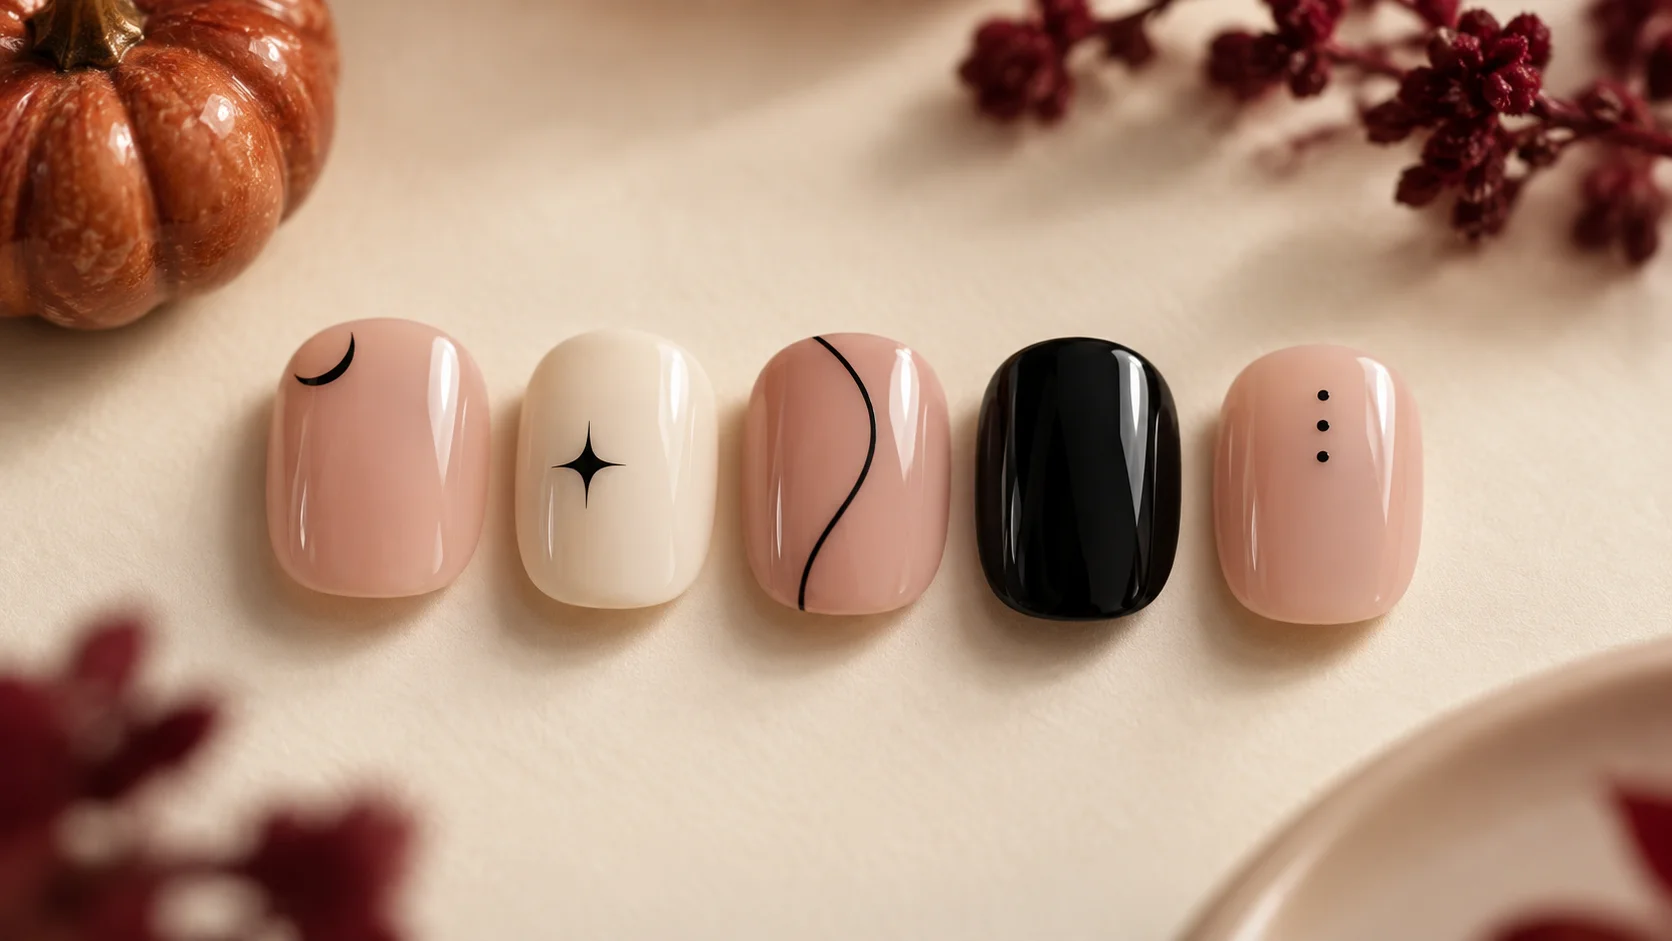
A small Halloween manicure can suggest the season with a crescent, a star or a few well-placed dots. It does not need a different illustration on every finger. The most useful starting point is the amount of space you want to leave clear, followed by one motif that still reads at the size of your nails.
This guide develops original layout ideas using black, white and a pale base. It is not a copy of a particular artist’s work or a claim about the season’s most popular design. Product references explain colours and an ordinary-lacquer dotting technique. The generated image is an illustration, not a photograph of a manicure we applied or tested.
Decide how obvious the theme should be
For a very subtle reference, use a single crescent on one nail and plain colour on the rest. A slightly more noticeable version could repeat the crescent and add a small star on the opposite hand. A full set of motifs can still feel restrained if their scale and colour remain consistent.
Consider the distance at which you want the design to work. A tiny mark may be enjoyable to notice yourself even if nobody sees it across a room. A larger black shape on a pale base reads more clearly from a distance. Neither outcome is better; knowing your preference helps you avoid adding detail merely because a close-up reference looks busy.
Choose one main motif before collecting secondary ideas. Moon, star, web, pumpkin and ghost shapes together can become a different design from the minimal look you first wanted. Save the unused ideas for another manicure rather than squeezing every reference onto ten nails.
Use contrast to make a small mark clear
Black on blush or ivory offers a straightforward contrast. OPI describes Black Onyx Nail Lacquer as a basic black, while Alpine Snow is a crisp white reference. These manufacturer descriptions identify colour directions; they do not establish independent application results or a requirement to buy either product.
A black base with a white motif reverses the effect and makes the overall hand darker. A pale base with black marks keeps more light space visible. If you like both, repeat one contrast on most nails and use the reversed version once, so the exception feels intentional.
Check coverage as well as hue. A sheer pink base allows the natural nail to remain part of the design, while an opaque ivory creates a more uniform background. Do not assume the same motif will look identical across them. A sample or trial nail is useful before repeating the design.
Choose a motif you can simplify
A crescent can be represented by a clean curved sliver without adding a face or surrounding clouds. A star can be a small four-point mark rather than a detailed astronomical symbol. A curved line may suggest a night-sky theme even when it does not form a recognisable object.
Dots offer the simplest alternative. Three small dots arranged with space between them can complement a moon without competing with it. Keep their relationship deliberate: a short diagonal, a loose arc or one isolated dot. Random additions made to fill every empty patch can undermine the clarity of the original layout.
For ordinary lacquer, OPI’s Party Splasher tutorial demonstrates using a dotting tool and allowing layers to dry between stages. That supports the general idea of practising small dots. It is not an instruction to copy the complete design, mix incompatible products or use an unfamiliar gel-curing process.
| Motif | Simple placement | What to keep clear |
|---|---|---|
| Crescent | One small curve off-centre | The open space inside and around the shape |
| Four-point star | One mark on a contrasting base | Enough separation between its points |
| Three dots | A short diagonal or gentle arc | Visible gaps rather than a merged blob |
| Fine curved line | Across a small part of the nail | A consistent direction across the set |
| Reversed accent | One white motif on a black nail | A clear relationship to the lighter nails |
Plan both hands before painting
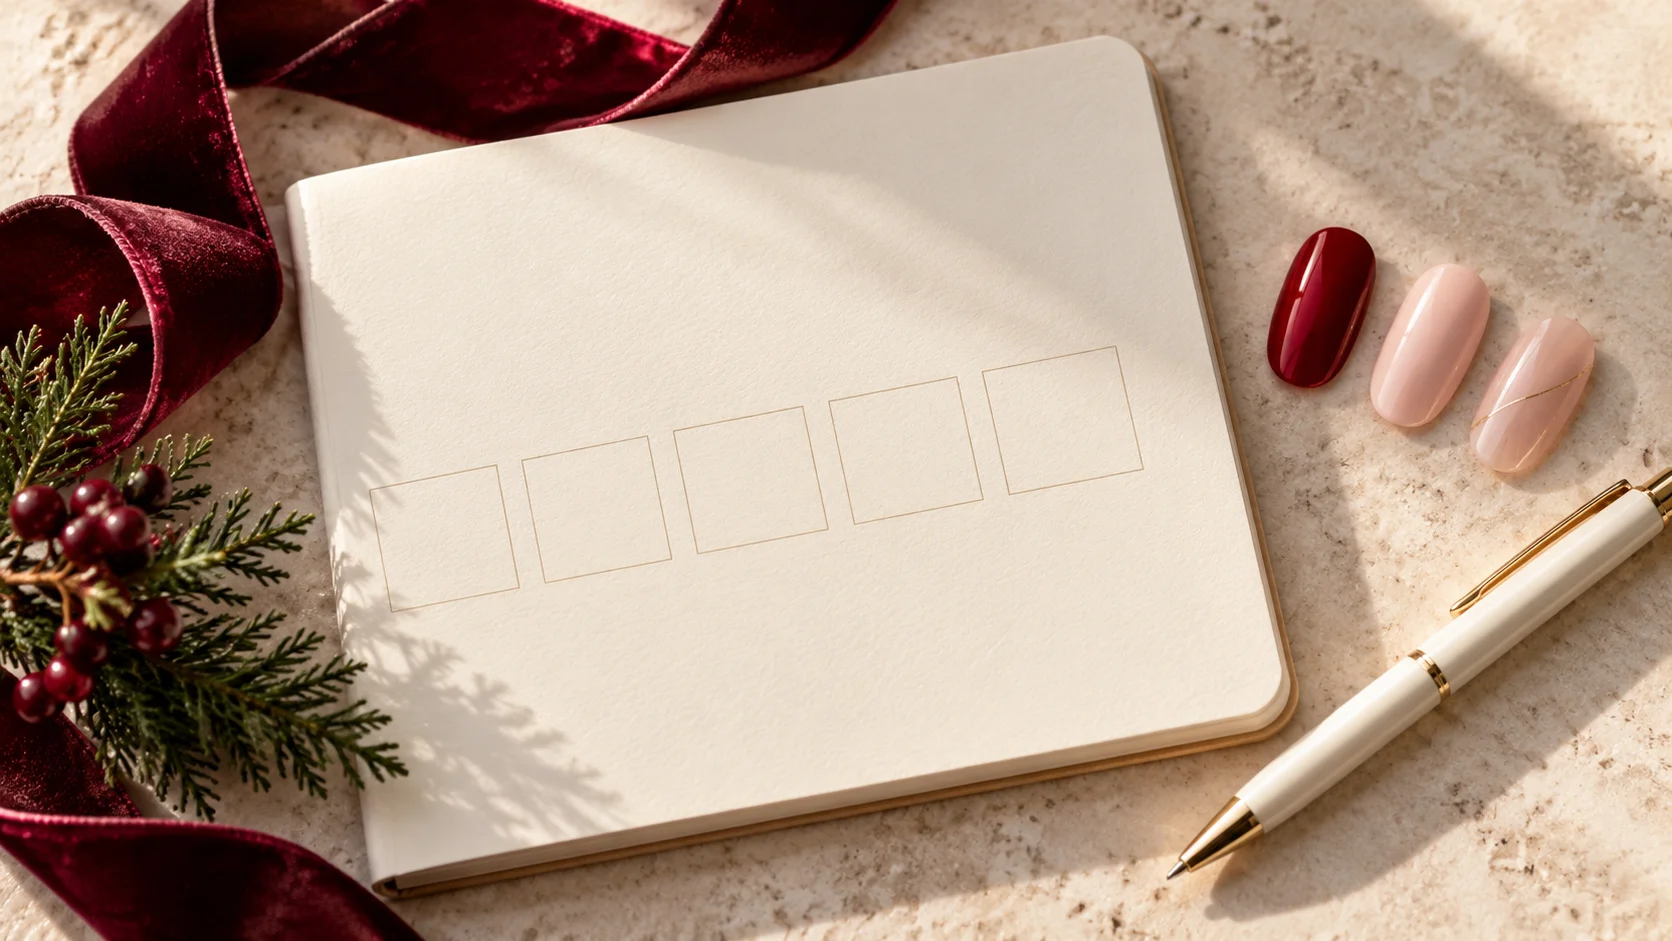
Draw ten small outlines on paper and mark where each motif will go. This is a layout sketch, not a test of artistic ability. It helps you decide whether the hands mirror each other, share the same number of accents or use a deliberate difference.
Consider which fingers you want to feature alongside a ring. You might leave the ring finger plain and place the motif next to it, or make the decorated nail the focal point. There is no requirement to put every accent on the same finger. Check the hand as a whole before deciding.
For short nails, reduce the number of marks before reducing each mark to an unmanageable size. One readable crescent is usually easier to communicate than several tiny symbols crowded together. Ask a technician to show the proposed scale on your actual nail length rather than copying a long-nail photograph unchanged.
Practise the mark separately from the manicure
If you are painting at home, practise on an appropriate sample surface with a familiar ordinary-lacquer product. Work out how much product produces the size of dot or line you want. A practice mark that spreads wider than expected is useful information before you attempt the finished set.
Follow the product instructions, allow the required drying time and avoid building a thick stack of corrections. If a motif becomes muddled, a simpler mark or plain colour can be a better choice than repeatedly adding more material. This article does not provide a professional gel, adhesive or extension procedure.
A salon reference should show the motif, scale and placement separately from any length you do not want. Explain whether your priority is the crescent itself, the black-and-blush contrast or the overall amount of empty space. That gives the technician room to adapt the idea while preserving what matters.
Make the design usable beyond one evening
If you want to wear the manicure after Halloween, choose details you already enjoy independently: a moon, a fine line or a small star can work without a costume. Avoid adding an explicit date or character simply to make the theme unmistakable if you would prefer a longer-lived visual idea.
Our nail-art edit offers other ways to use small marks and contrast. For colour and product distinctions, visit Polish & Tools, and browse Seasonal & Bridal for the next occasion. Keep the design small because that is the look you want, not because seasonal nails have to follow one formula.
To adapt the plan to related occasions and outfits, compare Bonfire Night Nails: Ember Tones and Subtle Metallic Accents, Early Autumn Nail Colours: Olive, Chestnut and Dusty Rose and Christmas Nail Planning: Choosing a Manicure for Several Events. For the underlying care, colour or service choice, see Tiny Polka Dot Nails: Spacing, Scale and Colour Ideas.
Common questions
How do I keep Halloween nail art subtle?
Choose one motif and leave visible space around it. A crescent on one nail or a few small dots can suggest the theme without covering every finger. Decide how noticeable you want the design to be before adding secondary shapes, colours or finishes that may change its overall balance.
Can a small Halloween design work on short nails?
Yes. Adapt the number and scale of the marks to the available surface. One readable star or crescent may work better than several tiny symbols placed close together. Ask to see the design at your actual nail length rather than copying the proportions of a much longer reference.
Should both hands have identical motifs?
Only if that is the effect you prefer. The hands can mirror each other, repeat the same number of accents or share a colour while using different placements. Sketch the relationship before application so that the second hand feels intentional rather than being decided after the first is finished.
What is the simplest motif to practise with ordinary polish?
Small dots are a useful starting point because you can practise their size and spacing separately. Use a familiar ordinary-lacquer product and an appropriate sample surface, follow its instructions and allow layers to dry as required. Practising dots does not require adopting an unfamiliar gel or adhesive system.
Can I reverse the design onto a black base?
Yes. A white motif on black creates a darker overall appearance than black marks on a pale base. You can use the reversed version across the whole manicure or on one accent nail. Compare the contrast and decide which version leaves the amount of visual space you want.
Do I need to buy the named black and white polishes?
No. They are manufacturer colour references rather than a required shopping list or independently tested recommendations. You can use suitable products you already understand. Check the specific formula and instructions; similar colour names across lacquer, gel and other systems do not make their application or removal interchangeable.
What should I show a nail technician?
Provide a clear reference for the motif, another for placement if needed and a short note about the length you want. Explain whether the main priority is the shape, colour contrast or empty space. That makes it easier to adapt the design without copying an unsuitable nail length.
Can I wear the design after Halloween?
Yes. Moons, stars, dots and fine lines do not have to be limited to a single date. Choose details you enjoy independently of a costume if you want the design to remain appealing afterwards. The practical wear period still depends on your actual product, activities and maintenance, not the motif.
Sources and further reading
- OPI — Black Onyx Nail Lacquer — checked 2026-10-23
- OPI UK — Alpine Snow Nail Lacquer — checked 2026-10-23
- OPI — Party Splasher nail-art guide — checked 2026-10-23