Engagement Photo Nails: Colour and Finish for Close-Up Pictures
Choose a manicure for engagement pictures by comparing colour, coverage and finish with your ring, outfit and planned photographs.
Archive edition: 2026-08-04 · This is an editorial allocation, not the first-publication date.
Key takeaways
- Agree whether close-up hand photographs matter.
- Compare colour with the ring and outfit.
- Choose coverage and finish separately.
- Keep the length and detail comfortable.
- Save a clear design brief and real product details.
In this guide
- Key takeaways
- Ask what kinds of photographs are planned
- Choose the role of the nail colour
- Compare the manicure with the actual ring
- Understand why photographs may show colour differently
- Choose finish with the overall detail in mind
- Prepare a clear brief without over-preparing the hands
- Plan for the pictures you want
- Leave the final choice personal
- Common questions
- Sources and further reading
Engagement-photo nails are easiest to plan when you know what the pictures are meant to show. A close view of a ring, a relaxed photograph of two people together and a full-length outdoor portrait place different emphasis on the hands. Choose a manicure you enjoy wearing, then decide how much colour and detail you want it to contribute to those photographs.
You do not need a special shade that is claimed to flatter every hand on camera. The suggestions below are editorial preparation ideas, not a photographer’s guarantee or a test of particular polishes. A familiar colour, a plain finish or bare nails can all be valid choices for a session that reflects your own style.
Ask what kinds of photographs are planned
Tell the photographer if a close-up of the ring and hands is important to you. That helps distinguish the pictures you actually want from assumptions based on other people’s galleries. You can then plan the manicure’s detail with the likely framing in mind, without treating every image as a tightly cropped beauty photograph.
If most pictures will be wider portraits, very small nail artwork may be a detail you enjoy personally rather than something clearly visible in every frame. That is fine, but it may affect how much time or money you want to spend on it. A strong plain colour can be more visible at a distance than an intricate miniature pattern.
Keep the conversation about your preferences rather than prescribing technical camera settings. The photographer can advise on their own approach to light and framing. Your useful contribution is to explain which ring, outfit and manicure details matter to you and whether you prefer a quiet or more noticeable overall look.
Choose the role of the nail colour
A quiet tint can allow a ring or outfit to remain the more prominent feature. A stronger colour can create a deliberate accent around the hand. Neither is automatically better for photographs. Start with the effect you want and compare it with the jewellery and clothing rather than choosing from a list of supposed camera-safe colours.
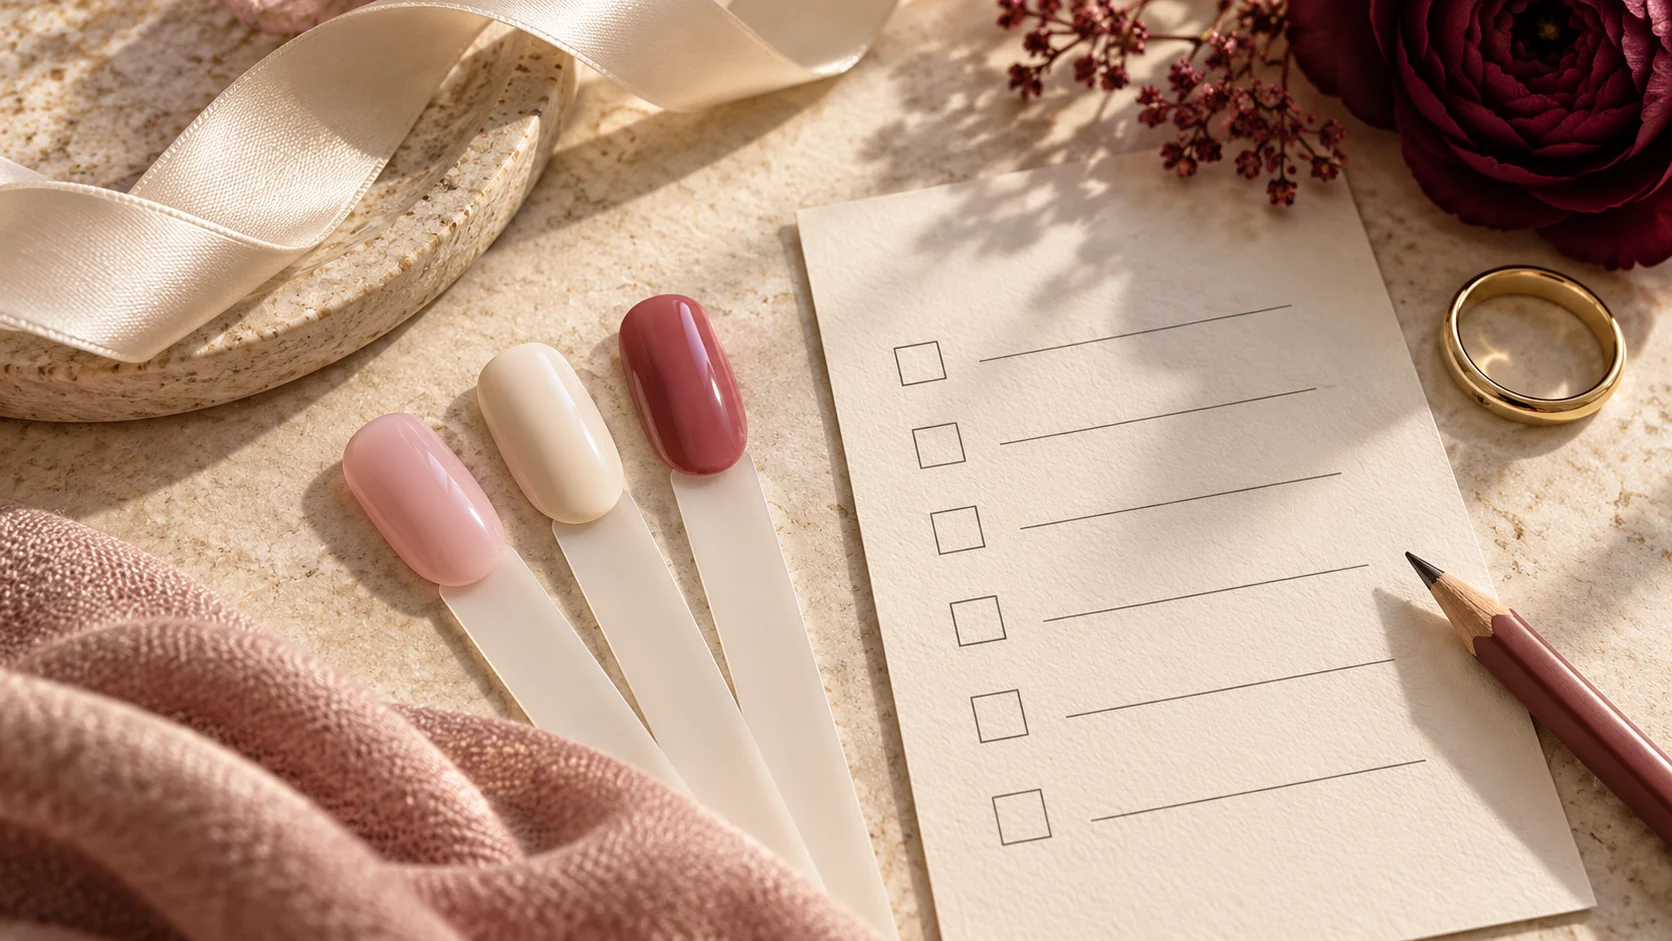
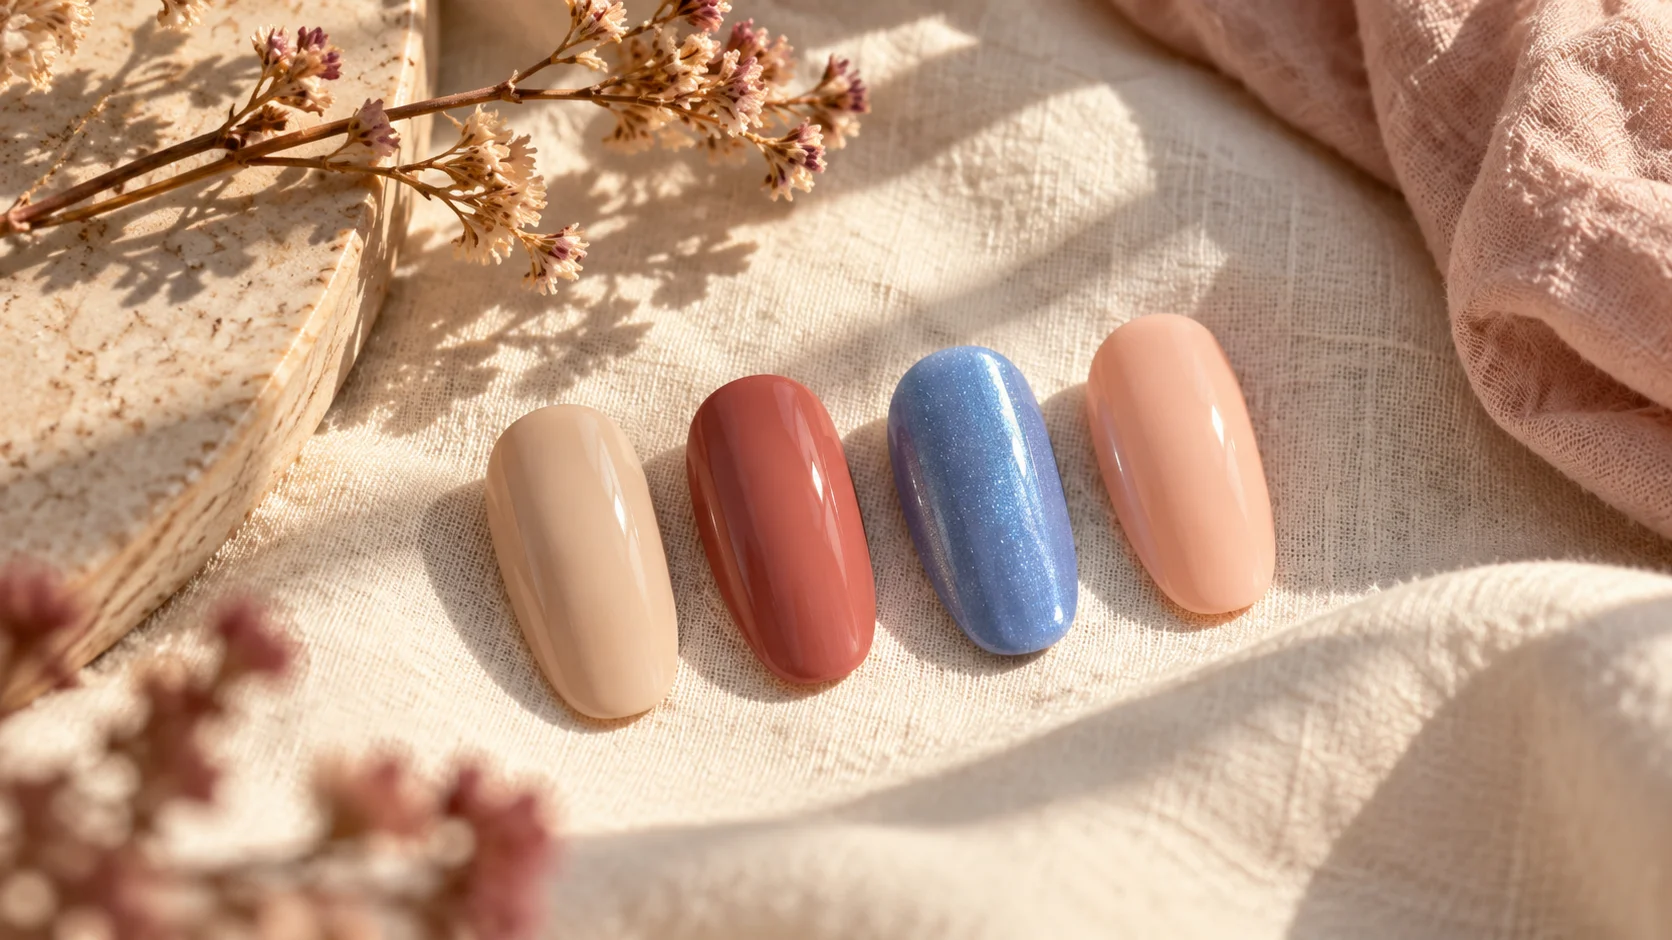
For an example of a translucent direction, OPI describes Bubble Bath Nail Lacquer as a sheer light pink. That description helps identify the finish family. It does not establish the exact appearance on your hand, in a particular lighting setup or in the generated illustration accompanying this guide.
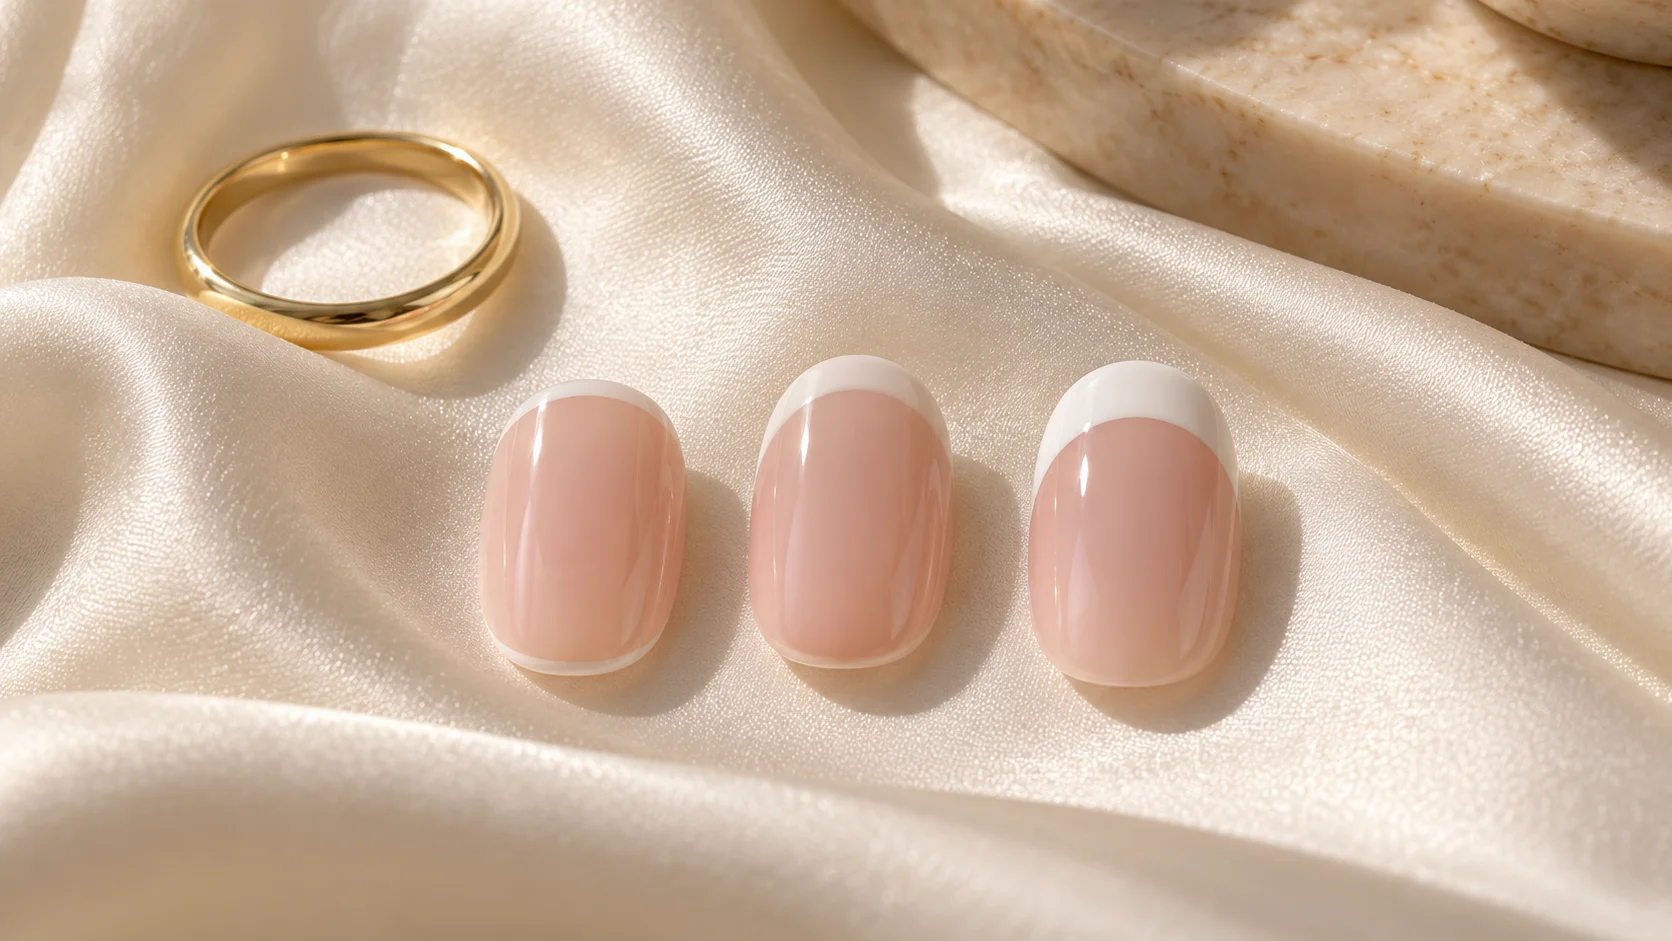
A soft white is another possible direction. OPI describes Funny Bunny as soft white with sheer coverage. If you want an opaque white instead, make that distinction clear. Pale colour and translucent coverage are separate decisions, even when a small online picture makes them look similar.
Compare the manicure with the actual ring
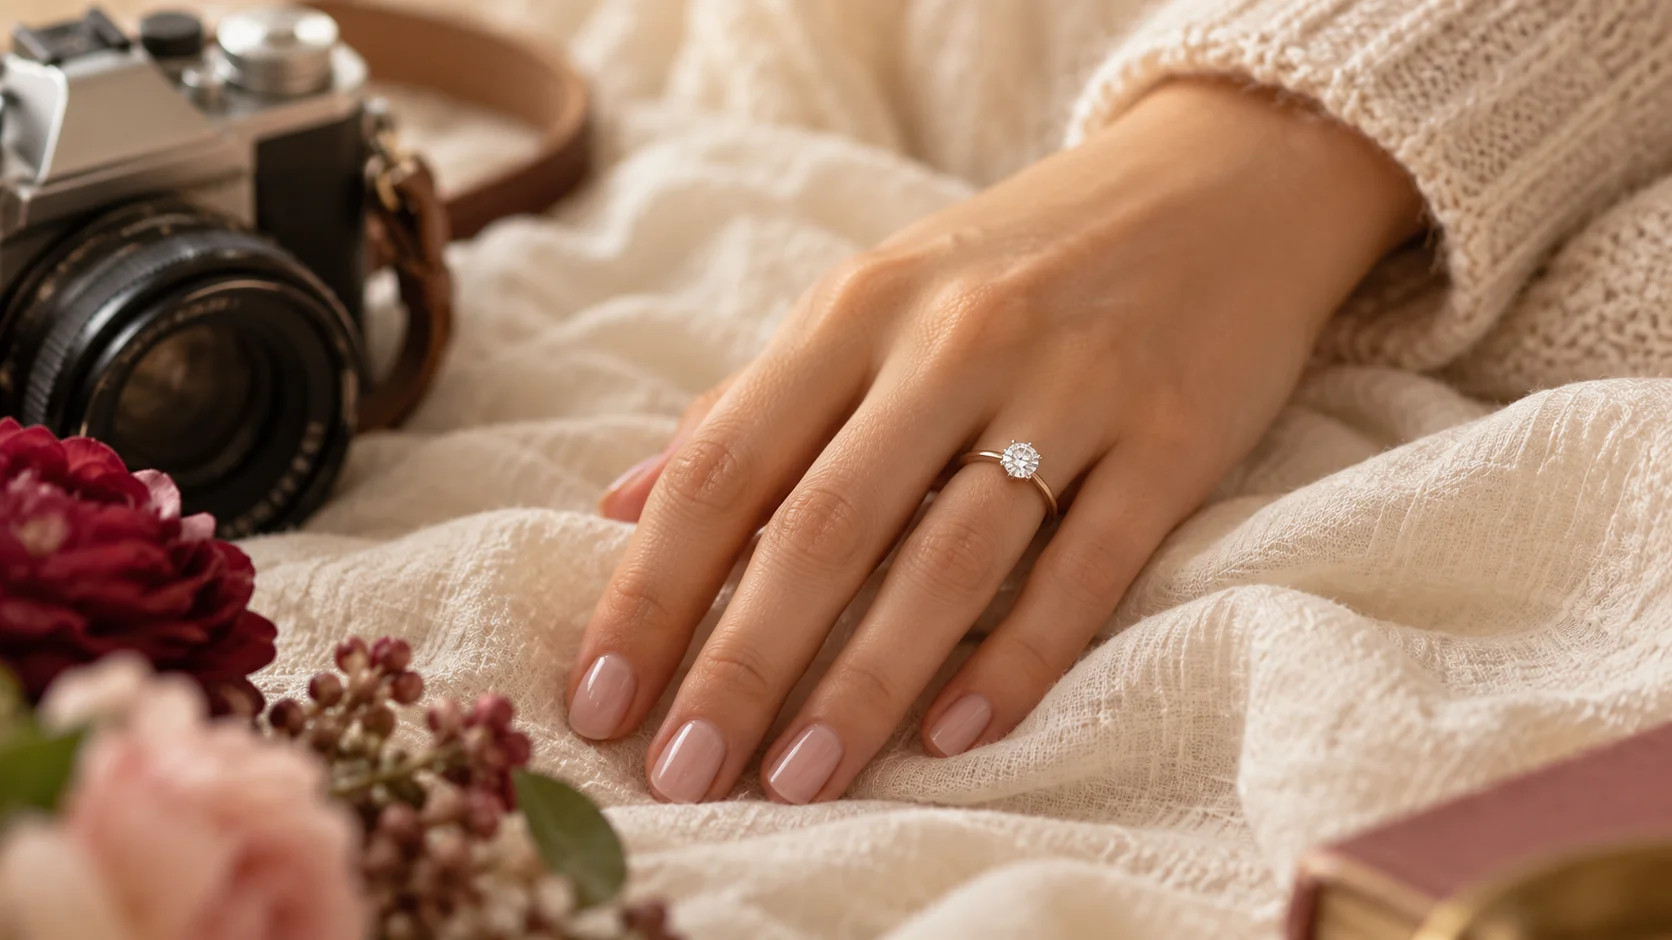
Look at your whole hand wearing the ring rather than judging the nail colour alone. A prominent setting, several bands or a coloured stone can already provide a strong visual detail. You might want the manicure to support that quietly, or you may enjoy a bolder combination. There is no requirement to make the nails less noticeable simply because a ring is present.
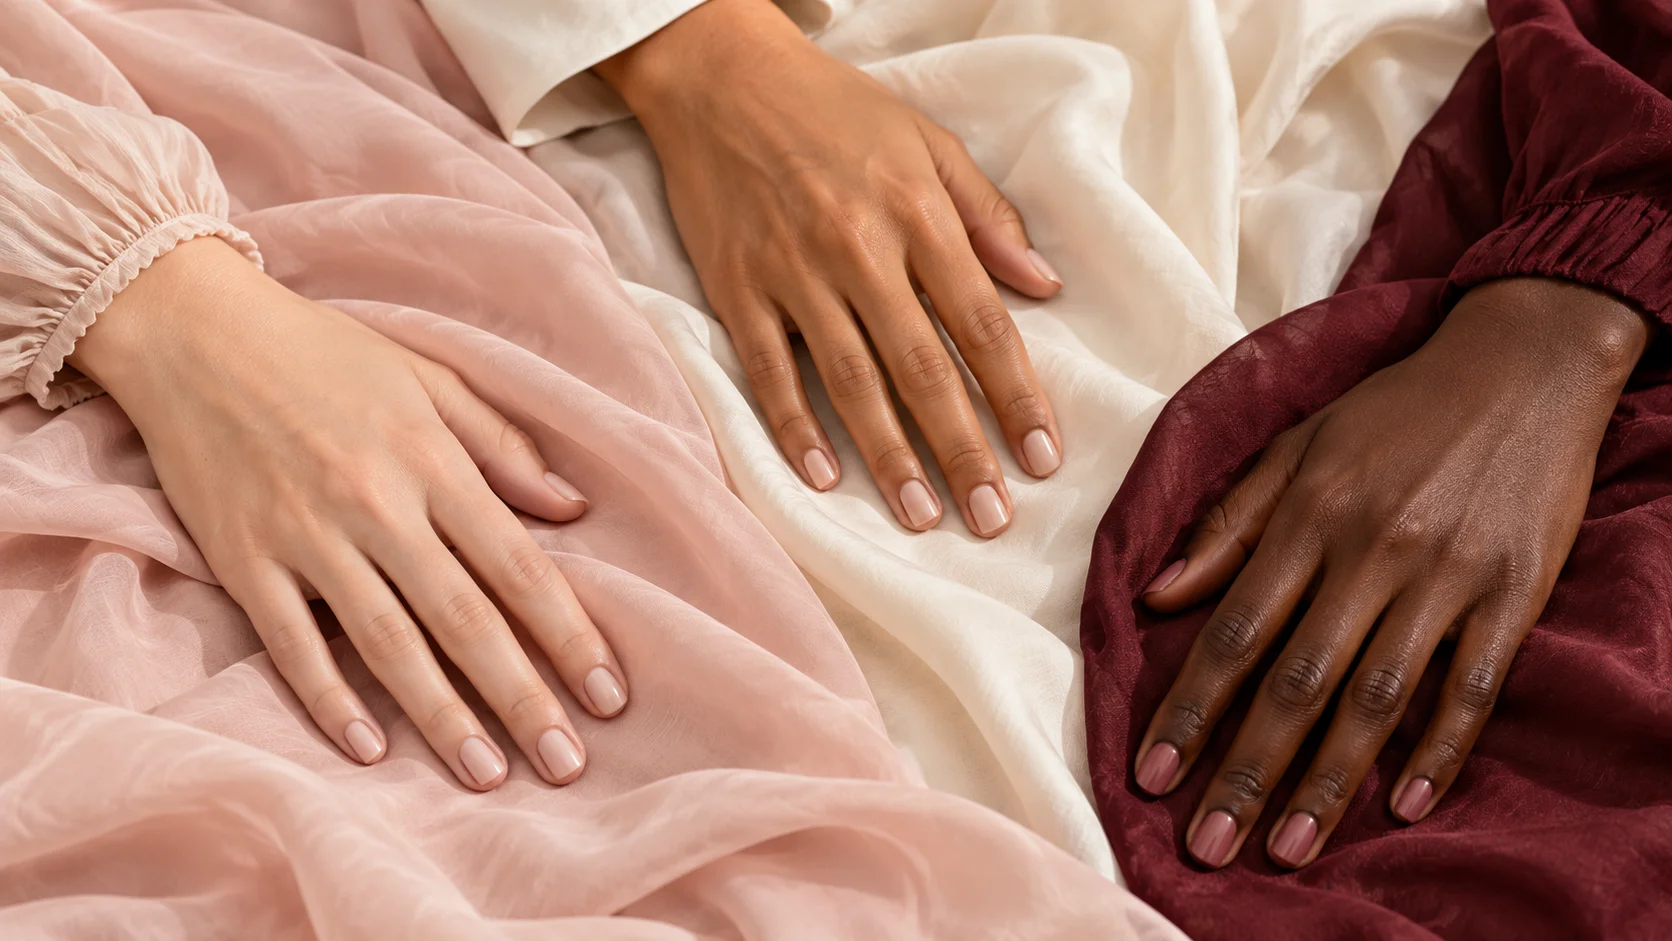
Try the outfit sleeve or nearby fabric in the same comparison. A cuff, lace edge or coloured garment can change the overall palette around the hand. If the look already feels complete, you may not need an additional nail accent. A plain manicure is a finished choice rather than a blank waiting to be decorated.
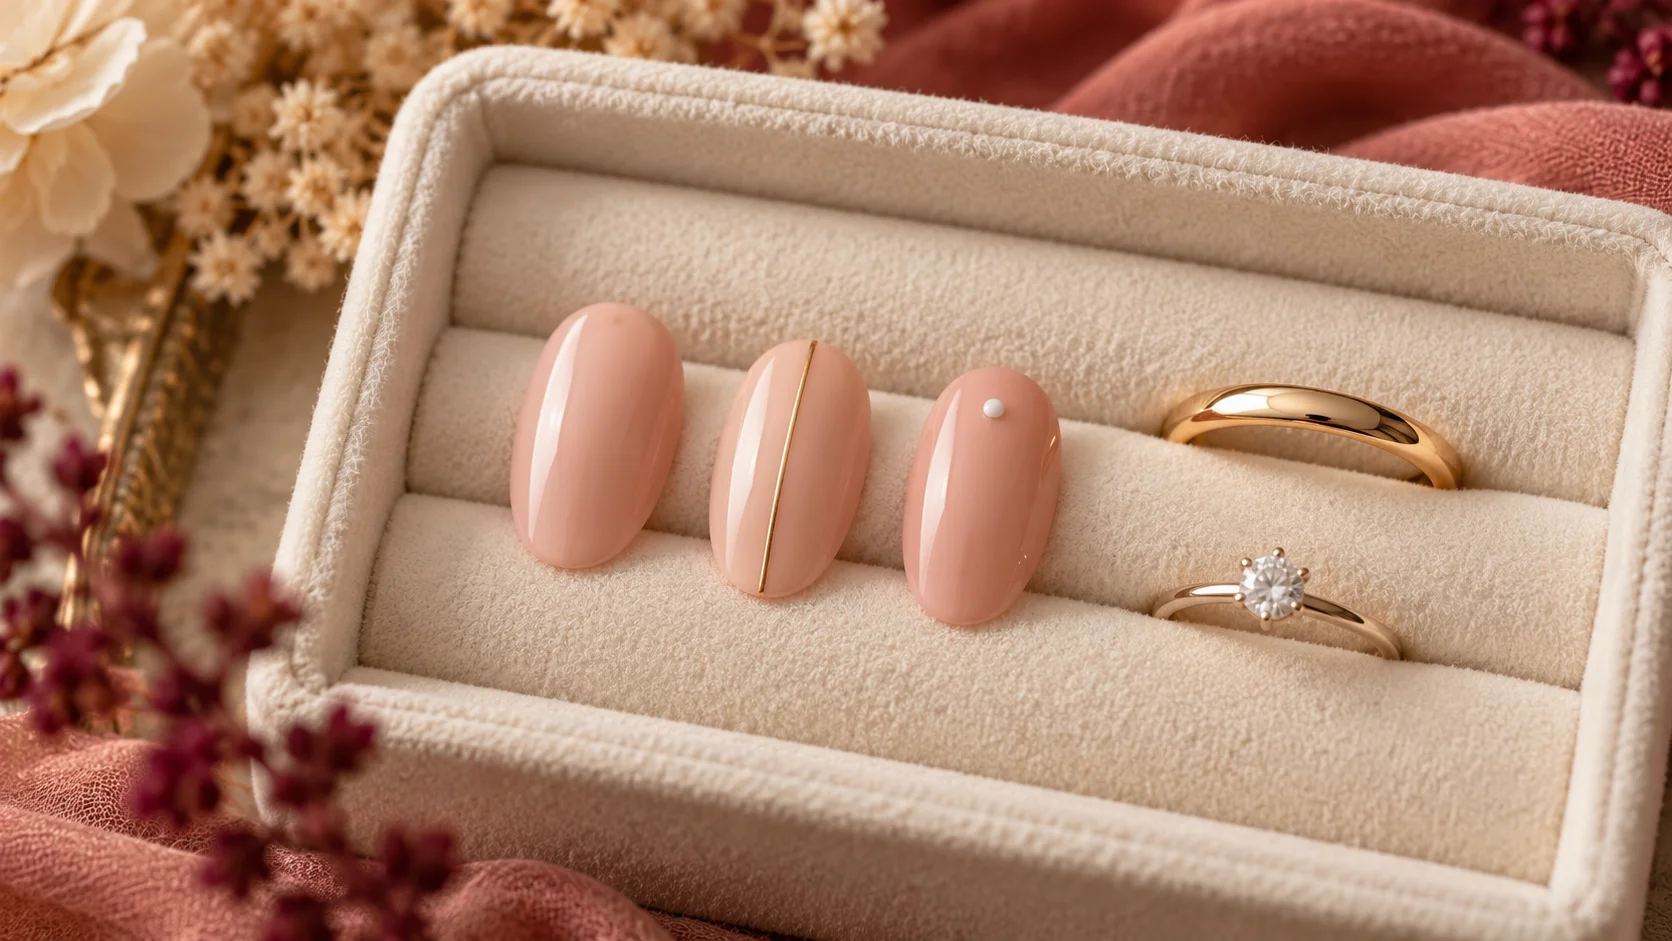
If you want artwork on a ring finger, decide whether repeating detail immediately beside the ring improves the composition for you. You could move the accent to another nail or omit it. This is an aesthetic comparison, not a rule that one finger must always carry the decoration.
| Question | What it helps decide | Useful reference |
|---|---|---|
| Will hands be shown close up? | How much tiny detail matters | The agreed type of photograph |
| Should nails support or contrast? | Quiet tint or stronger colour | The full outfit and ring together |
| How much natural nail should show? | Sheer or opaque coverage | An actual sample on your hand |
| Is extra artwork wanted? | Placement and number of accents | A simple whole-hand photograph |
| Is the length comfortable? | Whether a shape change needs a trial | Ordinary use before the session |
Understand why photographs may show colour differently
Nikon’s explanation of white balance notes that the colour of reflected light depends on the light source. This general principle helps explain why one polish can look different in different photographs. It is not a reason to diagnose the exact shade from a filtered image or assume the bottle has changed.
For your own comparison pictures, use ordinary daylight and an indoor setting without applying a colour filter. Include the ring or fabric if it helps you remember the combination. Treat those photographs as practical references, not calibrated product swatches. Record the actual product name and finish separately if you want the manicure reproduced.
Do not chase a perfect match between every screen and the real colour. Instead, decide whether you like the manicure in person and discuss any important photographic preference with the photographer. A useful record explains the look you chose without promising that all images will show identical colour.
Choose finish with the overall detail in mind
Gloss, matte and shimmer can create different visual emphasis. You might like a plain glossy finish beside a textured outfit, or prefer a quieter surface when jewellery already introduces several reflective details. Compare the actual effect rather than assuming that a particular top coat is always better for close-up pictures.
If you are considering a new finish or raised decoration, try how it feels before the session where practical. The photograph may be the reason for planning, but you will still be wearing the manicure during ordinary activities. A finish you understand and enjoy is a better basis for the decision than a claim that every detail will photograph perfectly.
Prepare a clear brief without over-preparing the hands
Write down the shape, length, colour, coverage and any artwork you want. If a technician is creating the look, show the relevant references and explain what you like about them. Keep the request focused rather than sending a large folder of unrelated manicures shortly before the appointment.
Choose a comfortable length, especially if you rarely wear extensions or elaborate decoration. You can make the session feel special through colour without changing every aspect of the service. Do not treat a close-up photograph as a reason to pursue uncomfortable preparation or conceal a nail or skin concern with more product.
Leave the final choice personal
A favourite dark shade, a bright colour or bare nails can be part of an engagement session just as much as a pale manicure. If the choice feels like you, that is a meaningful reason to keep it. Other people’s galleries can suggest possibilities without becoming a set of requirements for your own hands.
Explore Seasonal & Bridal for other celebration ideas and Polish & Tools for coverage and finish explanations. Choose a manicure you can describe clearly and wear comfortably, then let the session focus on the people and details you wanted to remember.
To adapt the plan to related occasions and outfits, compare A Bridal Nail Trial Checklist for Colour, Shape and Comfort, Bridal Nail Jewellery: Keeping Rings and Manicure Details in Balance and Bridal French Nails: Choosing a Base Shade and Tip Style. For the underlying care, colour or service choice, see How to Build a Nail Inspiration Board Your Technician Can Use.
Common questions
Do engagement photos require pale nails?
No. A pale tint is one option, but a favourite bright or dark colour, a plain finish or bare nails can also reflect your style. Decide whether the manicure should support the ring and outfit quietly or provide a deliberate accent, rather than following a universal photography rule.
Should I ask for close-up hand photographs?
Tell the photographer if those pictures are important to you, so the planned framing reflects what you want. A wider portrait and a ring close-up place different emphasis on small nail details. You can then decide how much artwork matters without assuming every image will be tightly cropped.
Why does the same polish look different in photographs?
Light source and photographic colour handling can affect the recorded appearance; the linked Nikon explanation of white balance describes the general principle. Use reference photographs as communication aids rather than exact swatches, and record the actual shade and finish separately if you want the look repeated.
Is glossy polish always better for close-up pictures?
No single finish is best for every preference or photographic approach. Compare gloss, matte or shimmer beside the actual ring and outfit, then discuss any important visual preference with the photographer. The choice should reflect the overall look you enjoy rather than an assumed camera-safe formula.
Should nail art always go on the ring finger?
No. Compare the whole hand and decide whether an accent beside the ring adds to the composition or feels unnecessary. You can move the artwork elsewhere or keep the manicure plain. The ring finger is an option for placement, not a required location for every decorative detail.
Do I need a different nail length for the session?
Not automatically. Start with a length you use comfortably and consider colour or finish separately. If you want an unfamiliar shape or extensions, try their practical feel beforehand where possible. A close-up photograph does not create a requirement for longer nails or uncomfortable preparation.
What should I tell the nail technician?
Describe the shape, length, colour, coverage and finish you want, plus the exact placement of any artwork. Show a small set of relevant references and explain which features matter. Keeping the request focused is clearer than sending many unrelated photographs shortly before the appointment.
Are the photographs in this article actual product tests?
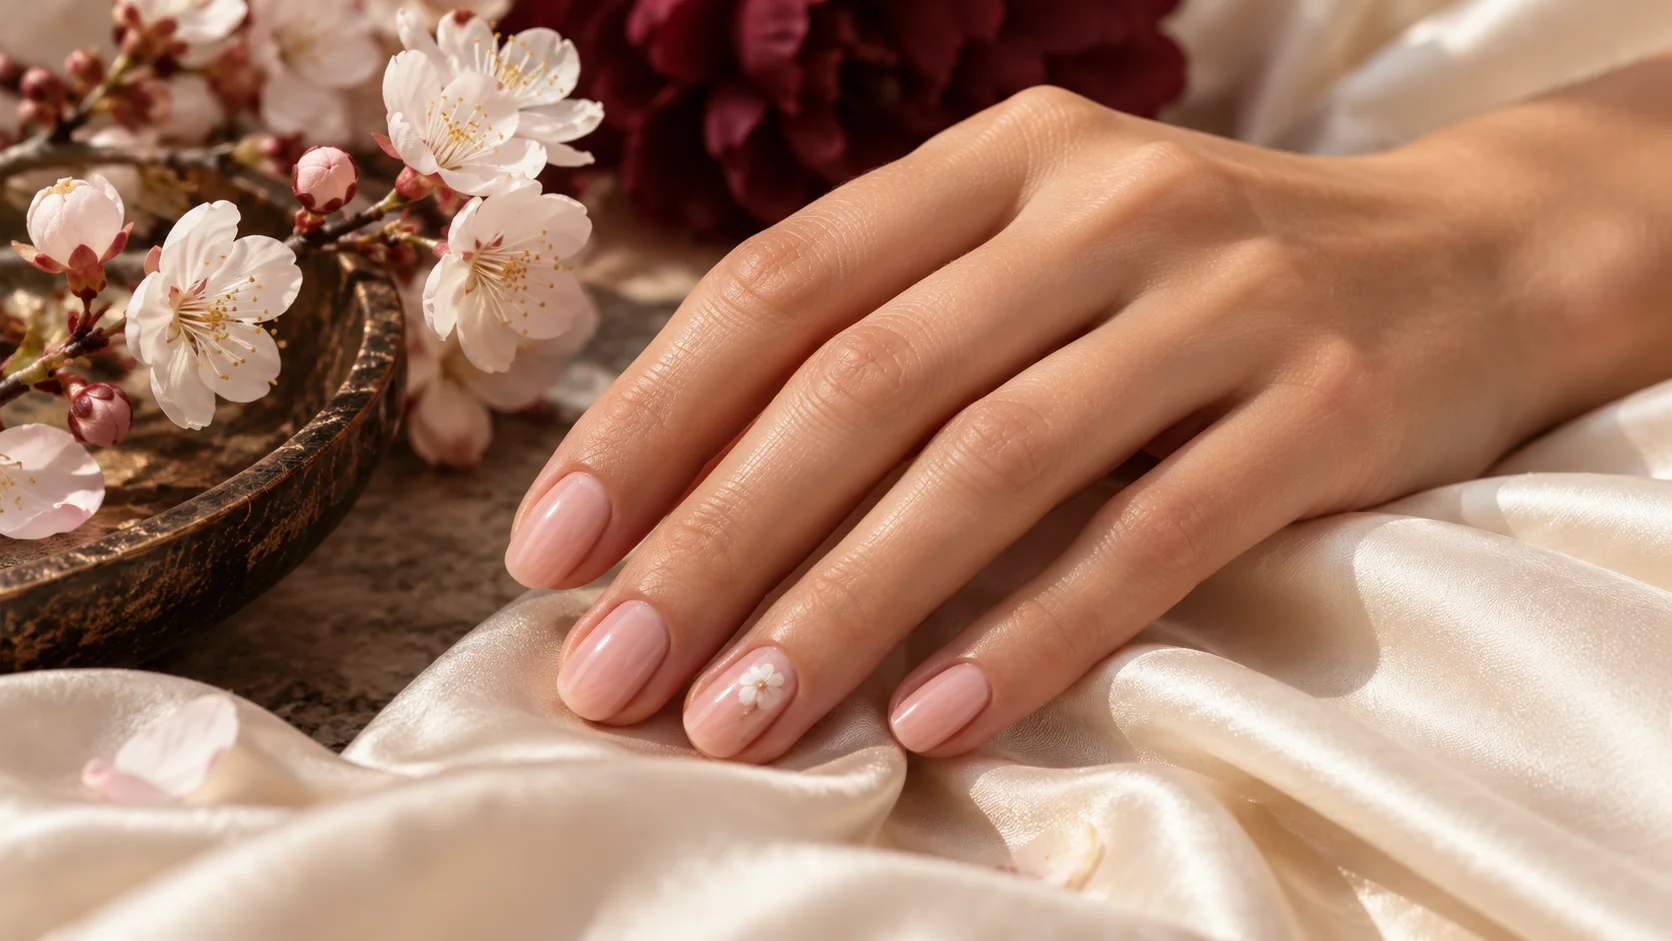
No. The image is an AI-generated editorial illustration of a possible look. It does not verify a named polish shade, a real engagement session or how a product photographs under particular lighting. Manufacturer links support limited descriptions, while the preparation suggestions are editorial guidance.
Sources and further reading
- Nikon — D2H manual, White Balance: Keeping Colors True — checked 2026-10-23
- OPI UK — Bubble Bath Nail Lacquer — checked 2026-10-23
- OPI UK — Funny Bunny Nail Lacquer — checked 2026-10-23