Custom Press-On Nails: What to Send When Ordering a Set
Prepare a clear size record, shape choice, design brief and timing questions for a custom press-on maker.
Archive edition: 2026-10-10 · This is an editorial allocation, not the first-publication date.
Key takeaways
- Choose the available shape and length.
- Complete the maker's sizing process.
- Label all ten sizes and the units or tip system.
- Describe the design and explain reference images.
- Confirm timing, contents and the final agreed version.
In this guide
- Key takeaways
- Confirm what “custom” means for that maker
- Use the maker’s own sizing process
- Send ten clearly labelled size entries
- Describe the design in layers
- Explain what each reference image is showing
- Ask about practical details before production
- Separate making time from delivery time
- Keep one agreed version of the order
- Common questions
- Sources and further reading
A good custom press-on order begins with a clear brief. The maker needs to know which tips fit, what design you want and when you hope to use the set. A mood-board photograph on its own leaves too many decisions unstated.
Prepare a small, organised packet of information before commissioning the design. This guide explains what to include and which questions to resolve. It does not endorse a particular seller, promise delivery or assess a maker’s products from photographs.
Confirm what “custom” means for that maker
A custom order might mean individual sizes within an existing design, a colour change, a new arrangement or a design created from a consultation. Do not assume all of those services are included in the same price or available through the same checkout option.
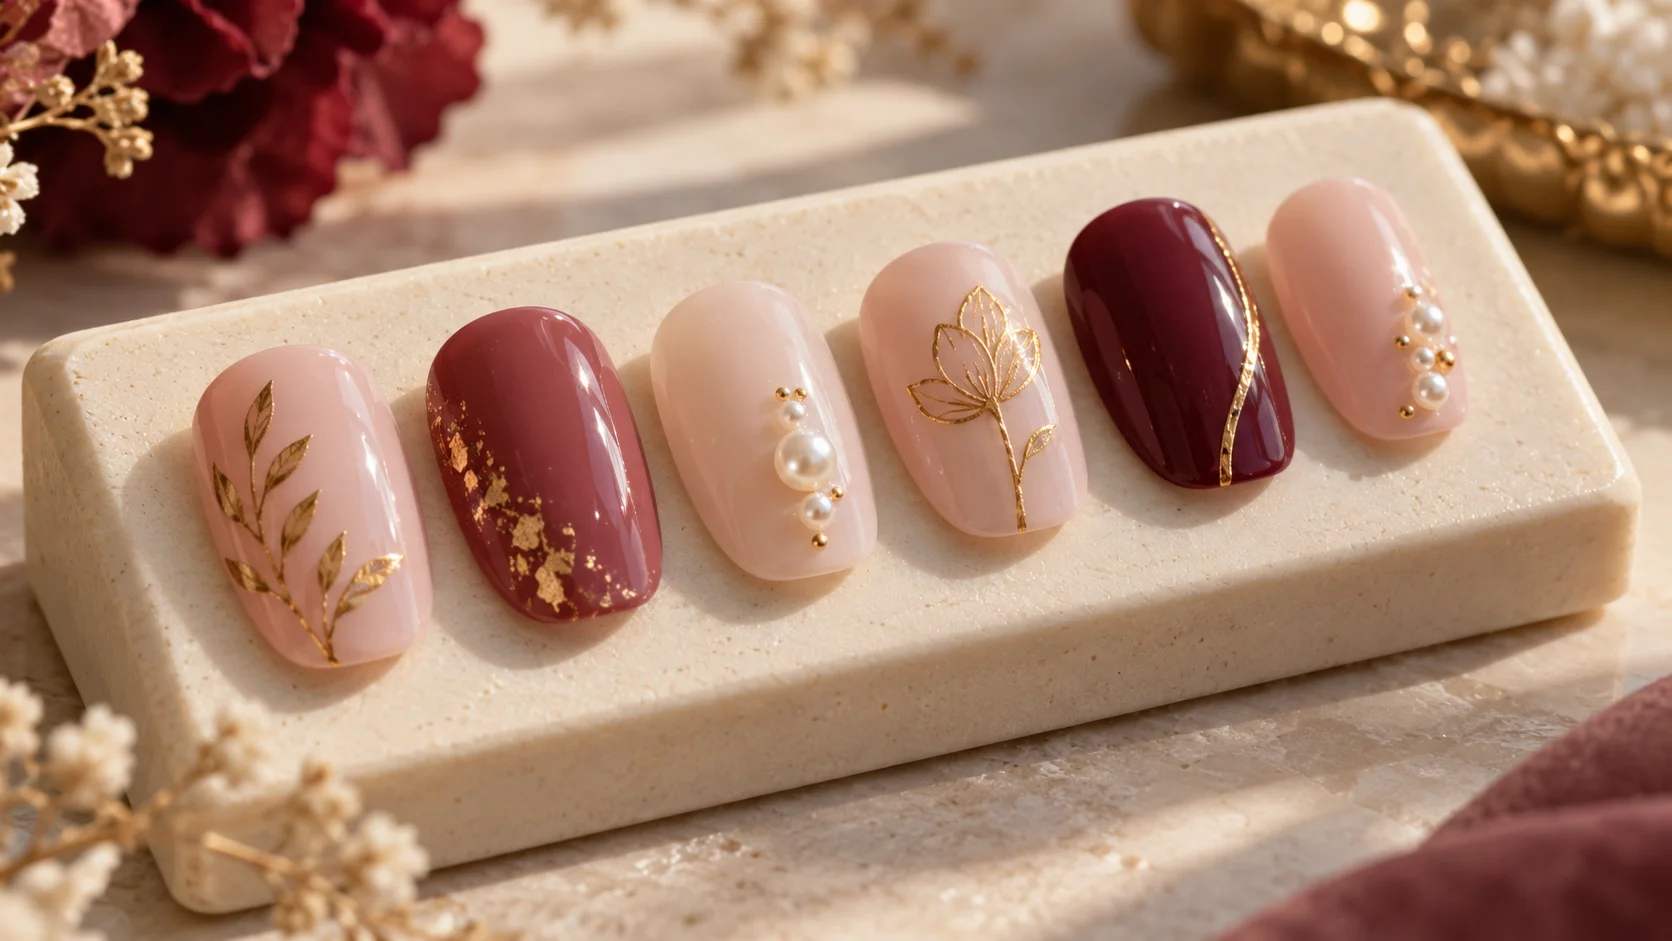
Start with a short description of the result you want. For example: “A short rounded set with a sheer blush base, berry French tips and one flat gold accent on each ring finger.” This gives the maker a usable starting point without requiring an exact copy of another artist’s work.
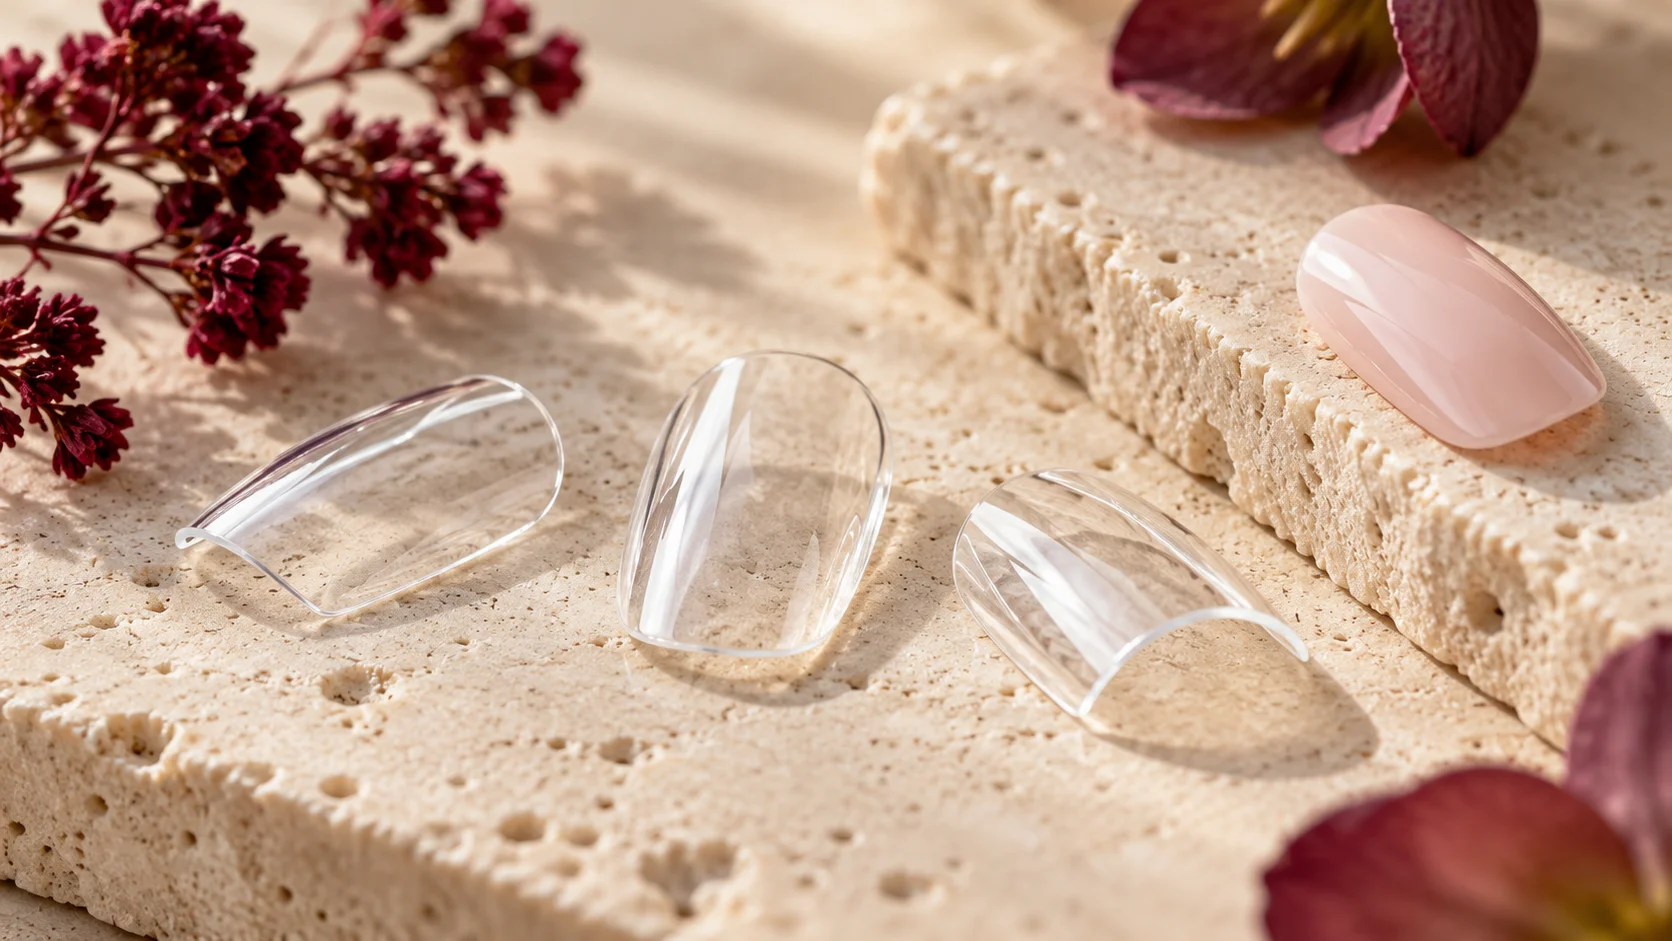
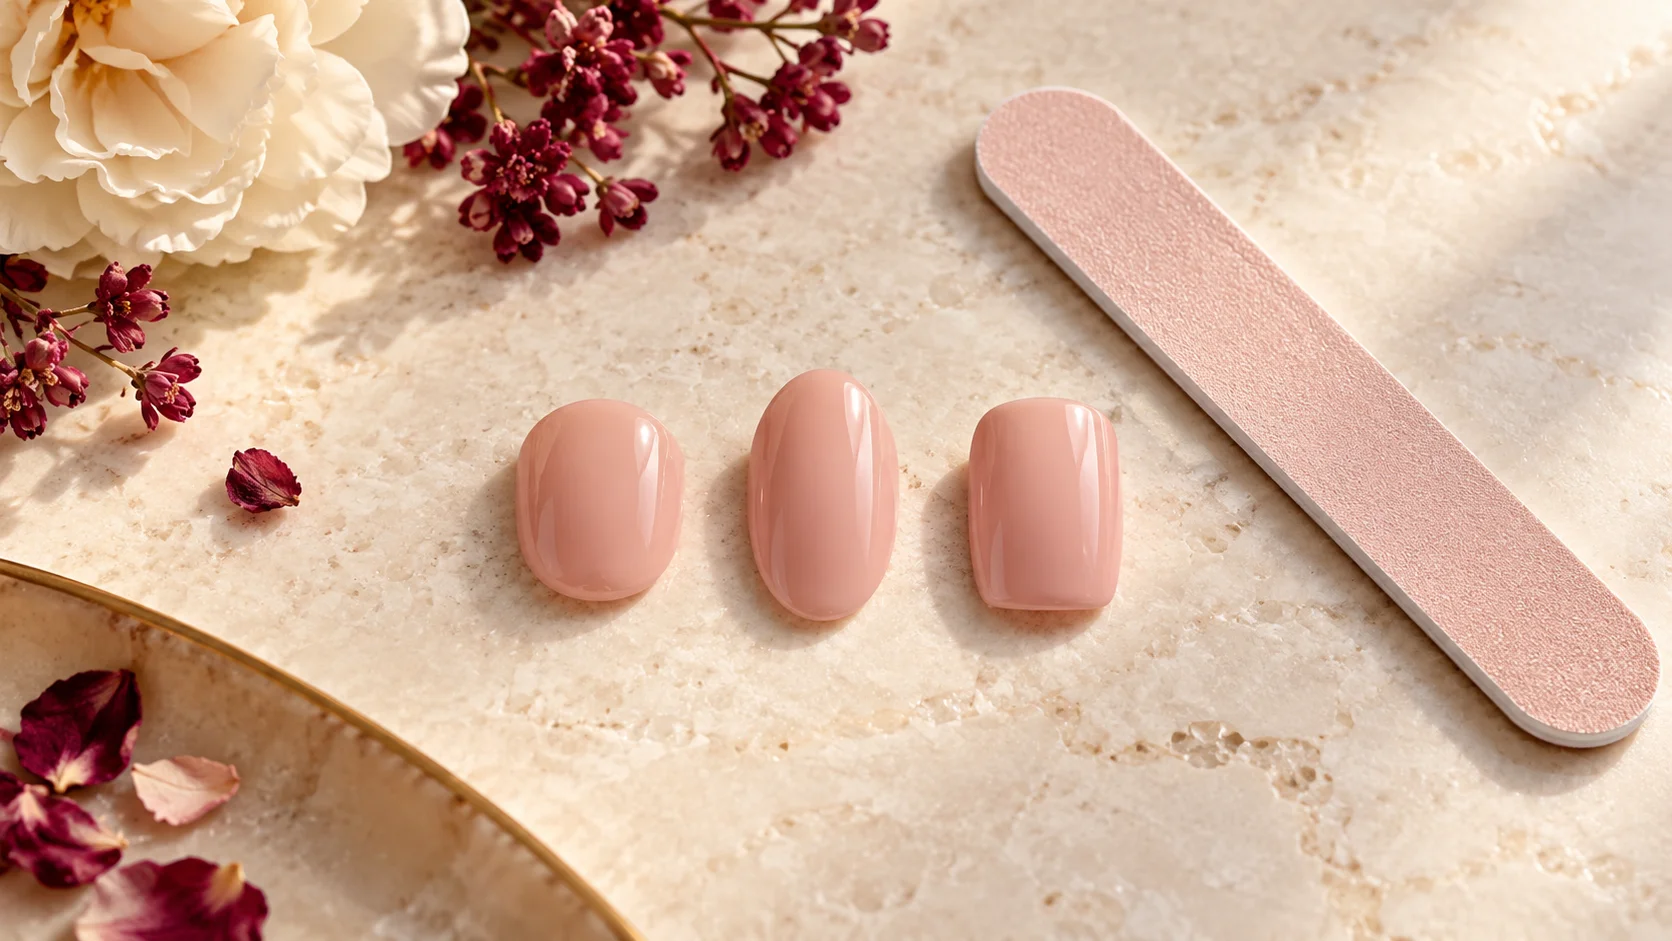
Ask which shape and length options they actually offer. If the required silhouette is outside their range, resolve that before discussing detailed artwork. A design consultation cannot make an unavailable tip mould part of the catalogue.
Use the maker’s own sizing process
Stephanie Jessica Nails’ FAQ explains that sizing can vary between makers and between shapes or lengths. Its ordering guidance calls for the appropriate sizing kit rather than assuming numbers from another artist will transfer.
Ask whether you need a sizing kit for the exact shape and length you intend to order. A sample from a different mould may not answer the relevant fit question. Keep the kit’s name with your notes so that a later change of shape is not mistaken for the same sizing decision.
If the maker accepts measurements instead, follow their stated method and chart. Do not silently add a millimetre, round every value up or convert numbers from another brand. Any adjustment should be clarified with that maker, not inherited from unrelated advice.
Send ten clearly labelled size entries
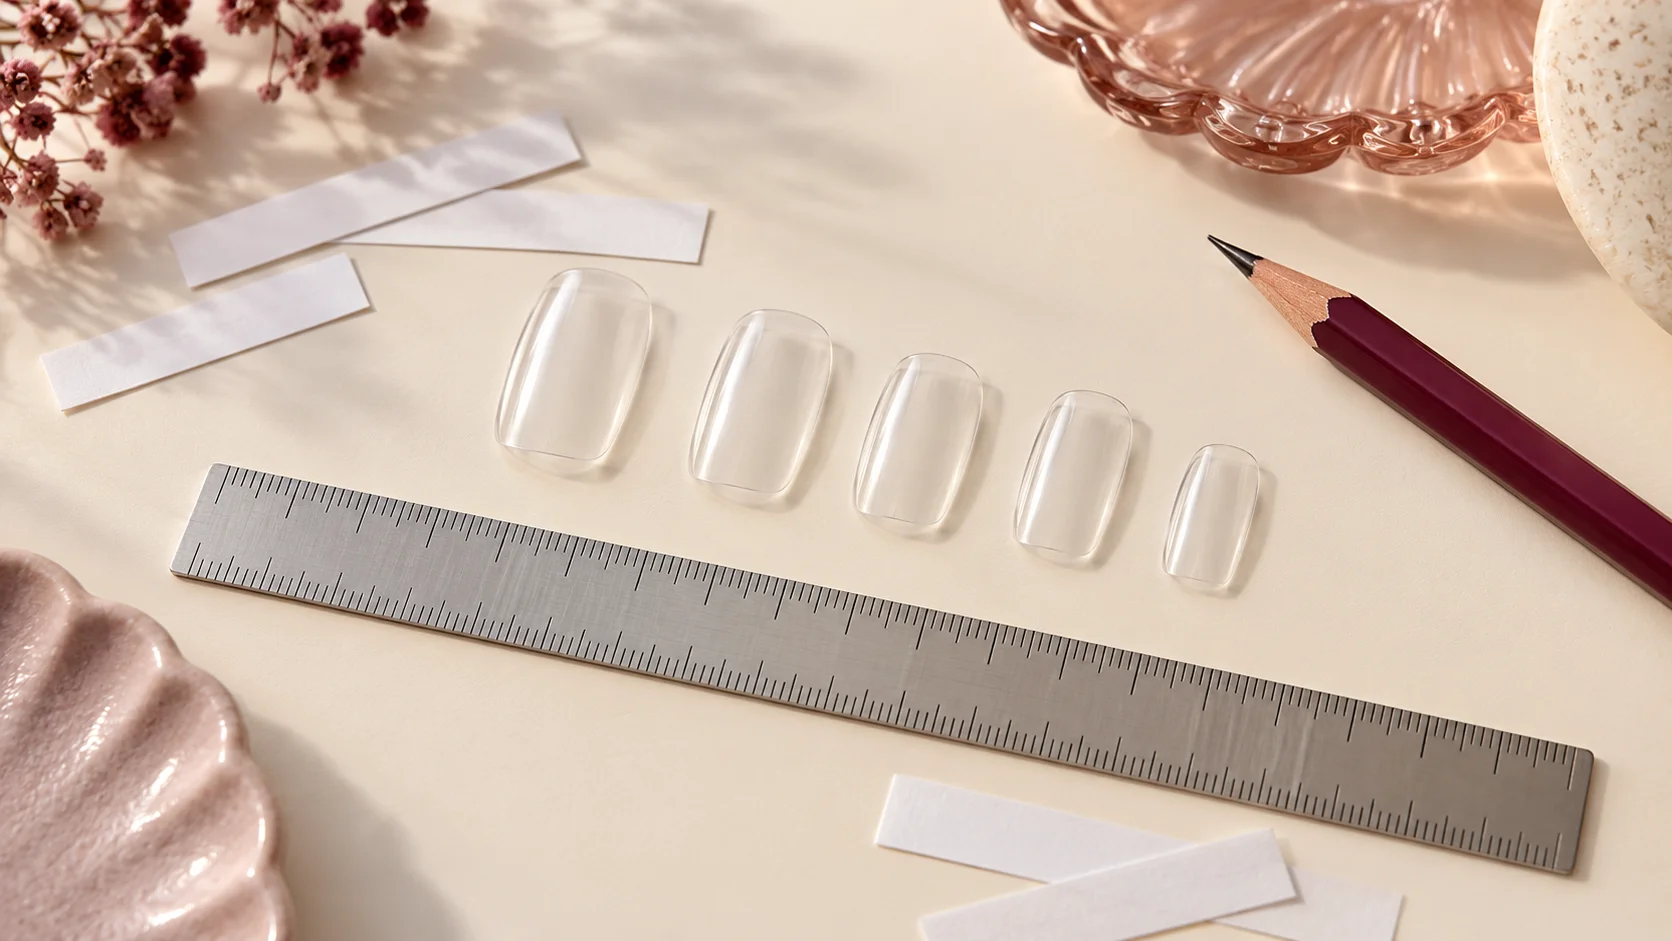
Bonobonoya’s sizing page asks custom customers to enter individual sizes for both hands in thumb-to-little-finger order. This illustrates why an ordered record is more useful than an unlabelled string of numbers.
Label the left and right hands, then name each finger. Say whether the values are the maker’s tip numbers or measurements in millimetres. The same digit can represent very different information depending on which system you are using.
MuseMood’s measurement guide also calls for recording all ten nails and checking the relevant chart. Do not assume both hands match. If a measurement seems uncertain, repeat the maker’s process or request a sizing kit rather than disguising uncertainty with a precise-looking number.
| Part of the brief | What to provide | What to confirm |
|---|---|---|
| Fit | Ten labelled sizes and the sizing method used | The correct kit, shape and length |
| Design | Base colour, finish, motifs and finger placement | Which details can be made and any substitutions |
| References | Links or images with notes on the features you like | Interpretation rather than an assumed exact copy |
| Timing | The date you hope to wear the set | Consultation, making and delivery stages separately |
| Contents | Your preferred supported adhesive format | Included supplies, removal instructions and spare options |
Describe the design in layers
Begin with the base: its colour family and whether you want a sheer or opaque appearance. Then describe the finish, such as glossy or matte, followed by the details. This order helps the maker understand which elements define the overall look.
Next, specify placement. “A tiny star” does not tell the maker whether it belongs on one nail, every nail or a pair of matching accent fingers. A simple ten-nail sketch or written list can make the arrangement clear without requiring polished artwork.
Separate essential details from flexible ones. You might care strongly about short length and a berry accent but be happy for the maker to choose the exact gold motif. Clear priorities make it easier to discuss substitutions if a particular decoration is unavailable.
Explain what each reference image is showing
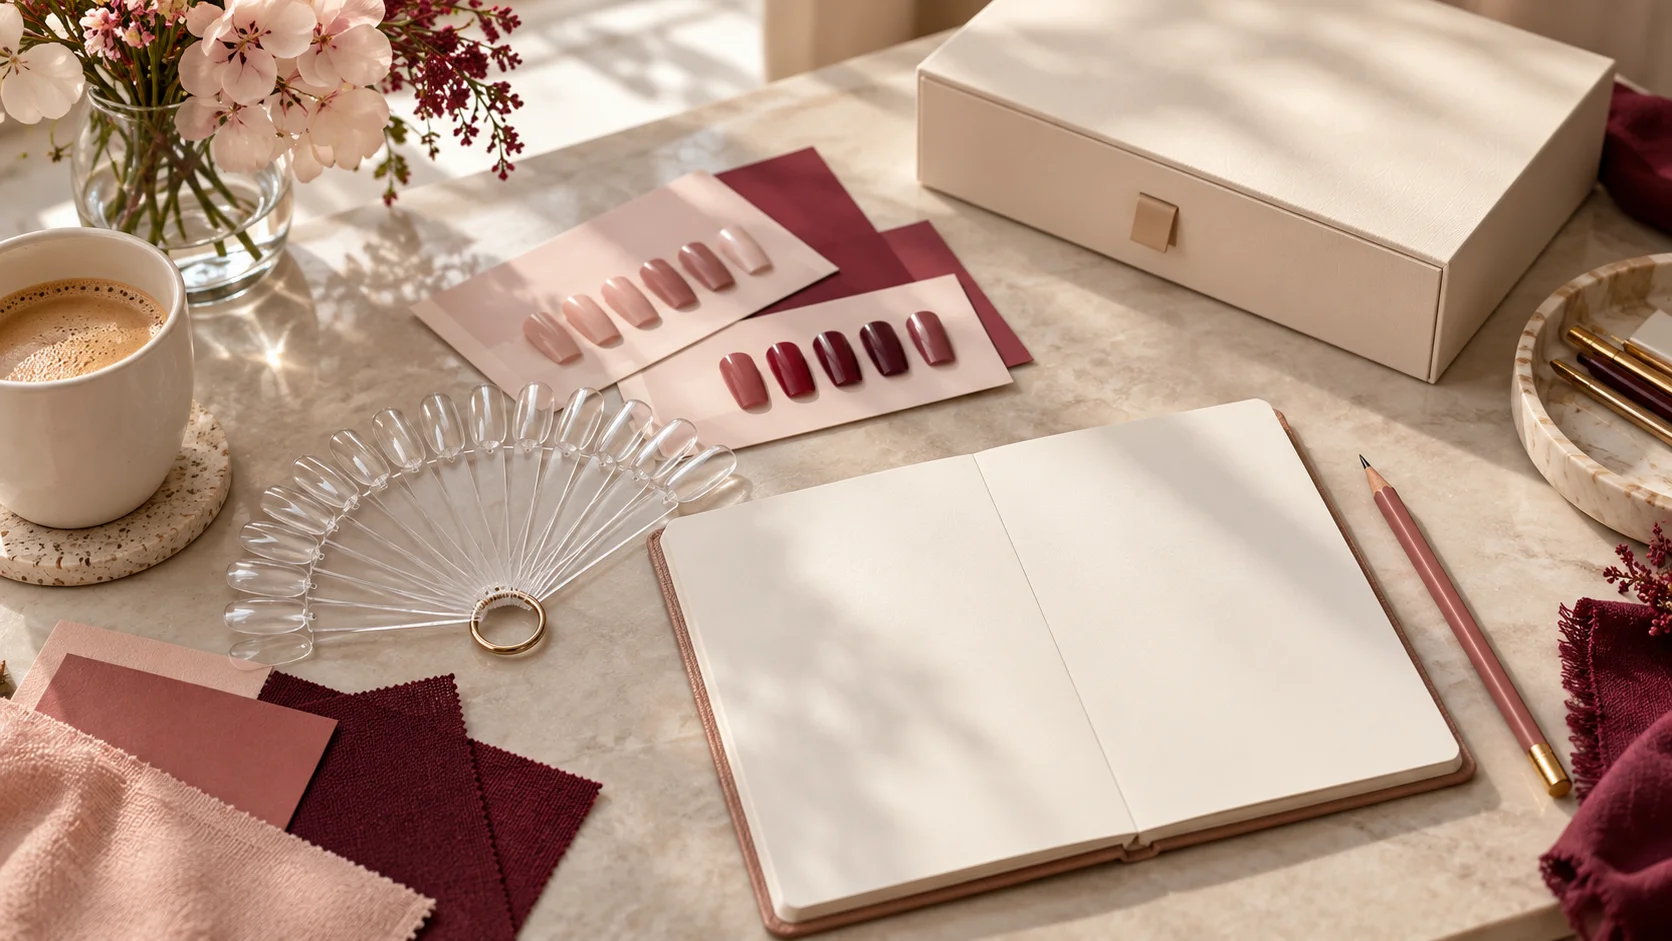
Instead of sending several pictures with “something like this”, add a sentence to each: “the base colour in this one”, “the spacing of these dots”, or “this rounded silhouette”. Otherwise, the maker may reasonably interpret a different part of the image as the main reference.
Include the original artist or source where you know it. Ask for an interpretation that fits the maker’s style and materials. A reference image does not establish that the maker owns the exact colour, decoration or tip used in the original photograph.
Stephanie Jessica Nails’ custom-order guidance explicitly discusses consultation and warns that reference-based designs will not necessarily be exact matches. Treat that as a useful question for any commission: agree what the reference communicates and what variation to expect.
Ask about practical details before production
If you want raised decorations, ask about their profile and placement. If you need to use gloves or perform a particular activity, explain the practical requirement. The maker can describe the product, but you still need to check any rules that apply to your workplace or activity.
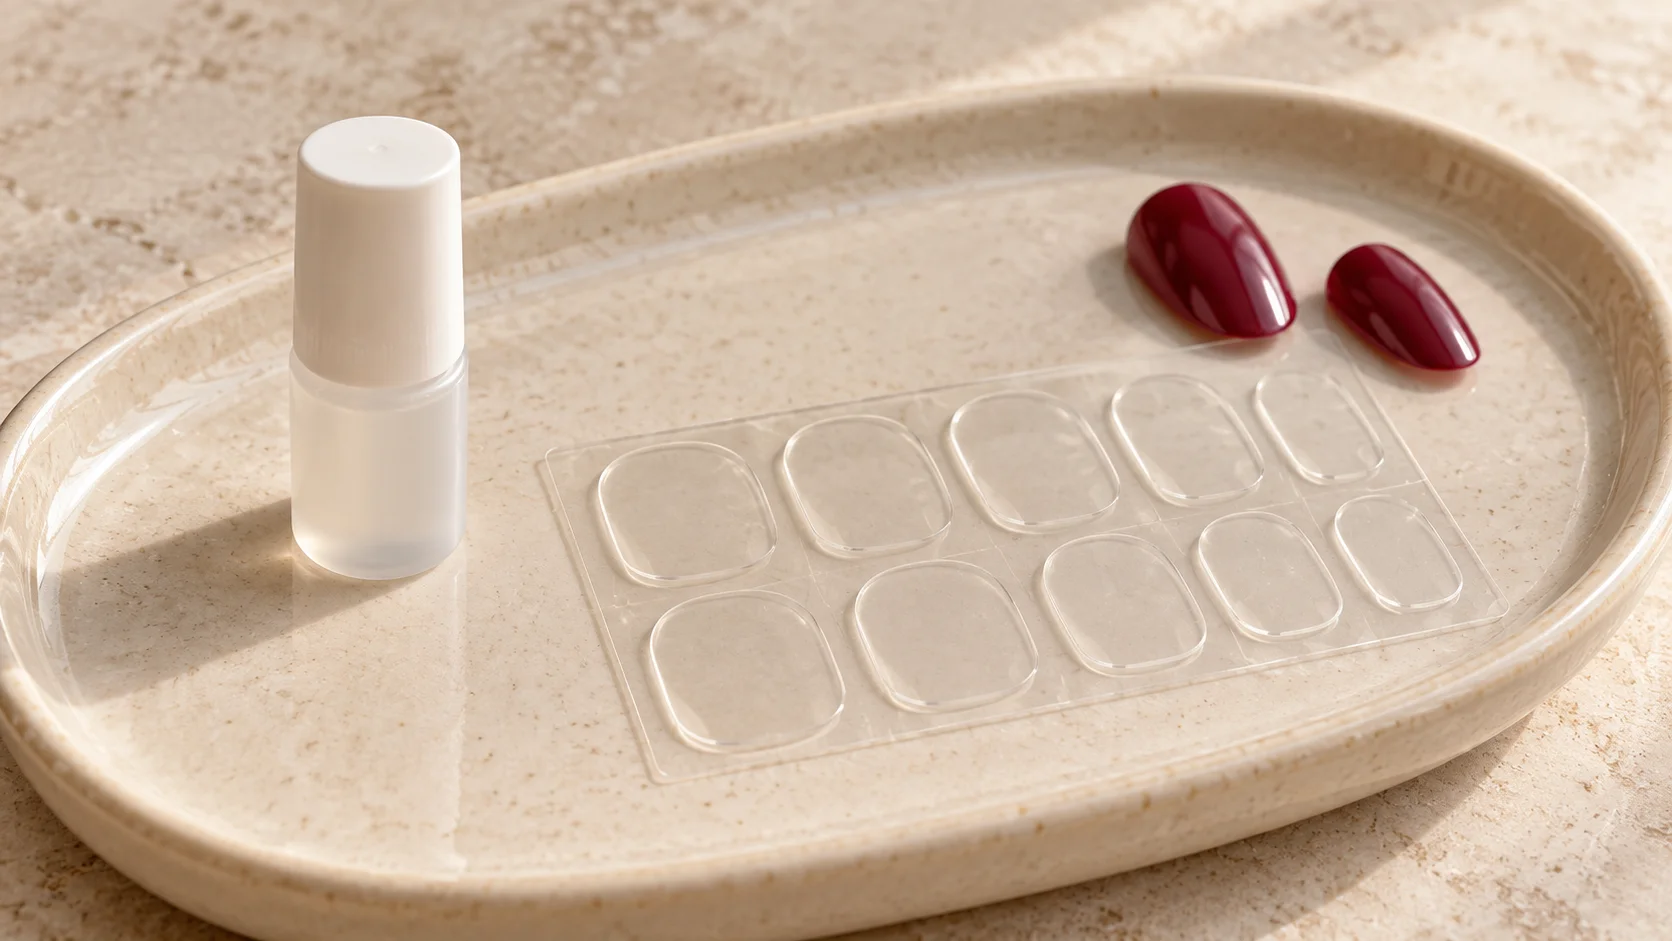
Confirm the adhesive format and whether the set includes the supplies you need. Ask for application, care and removal instructions before the event, rather than assuming a custom set works like a high-street set you already know.
Do not interpret “custom” as a claim that a product is suitable for a known allergy or a nail problem. If either is relevant, seek appropriate advice before ordering a cosmetic attachment. A design brief cannot substitute for an assessment of personal suitability.
Separate making time from delivery time
Tell the maker the intended wear date at the beginning. Ask when sizing must be complete, when the design needs to be agreed and when the finished order is expected to be dispatched. Those are different stages, and each can affect the plan.
Leave time for a sizing kit to reach you and for your size information to go back to the maker. If you change shape afterwards, ask whether that starts another fitting step. The artwork is only one part of preparing the final order.
A dispatch estimate is not the same as a guaranteed arrival date. Confirm the current delivery options and any event deadline directly. Avoid relying on a previous customer’s reported turnaround or an old social-media post as the schedule for your own order.
Keep one agreed version of the order
Before production begins, summarise the final size record, shape, length, design and agreed cost in the seller’s supported communication channel. If changes have been discussed across several messages, this single version reduces ambiguity about which instructions are current.
Ask whether the maker offers a design preview or photographs before dispatch, and at what stage changes remain possible. Do not assume there will be unlimited revisions. Read the seller’s current ordering and problem-resolution information before committing; this guide does not determine your legal rights.
Build a clear custom brief
- Choose the available shape and length.
- Complete the maker’s sizing process.
- Label all ten sizes and the units or tip system.
- Describe the design and explain reference images.
- Confirm timing, contents and the final agreed version.
Keep the final record for a possible reorder, while checking whether the maker’s range has changed before using it again. Explore the press-on nails section for more help with fitting and choosing the details of a set.
To complete the fit, wear and removal plan, read How to Measure Your Nails Before Buying a Press-On Set, Press-On Nail Curvature: Why a Size Can Fit but Still Feel Wrong and Decorated Press-On Nails: Checking Raised Details Before You Buy. For the related care, tool or design decision, see How to Build a Nail Inspiration Board Your Technician Can Use.
Common questions
Can I send sizes from a different press-on brand?
Do not assume another maker’s tip numbers are interchangeable. Ask which sizing kit or measurement method the new maker requires for your chosen shape and length. Different moulds can use different dimensions, so preserve the product context with every size record you send.
Should I send five sizes or ten?
Provide a clearly labelled record for both hands using the maker’s requested order. Do not assume the left and right hands match. State whether you are sending tip numbers or millimetre measurements, because an unlabelled sequence can be interpreted in more than one way.
What belongs in a custom design brief?
Include the shape, length, base colour, finish, main motifs and their finger placement. Separate essential preferences from details you are happy for the maker to interpret. Add a labelled size record and the intended wear date so that design, fit and timing can be considered together.
Will a maker reproduce my reference photograph exactly?
Do not assume an exact match. Explain which features you like and discuss the maker’s available materials and style. Include the original source or artist where known. Agree the intended interpretation before production rather than treating a reference image as a promise of identical results.
Is a sizing kit specific to shape and length?
It may be, and the maker’s own guidance should settle that question. A tip in one mould does not automatically represent another shape or length. If you change the design after sizing, ask whether the existing kit still applies before submitting the final numbers.
How far ahead should I place a custom order?
Ask about the current sizing, consultation, making and delivery stages rather than using a universal number of days. Tell the maker your intended wear date early. Dispatch and arrival are different, and a previous customer’s turnaround does not guarantee the schedule for your own order.
Can I request a preview before dispatch?
Ask whether the maker offers that option and when changes remain possible. Do not assume every custom order includes photographs, unlimited revisions or last-minute alterations. Keep one agreed version of the brief so any preview can be compared with the actual design and sizing decisions.
What should I save for a later reorder?
Keep the maker’s name, exact shape and length, sizing method, ten labelled sizes and agreed design record. Check whether the range has changed before reusing those details. A saved order is a useful reference, but it does not establish that every future mould will fit identically.
Sources and further reading
- Stephanie Jessica Nails — Custom ordering FAQ — checked 2026-10-22
- Bonobonoya — Sizing — checked 2026-10-22
- MuseMood — Press-on sizing guide — checked 2026-10-22