Press-On Nails for Beginners: Fit, Adhesive and Removal Basics
Choose a first press-on set by fit, attachment method and removal instructions, with a practical plan before opening the adhesive.
Archive edition: 2026-04-25 · This is an editorial allocation, not the first-publication date.
Key takeaways
- Choose: identify the set and attachment method.
- Fit: check all ten tips before adhesive.
- Follow: use the actual instructions and precautions.
- Remove: plan the correct endpoint without force.
In this guide
- Key takeaways
- Know which kind of press-on set you are buying
- Choose a length that fits your routine
- Dry-fit all ten nails before using adhesive
- Prepare according to the kit, without adding aggressive steps
- Handle nail glue with the appropriate precautions
- Treat wear claims as limits to check, not promises
- Learn the removal method before you need it
- Choose, fit, follow, remove
- Common questions
- Sources and further reading
A first press-on manicure is easier to plan when you choose the fit, attachment method and removal route together. The decorative nails are only one part of the kit. A beautiful shape that does not fit comfortably, or an adhesive whose instructions you have not read, can make the experience more complicated than expected.
Start with a manageable length and a set whose information is clear. Read the instructions before opening the adhesive, then check all ten nails without attaching them. This guide explains the decisions to make; it does not replace the directions supplied for a particular product.
Know which kind of press-on set you are buying
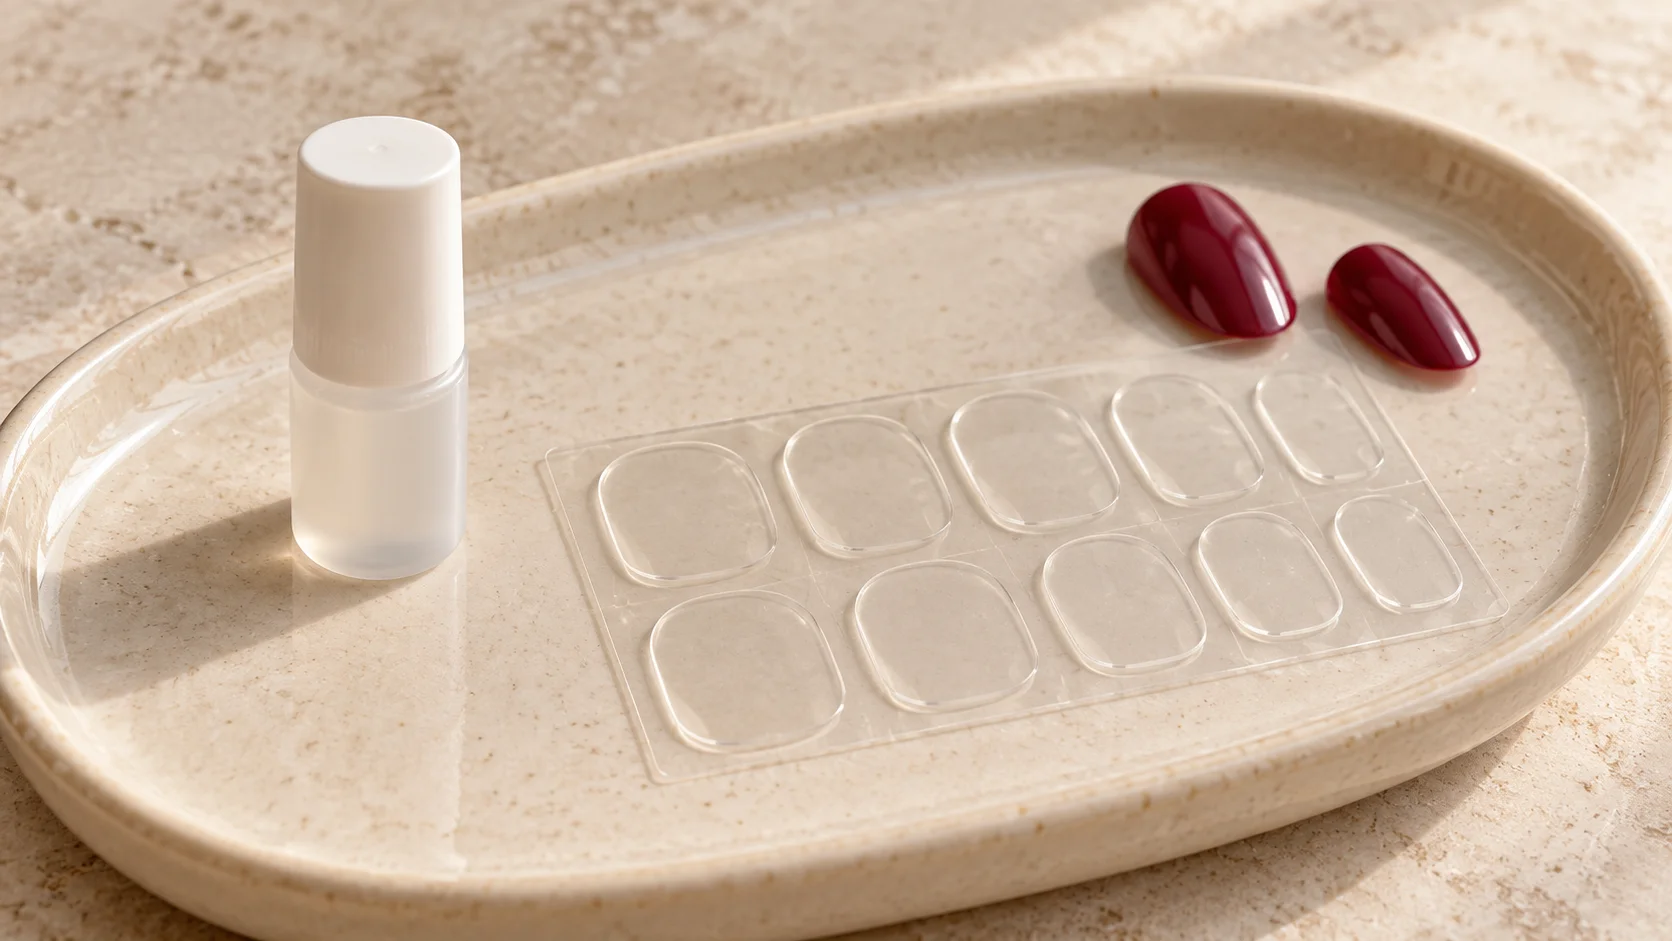
Some sets use separate liquid nail glue, some use adhesive tabs and others arrive with adhesive already applied. Do not assume that every box works the same way because the finished nails look similar. Check the exact attachment method and what is included.
OPI’s xPRESS/ON guide describes glue and tab options for its system. That distinction is useful when choosing a first set, but the relevant instructions still depend on the adhesive and range you actually have. A general brand article may not describe every product version.
Keep lamp-cured gel attachment systems separate from ordinary glue or sticky tabs. Do not add a lamp or another adhesive because a video makes it look more secure. Choose a complete method intended for the nails and materials being used.
Choose a length that fits your routine
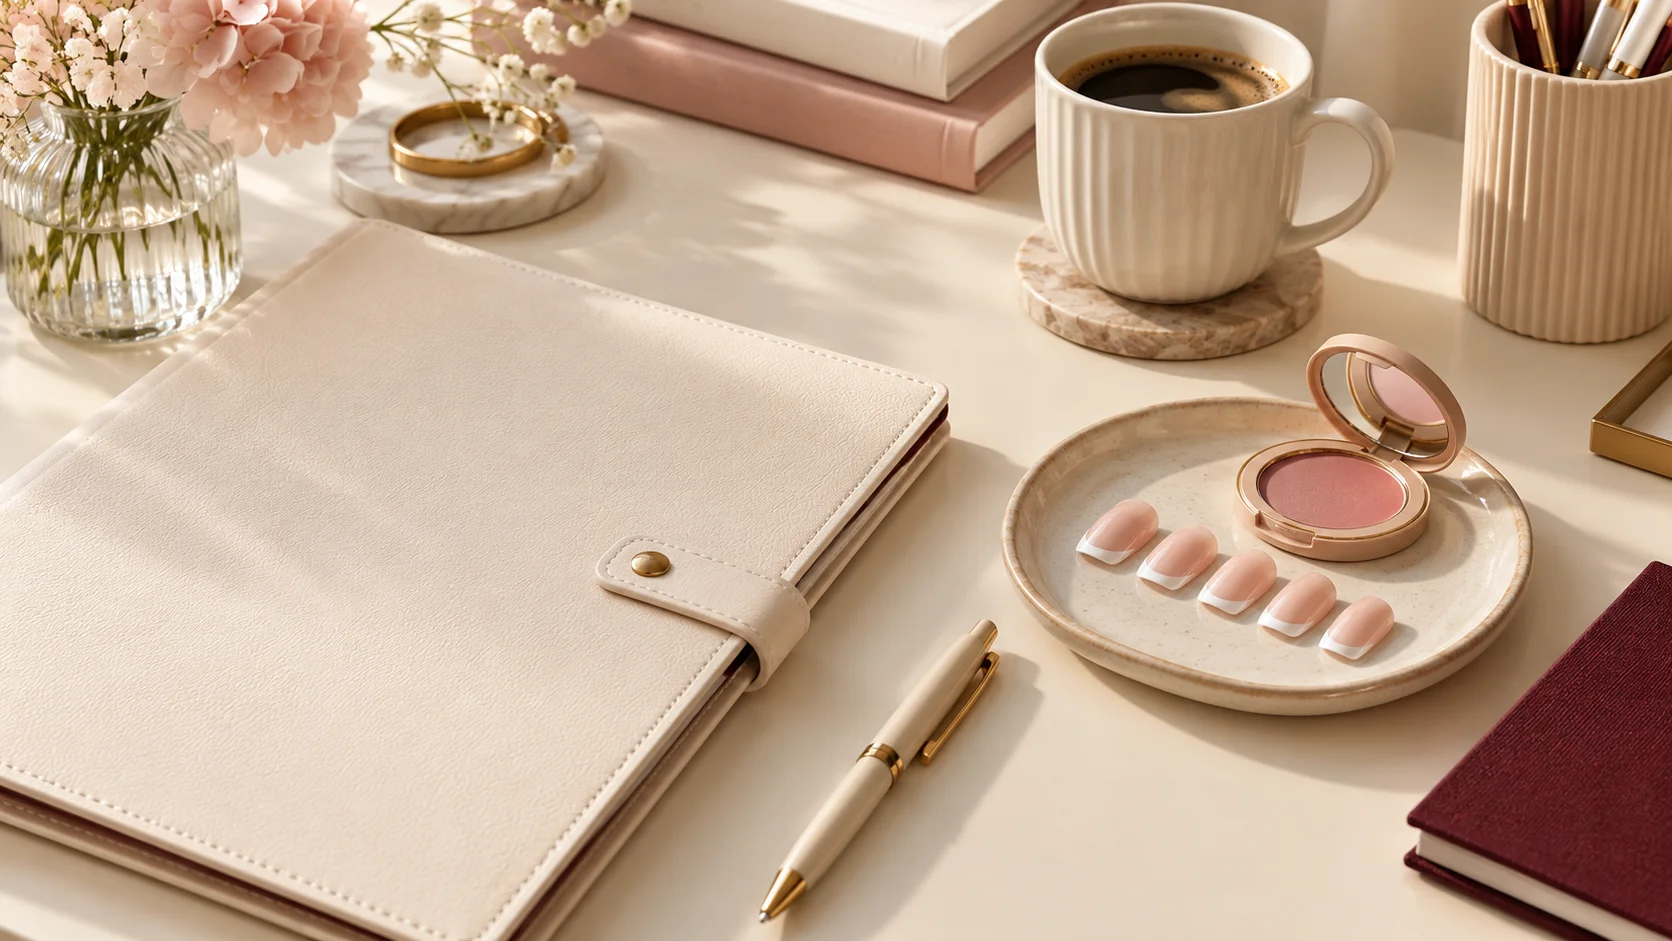
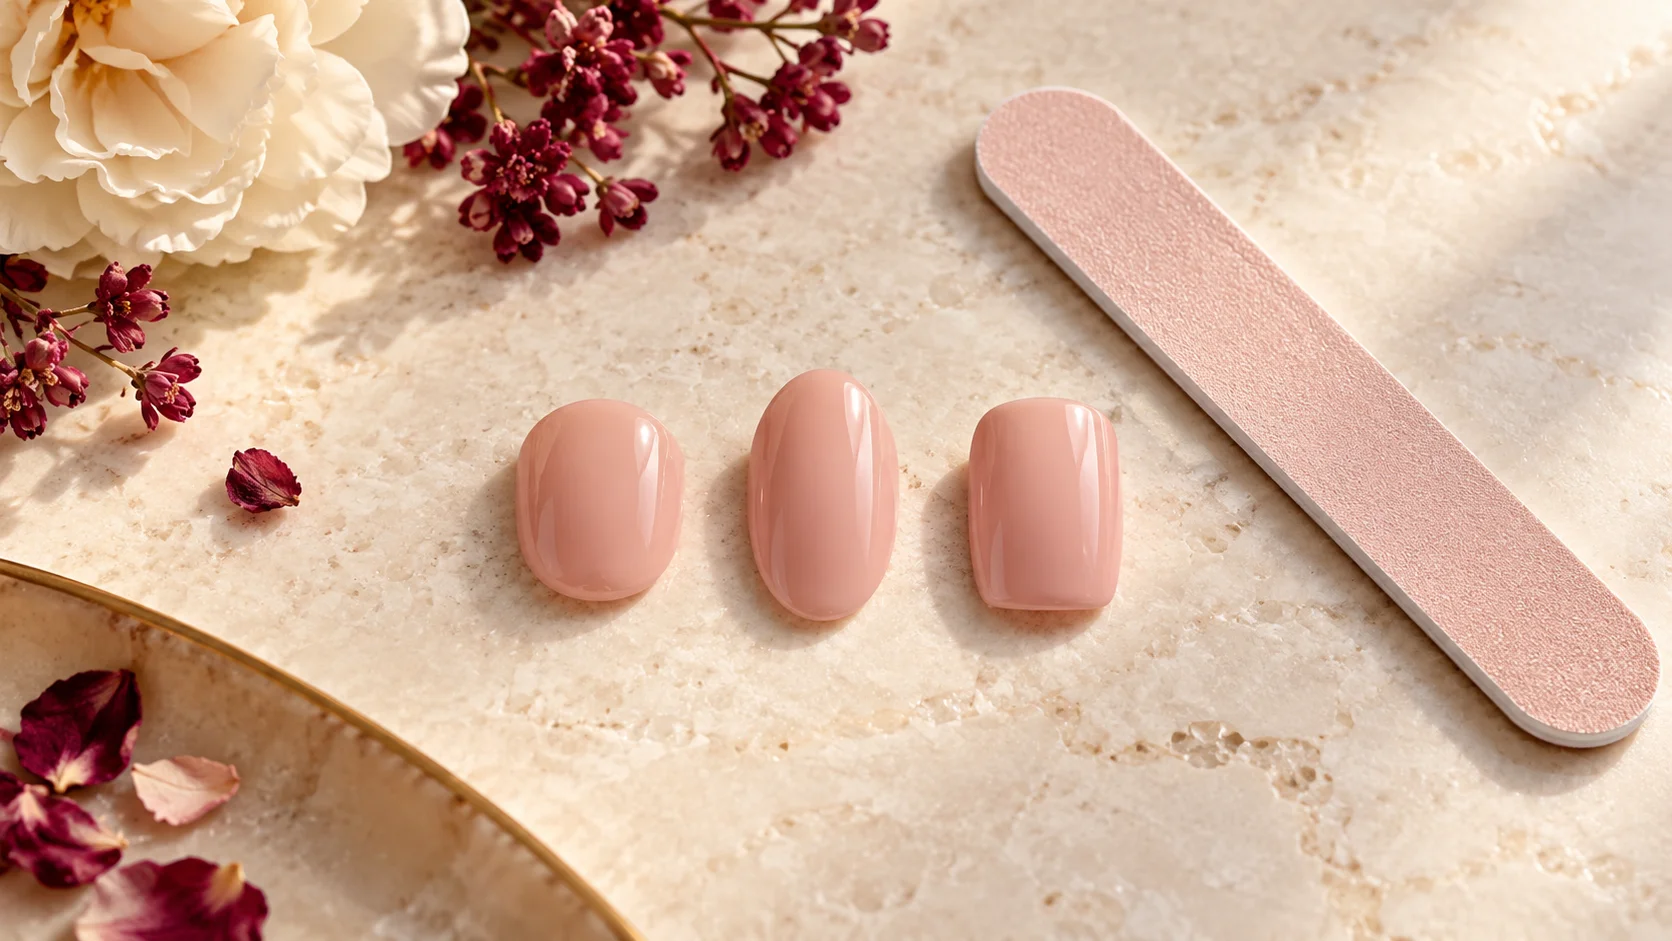
Consider typing, fastening clothes, wearing required gloves and any sport or instrument you practise. A short rounded or softly squared style can be a useful starting point if you are unsure how added length will feel. That is a practical suggestion, not a promise that one shape suits everyone.
Check the product’s actual dimensions where available. Labels such as short or medium are descriptions within a range, not universal measurements. A short set from one maker may create a different amount of length on your hand from another.
If work or an activity restricts artificial nails, follow that requirement. Do not plan to fit an unsuitable length inside protective equipment or skip necessary hygiene to keep the manicure intact. The cosmetic choice needs to fit around those responsibilities.
Dry-fit all ten nails before using adhesive
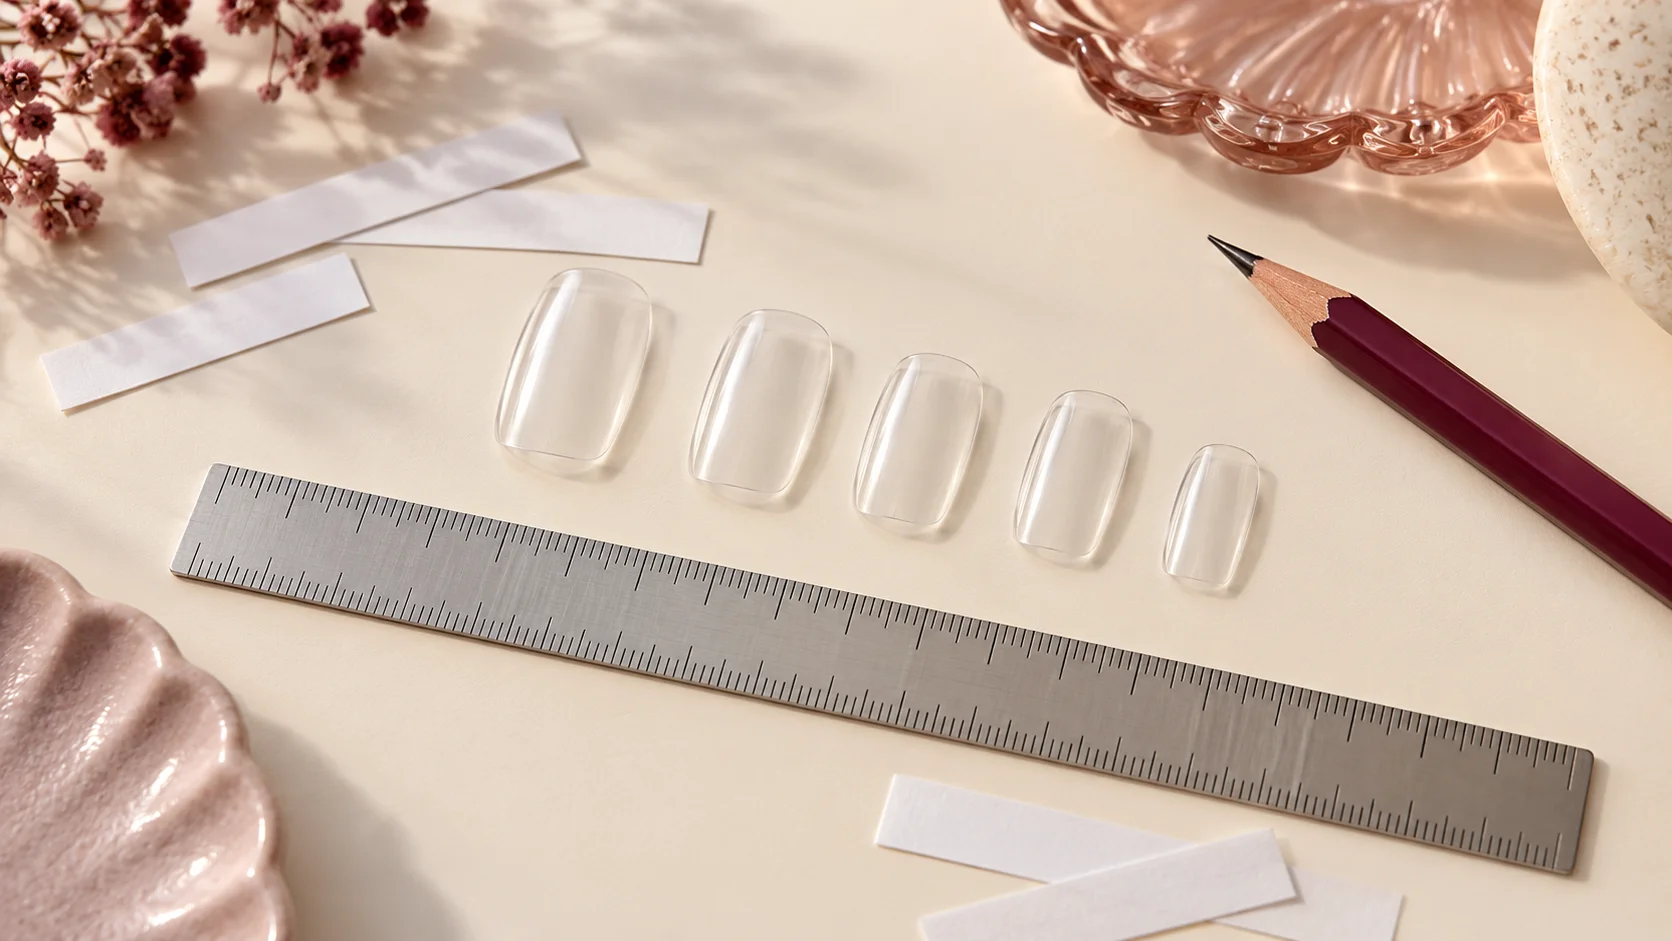
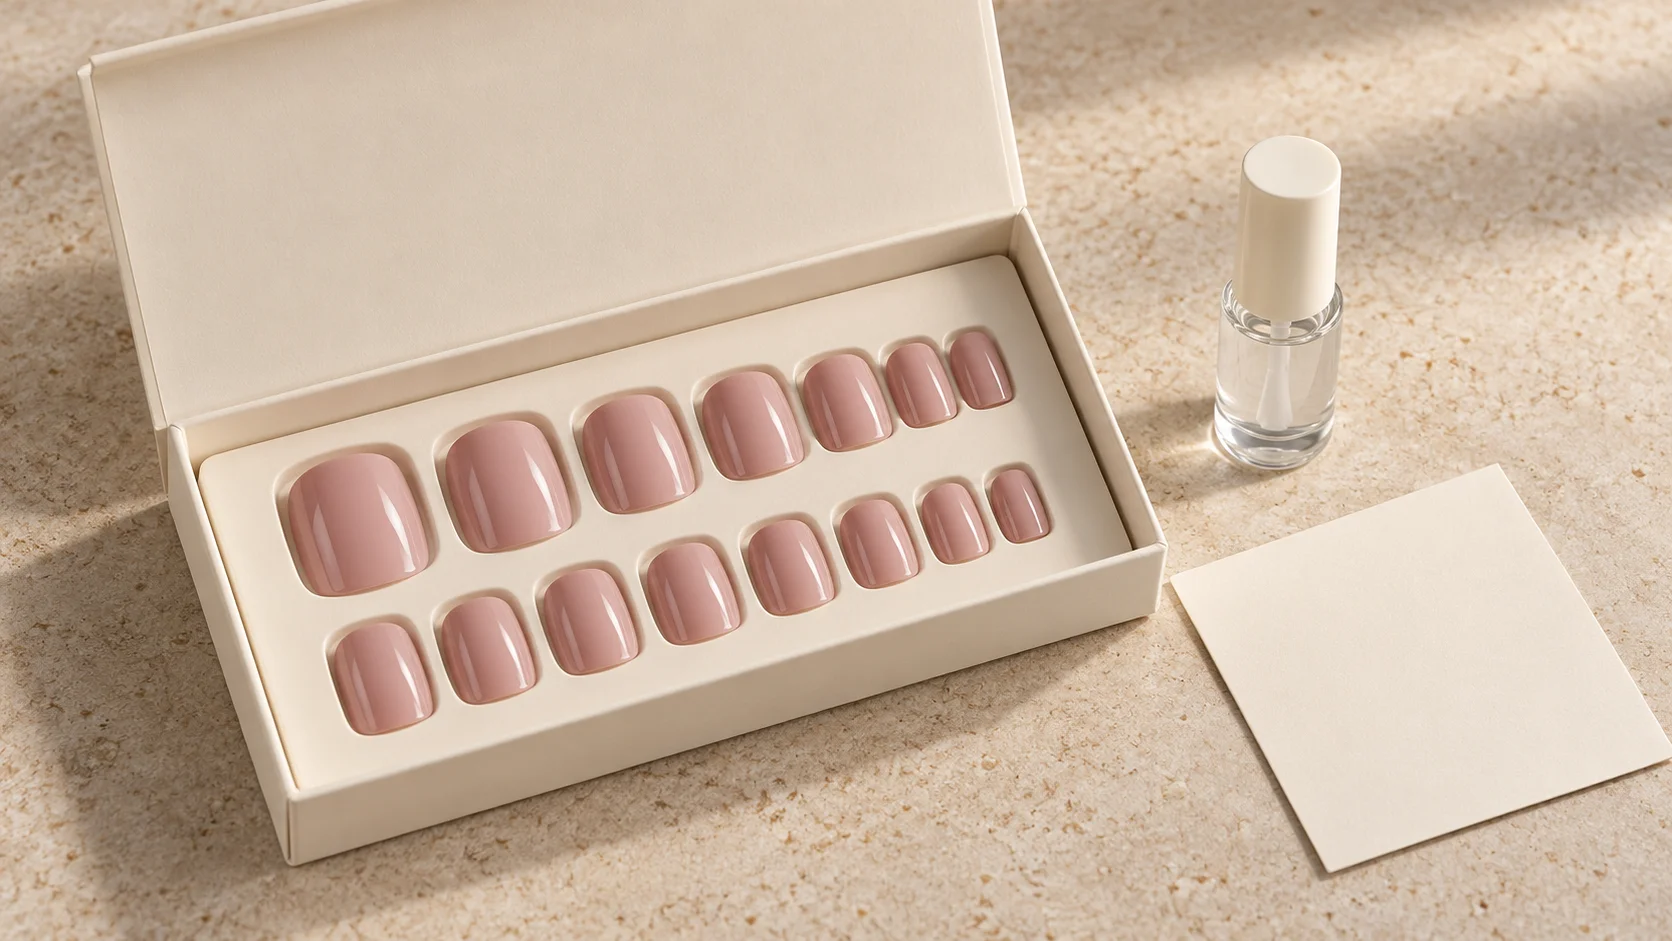
Lay the selected tips out in finger order and compare them with both hands. Do not assume that matching fingers use the same size. Check the width, curve and base shape together rather than choosing only by the number printed underneath.
Olive & June’s fitting guidance stresses a comfortable fit without forcing the nail and notes that different styles have different curves. Use the exact maker’s between-size guidance. There is no need to press a painful tip into place simply because it is the closest number in the box.
If the available sizes do not fit, pause the application and ask the seller about another style or option. Extra glue is not a substitute for identifying the right fit. Check any adjustment instructions before filing a tip, and do not alter the natural nail to make it fit a manufactured shape.
| Decision | Check | Avoid assuming |
|---|---|---|
| Set type | Glue, separate tabs or pre-applied adhesive | Every box uses the same process |
| Fit | All ten nails and the relevant curve | One hand predicts the other |
| Length | Actual dimensions and daily tasks | Short means the same across brands |
| Application | Current supplied directions | More adhesive always improves the result |
| Removal | Method for the exact adhesive | A loose edge means the nail can be pulled off |
Prepare according to the kit, without adding aggressive steps
Read the preparation instructions from beginning to end so you know what materials are required. Keep the selected tips and instructions within reach. Do not combine several unrelated tutorials into one process with extra abrasion, skin cutting or improvised chemicals.
Check the current nail and skin condition before application. Do not cover an unexplained change, painful area or suspected reaction simply because the press-on will hide it. If a concern needs assessment, resolve that question before choosing another cosmetic layer.
Use the product only as directed and avoid adhesive contact with surrounding skin. Keep the container labelled and closed when not in use. If an instruction is unclear or differs from a generic online page, ask the manufacturer or provider rather than guessing.
Handle nail glue with the appropriate precautions
Cyanoacrylate nail glue needs careful handling. ANSES reports a burn risk when this glue contacts cotton or wool, because the reaction can release heat. Keep liquid glue away from those fabrics and do not use a cotton pad to wipe up a spill.
Prepare a clear workspace and keep adhesive away from children, pets, eyes and the mouth. Follow the label’s storage and emergency information. If an accident occurs, seek appropriate advice with the container available; do not pull bonded skin apart or invent a solvent remedy for the eyes.
These precautions concern the adhesive, not a reason to add more products. Use the intended amount and method for the exact system. Household glue and an unrelated gel adhesive are not substitutes for the product specified for your press-on set.
Treat wear claims as limits to check, not promises
A stated “up to” duration does not mean every wearer will get that result or should keep a changing nail attached until the last possible day. Read the actual recommended wear instructions and plan how you will remove the set when needed.
Do not skip required handwashing or normal care to preserve adhesion. Choose a set and method that fit your activities. If a nail changes, review the condition and instructions rather than repeatedly adding glue to keep the original plan on schedule.
Record the set, size choices and adhesive after the first application. Notes about comfort and practical use are more useful than judging the entire experience by one promised number of days. They help you choose a better fit next time.
Learn the removal method before you need it
KISS’s nail FAQ gives product-specific glue-on removal guidance and warns against forcing or pulling nails off. Follow the directions for your exact range and adhesive. A method described for a pre-applied sticky tab should not automatically be used for liquid glue.
If the nail remains attached, do not lever it off with another nail or tool. Stop and seek clarification instead of making the removal more forceful. Keep any claims about reusing the tips separate from the need to remove them appropriately.
Seek suitable advice for unexplained changes or sore, warm, swollen nail folds, as described in NHS nail guidance. A decorative replacement is not an assessment of a problem underneath.
Choose, fit, follow, remove
- Choose: identify the set and attachment method.
- Fit: check all ten tips before adhesive.
- Follow: use the actual instructions and precautions.
- Remove: plan the correct endpoint without force.
Explore the Press-On Nails section for more detailed fit and adhesive comparisons. A first set should leave you with useful experience and clear product information, not a collection of guessed shortcuts.
To complete the fit, wear and removal plan, read How to Measure Your Nails Before Buying a Press-On Set, Nail Glue vs Adhesive Tabs: Choosing for Your Wear Time and How to Remove Press-On Nails Using the Manufacturer's Method. For the related care, tool or design decision, see A Nail Care Checklist to Take to Your Next Salon Appointment.
Common questions
What should I check before opening the adhesive?
Identify the attachment method, read the complete instructions and dry-fit all ten tips in finger order. Check the removal route as well as application. Resolving fit and product questions first is easier than discovering a mismatch after liquid glue is open or adhesive backing has been removed.
Do all press-on sets use nail glue?
No. Some use separate liquid glue, others use adhesive tabs, and some have adhesive already applied. Check the exact kit rather than inferring the method from a finished photograph. Do not add a different adhesive or a curing lamp unless the actual system instructions support it.
Can I use the same size on matching fingers?
Do not assume that both hands need identical sizes. Check every nail separately for width, curve and comfort, then record the choices with the brand and style. The number printed on a tip is a product reference, not a universal measurement that transfers to every set.
What if the closest tip feels tight?
Do not force it into place or use extra adhesive to make it fit. Review the manufacturer’s sizing guidance and consider another size, style or a sizing sample. A comfortable fit should be established before attachment rather than treated as something to correct after application.
Does an up-to wear claim guarantee my result?
No. A maximum marketing claim does not promise the same experience for every wearer or justify leaving a changing nail attached until that date. Follow the actual recommended use and removal instructions, and choose a set whose practical care requirements fit your activities.
Can I wipe a nail-glue spill with cotton?
Do not use cotton or wool to wipe liquid cyanoacrylate nail glue. ANSES describes a heat-generating reaction with those materials that can cause burns. Follow the product’s spill and emergency guidance, keep the container available and seek appropriate advice if an accident occurs.
Can I pull a press-on off when one edge is loose?
Do not treat a loose edge as proof that the whole tip can be safely pulled away. Follow the removal method for the actual adhesive and range. If it remains attached or the instructions are unclear, stop and seek guidance rather than levering or peeling by force.
Are all press-on nails reusable?
No. Reuse depends on the specific range and its care instructions, not simply whether the tip looks intact after removal. Check that information before buying if repeat wear matters to you. Do not sacrifice appropriate removal in an attempt to preserve a nail for another application.
Sources and further reading
- OPI — xPRESS/ON guide — checked 2026-10-21
- KISS — Nails FAQ — checked 2026-10-21
- Olive & June — Choosing press-on size — checked 2026-10-21
- ANSES — Nail glues and thermal burns — checked 2026-10-21
- NHS — Nail problems — checked 2026-10-21