Nail Stickers vs Water Decals: Application Styles Compared
Compare peel-and-place stickers with water-release decals, then check the base, finishing and removal instructions for the exact product.
Archive edition: 2026-09-27 · This is an editorial allocation, not the first-publication date.
Key takeaways
- Identify sticker, waterslide decal, wrap or gel strip.
- Confirm compatibility with your colour system.
- Check background colour and design dimensions.
- Prepare the specified finishing and removal products.
- Start with a simple placement you can manage.
In this guide
- Key takeaways
- Identify the product before comparing the artwork
- Peel-and-place stickers: check the polish stage
- Water decals: release and placement are separate stages
- The background colour can change the design
- Size and placement matter as much as the motif
- Plan finishing and removal before application
- Choose by the process you want to use
- Common questions
- Sources and further reading
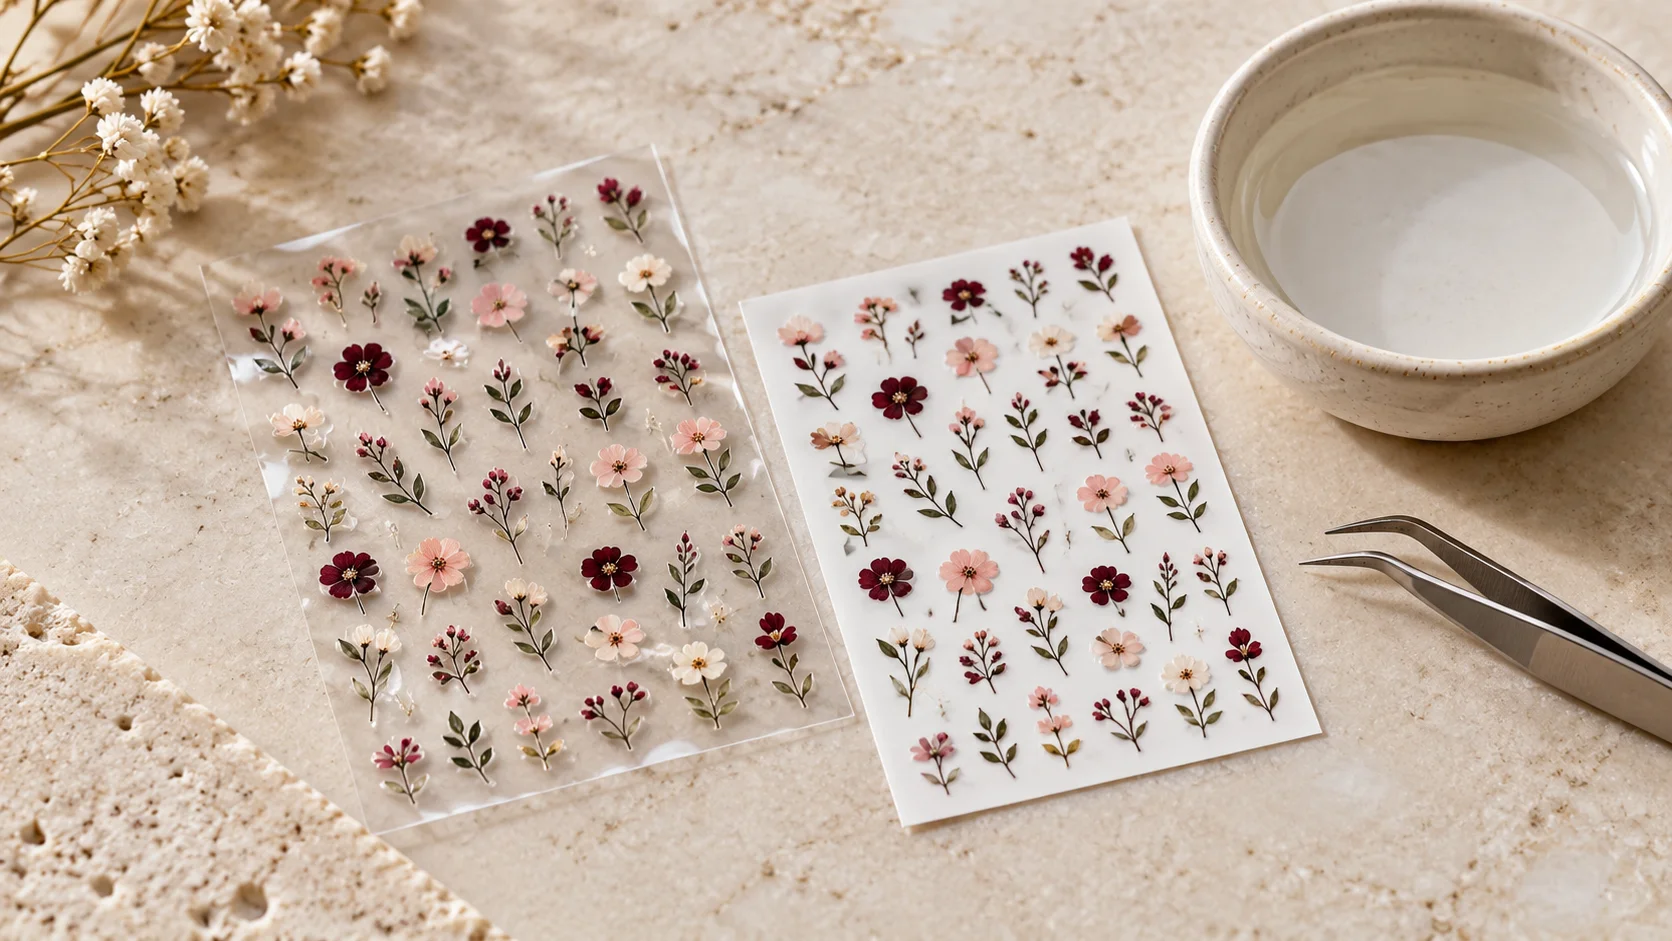
Nail stickers and water decals can both add a small design without drawing it by hand, but they do not necessarily use the same application process. A peel-and-place sticker comes from a backing sheet. A waterslide decal uses water to release a printed transfer before placement. The exact product instructions still determine which base and finishing system it needs.
This is a comparison to help you choose a decoration you can use comfortably. It is not one universal tutorial for every sticker, decal, wrap or gel strip. Read the packaging before buying, especially if a design is demonstrated with professional gel products but you intend to use ordinary lacquer at home.
Identify the product before comparing the artwork
Retailers sometimes use sticker as a broad word for several types of nail decoration. Check whether the item is a small adhesive motif, a water-release transfer, a full-nail wrap or a partially cured gel strip. A similar-looking floral pattern does not make those products interchangeable.
Look for a clear description of the backing and how the design is released. If the listing only shows a finished manicure, ask for the application instructions. Knowing whether you need water, a particular base or a specified curing system is more useful than guessing from the picture.
Also check the intended user. A product may be sold as suitable for experienced or professional use even when the decoration looks simple. That does not make it impossible to appreciate the design; it means you should choose a supported route, such as taking the reference to a technician, rather than improvising a new method.
Peel-and-place stickers: check the polish stage
Olive & June’s ordinary-polish sticker guidance describes placing a sticker on dry polish, pressing its edges and finishing with clear top coat. That is a useful example of an adhesive motif applied directly from its sheet.
Other sticker products may have different instructions, so do not assume every design needs the same surface condition or number of finishing coats. Read the directions supplied with your sheet. A small change in the supporting layers can matter more than whether the artwork is a star, flower or abstract shape.
Plan the position before removing a motif from the backing. Consider the nail’s usable area and the space around the design. If you need placement tweezers or another tool, have it ready and keep it away from the skin. Avoid repeatedly repositioning a fragile decoration just to decide where you wanted it.
Water decals: release and placement are separate stages
Dippy Cow Nails’ waterslide guidance describes releasing a decal from its backing in water before placement. Its instructions then involve a specific gel-oriented process. The water-release principle should not be mistaken for proof that the full method applies to any ordinary-polish manicure.
Seventy7 Nails also discusses blotting excess water and allowing the decal to dry before sealing. Its detailed instructions likewise refer to a particular supporting routine. These examples show why you should obtain the complete directions, not simply learn that the transfer is dipped in water.
Do not borrow a soaking time, curing time or sealing product from another maker. If your intended colour system is not covered, ask whether the decal is compatible before purchase. A design that releases successfully from its paper has not yet proved that it will work with the layers underneath and above it.
| Question | Peel-and-place sticker | Waterslide decal |
|---|---|---|
| How is the motif released? | Removed from its backing sheet | Water releases it from the backing |
| What supporting surface is needed? | Check the specified polish stage | Check the maker’s base and system requirements |
| What extra preparation may be involved? | Placement planning and edge contact | Release, water control and placement planning |
| How is it finished? | Use the supported top-coat directions | Use the maker’s sealing process |
| Is ordinary lacquer compatibility automatic? | No; verify the exact item | No; many demonstrations use gel systems |
| What about removal? | Read the complete manicure’s removal instructions | Read the complete manicure’s removal instructions |
The background colour can change the design
Some printed transfers rely on a light or white background to show their intended colours. Both decal makers cited above discuss white bases in their guidance. This is a product-specific design consideration, not a rule that all stickers or decals must be worn over white.
Check whether the motif itself is opaque or whether the underlying colour will show through. A pale flower on a dark base may look different from the same design in a listing photograph. Ask the maker for guidance rather than assuming an online image shows every possible background.
Do not add unfamiliar gel layers beneath a transfer simply to imitate a professional colour trick. Choose a design that supports your intended routine, or discuss the reference with a technician. The simplest compatible option can be more useful than a complicated attempt to reproduce a particular photo.
Size and placement matter as much as the motif
Measure the design against the area you want to decorate before committing to a sheet. A motif that looks small in a product image may fill most of a short nail. Check dimensions where available and ask whether the sheet contains repeated sizes or a mixture of different motifs.
For a first attempt, a single accent gives you room to understand the product. A crowded arrangement creates more edges and more decisions about placement. You can enjoy a decorative manicure without covering every nail or using every design on the sheet at once.
Keep decoration within the intended nail surface and follow the maker’s directions about edges. Do not stretch a motif onto surrounding skin to make it fit. If it is too large, choose another size or a supported adjustment made away from the skin rather than improvising a cutting or solvent process on the finger.
Plan finishing and removal before application
Confirm the finishing product and method in advance. A sticker sheet alone may not provide everything required for a complete manicure, and an ordinary top coat should not automatically be substituted for a gel sealing process. The design and the coating system need to work together.
If an edge lifts or the design becomes uncomfortable, do not keep adding arbitrary layers to hide the problem. Recheck the instructions and use the supported removal route. Avoid pulling at the decoration in a way that also peels away the underlying manicure.
Keep the sheet packaging until the manicure is removed. It may contain the product name or instructions needed if you have a question. When contacting the maker, include the base colour system and finishing product as well as the decoration itself.
Choose by the process you want to use
Peel-and-place motifs may suit someone seeking a straightforward decorative step within a compatible ordinary-polish routine. Water decals may appeal for their printed artwork, but the full application and sealing process needs equal attention. Neither category guarantees a particular wear time or a better result for every reader.
Check the method behind the motif
- Identify sticker, waterslide decal, wrap or gel strip.
- Confirm compatibility with your colour system.
- Check background colour and design dimensions.
- Prepare the specified finishing and removal products.
- Start with a simple placement you can manage.
Explore the Polish & Tools section for related finish and tool guides. A clear method makes a decorative choice easier to enjoy than relying on artwork alone.
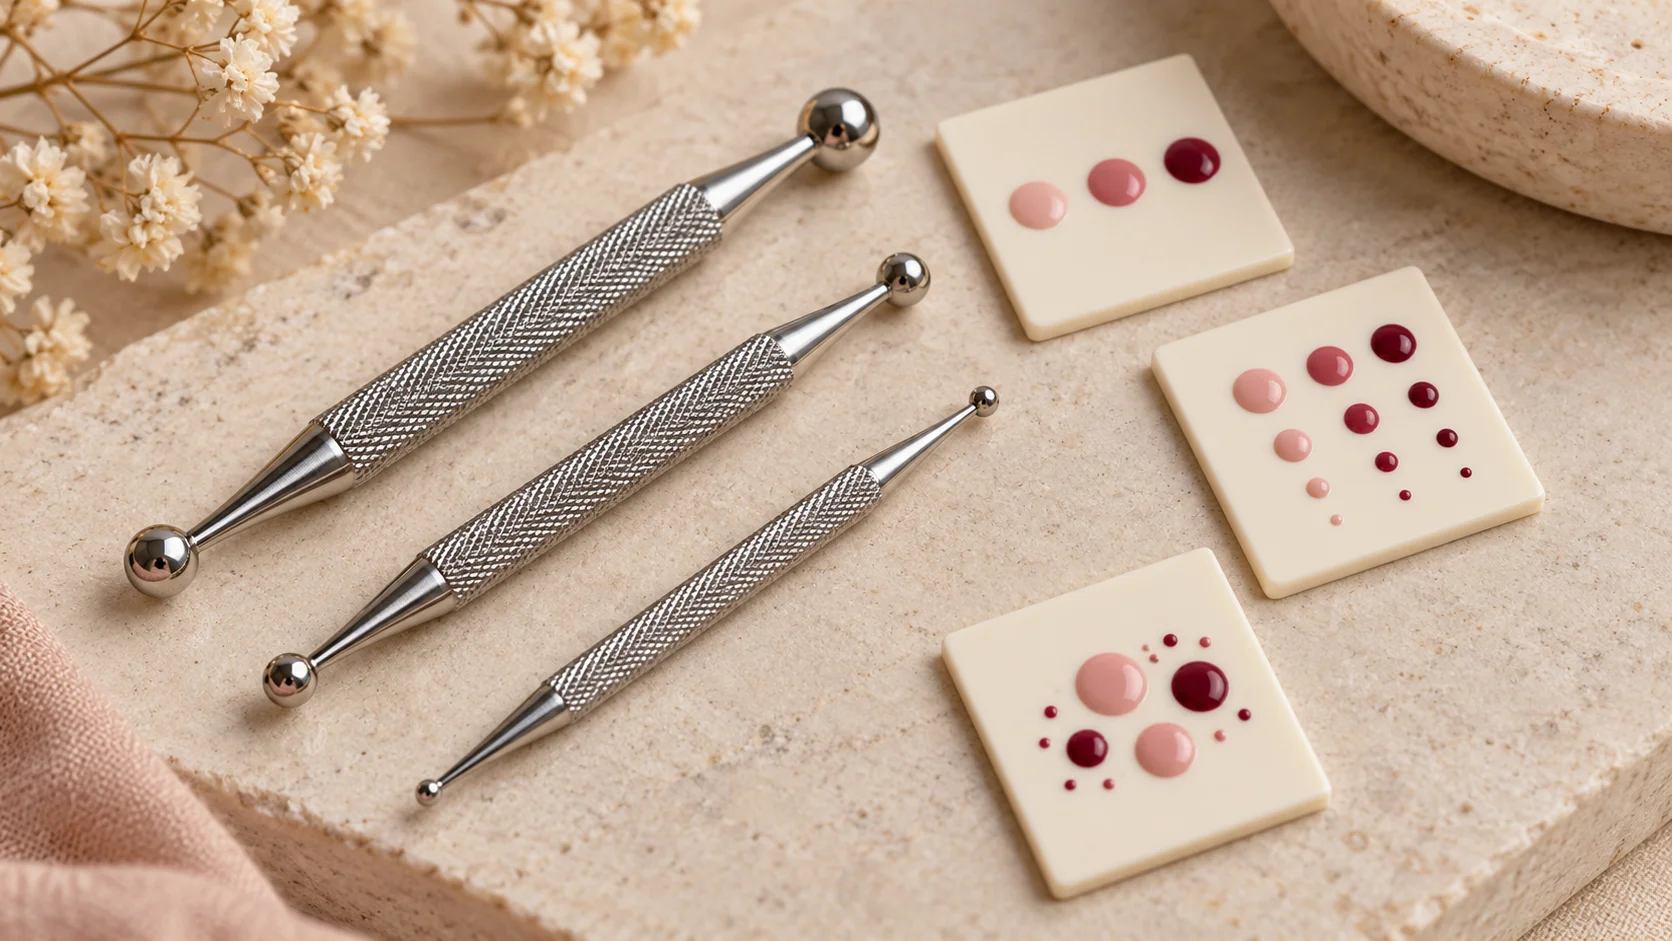
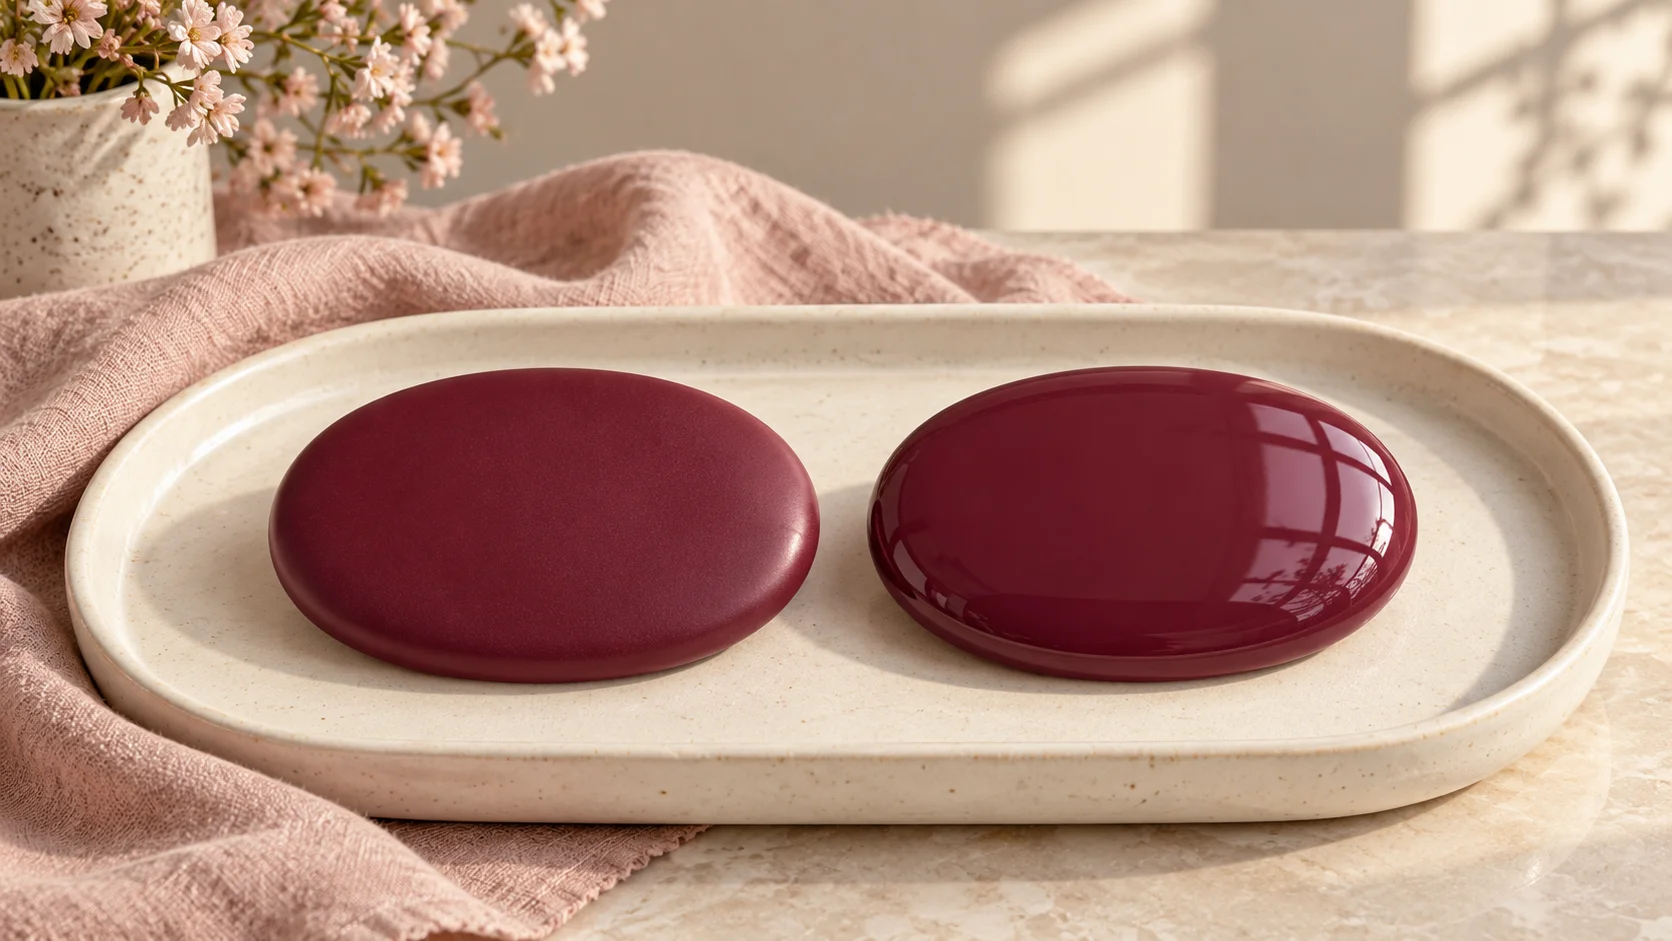
To compare the connected product and routine choices, read Dotting Tools for Nail Art: Sizes and Simple Design Uses, Base Coat vs Top Coat: Why the Jobs Are Different and Matte vs Glossy Top Coat: How Finish Changes the Same Colour. For the related care or design question, see Minimal Floral Nail Art: Small Details and Balanced Placement.
Common questions
What is the basic difference between a sticker and a water decal?
A peel-and-place sticker is removed from its backing sheet, while a waterslide decal uses water to release a transfer. Those descriptions do not establish the complete application routine. Check the required base, finishing method and removal instructions for the exact decoration before buying it.
Are nail wraps and gel strips the same as small stickers?
No. Retailers may use sticker broadly, but a full-nail wrap, a small adhesive motif and a partially cured gel strip can require different processes. Identify the actual product type and its equipment requirements rather than assuming a similar-looking pattern means the same method.
Can I put any water decal over ordinary polish?
Do not assume compatibility. Some makers demonstrate a gel-oriented supporting and sealing routine. Ask whether the exact decal works with your intended ordinary-polish system before purchase, rather than copying only the water-release step and replacing the remaining instructions with products you already own.
Do all nail stickers go on wet polish?
No universal surface condition applies to every sticker. Olive & June’s ordinary-polish guidance describes dry polish, while other products may differ. Follow the instructions supplied with your sheet instead of borrowing a drying stage or top-coat count from an unrelated decoration.
Why do some decals recommend a white background?
Some printed designs rely on a light base to show their intended colours. Check whether the motif is transparent or opaque and follow the maker’s advice. This does not mean every sticker needs white polish, or that a professional background-layer technique should be improvised with unfamiliar gel products.
Should I soak every water decal for the same time?
No. Release and placement instructions are product-specific. Follow the maker’s current directions rather than using a time from another sheet or tutorial. Successful release from the paper also does not prove that the decal is compatible with the base and sealing products you intend to use.
What if a design is too large for my nail?
Choose a smaller motif or a supported adjustment made away from the skin. Check dimensions before buying where possible. Do not stretch the design onto the surrounding skin or improvise cutting and solvent work on the finger simply to reproduce the layout shown in a photograph.
Can I peel off a lifting decoration?
Use the supported removal method for the decoration and underlying manicure. Pulling at a motif can also lift the colour beneath it. If an edge becomes uncomfortable or the product does not behave as expected, recheck the instructions rather than repeatedly adding arbitrary finishing layers.
Sources and further reading
- Olive & June — Nail sticker guidance — checked 2026-10-23
- Dippy Cow Nails — Waterslide decal application — checked 2026-10-23
- Seventy7 Nails — Waterslide decal guidance — checked 2026-10-23