Clean-Up Brushes for Manicures: Shape, Size and Care
Compare brush shape, size and compatible cleaning instructions before choosing a tool for ordinary polish tidying.
Archive edition: 2026-09-12 · This is an editorial allocation, not the first-publication date.
Key takeaways
- Define the ordinary-polish correction you need.
- Compare shape, width and bristle length.
- Confirm product and cleaner compatibility.
- Use a supported setup without scrubbing skin.
- Clean and store according to the exact brush instructions.
In this guide
- Key takeaways
- Separate tidying colour from altering the skin
- Compare width and bristle length separately
- Shape should match the correction you want to make
- Read solvent compatibility before the first use
- Prepare a controlled ordinary-polish workspace
- Care for the tip and distinguish cleaning from disinfection
- Common questions
- Sources and further reading
A clean-up brush is a small tool for refining a manicure, but the useful choice depends on what you are trying to tidy and which product you are using. Shape, width, bristle length and compatible cleaning directions all matter. A brush that looks precise in a photograph is not automatically suitable for every remover or nail system.
This guide focuses on choosing and caring for a tool used with ordinary polish. It is not a tutorial for treating uncured gel on skin, cutting cuticles or disinfecting salon equipment. Manufacturer examples show why brush specifications and care instructions should be read together rather than copied from one tool to another.
Separate tidying colour from altering the skin
The job of a clean-up brush is to help with unwanted colour placement or a small design correction. It is not to push back, scrape or remove skin. The American Academy of Dermatology advises leaving cuticles alone, which is a useful boundary when deciding what a neat manicure should involve.
A narrow, even-looking colour boundary does not require an aggressive skin treatment. If you find yourself repeatedly pressing a tool into the nail fold to create a particular outline, reconsider the application and the tool’s purpose. A cosmetic preference should not become a reason to keep working on sore or irritated skin.
For a lamp-cured product that has reached the skin, follow the system’s safety directions and seek qualified guidance where needed. Do not treat an ordinary-lacquer clean-up habit as a complete response to gel exposure, and do not cure a mistake simply because you hope to tidy it later.
Compare width and bristle length separately
Width describes how much area the brush spans. Bristle length affects how the tip presents itself as you guide it. A short, firm brush and a longer, softer brush can feel quite different even when their advertised widths are similar. The handle and your view of the tip also influence control.
The GELCARE Clean-Up Brush is described with short, firm 5 mm bristles, nylon fibres and an aluminium handle. That is a specification for that particular product. It does not establish that 5 mm is the ideal size for every nail, or that another brush carrying the same measurement will behave identically.
Check what a measurement refers to before comparing two listings. One page may give bristle length while another gives width. Treating those numbers as the same dimension can make a size comparison look more precise than it really is.
Shape should match the correction you want to make
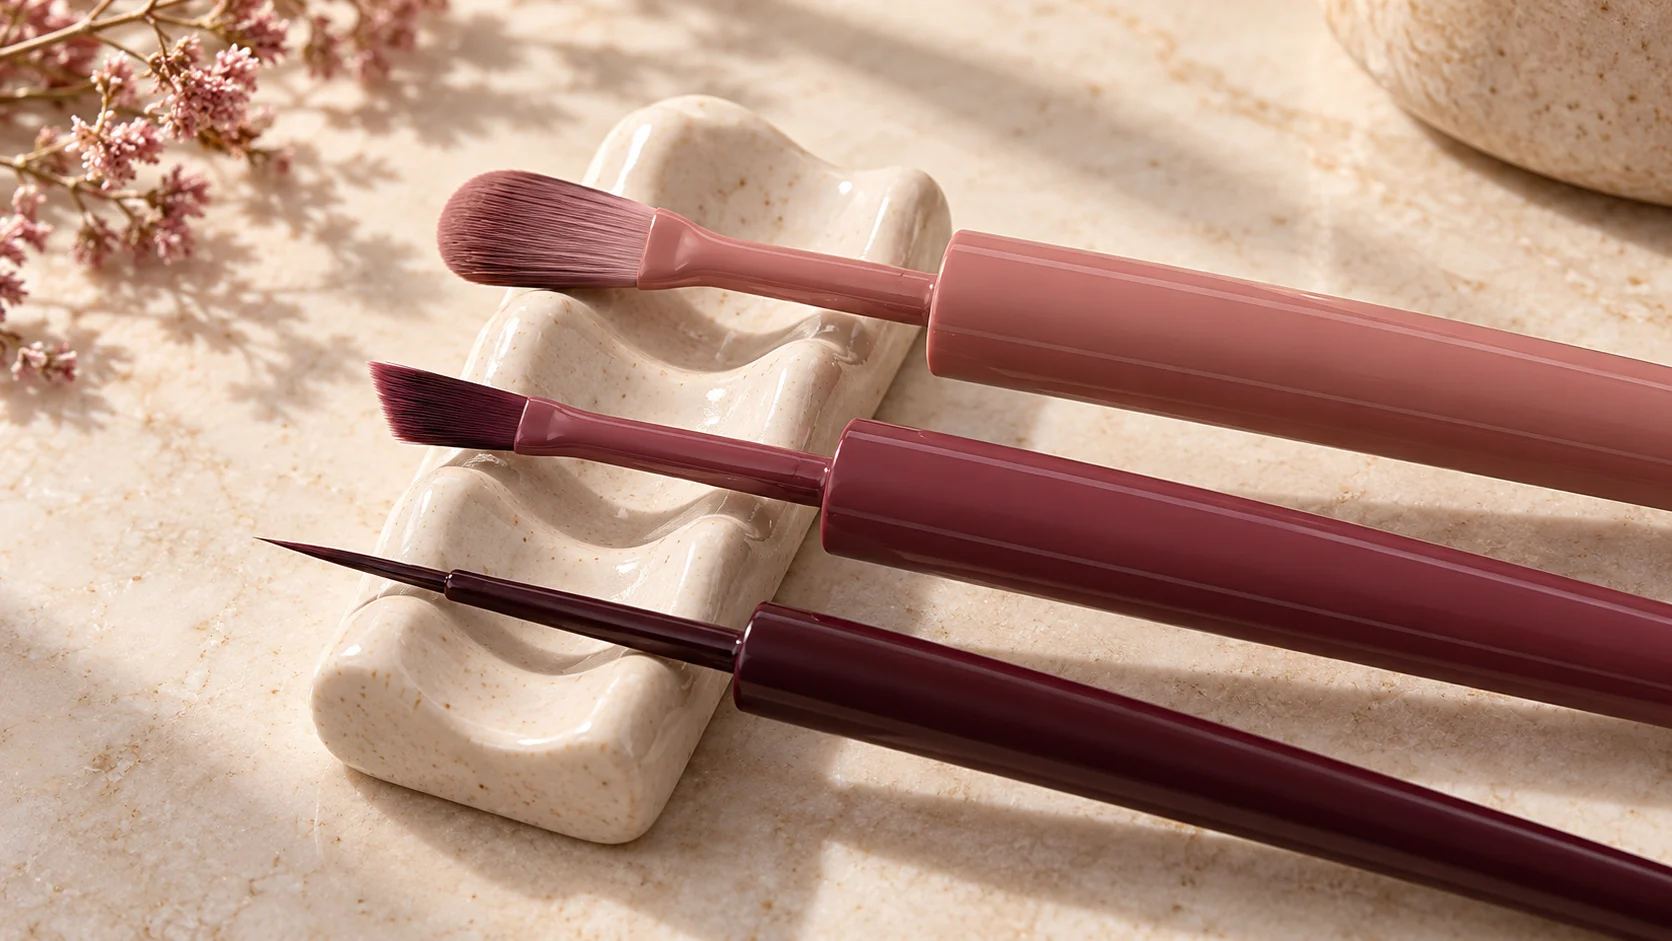
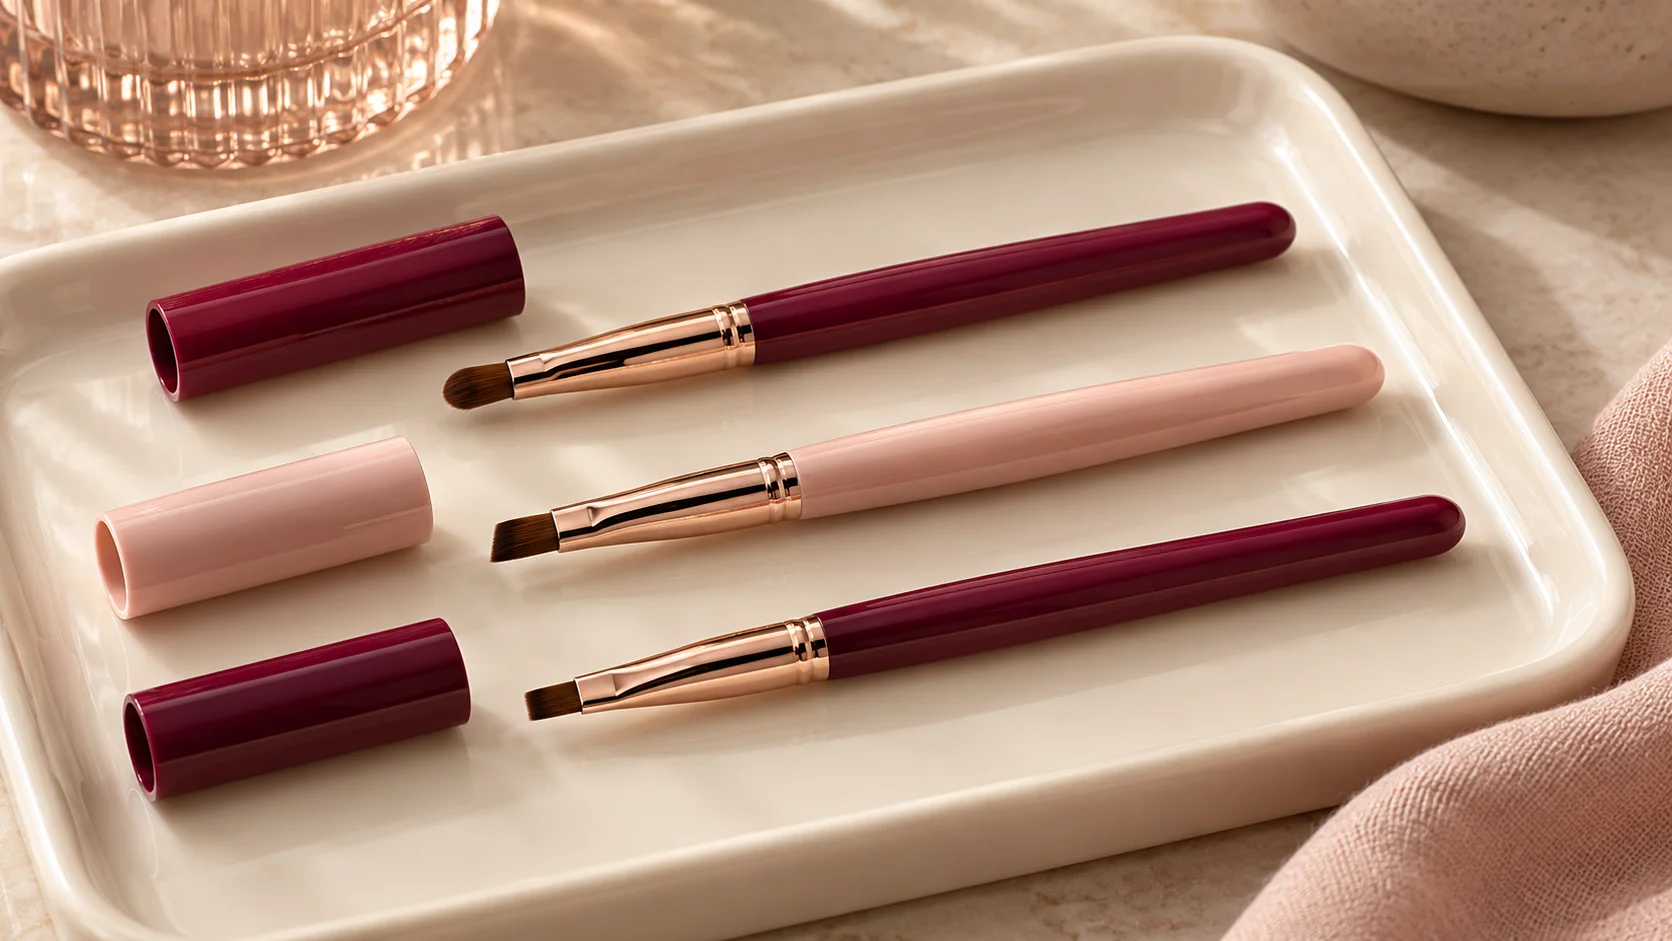
A small rounded tip may feel convenient for a curved boundary, while an angled edge may help you approach a side from a different direction. A narrow flat tip may suit a small straight correction. These are practical possibilities to explore, not fixed rules about which brush every person should buy.
Think about the smallest area you usually need to reach. A larger brush can cover more space, but extra width may be unhelpful for a tiny correction. Conversely, an extremely fine tool may require more repeated movements for a broad smudge. Choose for the task rather than assuming that smaller always means more professional.
Nail Order lists three widths for its clean-up brush: 3.2, 4.3 and 5.5 mm. Its product is described for gel work, so the listing is used here as an example of size choice and care differences, not as an instruction to adopt a gel-cleanup process at home.
| Feature | Useful question | What to verify |
|---|---|---|
| Width | Does it suit the area I want to refine? | What dimension the listing actually measures |
| Bristle length and firmness | Can I see and guide the tip? | The manufacturer’s specification |
| Rounded, angled or flat edge | Does the approach feel manageable? | Personal handling preference |
| Handle and cap | Can I grip and store it without damage? | Materials and cap-care directions |
| Product compatibility | Is it intended for my polish and cleaner? | Named supported products or explicit guidance |
| Cleaning method | How should residue be removed? | Whether the whole tool tolerates the method |
Read solvent compatibility before the first use
A tool is more than its visible bristles. Adhesive, handle coating and other construction details may affect which liquids it tolerates. A metal-looking handle does not prove that every part of the brush can be soaked in any remover.
Nail Order’s brush-care guidance warns against acetone cleaning because it can affect the bristle adhesive and finish. GELCARE instead names its own Nail Polish Removal Solution in the cleaning directions. These examples support a simple principle: follow the care instructions for the exact tool rather than using one universal brush-cleaning recipe.
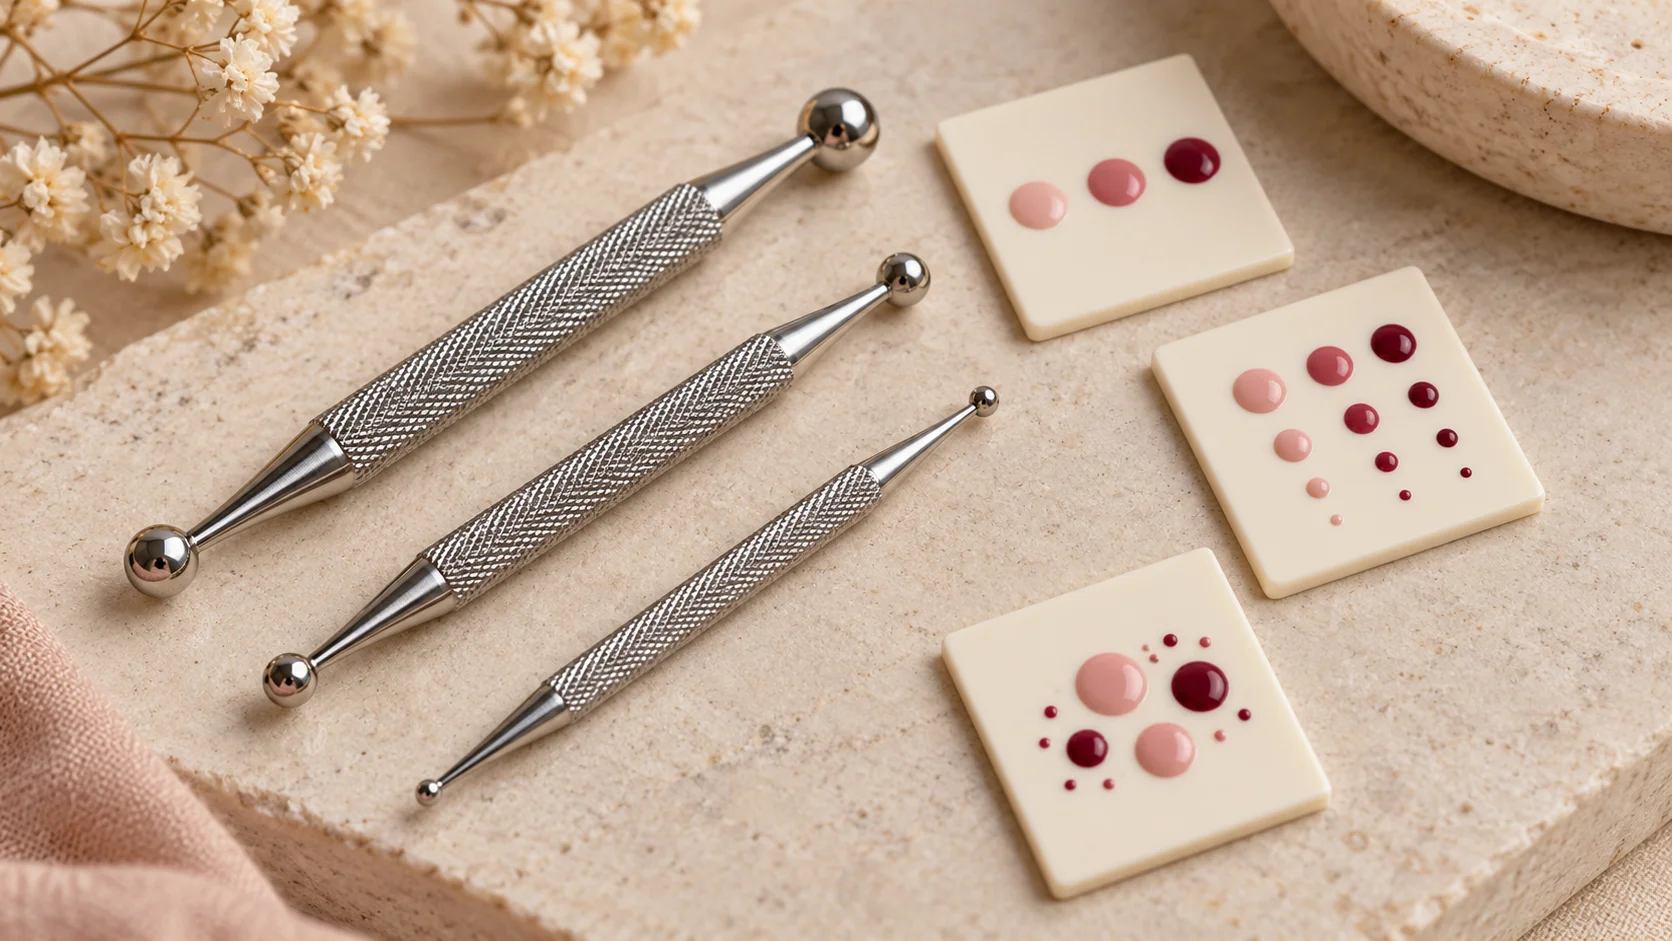
Keep the brush and its cleaning product identifiable. If you own several similar tools, a small storage note can prevent using the wrong method. Do not assume that a cleaner suitable for an all-metal dotting tool is also suitable for a brush with glued fibres.
Prepare a controlled ordinary-polish workspace
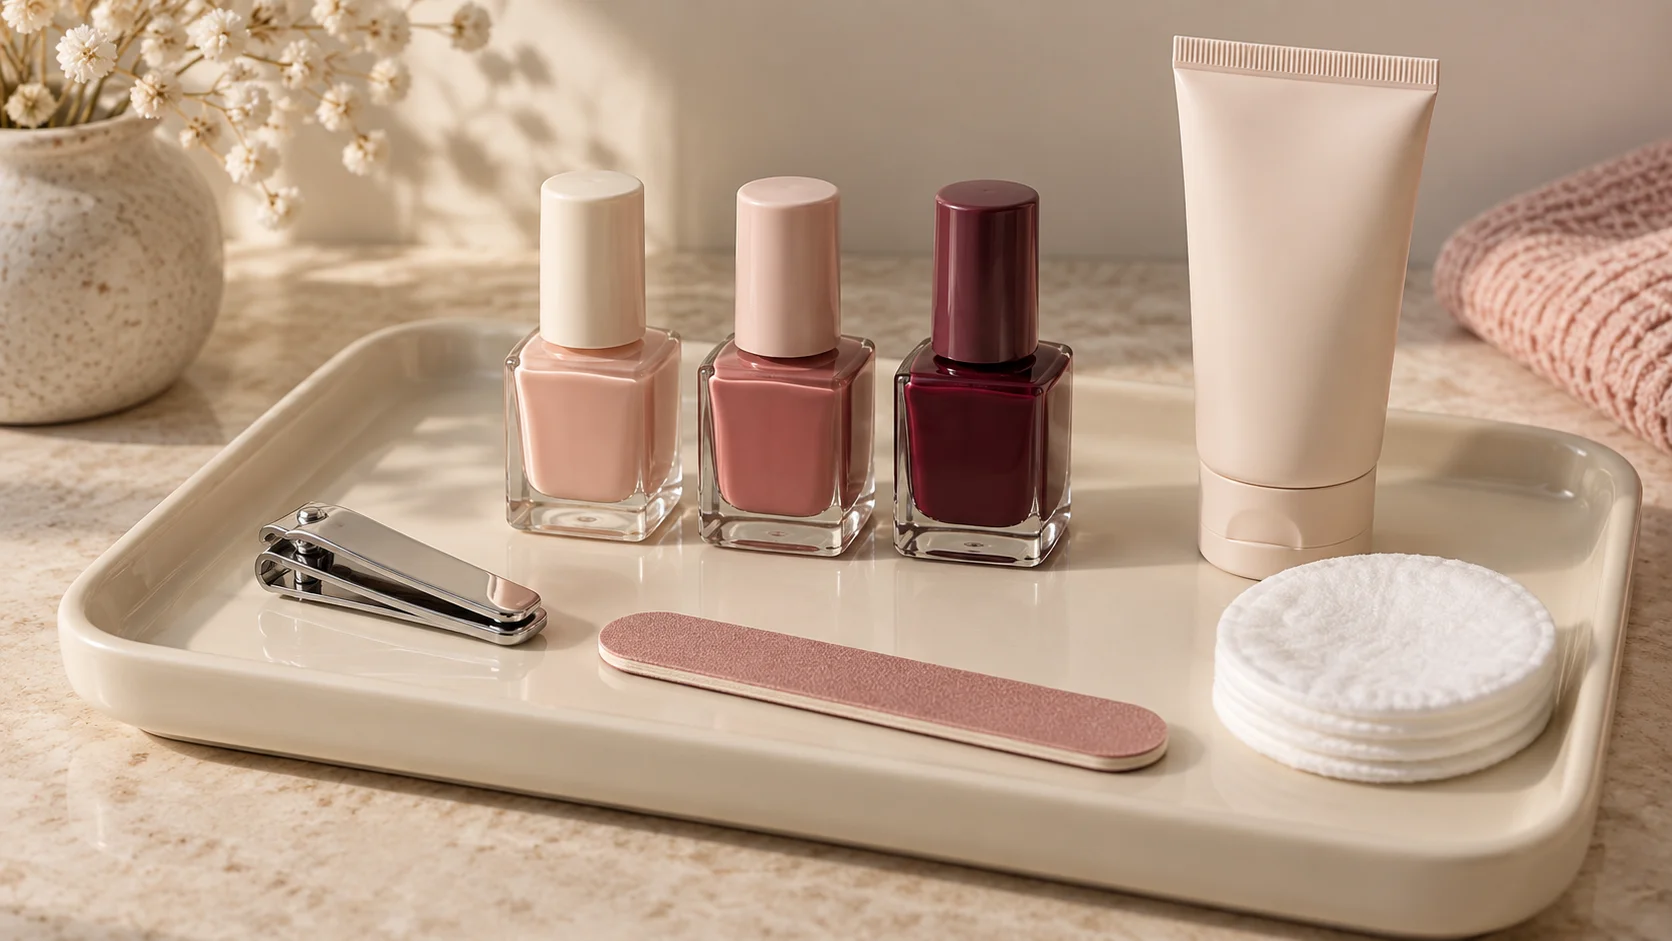
Before opening products, place the brush, compatible remover and other required supplies on a suitable surface. Support the hand you are working on and keep a clear view of the colour boundary. A tool is easier to manage when you are not balancing an open bottle while reaching across the table.
Use the product’s stated method without flooding the skin or scrubbing repeatedly. If a small correction is not working, stop and reassess rather than adding more force. Sometimes restarting one nail with the supported removal process is more manageable than repeatedly chasing a spreading smudge.
Do not use the same tool for unrelated household painting or another cosmetic area. Keeping it dedicated to its intended nail task makes product history and care easier to track. For a home collection, one suitable brush may be enough until you discover a specific need for another shape.
Care for the tip and distinguish cleaning from disinfection
GELCARE’s directions describe wiping its brush bristles downwards with the named solution and taking care when replacing the cap. That illustrates how storage can damage a tip even after residue has been removed. Check the cap opening before sliding it over the bristles.
Removing visible polish is not the same claim as sterilising a tool. Do not describe a quick wipe as a validated infection-control process, and do not transfer a home product-care routine to professional multi-client use. A salon has separate hygiene responsibilities and should explain its procedures when asked.
If bristles become badly splayed or the brush is damaged, check the manufacturer’s advice or replace it. Avoid boiling, cutting or reshaping it based on an unrelated tutorial. A tool that no longer gives useful control may undermine the very reason you chose it.
Choose the tool and its care together
- Define the ordinary-polish correction you need.
- Compare shape, width and bristle length.
- Confirm product and cleaner compatibility.
- Use a supported setup without scrubbing skin.
- Clean and store according to the exact brush instructions.
Explore the Polish & Tools section for related applicator guides. A useful clean-up brush combines manageable handling with clear care instructions; the smallest tip or most elaborate set is not automatically the right choice.
To compare the connected product and routine choices, read Nail Polish Brush Shapes: Wide, Rounded and Fine Brushes Compared, Dotting Tools for Nail Art: Sizes and Simple Design Uses and An At-Home Manicure Toolkit: What to Buy and What You Can Skip. For the related care or design question, see Cuticle Care at Home: What to Leave Alone and What to Moisturise.
Common questions
Is the smallest clean-up brush always the most precise?
Not necessarily. Choose a size and shape suited to the area you want to refine and your ability to see and guide the tip. A tiny brush may require more movements for a broad correction, while a large brush may be awkward for a small one.
Are brush width and bristle length interchangeable measurements?
No. They describe different dimensions and can affect handling differently. One product listing may state width while another gives bristle length. Check what the number actually measures before comparing tools, rather than assuming two brushes with the same stated millimetres have the same shape or feel.
Can I clean every manicure brush with acetone?
No. Compatibility depends on the complete construction, including fibres, adhesive and handle finish. Nail Order specifically warns against acetone cleaning for its brush, while other tools have different directions. Follow the exact manufacturer’s care guidance rather than using one solvent recipe for every item.
Can a clean-up brush remove cuticles?
That is not its intended role in this guide. Tidying unwanted colour is different from pushing, scraping or removing skin, and the AAD advises leaving cuticles alone. Stop if the area is sore or irritated rather than using a neat colour boundary as a reason for repeated pressure.
Can I use ordinary-polish cleanup advice for uncured gel on skin?
Do not treat it as interchangeable. Follow the specific gel system’s safety directions and seek qualified guidance where needed. An ordinary-lacquer brush routine is not a complete response to gel exposure, and a mistake should not be cured in the hope of tidying it afterwards.
Does wiping polish off a brush sterilise it?
Removing visible residue and sterilisation are different claims. A home product-care wipe should not be presented as a validated professional infection-control process. Use the manufacturer’s care instructions and the hygiene requirements appropriate to the setting, especially where tools are used for more than one person.
How should I protect the bristles when storing the brush?
Follow the tool’s directions, including any recommended cap. GELCARE advises care when replacing its cap so the bristles are not bent. Check the tip before storage and avoid forcing a cap over splayed fibres. A protective case only helps when it is used without damaging the brush.
Do I need a complete set of clean-up brushes?
Not necessarily. Begin with a tool that suits the ordinary-polish corrections you actually need and has clear compatibility instructions. Add another shape only when you identify a useful different role. A larger set is not automatically more practical, especially if each tool needs different care.
Sources and further reading
- GELCARE UK — Clean-Up Brush — checked 2026-10-23
- Nail Order — Clean Up Brush — checked 2026-10-23
- AAD — Gel manicures and nail health — checked 2026-10-23