Nail File Grit Numbers: What to Check Before Filing Natural Nails
Read grit numbers alongside the tool’s intended use, side markings and care guidance before choosing a file for natural nail edges.
Archive edition: 2026-06-09 · This is an editorial allocation, not the first-publication date.
Key takeaways
- Identify the intended nail type and task.
- Read the grit and any side-specific markings.
- Confirm the tool is for the edge work you plan.
- Follow handling and care directions.
- Stop when the tool or nail needs reassessment.
In this guide
- Key takeaways
- Understand the direction of the scale
- Read the product’s intended nail type
- Check what two numbers mean
- Keep filing the edge separate from working on the surface
- Use handling guidance as well as the number
- Do not use colour as a universal grit code
- Allow for the condition of the file
- Ask a focused question when the label is incomplete
- Common questions
- Sources and further reading
A nail-file grit number describes the abrasive surface, but it does not tell you everything about how the tool should be used. Read the number alongside the file’s intended nail type, the purpose of each side and the manufacturer’s directions.
For natural fingernails, keep the task focused on maintaining the free edge. This guide is about choosing and understanding a hand file; it is not a method for removing enhancements, thinning the nail surface or treating a nail condition.
Understand the direction of the scale
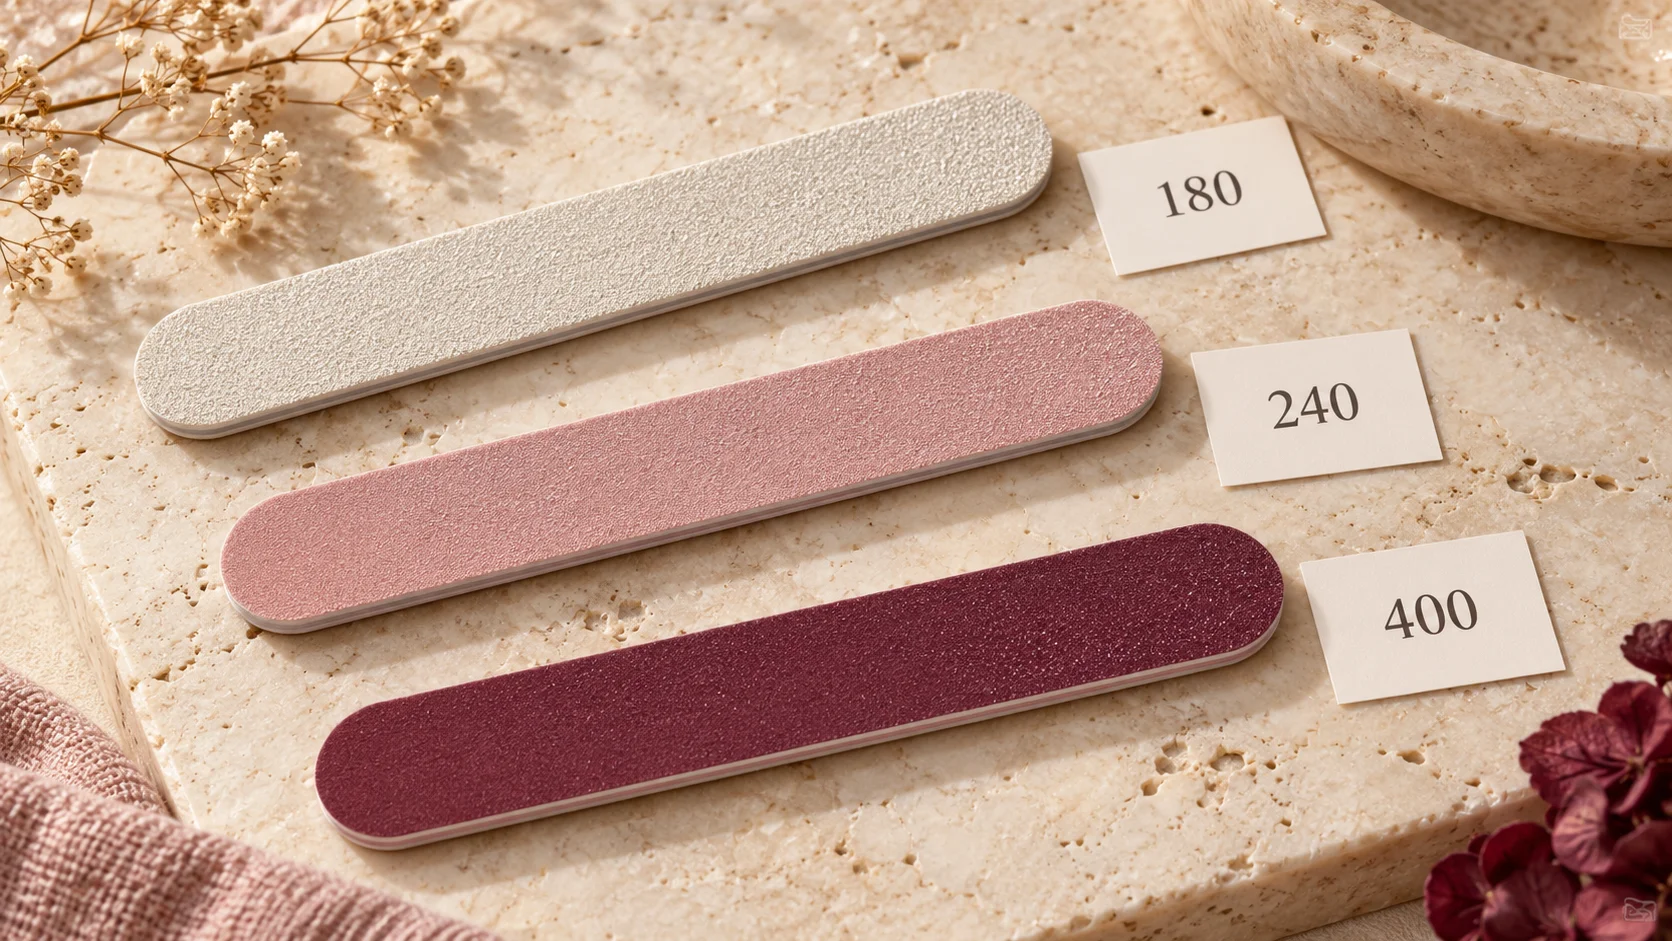
In its explanation of file grit, OPI states that a higher grit number indicates a finer file. That relationship helps you interpret numbers such as 180 and 240, but the page’s enhancement-removal procedure is outside the scope of this guide.
A lower number therefore should not be read as a lower quality rating. It describes a different abrasive category. Likewise, a higher number is not a universal score for safety, effectiveness or suitability for every task.
Do not choose the coarsest option simply because you want to finish more quickly. Begin with the tool’s stated use and the amount of edge maintenance you need, then consider its abrasive description in that context.
Read the product’s intended nail type
OPI’s Edge White 240 File is described as a fine file designed for natural nails. By contrast, its Edge File 180 Grit is described for shaping and refining enhancements.
These examples show why the complete label matters. They do not establish a universal rule that every file with one number has exactly the same use, or that a particular number is suitable for every person’s natural nails.
If a listing only displays the grit and omits the intended use, ask for that information. A marketplace title containing “professional” or “all purpose” is not enough to determine whether the file is meant for natural nail edges, artificial product or another task.
Check what two numbers mean
A file marked with two numbers may have different abrasive surfaces on its two sides. Confirm the manufacturer’s explanation before using it. Do not assume that the first number always refers to the patterned side or the side with the logo.
Look for a side label, packaging diagram or clear product description. If the sides become difficult to identify after the packaging is discarded, retain a note with the tool rather than guessing during the next manicure.
Two numbers are not necessarily a required two-step routine. The presence of a coarser side does not mean you must use it first on every nail. Select the surface appropriate to the intended task and follow the actual directions.
| Information | What it tells you | What still needs checking |
|---|---|---|
| Grit number | The stated abrasive category | Whether the file is intended for natural nails |
| Two numbers | Potentially different working surfaces | Which side is which and when each is used |
| Fine or coarse wording | A relative product description | The exact use and handling directions |
| Material and shape | The construction and form of the tool | Grip, care requirements and surface suitability |
| Professional label | A marketing or intended-user description | Whether the procedure is suitable for home edge care |
Keep filing the edge separate from working on the surface
The free edge is the part of the nail you are shaping or smoothing at its end. The upper nail surface is a different area. A number printed on a tool does not automatically authorise using that surface across both places.
Do not turn a guide to edge maintenance into a routine for buffing away layers or removing a coating. A buffer, shiner and edge file may all carry abrasive descriptions while serving different purposes.
If the task involves gel, acrylic or another enhancement, identify that system and seek its appropriate removal or maintenance guidance. Do not infer a procedure from a grit chart intended only to help you shop for natural-nail tools.
Use handling guidance as well as the number
The American Academy of Dermatology’s nail-trimming advice includes smoothing rough edges with a file or emery board and filing in one direction. It does not prescribe a single grit number that resolves every natural-nail situation.
Choose a tool you can hold comfortably and use gradually. Check the edge between small adjustments rather than continuing until a planned number of strokes is complete. This guide does not establish a universal pressure, stroke count or duration.
Leave the surrounding cuticle alone. The AAD advises against cutting or pushing it back. A file chosen for the free edge should not become a means of removing nearby skin or digging along the nail’s side.
Do not use colour as a universal grit code
One brand may identify a surface by its colour, while another uses the same colour for a different tool. A white board is not automatically the OPI product described above, and a black board does not automatically have one particular number.
Read the actual label or packaging. If you cannot identify an old loose file, do not assign a grit from memory because it resembles a familiar product. You may need to replace an uncertain item with one whose intended use is clear.
The same caution applies to files included inside a kit. Their presence does not mean they are suitable for every later manicure task. Keep the kit instructions with the tool and check what the supplied file is intended to do.
Allow for the condition of the file
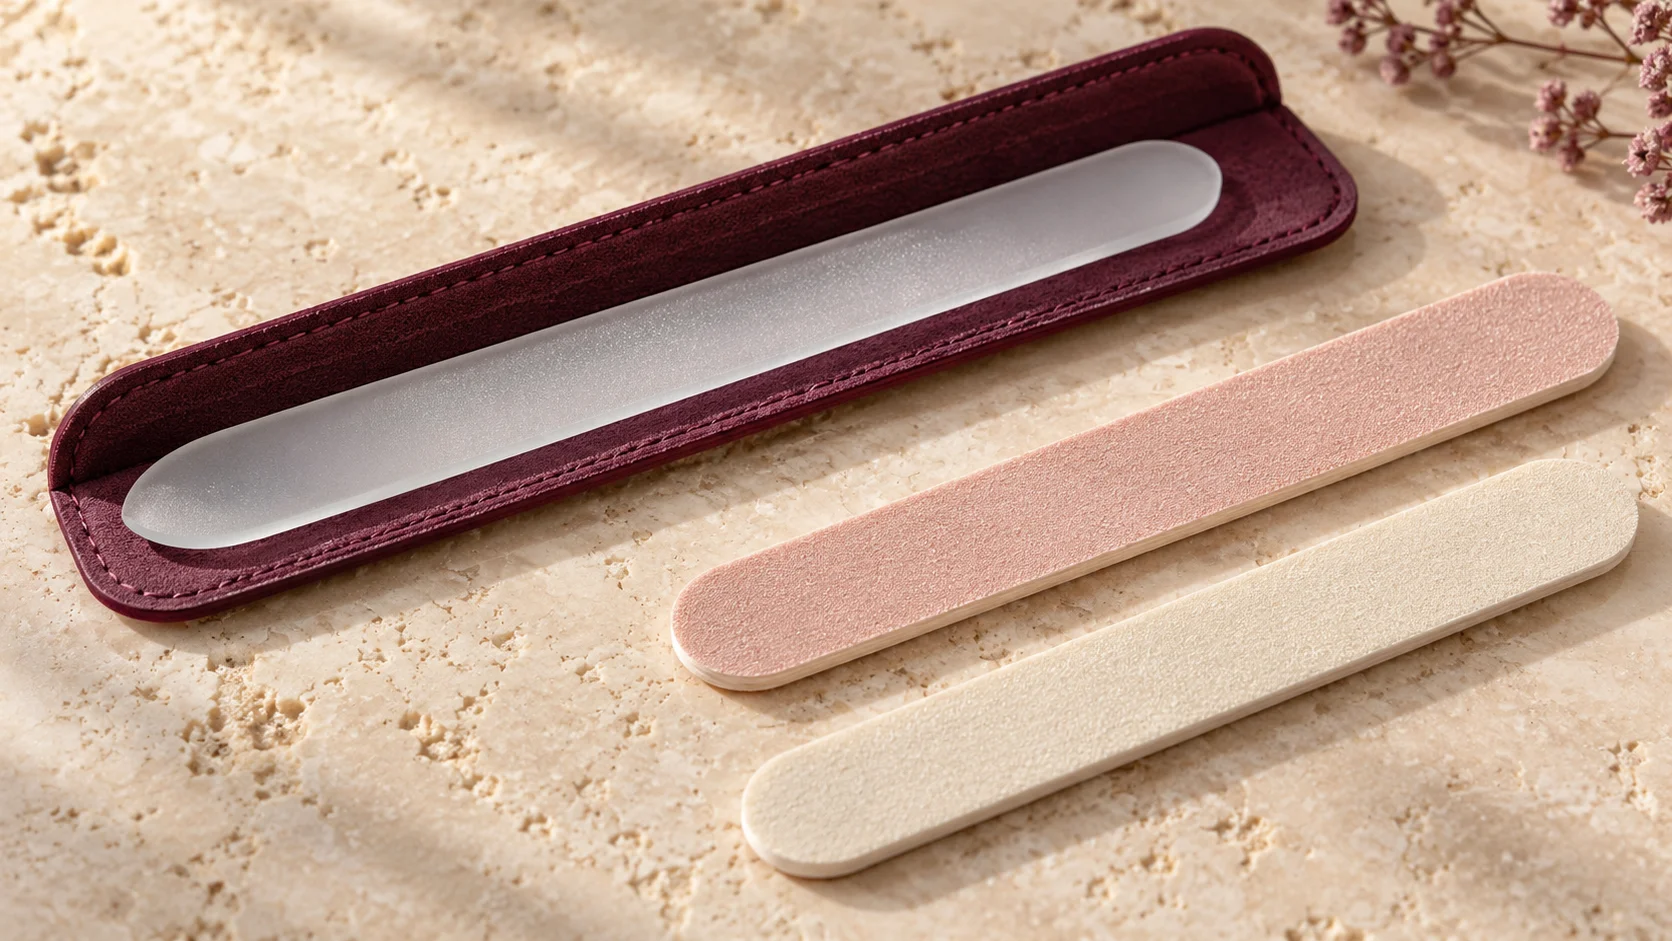
A worn abrasive surface is not a deliberately finer file. Do not reinterpret a tired board as a new grit category or compensate for poor performance by pressing harder. Check for peeling, distortion or other visible damage.
For a rigid tool, follow the manufacturer’s instructions about chips, cracks or breakage. Its original grit marking does not establish that a damaged file is still suitable. Handle and retire it according to the material’s care guidance.
Cleaning requirements also belong to the exact tool. Do not apply a soaking or disinfecting procedure from metal clippers to a porous file without support from its manufacturer. A grit number says nothing about chemical compatibility.
Ask a focused question when the label is incomplete
A useful message to the seller is: “Is this file intended for maintaining natural fingernail edges, which side should I use for that task, and how should it be cleaned?” That is more specific than asking whether the file is good.
If your nail is painful or has an unexplained change in colour, texture or shape, selecting a different grit does not answer the underlying concern. The AAD advises seeking assessment of nail changes. Avoid using a more abrasive tool to work around a problem you do not understand.
For routine maintenance, keep the product name, its side markings and the care directions together. That small record helps you replace the tool accurately and avoids turning a remembered number into a general rule.
Read beyond the number
- Identify the intended nail type and task.
- Read the grit and any side-specific markings.
- Confirm the tool is for the edge work you plan.
- Follow handling and care directions.
- Stop when the tool or nail needs reassessment.
Browse the Polish & Tools guides for more help choosing nail-care equipment. The most useful grit information is connected to a clearly identified product and a clearly defined task.
To compare the connected product and routine choices, read Glass Nail Files vs Emery Boards: Choosing a File for Your Routine, An At-Home Manicure Toolkit: What to Buy and What You Can Skip and How to Read Nail Polish Ingredient and Safety Labels. For the related care or design question, see Nail Buffing: What It Does and Why a Light Touch Matters.
Common questions
Does a higher grit number mean a coarser file?
In the grit explanation used here, a higher number means a finer abrasive. That relationship is not a quality score or a universal suitability rule. Read the exact file’s intended nail type and task as well as the number before choosing a working surface.
Is one grit number right for every natural nail?
This guide does not prescribe one universal number. Manufacturers describe particular files for particular tasks, and a grit marking alone leaves out the tool’s construction and intended use. Check that the actual product is designed for the edge maintenance you plan.
What do two numbers on a nail file mean?
They may identify different abrasive surfaces on the two sides. Confirm the manufacturer’s explanation and which side corresponds to each number. Do not assume both sides must be used in sequence for every task, or identify them solely from a colour pattern shared by another brand.
Can I use an enhancement file on natural nail edges?
Do not assume that a tool described for artificial enhancements is appropriate for your natural nail task. Read the exact intended-use guidance and ask the manufacturer if it is unclear. A familiar grit number does not turn one product’s instructions into permission for another use.
Does a white file always mean 240 grit?
No universal colour code is established here. A named product may use white for a particular surface, while another brand uses it differently. Read the printed marking, packaging or product description rather than assigning a grit number from the colour of the board.
Can a worn file be treated as a finer grit?
Do not reinterpret wear as an intentional grit change. A peeling, distorted or ineffective surface needs reassessment under the product’s care and replacement guidance. Pressing harder to compensate is not a substitute for using a tool in suitable condition for its intended task.
Does the grit number tell me how to clean the file?
No. Cleaning depends on the exact tool and its materials, not only its abrasive number. Follow the manufacturer’s instructions and do not transfer soaking or disinfecting methods from metal clippers to a porous board without support. Ask for clarification when care guidance is missing.
What should I ask when a listing only shows the grit?
Ask whether the file is intended for natural fingernail edges, which side applies to that task and how it should be used and cleaned. Those details make the number useful. Avoid choosing from an incomplete listing solely because the tool is described as professional or all purpose.
Sources and further reading
- OPI — Edge White 240 File — checked 2026-10-22
- OPI — Edge File 180 Grit — checked 2026-10-22
- American Academy of Dermatology — Trimming nails — checked 2026-10-22
- OPI — File-grit explanation within removal guide — checked 2026-10-22