A Press-On Nail Shopping Checklist for Your First Set
Check fit, adhesive, instructions, removal supplies and the complete basket before buying your first press-on set.
Archive edition: 2026-10-18 · This is an editorial allocation, not the first-publication date.
Key takeaways
- Choose an occasion and manageable shape.
- Confirm the exact product and fitting method.
- Identify the adhesive and read its warnings.
- Check contents and obtain required removal supplies.
- Allow time to inspect and follow the instructions.
In this guide
- Key takeaways
- First, decide what you want to try
- Save the exact listing and its instructions
- Check the fitting route before selecting a size
- Identify the adhesive you are buying
- Separate included supplies from optional extras
- Put removal on the shopping list
- Leave enough time for a first attempt
- Inspect the box before using anything
- Common questions
- Sources and further reading
Your first press-on purchase is easier when you check the practical details before choosing extra accessories. Start with one exact set, confirm that its fitting options and instructions make sense, then build the basket around what that product actually needs.
This checklist takes you from a saved listing to an unopened box ready to inspect. It is a first-purchase workflow, not a ranking of the longest-lasting products. You do not need to buy several adhesive types or a drawer of tools to begin asking useful questions.
First, decide what you want to try
Write down the occasion and the visible length you prefer. If you are new to artificial tips, consider how the chosen length would fit with typing, dressing, washing and other ordinary tasks. A product photograph on someone else’s hand cannot settle that practical decision.
Check any rules relevant to your work, training or planned activity before buying. A neutral colour or short shape does not establish that artificial nails are allowed. Where there is uncertainty, ask the organisation responsible for the rule.
Choose one main design idea for the first purchase. A colour, a French tip or a simple accent is enough to make the shortlist specific. You can explore more detailed designs once you understand which shapes and systems you prefer.
Save the exact listing and its instructions
Keep the product name, range, shape, length and seller link together. A screenshot of the finished manicure is useful for remembering the appearance, but it may omit the kit contents, warnings and removal method.
Find the written application and removal guidance before buying. If the listing links to a general brand page, check that it covers the actual adhesive system in your basket. Similar packaging does not guarantee identical directions.
Mark missing details as questions for the seller. You do not need to resolve every possible technical specification, but you do need enough information to identify the product, choose the fit and understand how it is intended to be used and removed.
Check the fitting route before selecting a size
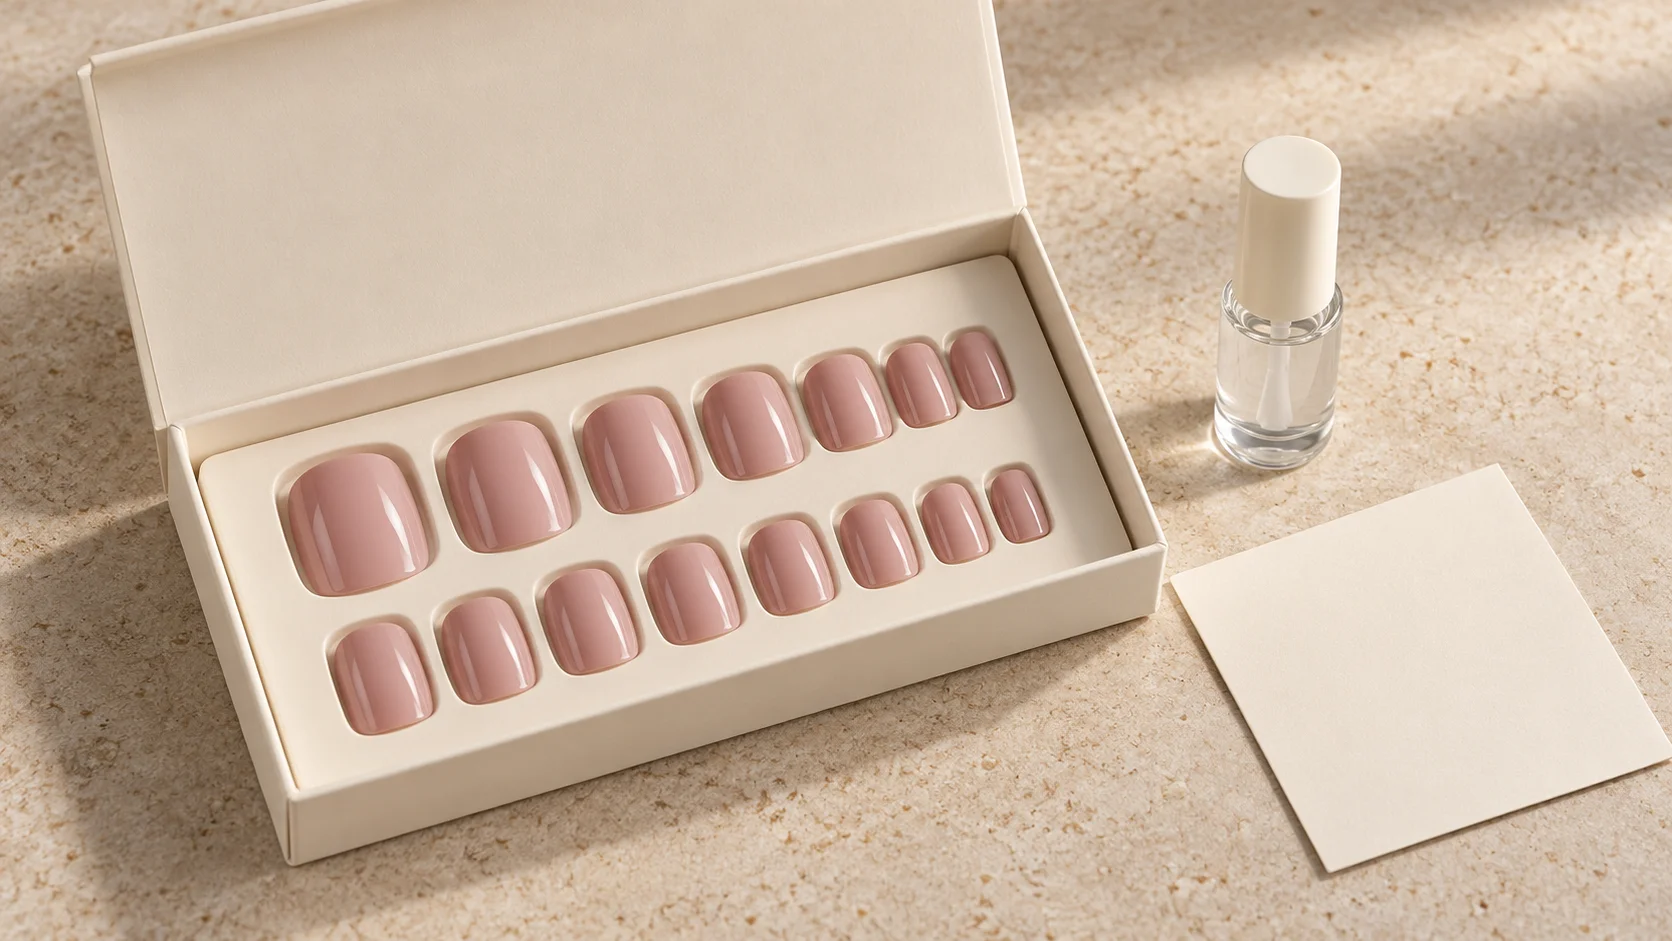
Find out whether the set provides multiple sizes in the box, uses a standard size combination or requires individual measurements. Those are different purchasing routes. A total of many nail pieces does not necessarily mean there are many distinct widths.
Olive & June’s fitting guidance discusses comfortable fit without forcing and notes differences between styles. Use the exact range’s own sizing process rather than assuming a number from another brand will transfer.
If a sizing kit is available or required, allow time to use it. If you measure at home, follow the seller’s method and record both hands. Do not buy a deliberately unsuitable size because it is the only one available in the colour you want.
Identify the adhesive you are buying
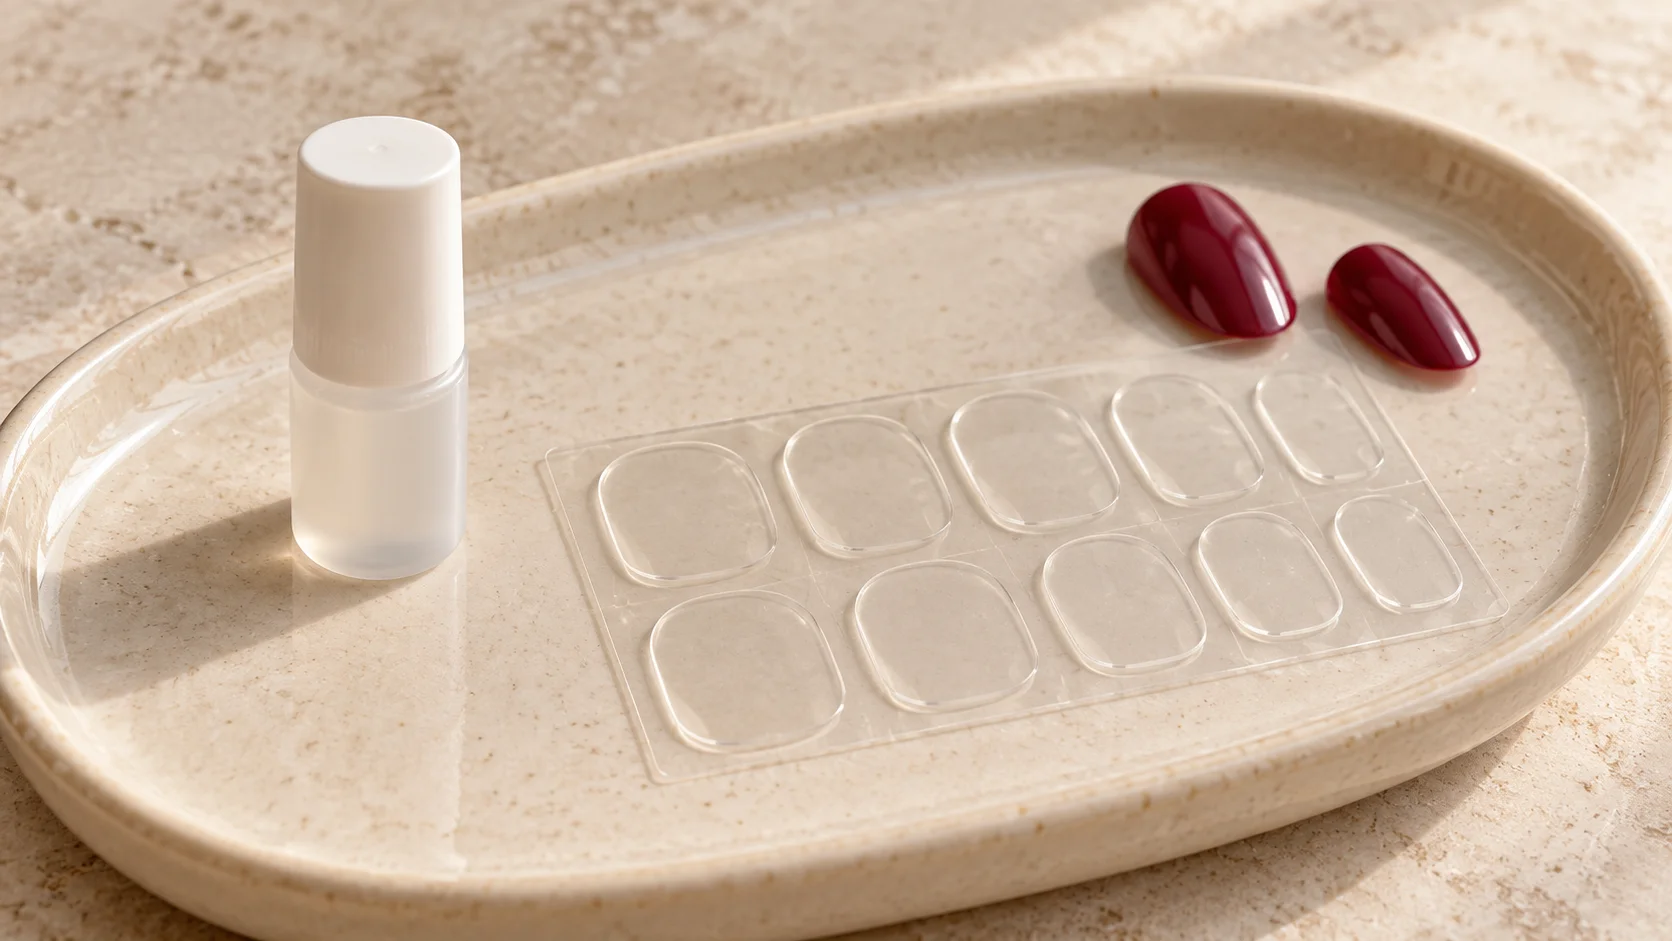
Read whether the set uses liquid nail glue, separate adhesive tabs or adhesive already attached to the tips. Do not add a second format to your basket until you know whether the manufacturer supports that combination.
Olive & June distinguishes its tab and glue systems, showing why one brand can require different instructions for different sets. Its guidance also addresses known adhesive or acrylate allergy; the absence of liquid glue does not make a product allergy-free.
Read the exact warnings and ingredient information. If you have a known relevant allergy or a previous unexplained reaction, seek appropriate clinical advice before trying another adhesive. A first shopping checklist should not become a reason to ignore information you already have about a product’s suitability.
| Check | Ready when | Pause when |
|---|---|---|
| Exact product | Range, shape, length and adhesive are identified | Only a generic manicure photograph is available |
| Fit | The seller’s sizing route is clear | You are guessing a size from another brand |
| Instructions | Application, care and removal guidance are accessible | Only application or wear marketing is shown |
| Supplies | Included and required items are separated | Extra products are being added without a stated purpose |
| Timing | There is time for fitting, application and removal | The first attempt would need to be rushed |
Separate included supplies from optional extras
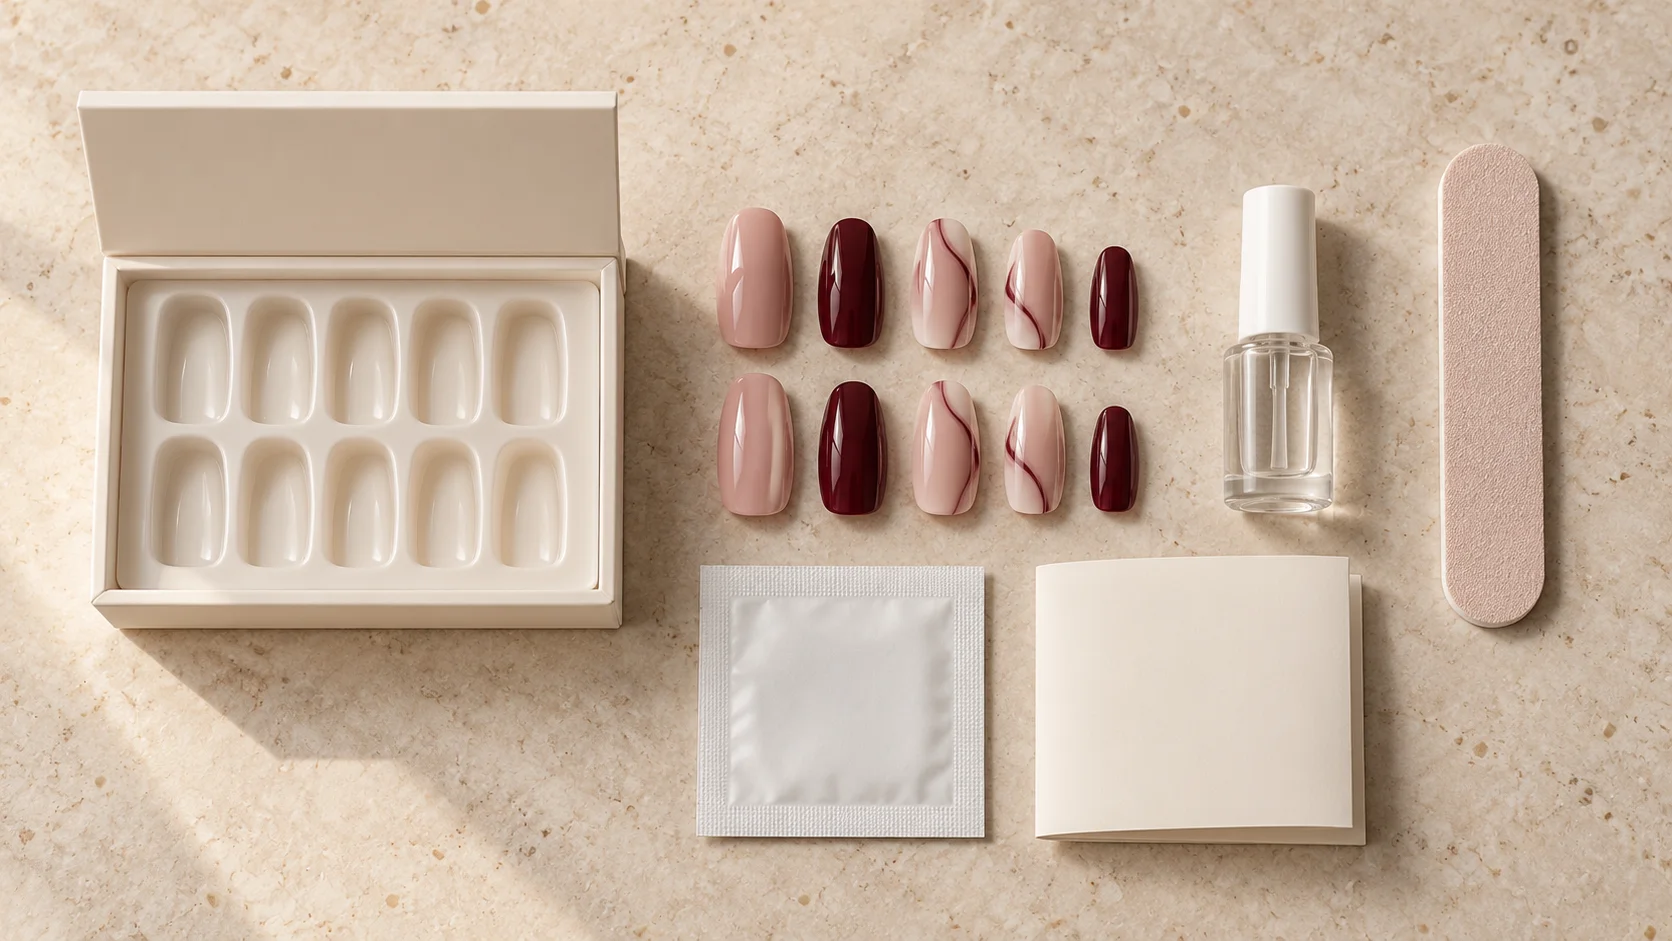
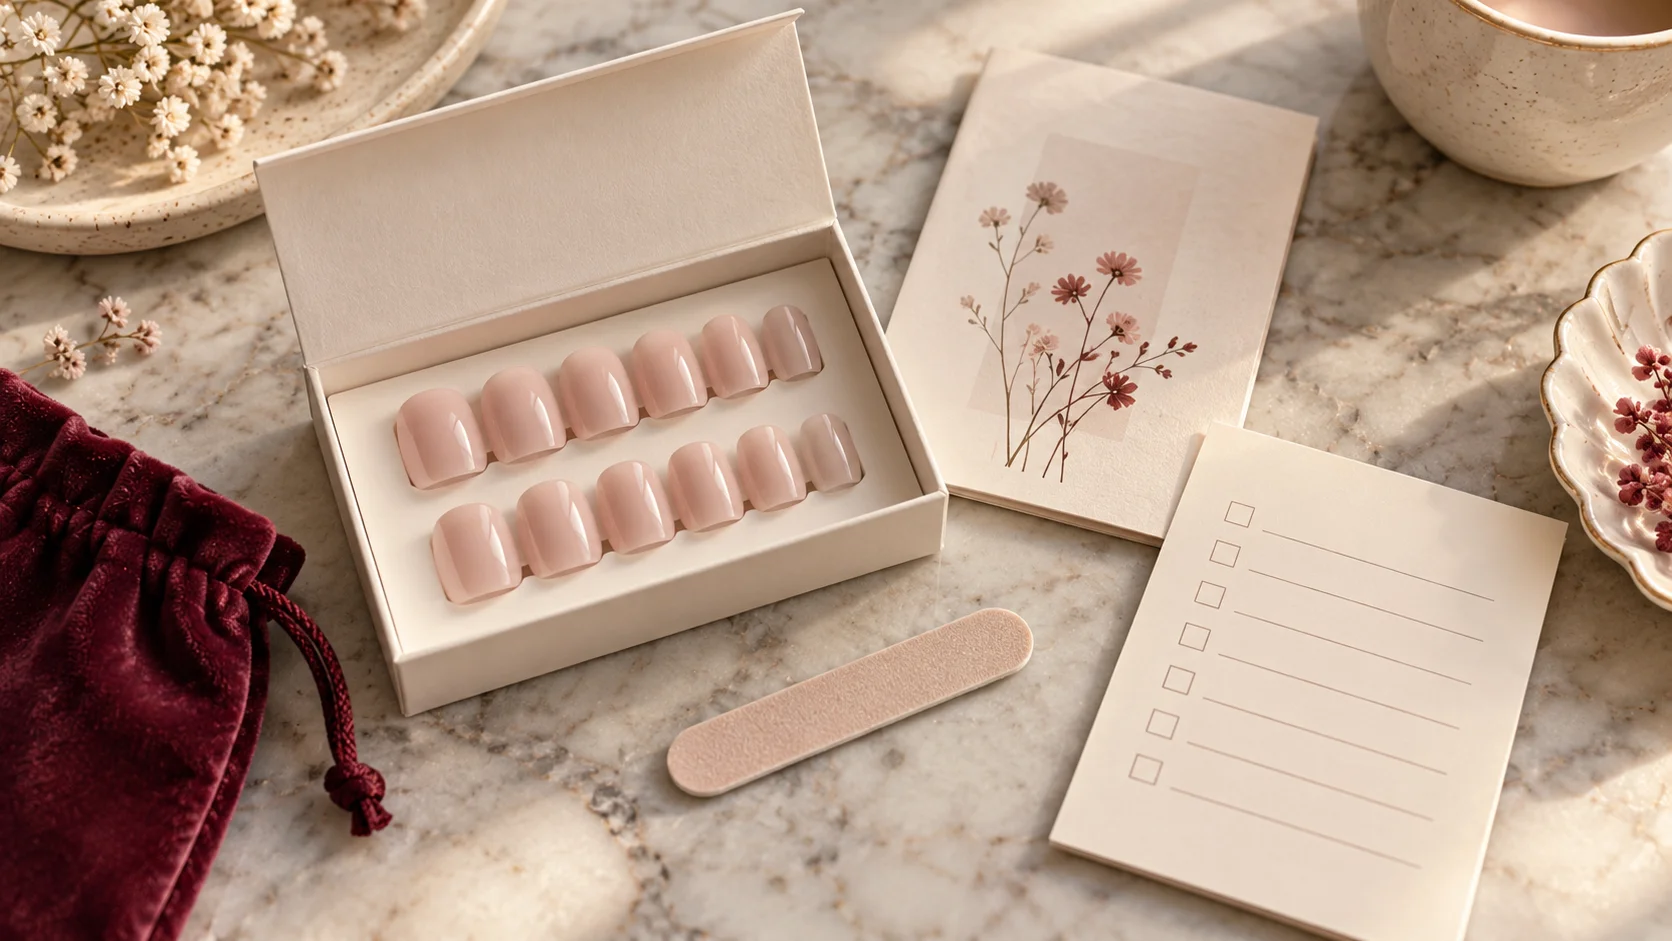
Read the contents list rather than counting the items shown in a styled photograph. Note whether adhesive, preparation items and a file are included. Then compare that list with the instructions to identify any necessary missing supplies.
Do not buy a generic “complete kit” of additional products without checking their role. Another glue, primer or remover may be unnecessary or incompatible. The goal is to follow the chosen system, not to combine the largest possible number of manicure steps.
Keep optional styling purchases separate. A storage pouch or extra colour can wait until the basic set makes sense. This makes the first basket easier to review and helps you see the actual cost of using the selected product.
Put removal on the shopping list
Find the removal directions while you are still deciding whether to buy. Identify any specified remover or other supplies and check that you can obtain them. Do not assume the tips will come off easily with something already in the bathroom.
The KISS nails FAQ gives product care and removal information, including a warning against forcing nails off. It also distinguishes general use from a named reusable range. Those details show why removal and reuse belong in the purchase decision.
Read the exact set’s conditions before imagining several future wears. Spare tips, a reusable-looking box or extra tabs do not by themselves establish that the attached nails can be worn again. Budget around the known purchase and necessary supplies first.
Leave enough time for a first attempt
A first application may involve reading unfamiliar instructions and comparing several tip sizes. Do not schedule that learning step for the final few minutes before leaving home. Have the directions and a suitable workspace available before opening adhesive.
Check any preparation and waiting windows around application, especially if you will soon need to wash your hands or perform another task. Necessary hygiene takes priority. Choose another application time if the product’s instructions do not fit the planned routine.
Keep a simple alternative for the occasion, such as wearing your natural nails. That removes the pressure to force an unsuitable tip or improvise a repair just because the set was bought for a particular date.
Inspect the box before using anything
When the order arrives, check that it is the expected style and that the listed contents are present. Read the enclosed directions, which may be more specific than the general listing. Resolve a discrepancy before beginning application.
Look for visibly damaged tips or packaging problems without opening adhesive unnecessarily. Keep the product details and order information if you need to ask the seller about an issue. Do not alter a questionable item while trying to determine whether it was supplied correctly.
Once the product is ready to use, follow its fitting and application sequence. If the available choices do not fit comfortably, pause. Completing a first manicure is not more important than understanding why the set is not working for your nails.
From saved listing to a considered first set
- Choose an occasion and manageable shape.
- Confirm the exact product and fitting method.
- Identify the adhesive and read its warnings.
- Check contents and obtain required removal supplies.
- Allow time to inspect and follow the instructions.
Afterwards, save the exact style and your size choices with a short note about what you would change next time. The press-on nails guides can help you build on that first purchase without relying on a universal wear-time promise.
To complete the fit, wear and removal plan, read Press-On Nails for Beginners: Fit, Adhesive and Removal Basics, What Comes in a Press-On Nail Kit? A Buyer's Checklist and How to Compare Press-On Sets Without Relying on Wear-Time Claims. For the related care, tool or design decision, see An At-Home Manicure Toolkit: What to Buy and What You Can Skip.
Common questions
What should I check first when buying press-ons?
Identify the exact range, shape, length and adhesive system, then find its fitting and removal instructions. A manicure photograph alone is not enough. Start with the practical use you have in mind so the purchase can be assessed against your actual activities and requirements.
Do I need separate glue for every set?
No. Some sets include liquid adhesive, others use separate tabs or adhesive already attached to the tips. Read the contents list and directions before adding another product. Do not assume a second adhesive format is compatible or necessary because it appears in a general starter bundle.
Should I buy extra preparation products just in case?
Buy what the chosen system actually requires, after checking what is included and what you already have. Additional primers, glues or removers may be unnecessary or incompatible. Keep optional styling purchases separate so they do not complicate the basic application and removal routine.
Can I choose a size using another brand’s numbers?
Do not rely on numbers without their product context. Follow the seller’s own sizing method or use the appropriate sizing kit. Shape and curve can differ as well as width, so a familiar number does not prove that the new tip will fit comfortably.
Why buy removal supplies before applying the set?
Knowing the removal process is part of deciding whether the product suits you. Check any specified supplies while shopping rather than assuming household items will work. Having the correct directions available also reduces pressure to pull or improvise when you later want the set off.
Are adhesive tabs automatically better for a first try?
There is no universal first-choice adhesive in this guide. Compare the supported system, fit, warnings and removal method for the exact set. Tabs are still adhesive products, so a known allergy or previous reaction needs appropriate consideration rather than reassurance from a glue-free label.
Should my first application be just before an event?
Allow time to read the instructions, compare tip sizes and follow any preparation or waiting conditions. A rushed first attempt creates pressure to ignore an uncertain fit. Keep a simple alternative for the occasion so completing the manicure does not become more important than using the product appropriately.
What should I inspect when the box arrives?
Check the style, contents, visible condition and enclosed instructions before opening adhesive or altering the tips. Keep the listing and order information if something differs from what you expected. Resolve missing directions, damage or fitting uncertainty before beginning the application rather than trying to work around them.
Sources and further reading
- Olive & June — Fit guidance — checked 2026-10-22
- KISS — Nails FAQ — checked 2026-10-22
- Olive & June — Two press-on systems — checked 2026-10-22