An At-Home Manicure Toolkit: What to Buy and What You Can Skip
Build a practical ordinary-polish kit around basic nail care, the chosen colour system and clear removal instructions.
Archive edition: 2026-10-19 · This is an editorial allocation, not the first-publication date.
Key takeaways
- Choose a simple ordinary-polish goal.
- Check the tools and products you already own.
- Add only the required layers and removal supplies.
- Leave skin-cutting and unnecessary equipment out.
- Store and care for each item according to its instructions.
In this guide
- Key takeaways
- Define the manicure before buying the tools
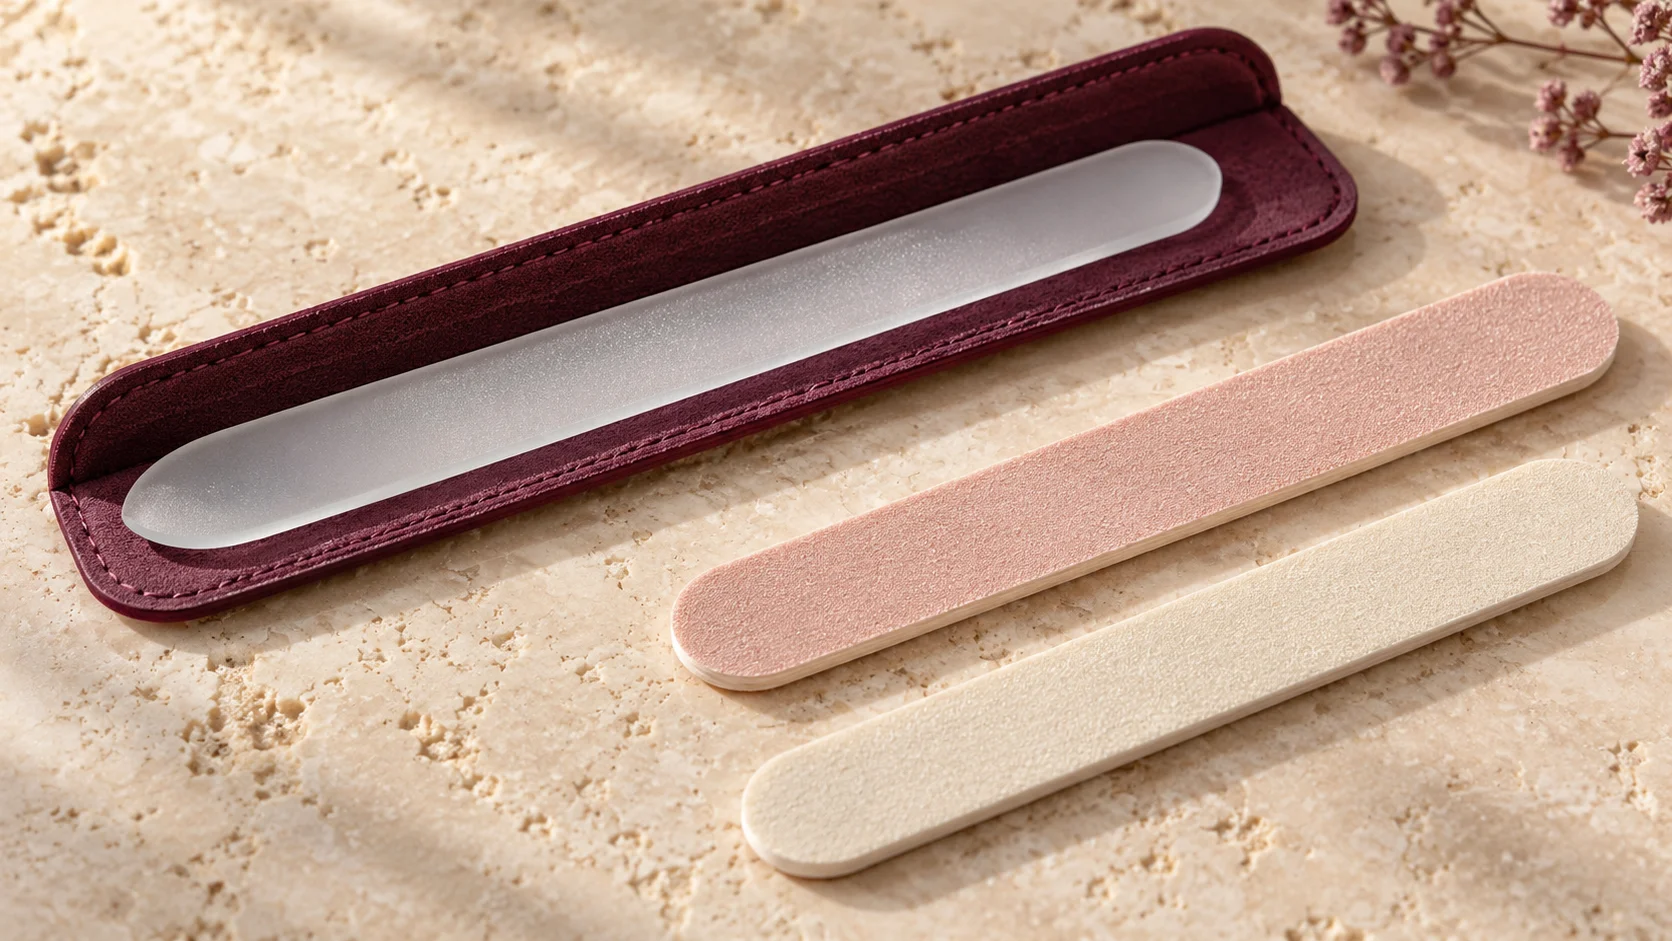
- Choose a suitable nail-length tool and file
- Leave cuticle cutting out of the basic kit
- Buy the layers your chosen polish actually needs
- Include removal before calling the kit complete
- Make the workspace easy to use
- Add specialist tools only for a specific reason
- Keep the kit clean, labelled and manageable
- Common questions
- Sources and further reading
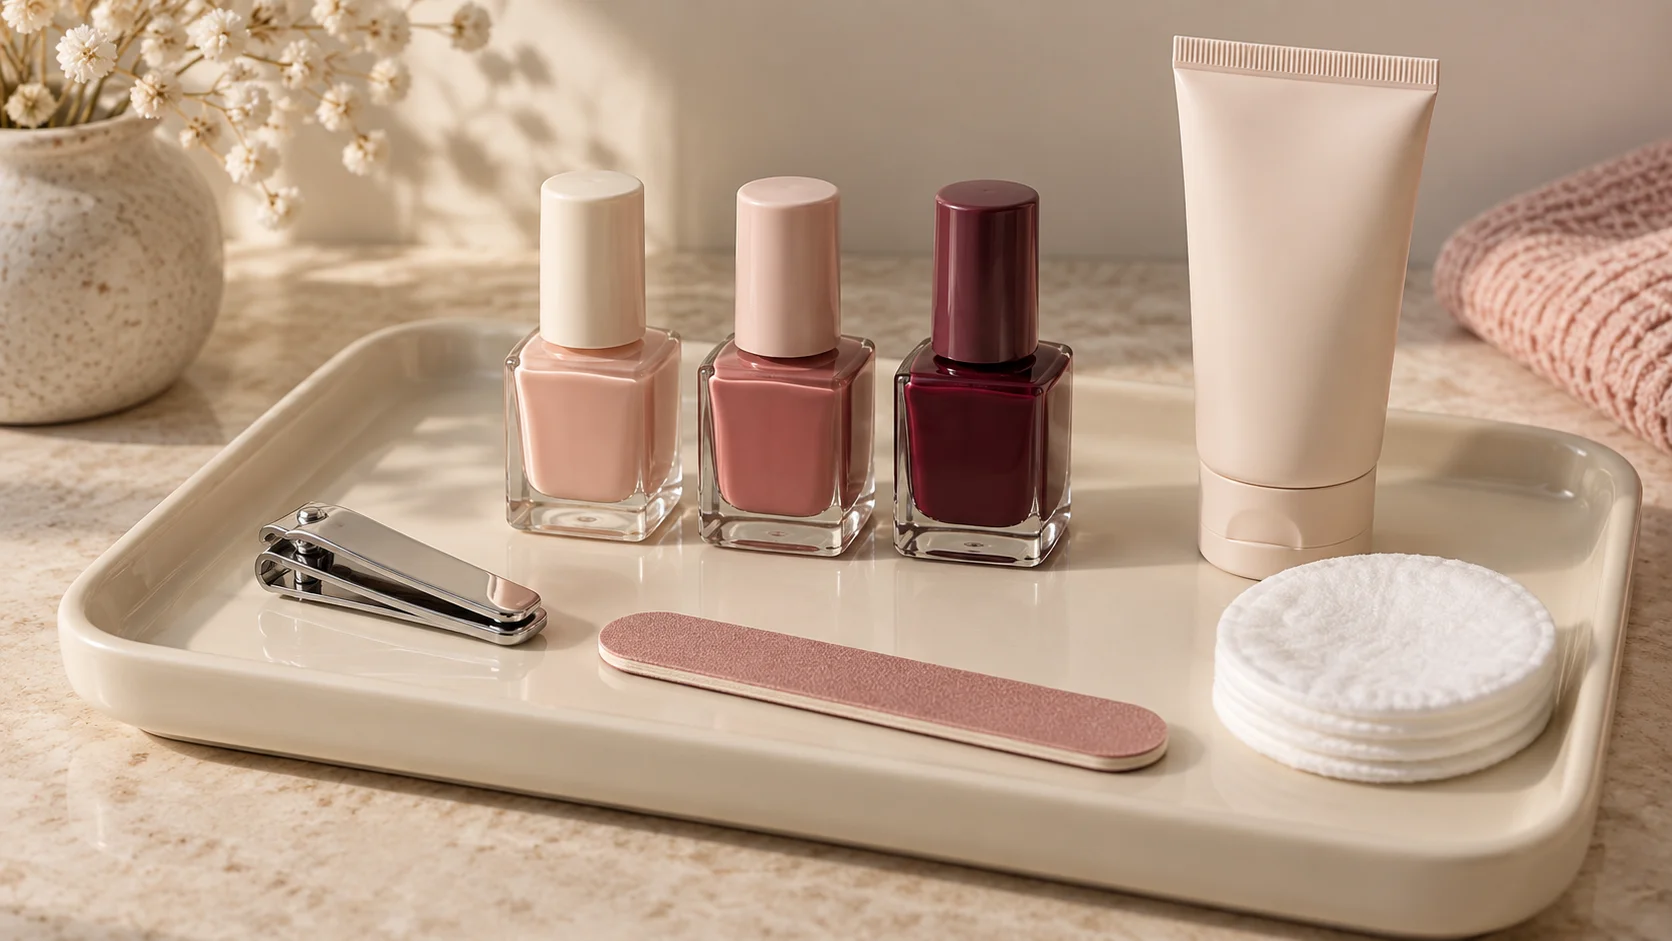
An at-home manicure kit can be small. For an ordinary-polish routine, focus on basic nail care, a colour system you understand and the supplies needed to remove it as directed. You do not need every tool displayed beside the polish, and a beginner kit does not have to include a lamp or an electric file.
This guide helps you decide what has a clear role and what can wait. It is not a treatment plan for a nail condition, a professional salon equipment list or a tutorial for cutting cuticles. Start with your intended routine, then choose products with instructions you can follow.
Define the manicure before buying the tools
Decide whether you want simple nail-length maintenance, a plain colour or a small decorative detail. These goals require different extras. A full nail-art kit may be unnecessary if you mostly wear one colour, while a specialised brush may be useful if you repeatedly want the same fine stripe.
Identify ordinary lacquer separately from lamp-cured systems. A gel-like shine description does not automatically mean you need a lamp. Check the full product name and directions before adding equipment to the shopping list.
Consider what you already own. A suitable file, clean towel and compatible finishing product may already cover several needs. Replacing everything at once can create unnecessary duplication and make it harder to learn which new product changed the routine.
Choose a suitable nail-length tool and file
The American Academy of Dermatology’s trimming guidance discusses maintaining nail length and smoothing rough edges. Use an appropriate tool for the task rather than treating an aggressive abrasive or an electric file as a required starting point.
A file should have clear intended-use guidance. Check whether it is designed for natural nail edges or for an enhancement task. A grit number alone should not replace that information, and a file used to shape the free edge is not an instruction to thin the surface of the nail.
Revlon’s compact emery-board guidance is one example of a product with different sides and a stated filing method. Follow the directions for the actual file you choose rather than assuming every board uses the same colour coding or grit arrangement.
Leave cuticle cutting out of the basic kit
The AAD advises leaving cuticles alone rather than cutting or pushing them back. A neat ordinary manicure does not require adding nippers or a sharp pusher to a beginner shopping list. Skin around the nail is not an obstacle that must be removed to make colour look tidy.
If a tool is included in a large set, that does not make using it necessary. You can keep the routine focused on tasks you understand and skip items whose purpose is unclear. A low price for many pieces is not a reason to experiment on skin.
For persistent pain, swelling, unusual colour or other unexplained nail changes, seek appropriate medical advice instead of buying a stronger tool. A cosmetic kit should not be expected to diagnose or treat a problem.
Buy the layers your chosen polish actually needs
Essie’s product FAQ illustrates why there is no single coat routine for every formula: its ordinary enamel and Gel Couture ranges have different base and finishing guidance. Read the actual system instructions before assuming that every manicure requires the same clear bottles.
Put the colour, required base and required top coat on one list. If a product is optional, identify what it would add before buying it. Drying drops, finish-changing top coats and additional treatments should have a clear purpose rather than becoming automatic parts of a first kit.
Start with a manageable colour choice. One polish you enjoy and can apply as directed is more useful than several unfamiliar formulas without the supporting layers. Add variety once you know what you want to change about the routine.
| Item or group | Clear role | When it can wait |
|---|---|---|
| Suitable length-maintenance tool | Maintaining nail length when needed | You already have an appropriate clean tool |
| Natural-nail file | Smoothing and shaping the free edge | An existing suitable file is in good condition |
| Colour and required layers | Following the chosen polish routine | Extra shades or optional finishes have no current use |
| Compatible remover and application supplies | Completing the removal process | Only if suitable supplies are already available |
| Moisturising product | Ordinary hand and nail-area care | You already own a suitable product you use comfortably |
| Art brushes or decorations | A specific design you want to make | You mainly want plain colour |
| Lamp or electric file | Only a separate appropriate system or trained task | Not required for the ordinary-polish kit described here |
Include removal before calling the kit complete
Check which remover is suitable for the colour system and any underlying enhancement. Those are separate compatibility questions. A bottle described as gentle or acetone-free does not automatically establish that it will remove every manicure.
Gather the pads or other supplies specified by the removal instructions. Do not plan to peel the colour away when you become bored with it or use a sharp tool to scrape a stubborn layer. If you cannot identify the supported removal process, clarify it before application.
Keep the remover in its original labelled container and follow its warnings. A plain decorative dispenser can look tidy while losing important product information. The most useful storage choice is one that preserves identity, closure and appropriate handling.
Make the workspace easy to use
A stable surface, suitable protection and good visibility can improve the practical setup without adding another specialist product. Put the supplies within reach before opening bottles. Support the hand you are working on rather than balancing several items in your lap.
Follow ventilation and fire warnings for the products in use. Do not place a candle beside an open manicure kit for atmosphere. Keep the routine away from distractions that make it difficult to close bottles or manage tools deliberately.
A towel, tray or mat should be chosen with the actual liquids in mind. Do not assume a decorative surface is resistant to remover. If you are unsure, use the product guidance and a suitable work area rather than discovering a compatibility problem through a spill.
Add specialist tools only for a specific reason
A clean-up brush may be useful if you often refine ordinary-polish edges, but check its compatible cleaner. A dotting tool may suit a simple pattern, while a liner brush serves a different mark. Choose one tool for the design you want rather than buying a large set because it appears comprehensive.
Stickers and decals also have their own supporting-product requirements. A decorative sheet is not automatically a simple addition if its instructions involve a different gel system. Pick an option that fits your existing routine instead of expanding the kit without intending to learn a new process.
Skip tools that encourage a task you do not need. More abrasive equipment, skin-cutting tools and complicated enhancement supplies do not turn a basic manicure into a better one. A small familiar kit can be easier to care for and use consistently.
Keep the kit clean, labelled and manageable
Follow each tool’s cleaning and storage instructions. A method suitable for a metal clipper may not suit a coated brush, paper file or other material. Removing visible residue is also not the same as a validated professional disinfection process.
Check the kit occasionally for damaged closures, worn tools and products you no longer use. Keep durability and opening information where relevant, and follow local guidance for unwanted contents. Maintaining a useful kit is more important than keeping every item that arrived in the original box.
Buy around the routine
- Choose a simple ordinary-polish goal.
- Check the tools and products you already own.
- Add only the required layers and removal supplies.
- Leave skin-cutting and unnecessary equipment out.
- Store and care for each item according to its instructions.
Explore the Polish & Tools section for detailed product comparisons. A complete home kit is one that supports the manicure you want to do, from preparation to removal, without requiring you to use every tool on the shelf.
To compare the connected product and routine choices, read Glass Nail Files vs Emery Boards: Choosing a File for Your Routine, Base Coat vs Top Coat: Why the Jobs Are Different and Acetone vs Non-Acetone Remover: Product Suitability and Care. For the related care or design question, see How to Trim and File Natural Nails Without Overdoing It.
Common questions
Do I need a nail lamp for a basic home manicure?
Not for the ordinary-polish routine described here. Identify the exact colour system and follow its instructions rather than buying a lamp because the finish is called gel-like. Lamp-cured products are a separate equipment and compatibility decision, not an automatic part of a beginner kit.
Should a beginner kit include cuticle nippers?
They are not required for this basic routine. The AAD advises leaving cuticles alone rather than cutting or pushing them back. A tool included in a large set does not become necessary, and neat colour placement should not involve experimenting with sharp tools on surrounding skin.
Is an electric file essential for neat nails?
No. Choose suitable basic tools for maintaining natural nail length and smoothing the free edge, following their instructions. An electric file introduces a different task and skill requirement. It should not be added merely because a manicure kit looks more professional with extra equipment.
Does every polish need both a base and top coat?
Check the actual range. Essie’s guidance illustrates differences between ordinary enamel and Gel Couture, so one coat routine should not be transferred to every formula. Buy the required supporting layers for your chosen colour and distinguish necessary components from optional finishing or treatment products.
What makes a kit complete before the first manicure?
It should cover the intended routine through removal, including compatible products and any required pads or other supplies. Identify the colour system, its supporting layers and the removal instructions before opening bottles. A large shade selection without a clear removal plan is not a complete practical setup.
Do I need several nail-art brushes at the beginning?
Only add a specialist tool when you have a clear design task for it. A plain-colour routine may need none, while a repeated stripe or dot pattern may justify one suitable tool. Check its cleaning compatibility rather than buying the largest set of unfamiliar shapes.
Can I clean every tool using the same method?
No. Materials and construction differ, so a method suitable for one clipper, file or brush may damage another. Follow each manufacturer’s care directions and distinguish visible-residue removal from professional disinfection requirements. Keep the kit organised so the correct method remains easy to identify.
What can I skip if I already own some manicure supplies?
Keep suitable tools and compatible products that are in good condition and already serve your intended routine. Skip duplicate colours, optional finishes and equipment without a clear role. Building the kit gradually helps you learn what is useful instead of replacing everything at once.
Sources and further reading
- American Academy of Dermatology — Trimming nails — checked 2026-10-22
- Revlon — Compact Emery Boards — checked 2026-10-22
- Essie — Product FAQ — checked 2026-10-22